@B-MOW I think you have some of your links mixed up. I have been following along on your build and have started my own recently and also purchased a set of intheworks links. The difference with the set I got vs yours (I believe anyhow) is that you got all 3/16" links. I picked up a custom set (which allows you to pick different diameter links and mix and match high clearance, SS or titanium links in the set. I picked up 1/4" lowers, 3/16" uppers and then titanium steering links. This helped me to easily identify which ones went where. The only mix up I had when initially fitting things together was that I had the front and rear lower links swapped at first.
For reference the upper rear links shouldn't have any bends (even if they are high clearance links) Its hard to tell unless you get different metals like I did and could tell the titanium simply by the weight difference.
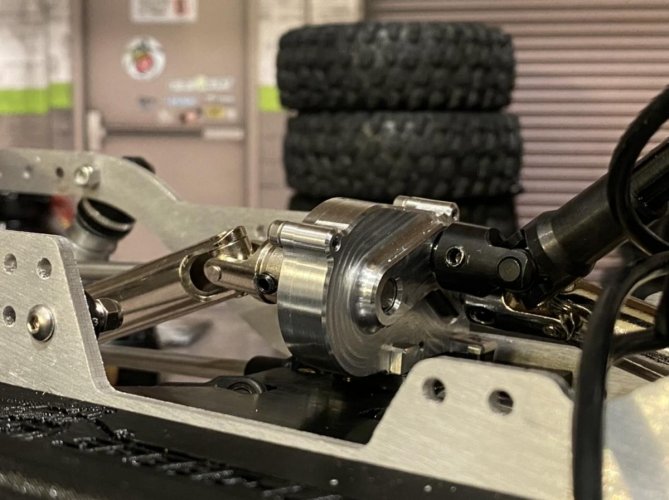
The 3rd upper link should be a bent one and not a straight one. Also noting that you are also using the FMM you will need to flip it upside down to clear the FMM. I can see in your pics you may have some clearance issues with the way the links are set up now.
I will be posting pictures of my build here soon but just for a quick comparison here is mine with the links set up the way I just mentioned minus the steering and panhard, which I do believe are not correct like yours where as well.

 IMG_3339
 by
T Buggy, on Flickr
 IMG_3338
 by
T Buggy, on Flickr
This last picture shows that I can fully compress the front axle with the 3rd link the way it is and with the FMM installed.
 IMG_3341
 by
T Buggy, on Flickr
I hope this helps out and if I am completely wrong then feel free to let me know so I can double check mine. LOL:lmao:
")