• Welcome to RCCrawler Forums.

    It looks like you're enjoying RCCrawler's Forums but haven't created an account yet. Why not take a minute to register for your own free account now? As a member you get free access to all of our forums and posts plus the ability to post your own messages, communicate directly with other members, and much more. Register now!

    Already a member? Login at the top of this page to stop seeing this message.

B-MOW goes PRO with the VS4-10

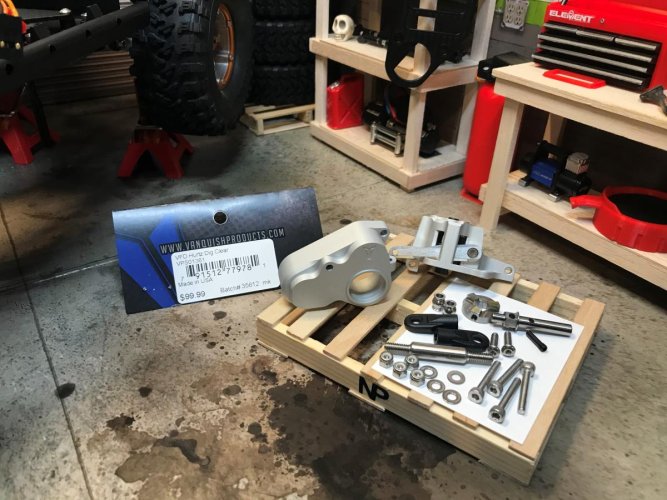
Right before Christmas I picked up the VFD Hurtz DIG. I've been wanting to get one of these for awhile, but they were out of stock. As soon as I heard that VP had them in stock, I went ahead and placed the order. I went with the Clear version to match my clear axles that came with the PRO.

I also picked up the VFD 21% Overdrive Gear Set during the sale that VP was having at the first of the year. I figured while I had the trans out I might as well add in the OD gears.
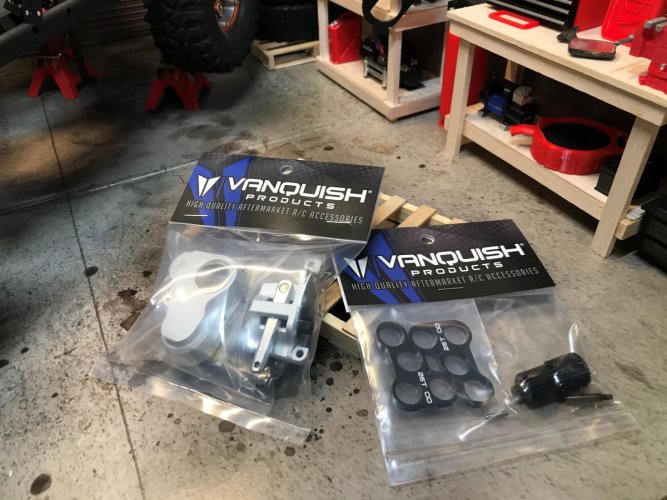
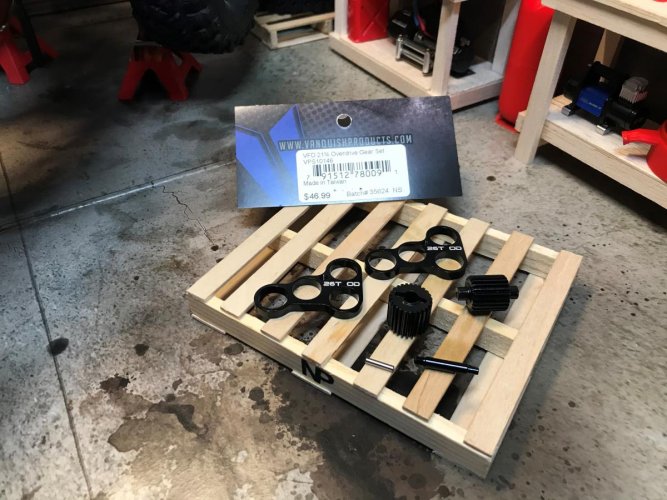
IMG_4782 (2).jpg

IMG_4783 (2).jpg

IMG_4784 (2).jpg


Here it is all together. It went together really easy and all the pieces fit like a glove. I did watch Harley's install video on YT while I was putting it together. His video was well made and made the installation very easy.
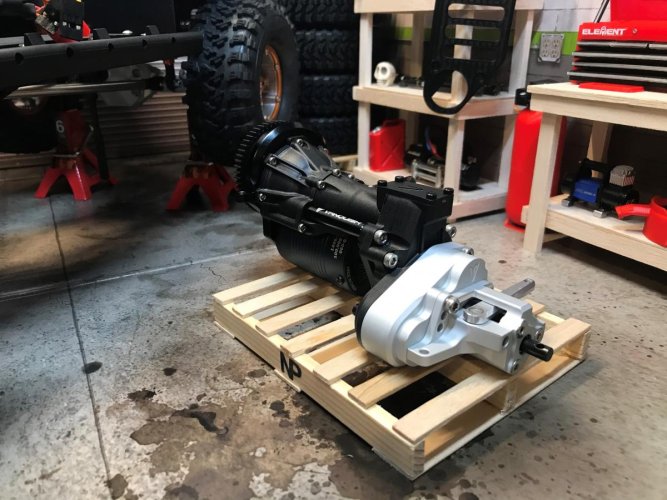
IMG_4785 (2).jpg


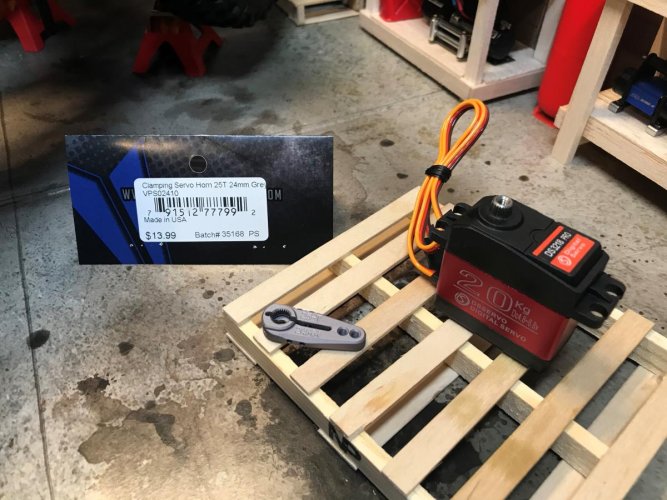
I bought the cheap DS3218 Pro servo off eBay to use for the DIG. I figured I wouldn't need nothing to fancy or powerful to move the DIG switch. I also picked up the VP Clamping Servo Horn 25T 24mm. This is the servo horn that VP recommends.
IMG_4786 (2).jpg


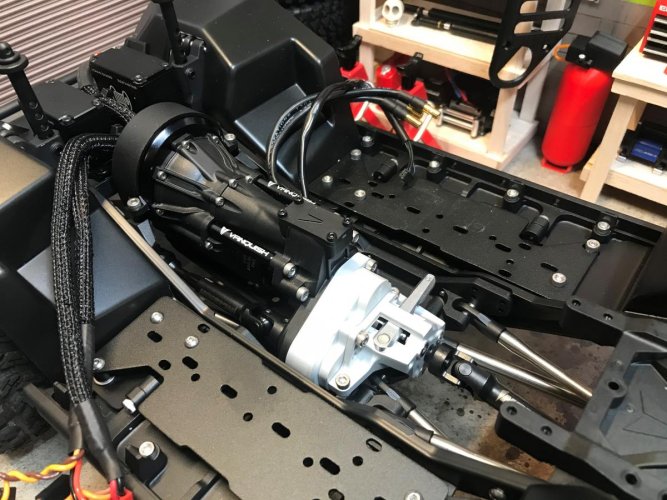
And here is the trans with the DIG installed. The alum DIG case bolts in without issue just like the stock tranfer case did.
IMG_4788 (2).jpg


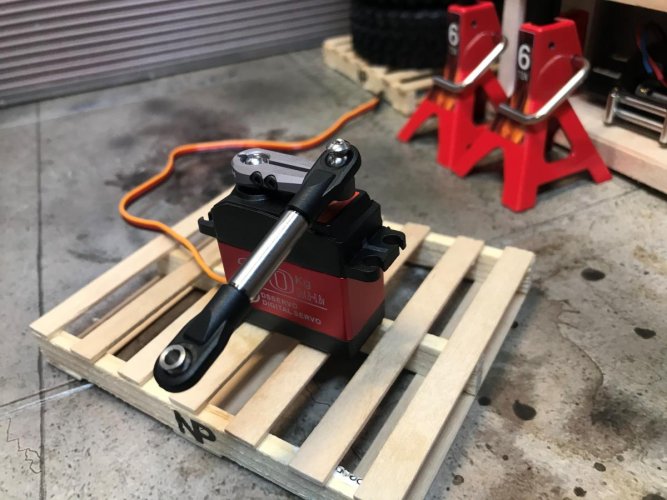
Here is the servo with the VP horn and the link and rod ends that are supplied with the DIG kit. I did have to cut off the little braces that were on the servo mounting tab so that it would fit into the servo mount on the rear chassis brace.
IMG_4789 (2).jpg


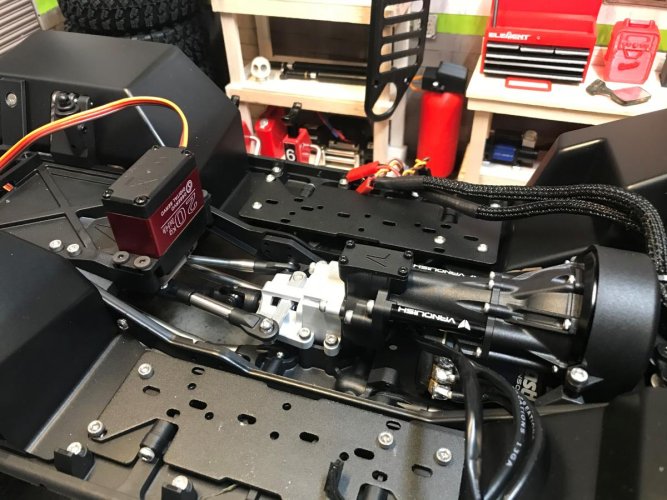
And here the install is complete with the trans/DIG and servo installed. I left the battery tray off that used to attach where the DIG servo attaches. I plan to move the battery down on the driver side slider.
IMG_4790 (2).jpg

Next up will be moving the receiver and Castle B-Link to the fuel cell in the back of the chassis.

Thanks for looking!:)
 
Nice shop pics! You have a lot of really cool little scale pieces. The skull made me a do a double take.

That looks like a quality dig unit they have for the VFD, should be fun for ya.
 
Nice shop pics! You have a lot of really cool little scale pieces. The skull made me a do a double take.

That looks like a quality dig unit they have for the VFD, should be fun for ya.

Thanks TB!"thumbsup" I made most of the scale pieces on my new 3D printer. It's been a lot of fun printing these out.

Yeah, the skull!:ror: I found that the last time I was down in West Virginia. I went on a tour in a cave system down there and found the little skull in the gift shop. My plan was to use it as a driver head on one of my rigs. It is almost the perfect size. Just a tiny bit smaller.

This DIG unit is really nice. Like all of VP's products, it is made very well. It is well designed as can hit all 3 positions with ease. I moved the shift arm by hand to check out each position and it felt smooth thru each shift. Can't wait to put some power to it and see how it does.

Here is a better look at the garage. It's a start. I plan on doing more to it this winter.

IMG_4760 (2).jpg
 
I think you'll like the DIG - really smooth shifts and well built. Start with 0 end point adjustment and visually move up to get the best performance on throw without stressing the servo.
 
Right before Christmas I picked up the VFD Hurtz DIG. I've been wanting to get one of these for awhile, but they were out of stock. As soon as I heard that VP had them in stock, I went ahead and placed the order. I went with the Clear version to match my clear axles that came with the PRO..

may I ask, is the stock Pro rear drive shaft cool with the Dig install? Any modification required to fit?
 
I think you'll like the DIG - really smooth shifts and well built. Start with 0 end point adjustment and visually move up to get the best performance on throw without stressing the servo.

Thanks for the tip!"thumbsup" I haven't had a chance to put power to it yet to set endpoints. When I do, I'll keep that in mind.


may I ask, is the stock Pro rear drive shaft cool with the Dig install? Any modification required to fit?

No problems or modifications at all. The rear driveshaft is good with the DIG. Still have full rear compression with no bind in the driveshaft.
 
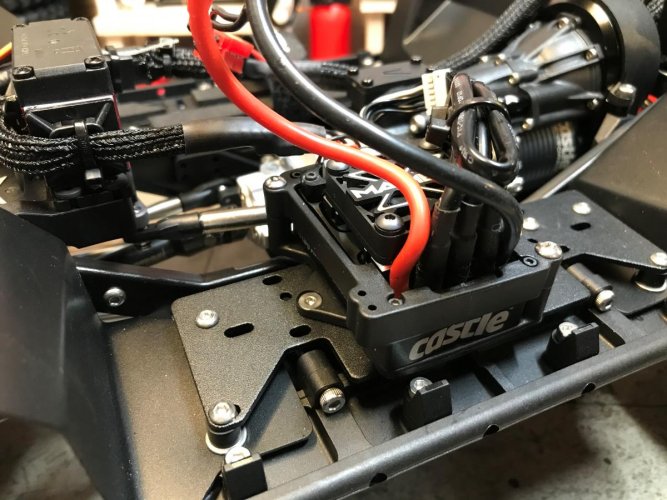
Spent the morning getting the ESC and receiver remounted in their new positions. Also covered and rerouted the wiring to the back fuel cell.

When I put the DIG servo in, I left out the stock battery tray. I moved the battery down to the driver side electronics tray.

IMG_4794 (2).jpg


I added 5mm spacers under the electronic trays on both sides to raise the trays up level with the body alignment clips on the rock sliders. I added some foam adhesive strips to the battery tray to keep the battery from sliding around and to give it a little cushion.

IMG_4795 (2).jpg


I put the receiver and Castle B-Link inside the rear fuel cell. With the new fender brace/fuel cell riser that GA Dawg created, I had plenty of room to hide everything inside. As of right now, the fuel cell is not waterproof, so I need to come up with some type of seal to put under the lid and fender brace.

IMG_4796 (2).jpg


I had an RPM Mamba X ESC mount in my parts stash, so I decided to use it and mount the Mamba to the right side electronics tray. With the tray raised up 5mm, I was able to use 3mm locknuts under the tray to secure the box.

IMG_4797 (2).jpg

IMG_4798 (2).jpg


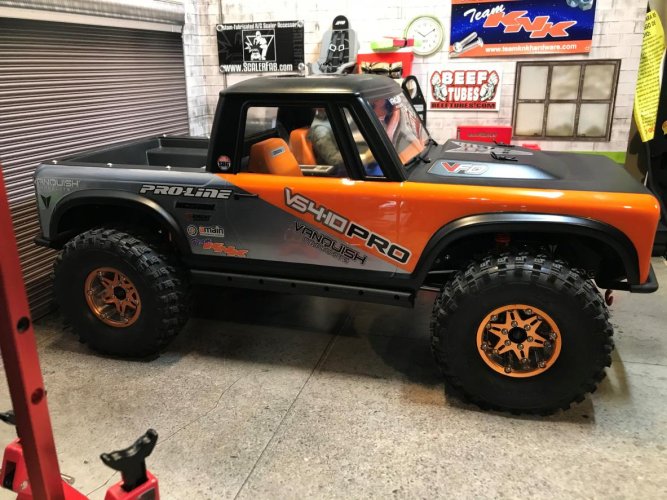
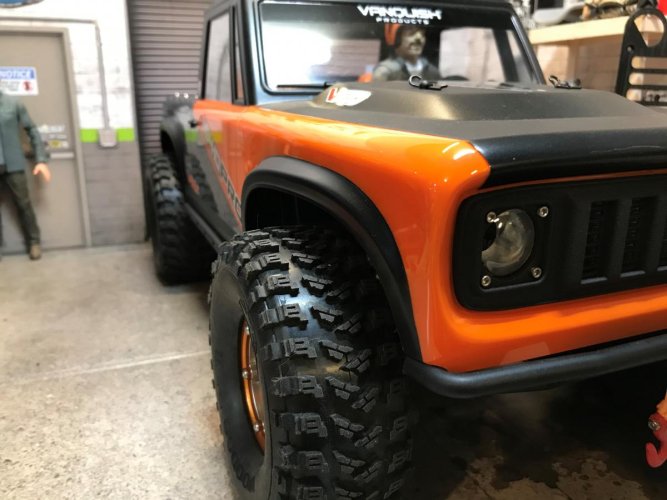
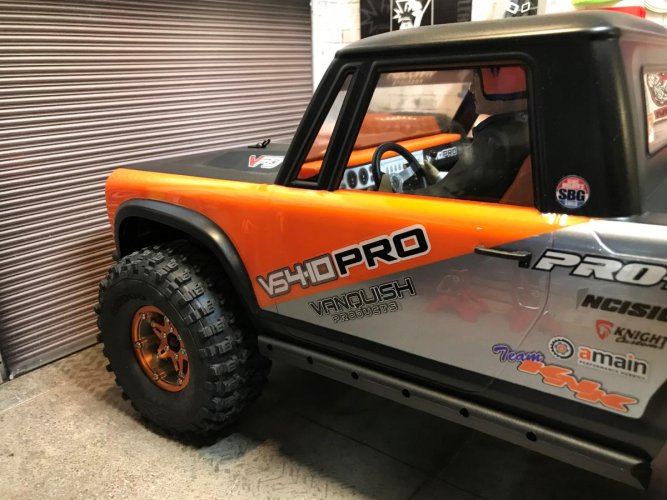
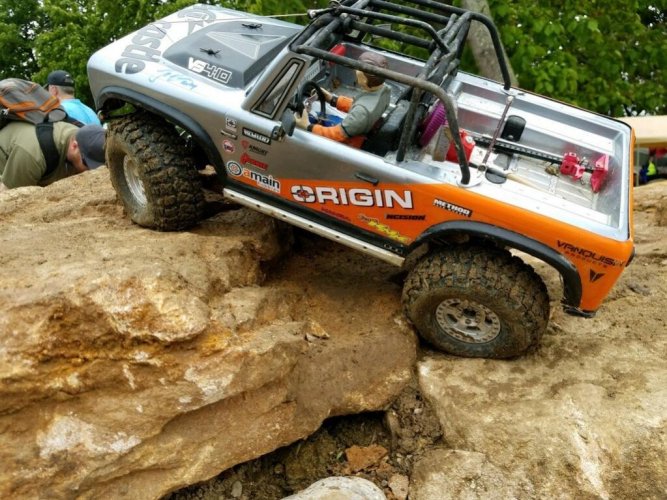
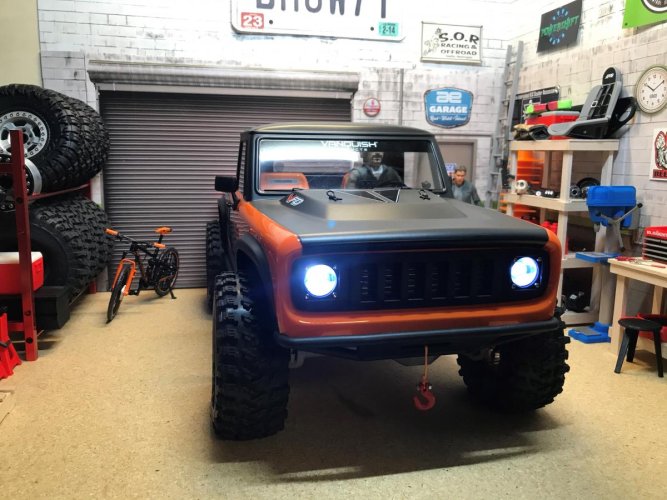
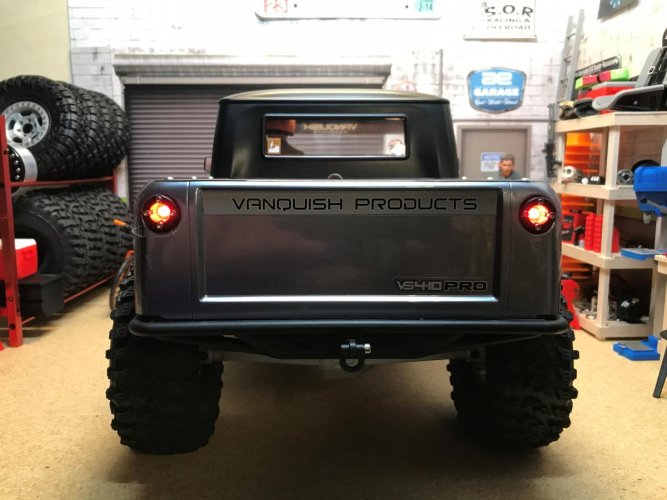
And here are a few glamour shots with the everything buttoned up and the body on.

IMG_4799 (2).jpg

IMG_4800 (2).jpg

IMG_4801 (2).jpg

IMG_4802 (2).jpg

IMG_4803 (2).jpg

IMG_4805 (2).jpg

IMG_4806 (2).jpg

IMG_4807 (2).jpg
 
It's a beauty!

Sent from my SM-G975U using Tapatalk

Agreed, most definitely!

Love the foam under the battery trick, looks like it was a factory job - same with the ESC mount.

Superb build, my man!

"thumbsup"
 
Agreed, most definitely!

Love the foam under the battery trick, looks like it was a factory job - same with the ESC mount.

Superb build, my man!

"thumbsup"

Thanks durok!"thumbsup" I appreciate that!

Yeah, the foam strips under the battery works great! I've done this to all my rigs.
 
Hey Brian, that is to "purdy" to take outside. You did a great job detailing and wiring that beauty!!! I'm jealous. "thumbsup"
Ernie
 
That’s a good lookin truck! Those wheels are a nice fit. Curious as to what you think about having a heavy wheel compared to your others.

I really like the matte black hood. It gives good separation from the rest of the body and looks like a separate physical part.
 
Hey Brian, that is to "purdy" to take outside. You did a great job detailing and wiring that beauty!!! I'm jealous. "thumbsup"
Ernie

Thanks Ernie!"thumbsup"

Yeah, the first scratches are going to hurt, but I can't wait to get it out and see how well it performs.

I'm not quite up to your level of craftsmanship yet! I've always been jealous of your work!:)


That’s a good lookin truck! Those wheels are a nice fit. Curious as to what you think about having a heavy wheel compared to your others.

I really like the matte black hood. It gives good separation from the rest of the body and looks like a separate physical part.

Thanks TB!"thumbsup"

These wheels are actually lighter than my other wheels that I have ran before. These all alum Beef Hooves are quite a bit lighter than the all brass version of the Beef Hooves. I normally run alum wheels with Beef Patties. With these wheels, I'm only running the brass hub. I may end up adding a set of Beef Patties. Though I'm not sure if they will be needed with the VFD trans since it sits so far forward and low. I'm hoping to find out soon!

omg , so nice this project , so nice this electrical work , so nice all , love it !!!

Thanks for the kind words!
 
Spent the morning getting the ESC and receiver remounted in their new positions. Also covered and rerouted the wiring to the back fuel cell.


When I put the DIG servo in, I left out the stock battery tray. I moved the battery down to the driver side electronics tray.


View attachment 386823


I added 5mm spacers under the electronic trays on both sides to raise the trays up level with the body alignment clips on the rock sliders. I added some foam adhesive strips to the battery tray to keep the battery from sliding around and to give it a little cushion.


View attachment 386824


I put the receiver and Castle B-Link inside the rear fuel cell. With the new fender brace/fuel cell riser that GA Dawg created, I had plenty of room to hide everything inside. As of right now, the fuel cell is not waterproof, so I need to come up with some type of seal to put under the lid and fender brace.


View attachment 386825


I had an RPM Mamba X ESC mount in my parts stash, so I decided to use it and mount the Mamba to the right side electronics tray. With the tray raised up 5mm, I was able to use 3mm locknuts under the tray to secure the box.


View attachment 386826


View attachment 386827


And here are a few glamour shots with the everything buttoned up and the body on.


View attachment 386828


View attachment 386829


View attachment 386830


View attachment 386831


View attachment 386832


View attachment 386833


View attachment 386834


View attachment 386835
I'm borrowing this paint job idea from you for my trx4 sport. One of the coolest I've seen yet! Did you paint it on the inside, or the outside?

Sent from my LM-G710VM using Tapatalk
 
I'm borrowing this paint job idea from you for my trx4 sport. One of the coolest I've seen yet! Did you paint it on the inside, or the outside?

Sent from my LM-G710VM using Tapatalk

Thanks Max!"thumbsup"

Both. The orange and gun metal is on the inside. The black is on the outside with flat clear on the black.

Here is a pic of my Sport to give you an idea of what it will look like.

IMG_3140 (2).jpg


And my Origin painted with same colors inverted.

IMG_3855 (2).jpg
 
I spent some time with the PRO the last couple days. I had bought a few items for it a few months back and finally took the time to get them installed.

First up is the lights. I bought a set of Powershift RC lights designed for the VS4-10. On my Origin I made up a set of LED lights from scratch and this time I decided to try out the Powershift set. This is a great LED kit for the price! It comes complete and ready to install. I installed a set of these on my Marlin last year and have great luck with them.

IMG_4949 (2).jpg

IMG_4950 (2).jpg

IMG_4952 (2).jpg


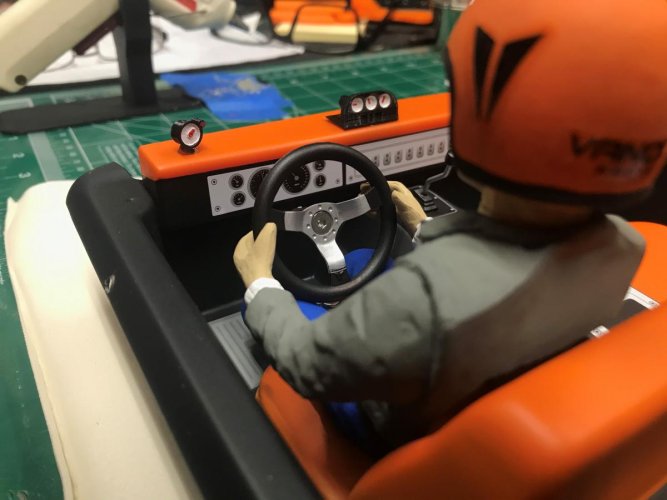
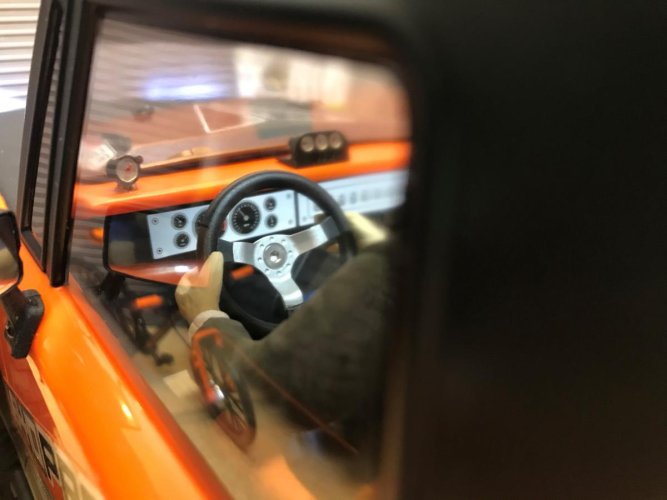
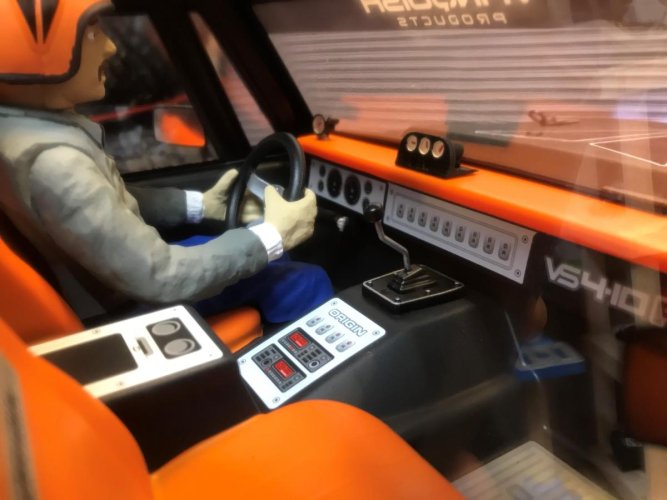
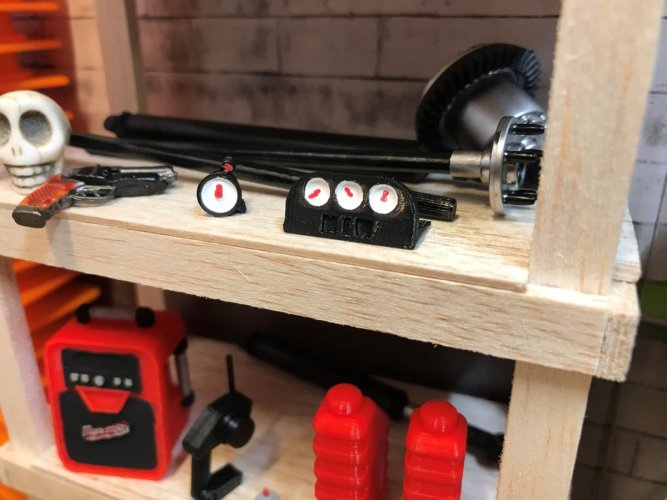
Next up is a set of gauges for the dash that I 3D printed. I found the file on Thingiverse. Big thanks to @my_tiny_world for the design and sharing the file!

I added white paint to the gauge faces and a touch of red for the indicators. Threw a gob of E6000 on them and waited for them to dry.

IMG_4946 (2).jpg

IMG_4955 (2).jpg

IMG_4956 (2).jpg

IMG_4957 (2).jpg

IMG_4958 (2).jpg


There are a couple more items I added, so when I get the pics uploaded I'll get them posted up!
 
That looks great! I wish I had a spot for a scale garage. I could go nuts with the printing. Yours is awesome.

I ordered the same light kit, but I believe I was getting the old school, yellow looking bulbs.

Where did you get the foam strips for under the battery? I've only found it in large rolls and I don't want to buy it in bulk if I don't have to.
 
Last edited:
That looks great! I wish I had a spot for a scale garage. I could go nuts with the printing. Yours is awesome.

I ordered the same light kit, but I believe I was getting the old school, yellow looking bulbs.

Where did you get the foam strips for under the battery? I've only found it in large rolls and I don't want to buy it in bulk if I don't have to.

Thanks Tim!"thumbsup" Yeah, I've wanted a scale garage for a long time. Luckily my Enduro came with one!:) I hear ya on the printing! My 3D printer has been running non-stop on the garage accessories!

I didn't realize there was different color LED kits. I only saw this kit which is has the bright LED's. The yellow bulbs would look more scale to the old school body design.

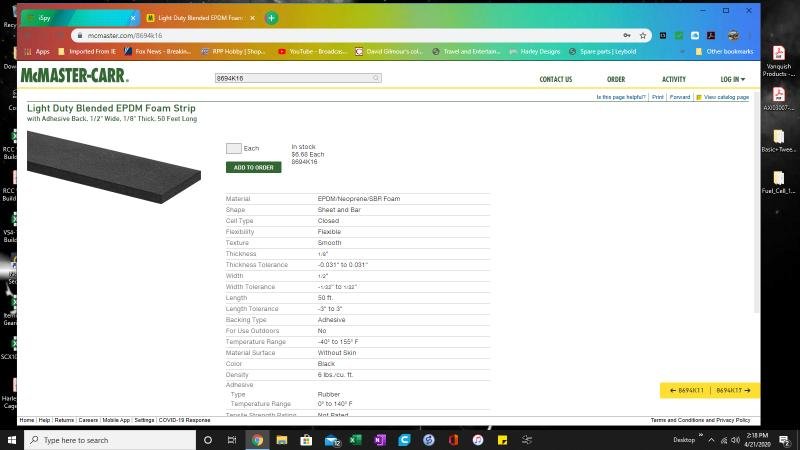
I "borrowed" some of the foam strips from work awhile back. I use these strips on all of my rigs. It really helps to cushion the battery and helps keep it secure. We get it from McMaster-Carr. It is in a roll, but the price is good. It would last you a lifetime of builds too!:lmao:

Here is a screenshot:

2020-04-21.jpg


That is not a very good pic. It is a foam neoprene with adhesive backing. 1/8" thick x 1/2" wide, 50' roll for $6.68. Part #8694K16
 
Back
Top