• Welcome to RCCrawler Forums.

    It looks like you're enjoying RCCrawler's Forums but haven't created an account yet. Why not take a minute to register for your own free account now? As a member you get free access to all of our forums and posts plus the ability to post your own messages, communicate directly with other members, and much more. Register now!

    Already a member? Login at the top of this page to stop seeing this message.

my TT build thread........

well did some body work, plus made my new Interco IROK tires a bit softer....reading another thread on RC4WD tires that they have a bead down the center line inside that makes the tire hard to conform to terrain....used my dremel with the 1/2" sanding drum on it and it only took me bout a minute each tire....the bead before and after and did it make a big difference....
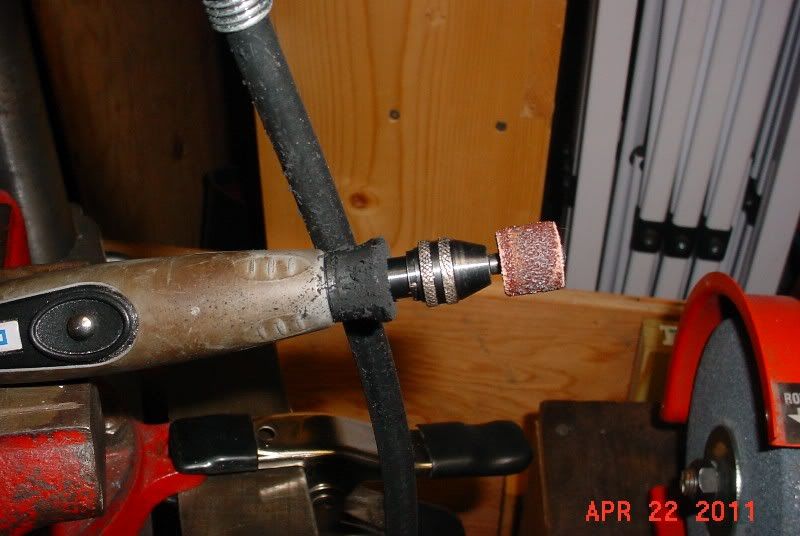
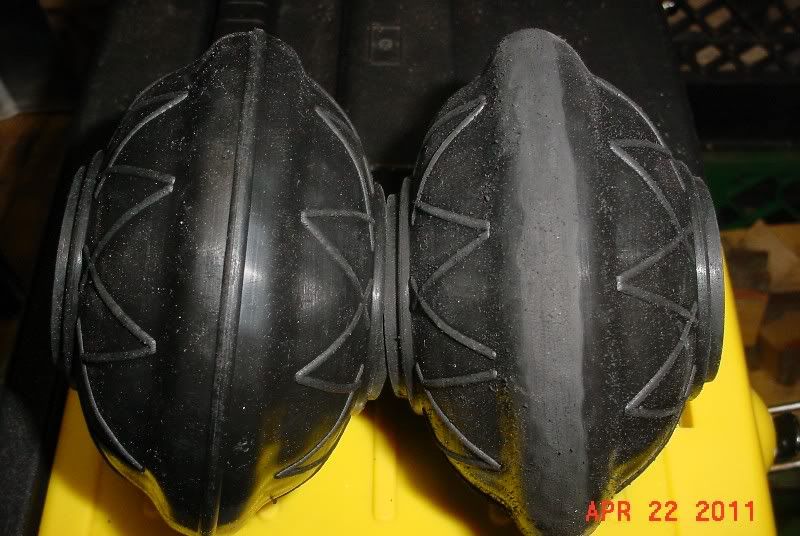
dremeldrum.jpg


irok2.jpg


then a seam web that stayed between the center lugs with the IROK's had to be removed as well....
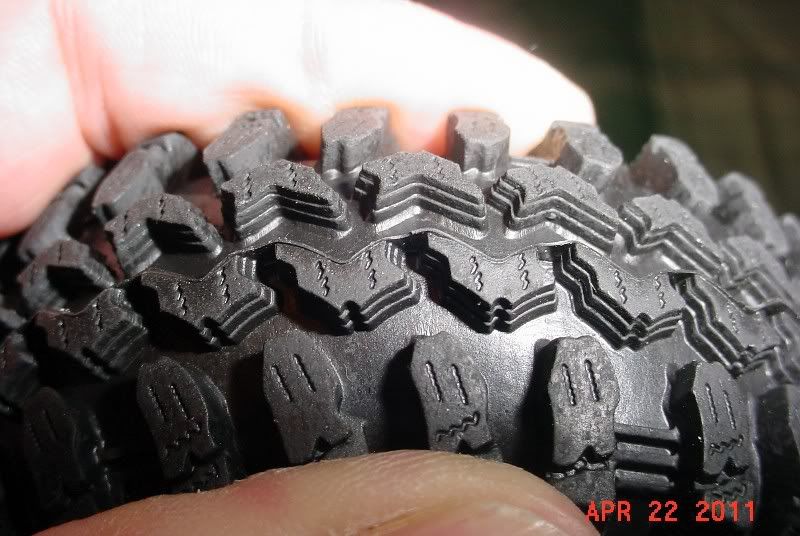
irok1.jpg


only way to get it done was to get my finger tips in there and yank them out, i had 6 of these tires to do....

started to hack up the two clod body's to make it fit the 12 3/4" by adding an 1" to the wheel wells, plus it makes the 4.65" tire size of the IROK's not look like 54" tires on a 1:1 rig....
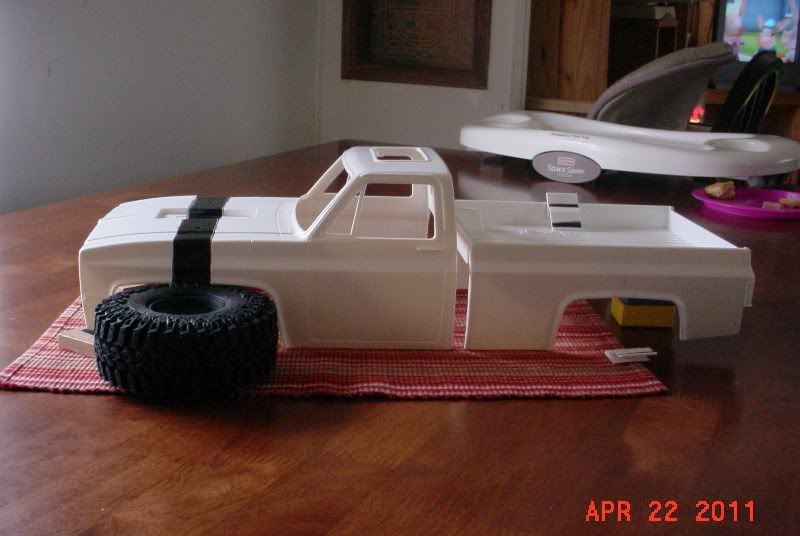
TT47.jpg


the 1" strip in it's place....

TT48.jpg


i didn't cut the bed in half yet as i'm still thinking how it will be done with the drop bed i'm going with but there are the 1" strips that will go in....
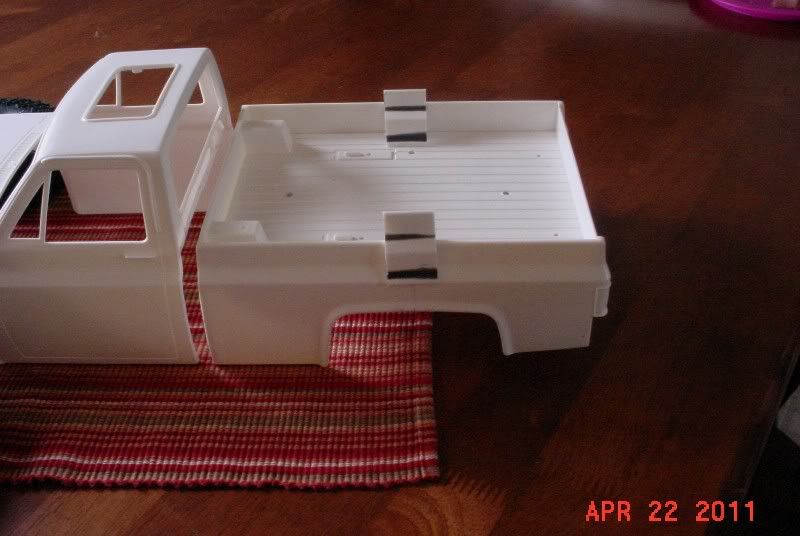
TT49.jpg


cut the body with thread for the first time and like how it does a neat job....i found some denim thread that can take twice the beating regular thread can....i went to break this thread with my hands and also most cut my hand....had to hit the switch on my bench grinder and shut it off and hit the thread to cut it while it was spinning..........bob

....
 
I did the same thing to the inside of my Mickey's, and removed the tops of the sidewall bracing near the shoulder of the tire, works much better."thumbsup"
 
I started to remove that center strip on my iroks the one on the inside does it make that much of difference if so I'll be breaking out the sanding drum also and I believe I'll get the sidewall strips also


Sent from my iPhone using Tapatalk
 
yeah do one tire up with just that center rib and put the foam back in and compare it to a tire with the rib....the side wall ribs i don't think you want to remove, they help with the tire not folding over on side hills.........bob

....
 
Thanks Bob I'll try that b4 I mount them on my ttc build


Sent from my iPhone using Tapatalk
 
cut my doors out of the clod body....

TT56.jpg


made a jig to hold the cab from a 2"x4" and a 2"x2" and screwed it down solid so i could cut the back line of the door....

TT52.jpg


spun it around so i can start at the window top then down to the bottom of windshield....

TT53.jpg


once the back of the door and up across top and down the front has been cut....it was another spin of the door and the bottom was done....

TT55.jpg


marked up some panels to cut parts from....

TT50.jpg


drilled holes where inside corners were to be....

TT51.jpg


then i had to do some freehand on some curved lines and i got the bed front and cab back panels done and ready for gluing..........bob

....
 
I've always liked build threads like this, and yours are always some of the best "thumbsup" Thanks for a lot of great tips!
 
well i have everything i need but generis's metal head metal axial axle housings, which i just read might be ready to ship soon "thumbsup" ....so now the fun starts with some body work....

TT61.jpg


the frame junk waiting to go together....

TT62.jpg


i'm really liking the IROK tire/wheel combo i picked out to use....

TT63.jpg


proline scaler shocks and of course MIP driveline....

TT65.jpg


TT64.jpg


here is my servo winch's fair lead that is waiting for the custom made winch spool to be mailed to me....can't forget what will send power to the motor as well....

TT60.jpg


gonna be a mad build week comin up :lmao: ;-) ....come on generis i need those metal head's "thumbsup" .........bob

....
 
Very nice fab work. I am looking forward to seeing this progress, subscribed. Good luck!
 
done up some body work, used some 1/4" square rod as the top of the bed sides to give it a real look....

TT66.jpg


plus i thought it would give me the back bone support the bed sides needed....here they are with the 4.65" dia tires so it don't look like 54"+ tires on the un-modded clod body....

TT67.jpg


so far this is where i'm at as of now, don't look bad at all....

TT68.jpg


TT69.jpg


soon as i can get the body done i can start on the body mounts to be brazed to the frame rails that will look like stock chevy body mounts.........bob

....
 
mocked up some cardboard wheel wells to see how it will look and to scale them to the wheel well openings....

TT70.jpg


TT71.jpg


even set a tire where i want the spare to live....

TT73.jpg


TT72.jpg


now i kinda know where my shock hoops are going to be now in the rear.........bob

....
 
well i got my metal head axle housings from generis....

TT81.jpg


got parts to install....

TT82.jpg


now aren't these the cats meow as axles go, look dead sexy and meaty as all hell....

TT84.jpg


now that i have these axle housings and the bed of my truck dropped and done, it's time to move on folks to more fab work.........bob

....
 
Back
Top