• Welcome to RCCrawler Forums.

    It looks like you're enjoying RCCrawler's Forums but haven't created an account yet. Why not take a minute to register for your own free account now? As a member you get free access to all of our forums and posts plus the ability to post your own messages, communicate directly with other members, and much more. Register now!

    Already a member? Login at the top of this page to stop seeing this message.

B-MOW's Garage...Misc. Projects and Random Rig Builds

Excellent choice for the wrangler, that tire and wheel combo is perfect.

Definitely like the looks of the xtracab, and the c1 g speed is a nice setup. I almost regret selling mine before driving it first


Sent from my iPhone using Tapatalk
 
Love the look of the extra cab. Ive got a couple builds im workin on myself, or atleast tryin to get done lol

Sent from my SM-A516V using Tapatalk

The Extra-Cab has always been one of my favorites. I hear ya on the "trying" to get done! That is common in my garage!:lmao:

Excellent choice for the wrangler, that tire and wheel combo is perfect.

Definitely like the looks of the xtracab, and the c1 g speed is a nice setup. I almost regret selling mine before driving it first

Sent from my iPhone using Tapatalk

Yeah, I've always thought the OG Rock Beast were the perfect scale size for most bodies. This tire/wheel combo at one point was on my VS4-10 Origin. They are the perfect size for that body and the Pro Half-Cab.

Project rigs set aside like 1:1 rigs!

Yep, you know it!:ror:
 
New Chevy in the garage. A birthday gift from Mrs. BMOW!

This mini Cheyenne hard body looks great! Highly detailed with nice scale bits on it. I’ll be adding my own spin on it shortly. Gonna add some paint and vinyl to make it less like all of the other big red High Trails out there!

f942a16ef789b2e0b23242a6466921b7.jpg


edf34d64ede5a0b6cd4d30ce716e0c75.jpg


Sent from my iPad using Tapatalk
 
The mrs. got u a nice one brian. Id love to see the f150 come out in that size, definantly snag one of those myself.

Oh, happy bday! What day is yours?

Sent from my SM-A516V using Tapatalk
 
The mrs. got u a nice one brian. Id love to see the f150 come out in that size, definantly snag one of those myself.

Oh, happy bday! What day is yours?

Sent from my SM-A516V using Tapatalk

Thanks bama!"thumbsup"

The B-day was last Thursday the 21st. Now on #52!:roll:

I did see teaser pics of a I believe is a '79 Ford F-150 that is supposed to come out later this year. Lovin' these little TRX4m rigs!
 
Thats great, my wifes is the 21st n her dads is the 22nd

Sent from my SM-A516V using Tapatalk
 
Thats great, my wifes is the 21st n her dads is the 22nd

Sent from my SM-A516V using Tapatalk

Awesome! September is a busy month for birthdays. Must of been even busier 9 months before that!:lmao:

My Grandma's and cousin was on the 18th, and my aunt on the 19th.
 
I've been working on a side project when the garage has downtime. Yeah, right!:lmao:

I've been slowly collecting pieces and parts from FB Marketplace to build a Fordyce/Phoenix. Also will be using spare parts that have been collected over the past couple years. I like the looks of the new VP Fordyce, but didn't want to buy another RTR and then dismantle and discard items that I didn't want.

This build won't be getting its own thread, so I'll post updates in here as new ones develop. So far here is what I've scraped together for the new build:

- New takeoff chassis from a Phoenix Falken Edition
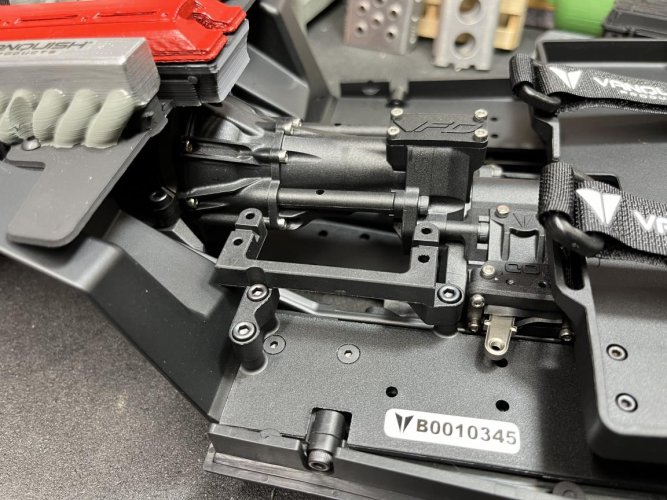
- New takeoff VFD Twin w/machined gears. OD & DIG locked out for now
- New takeoff links from a Fordyce RTR
- New takeoff driveshafts from a Phoenix RTR
- New Phoenix body set with inner fenders and sliders (All for $60 bucks :shock:)
- New Incision S8E 90mm takeoff shocks from a Phoenix RTR
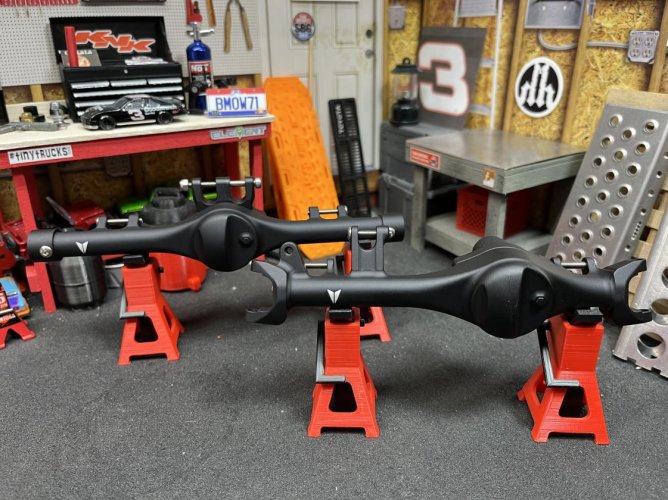
- Just arrived yesterday, Brand new F10T black alum straight axles. (Couldn't pass up the "tuesdaylive" deal last week!:) Savings of $72.50 for both)

IMG_2549.jpg

IMG_2550.jpg

IMG_2551.jpg

IMG_2552.jpg

IMG_2553.jpg

It's current state as of last night. Forgot to mention that it will also get the Harley Designs 3D printed engine bay.

Also, the plan is to put a Fordyce body on this rig. The Phoenix body set was too great of a deal to pass up, so it'll go on for now. When I do purchase a new clear Fordyce, I'll reuse the rear cage and rear fenders and interior.

IMG_2554.jpg
 
Nice! Man i really need to get a 3d printer lol. Those engune covers look so good. Ive got a clear phoenix cab if u need another one lol, n the cage too. Used the bedside for another build

Sent from my SM-A516V using Tapatalk
 
Nice! Man i really need to get a 3d printer lol. Those engune covers look so good. Ive got a clear phoenix cab if u need another one lol, n the cage too. Used the bedside for another build

Sent from my SM-A516V using Tapatalk

Thanks bama! Yeah, I'd be lost without my printer. It has come in handy more times than I can remember.

I'll keep that in mind about the body and cage. Never know when a new build will appear!:lmao:
 
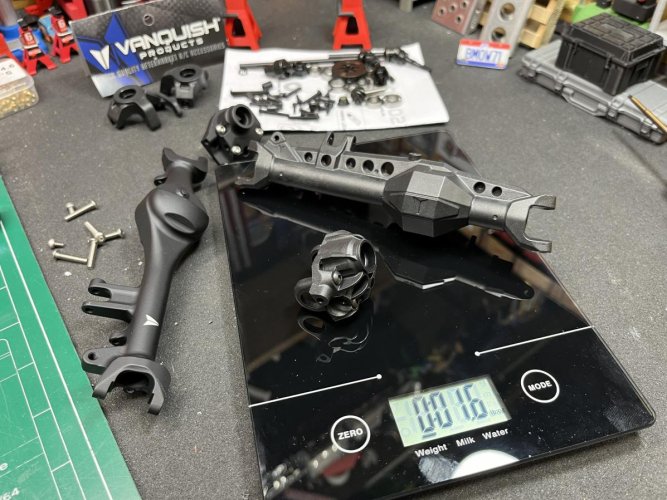
I ordered a new VP F10 front axle kit to use in the F10T axle. It was cheaper just to buy the axle kit than purchase each piece separately.

IMG_2568.jpg


Just because I was curious, I weighed the plastic and alum housing to see the comparison. Looks like about 1.1 ounce difference between the two.

I would of thought the alum axle would have weighed more. I guess that shows just how beefy them plastic housings are! I'd have no problem running the plastic housings, in fact I think I prefer them. But had to have the F10T's because they look so good!:ror:

IMG_2570.jpg

IMG_2571.jpg


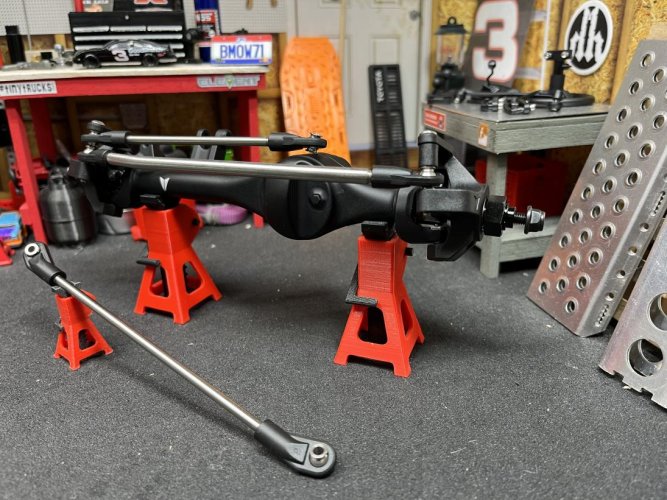
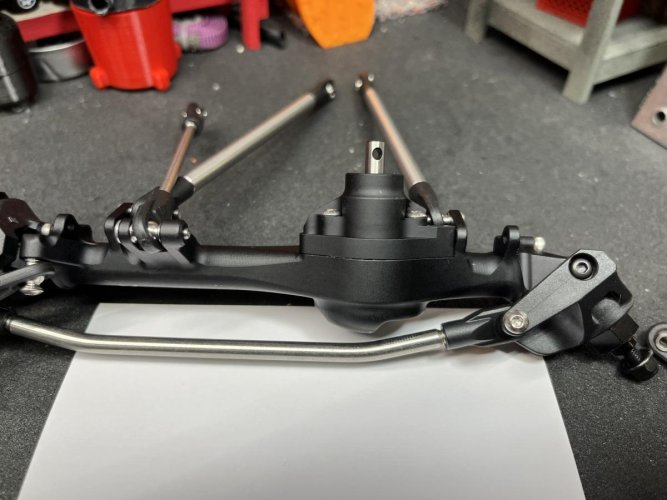
My plan was to use the Fordyce link set for the front axle. The new Fordyce front link uses bent rod ends instead of bends on each of the link. With the Fordyce link installed on the F10T, the steering throw would not go to full lock. The link would hit on the front pumpkin "bumpout" new the fake fill plug.

I had to use the thicker double bent link that comes stock on all other VS4-10 rigs in order to clear the pumpkin. In the last pic you can see the clearance at the pumpkin at full lock.

Also, I installed the plastic knuckles for now. I'll get a set of SSD or Beef Tubes brass knuckles ordered for it at a later date.

IMG_2582.jpg

IMG_2583.jpg
 
nice set of parts those black F10T's were on my cart multiple times during that week sale THEY LOOK GOOOOODDDD!!! but I have a set in clear and likely pick the new H44d's at a later date ... you mentioned this build as in AHhhh just another one but with those axles and parts your build likely be a stunner when done. I am also waiting on the fordyce cab but will get once they release the front molded grill I think a lot of us ended up with many Phoenix kits that will likely will not be using the FJ Cab.
 
nice set of parts those black F10T's were on my cart multiple times during that week sale THEY LOOK GOOOOODDDD!!! but I have a set in clear and likely pick the new H44d's at a later date ... you mentioned this build as in AHhhh just another one but with those axles and parts your build likely be a stunner when done. I am also waiting on the fordyce cab but will get once they release the front molded grill I think a lot of us ended up with many Phoenix kits that will likely will not be using the FJ Cab.

Thanks Speedy!"thumbsup"

I jumped on them axles right away when Michael announced they were on sale. I knew if I didn't buy them during the sale, I probably wouldn't have ever bought them! Let me tell ya, they look even better in person!:)

My favorite axles are the D44's like what came with my Origin. I do want to get a set of the new HD44's sometime in the future. They look great in clear with the red diff covers.

Well, this did just start out as "just" another build because I got all of the parts fairly cheap. But like most every other of my rigs, this will too probably get the "over the top treatment"!:ror:

I am also waiting for the rest of the pieces to complete the Fordyce body. This Phoenix body will be used until then.
 
Shocks rebuilt, axles assembled and both installed.

On the shocks, I disassembled and drained the stock shock fluid. I lubed the packing o-rings with Noleen SF3 grease and refilled with 70wt. shock fluid. The 70wt. fluid is now my goto fluid for the S8E shocks. Provides a good smooth shock absorption and doesn't seep out like thinner fluids do. I have 5 sets of these S8E shocks and none of them leak fluid. I say this as I'm knocking on wood!:ror:

IMG_2585.jpg

I swapped out the stock bottom shock rod ends for the -5mm rod end to lower the COG and keep the full shock stroke. I purchased the Vanquish S8E shock tuning kit that comes with 8 +5mm and 8 -5mm rod ends.

For now I will be using the stock "blue" springs that came with the shocks. I'll see how the rig sits and possibly purchase the VP spring kit and adjust later.

IMG_2584.jpg


A look at the shocks installed. Shocks fit perfectly with the -5mm rod ends.

IMG_2587.jpg

IMG_2588.jpg


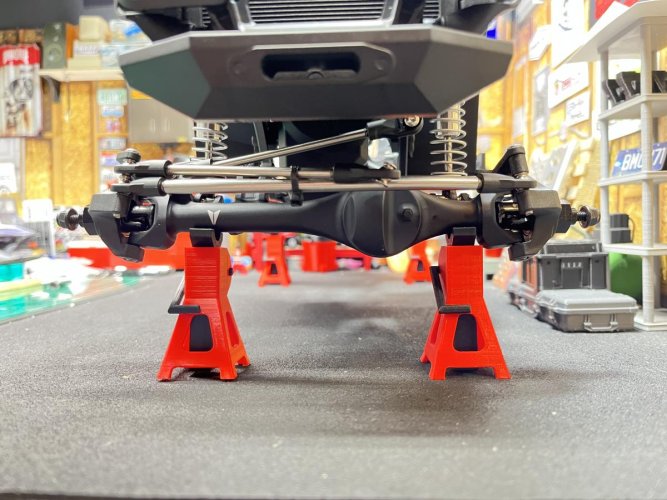
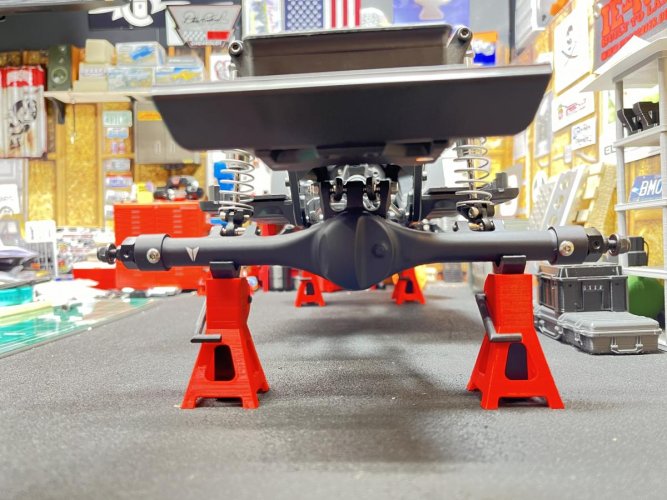
And last, but not least, the gorgeous F10T black axles bolted into the chassis rails. I used the stock Fordyce link set that I purchased. Thick bottom links and thinner upper links. I will probably swap out the rear straight links for a set of high clearance links soon.

I installed the high clearance links on the rear of my Phoenix and it provided just the right amount of clearance in the rear to get up and over them more difficult rocks.

IMG_2586.jpg

IMG_2589.jpg
 
Coming along nicely! I had a set of clear f10t’s but I let them go in hopes of getting some hd44’s later.

The f10t’s are a nice touch to a Toyota build though


Sent from my iPhone using Tapatalk
 
Those axles look so good. I am scared to scratch mine. LOL

I was scared too! That is the reason why I went with the clear axles on my Origin and Pro. I thought the scratches wouldn't show as much.

I'm told that scratches give the axles character. We shall see!:ror:

Coming along nicely! I had a set of clear f10t’s but I let them go in hopes of getting some hd44’s later.

The f10t’s are a nice touch to a Toyota build though

Sent from my iPhone using Tapatalk

Thanks!"thumbsup" The HD44's are on my short list!:)

The F10T's are perfect for Toyota builds. I've was debating on put these on my Toyota Xtra Cab build that still isn't completed!:roll:
 
On my first Phoenix build (http://www.rccrawler.com/forum/vanq...igin/626827-b-mows-vs4-10-phoenix-portal.html) I thought about stretching the front end out to give a better approach angle. It never got done due to not wanting to mess up the geometry and screw up the panhard link and mount, but I really wanted to do it.

Then with the release of the Fordyce and then Josh (Harley) posting the vid of how to stretch the front end and recommended link lengths, I figured I'd give it a shot with this build. Josh had said that the upper link needed to be 94mm and the bottom link should be 108mm.

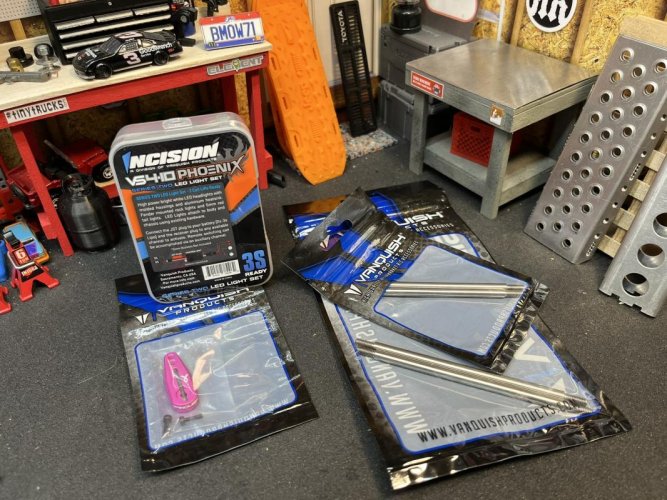
So onto to the VP website and ordered titanium links. Also picked up the Series 2 LED light kit and a BCA 24mm servo horn.
IMG_2606.jpg


Had to add my own rod ends as the links do not come with them. I had a few VP spares in my stash that I used.

IMG_2608.jpg


Here's the lower link comparison. The top is the new titanium and the bottom is the stock stainless steel link.
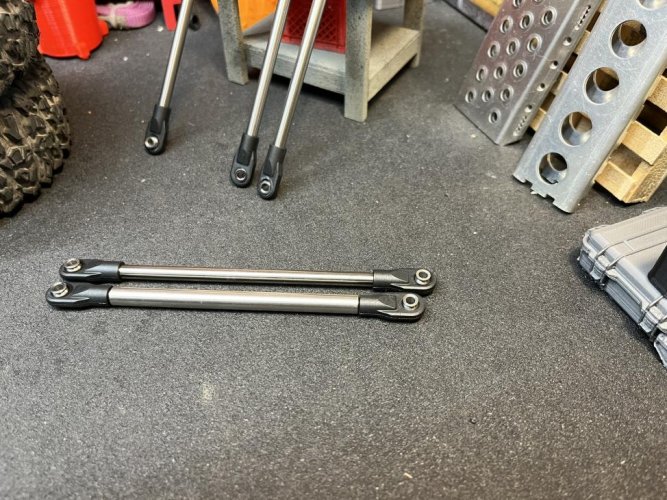
IMG_2609.jpg


After installing the titanium links, I wasn't happy with the results. IMO the "front stretch" should have been more. There really wasn't that big of a difference. Next I tried a set of RPM rod ends that are similar in length to the Traxxas Jato rod ends. These rod ends looked like they would extend the axle much farther. I did add the RPM rod end to both the upper and lower links.

IMG_2610.jpg


After installing both lengths of links, I marked a line on the inner fender showing how much the axle was extended. The left mark is stock, middle mark is the 108mm link, and the right mark is the 108mm link with 1 RPM rod end.

Looks much better! The tire now sits damn near even with the front bumper. Should give it a much better approach angle.

As seen below, the panhard link still clears both mounts and the axle gets full compression without any interference. The only issue I see is the tire catches on the front bumper. I'll trim some of the backside of the bumper to give more clearance. The tire does hit the front of the inner fender, but I don't think it will be too much of a problem. Only should be a problem at extreme full tire stuff.
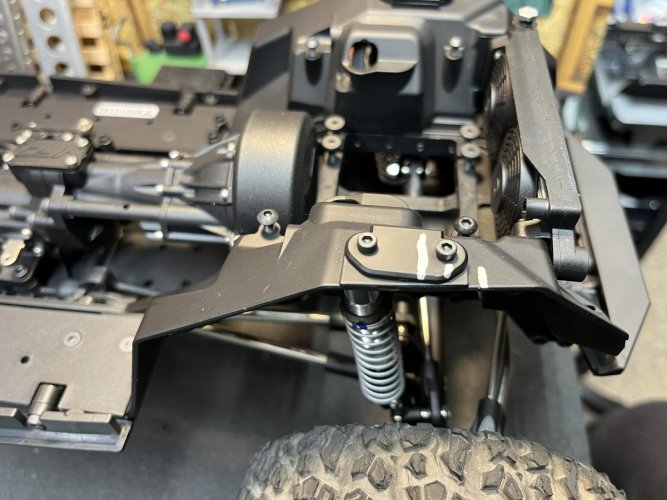
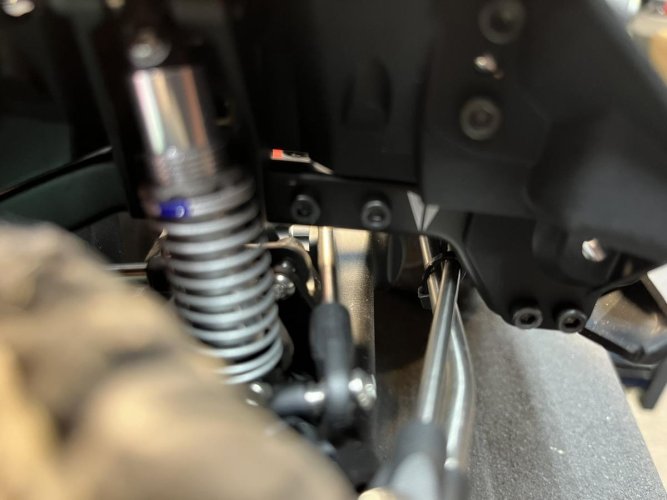
IMG_2616.jpg

IMG_2613.jpg

IMG_2614.jpg

IMG_2615.jpg

The wheelbase now as it sits is right around 332mm, give or take a mm. I'll get a pic with the body on showing how the stretch looks later.
 
Front driveshaft. I forgot to mention that with stretching the front axle forward, the stock shorty driveshaft was too short.

Luckily VP supplies extra length driveshaft pieces in case of changing the wheelbase. I used a 45mm piece to replace the short piece that was on the axle side. I was able to use the stock inside spline piece.

IMG_2617.jpg

IMG_2618.jpg


In the upcoming episodes, I have more on this. Found this 3D printed grille on Etsy.

IMG_2625.jpg
 
Back
Top