-
Welcome to RCCrawler Forums.
It looks like you're enjoying RCCrawler's Forums but haven't created an account yet. Why not take a minute to register for your own free account now? As a member you get free access to all of our forums and posts plus the ability to post your own messages, communicate directly with other members, and much more. Register now!
Already a member? Login at the top of this page to stop seeing this message.
You are using an out of date browser. It may not display this or other websites correctly.
You should upgrade or use an alternative browser.
You should upgrade or use an alternative browser.
TF2 tips and tricks thread
- Thread starter 1BadJeepBruiser
- Start date
Are you using o rings as a space /lift kit? I was thinking of taking something up but that seems easy and ice already got a bunch on hand
Lost_Frequency
Rock Stacker
Are you using o rings as a space /lift kit? I was thinking of taking something up but that seems easy and ice already got a bunch on hand
They really help the axles move for more flex "thumbsup" try it out an don't forget to take out your internal springs from your shocks, pm me an let me know what you think 8)


Red springs with stock black springs as helpers (eyes cut off), no internal Springs in the shocks an that's all, no other mods done

Very cool idea. I'm trying that out for sure.
Sent from my iPhone using Tapatalk
It works even better with the 90mm front shocks "thumbsup" ohhh an if you push down flat the shocks mat hit the rear leaf springs
Last edited by a moderator:
Did you move the upper shock hoops rearward? The shocks look almost verticle but when I line mine up the shock itself is leaning forward.
Lost_Frequency
Rock Stacker
Did you move the upper shock hoops rearward? The shocks look almost verticle but when I line mine up the shock itself is leaning forward.
Yes I did, if you slide the shock hoop back on the frame making the front mounting hole line up with the spot where the rear mount was located everything will line up, then just move the bottom of the shock to the other side of the axle (front of the axle tube to rear of the tube) an your ready for the trails"thumbsup"
Nzmaximus
Rock Stacker
If you want a leaf under axle setup you can just bend the leaves more if you twke them off, this will raise be chassis back up to proper height. If you want lift then you can do this anyway, its completely free. Just dont fold them in half or anything stupid
Cr00zah
Pebble Pounder
I cannot take credit for this as I saw it in another thread here (which I cannot find the specific mention of): Replace the RC4WD brass knuckle bushings with same item from an Axial SCX10 to really tighten up the front end. I actually used the plastic Axial c-hub bushings, had to very lightly sand the bushing flange, but now the knuckles are much more secure, no flopping.
dkchance74
Rock Crawler
If you use the shackle body lift then you can also flip your bumper mounts to set them back in place instead of hanging down
ternandbern
Quarry Creeper
After breaking leafs i thought of these "traction bar" links to add some bracing to the axle. I have been running them for quite a while now with no problems. I've been able to run much softer springs without breaking and very minimal axle wrap. Links are made from stainless tubing with 2-56 threaded rod inside. If you want specifc lengths let me know. The stainless tube slides nicely on the rocks too.
A couple of other mods i did was to remove the springs inside the shocks to help with articulation. I also changed out the rod ends on the shocks to allow for more lift. I had to (very carefully) bend the springs a bit to get more lift. The fronts springs are made from a small engine pull starter spring.


A couple of other mods i did was to remove the springs inside the shocks to help with articulation. I also changed out the rod ends on the shocks to allow for more lift. I had to (very carefully) bend the springs a bit to get more lift. The fronts springs are made from a small engine pull starter spring.


WesleyRoy
Rock Crawler
Damn you Photobucket!
If anyone has time to re-host pictures for this thread I'd really appreciate it. I've switched to Imgur which has been working well for me.
There's still a lot of great info here but without pics some of these posts might as well have been deleted.
If anyone has time to re-host pictures for this thread I'd really appreciate it. I've switched to Imgur which has been working well for me.
There's still a lot of great info here but without pics some of these posts might as well have been deleted.
panama
Quarry Creeper
Nice thread BUT DANG NO PICS What the heck yall
panama
Quarry Creeper
Can the admins fix this no pic problem through out the whole site. There are so many missing.
Sent from my SCH-I545 using Tapatalk
Sent from my SCH-I545 using Tapatalk
Can the admins fix this no pic problem through out the whole site. There are so many missing.
Sent from my SCH-I545 using Tapatalk
Not really, its all Photobucket's fault. The users need to come through and edit their posts with pictures linked from another photo host like Flickr.
Free little modification to the Marlin Crawler [emoji1320] moved the plastic body posts to the battery tray and moved the nice little alloy parts from the battery tray to the rear bed mount. So much nicer #urbanmonkeysRC #rcadventures [emoji1303][emoji41]


Gagak Rimang
Pebble Pounder
Oooh. That's awesome!Free little modification to the Marlin Crawler [emoji1320] moved the plastic body posts to the battery tray and moved the nice little alloy parts from the battery tray to the rear bed mount. So much nicer #urbanmonkeysRC #rcadventures [emoji1303][emoji41]

Sent from my SM-G935F using Tapatalk
TrailDawg362
RCC Addict
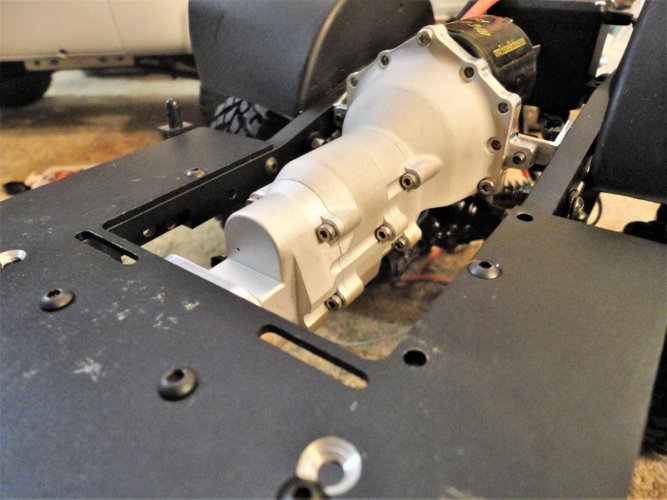
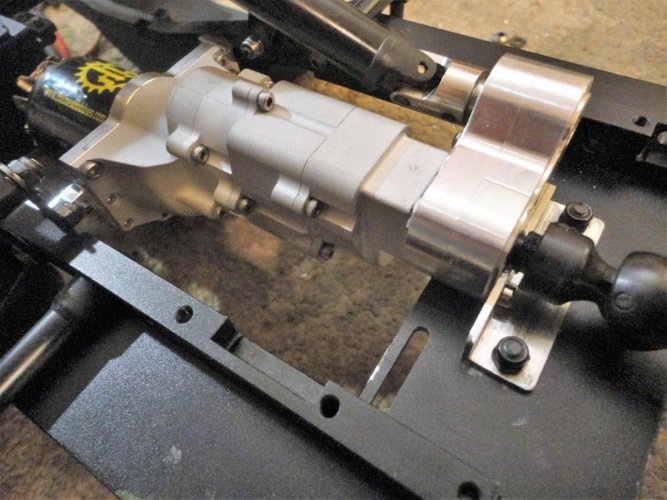
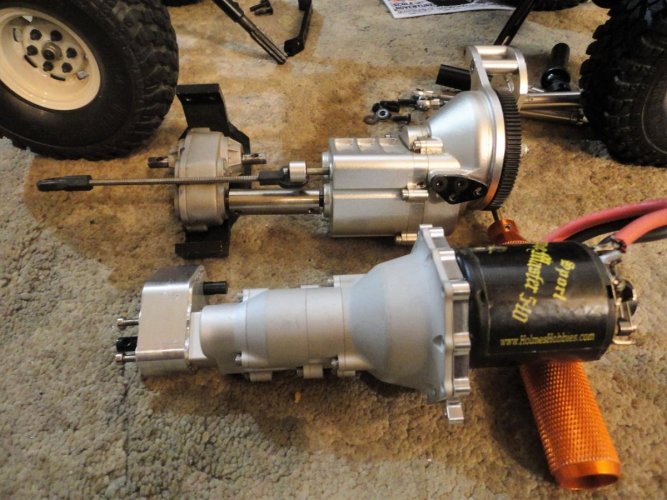
More of a mod than a tip, but here it is. I decided to ditch the stock 2 speed in favor on the GCM LRT2 scale trans and T-case. Less weight, more scale looking, lower motor position plus 11% overdrive.
Attachments
j_wizz
Newbie
You can remove the wired winch controller from its case, and the wires will be long enough to mount inside the receiver box. I put servo tape on both sides of the now exposed control unit for protection. This worked for me with the 9.5cti winch mounted on the Marlin bumper.
Ironhide13
Quarry Creeper
Are there any alternatives to the body mounts posts and screw holes ? My Blazer RTR kit came with pre-stripped holes and a broken post unfortunately.
Mine came the with stripped body posts. I got replacement ones from RC4WD, but I've decided to ditch them entirely and use magnets instead. I'm planning on using two in place of the rear posts that go through the truck bed, and using two up near the front, maybe under the foot wells.
Mine came the with stripped body posts. I got replacement ones from RC4WD, but I've decided to ditch them entirely and use magnets instead. I'm planning on using two in place of the rear posts that go through the truck bed, and using two up near the front, maybe under the foot wells.
cool Idea! I'd love to see pics when you are done. Did you get the hardware yet ?


