new2rocks
I wanna be Dave
I was excited to get my hands on one of the first SSD Trail King Builders Kits. There was only one problem...it arrived the day before we left for our annual family beach vacation. The choices were either to wait until getting home at the end of the week to start building it, or forego a bit of ocean time to get cracking. You can guess what I chose.
So without further ado...box on beach:

Makeshift workbench on beach:
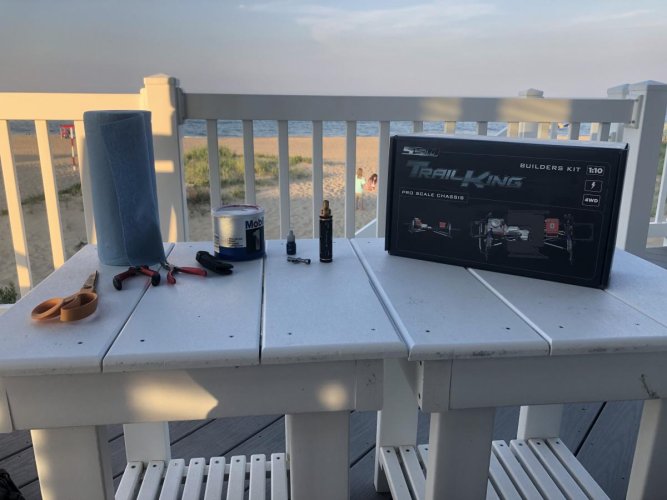
Open box on beach:

Unboxing video from beach with lots of tech info for people who don't like to read:
https://www.facebook.com/BowHouseRC/...0380386807212/
Side note: A/V situation for unboxing from beach rental left a bit to be desired. Laptop webcam paired to bluetooth for audio (for noise cancellation) and iPad for internet connection (because WiFi at rental house was wonky). The whole thing felt very 90s. But since you like to read, let's continue. You'll get lots more info here than I was able to cover in the video.
I know...I know...it's a rough life. But someone has to live it.
Bags from box on beach:
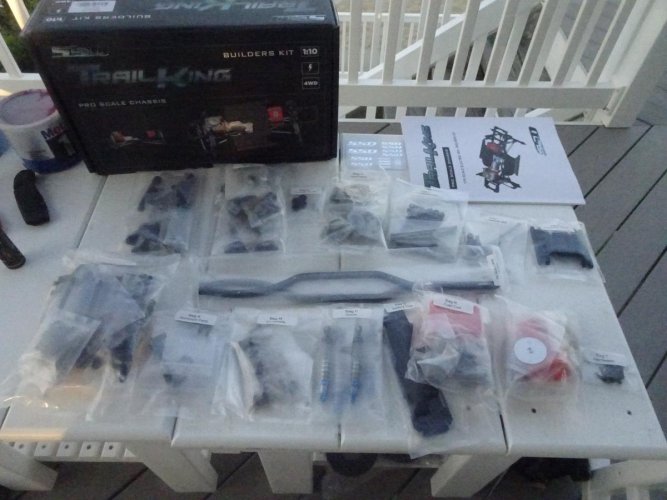
Some notes on the packaging. Like the brilliantly organized Traxxas kits, the Trail King includes all the parts for each component in a single bag. Open bag, use the parts in it to build that component, put spares away, move onto the next bag. Axial, Vaterra, RC4WD and just about everyone else should take note...this is how you should package a kit. The bags are even in alphabetical order in the order in which you assemble them (though it should be noted that SSD skips a couple of letters, like "I" and "L", because they think we might get confused). Well done, SSD - except for the part about thinking we might not know our alphabet so well, lol!
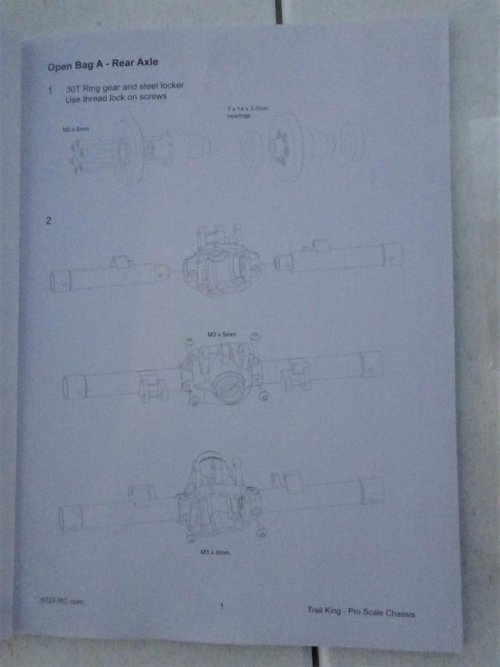
The instructions are very clear and easy to follow:
Let's start with the rear axle. Here's what you get in the rear axle bag:
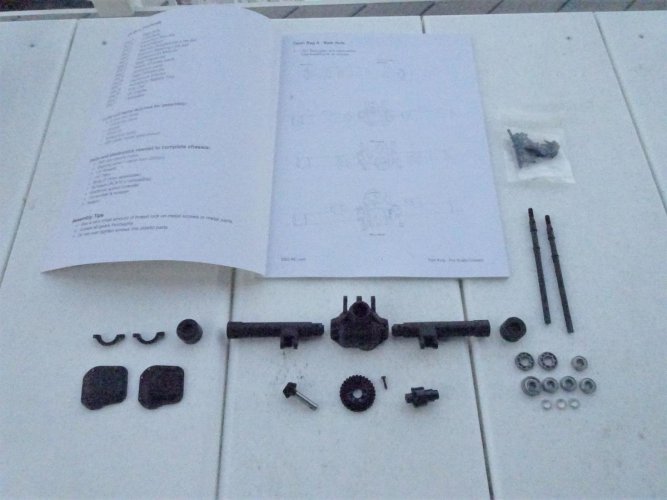
Axles are new versions of the Pro44 axles that SSD has been selling for a little while. Like the existing Pro44s, these have 3-piece housings, but with nylon tubes instead of metal tubes. These also have integrated link mounts instead of the bolt-on mounts.
Note how you get a choice of diff covers:

Very nice touch, SSD!
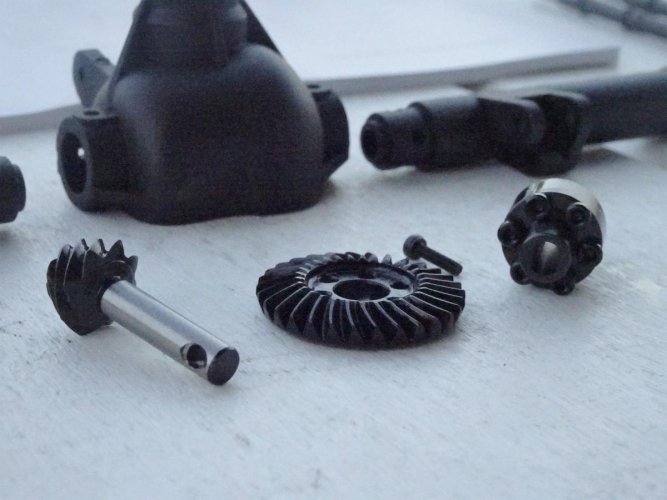
Gears are AR44 compatible but all hardened steel, and the locker uses a 6-bolt design that is stronger than the stock Axial locker:
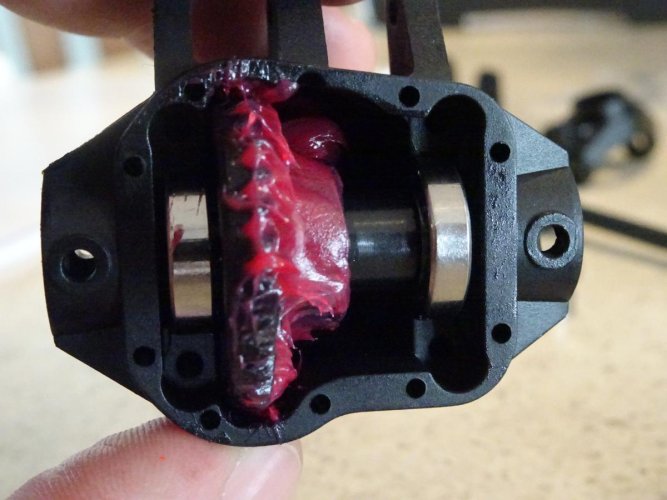
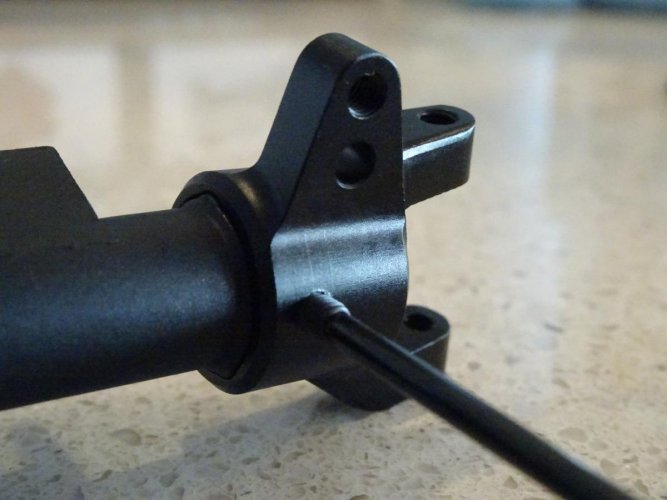
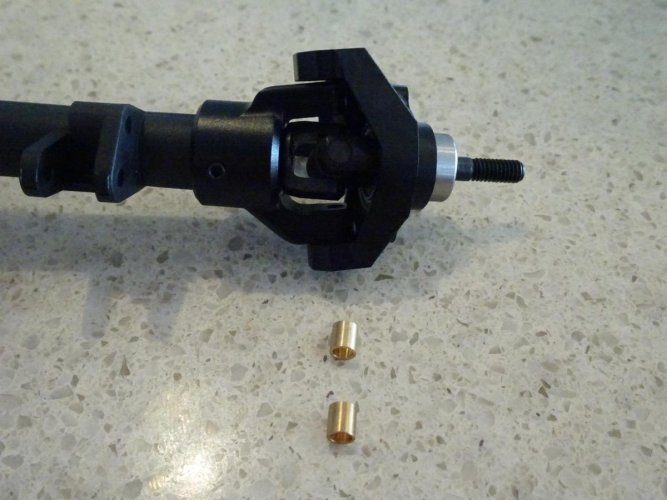
I was curious about the 3-piece design, but everything seems to go together very (very) snug. The tubes take a bit of wiggling and force before they slide into the pumpkin, but once they do, everything feels nice and tight:
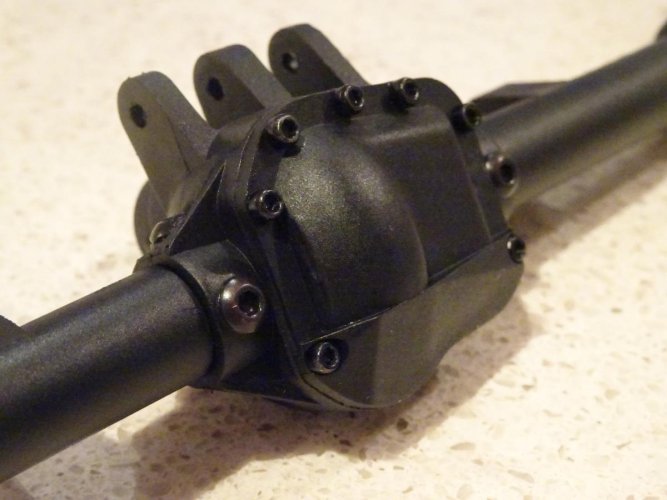
Once it's all together, this is what you'll have:
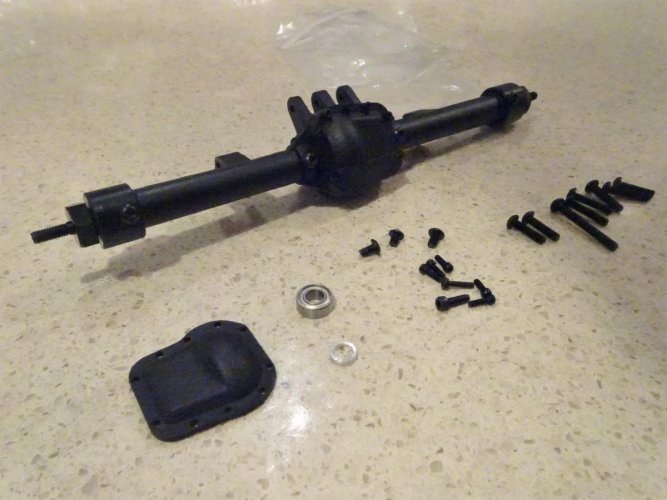
More nice touches to note...SSD includes spare screws, bearing and spacer, and they include a few zipper bags to make it easier for you to keep your spares together after finishing the axle.
There were a couple of very small early production hiccups, but they were very easy to deal with. One of the bearing caps had some plastic covering the screw holes. A few seconds with the utility knife took care of that. Also, the instructions call for 3 different small M3 screw sizes (M3x4mm, M3x5mm and M3x6mm) to attach the tubes to the pumpkin and the bearing cap to the tubes. It looked like mine came with only 2 of those sizes (I'm guessing 4mm & 5mm, but I didn't bring a ruler with me). They worked just fine, so no worries there.
First impressions are very good. The kit is very well laid out, and the components are first rate. All gears are hardened steel, plastic quality seems very good, and everything seems to go together very well. I can't help but think this is the way everything should come from Axial but doesn't. Let's see if that initial impression holds up through the rest of the build. More updates to follow...
So without further ado...box on beach:

Makeshift workbench on beach:

Open box on beach:

Unboxing video from beach with lots of tech info for people who don't like to read:
https://www.facebook.com/BowHouseRC/...0380386807212/
Side note: A/V situation for unboxing from beach rental left a bit to be desired. Laptop webcam paired to bluetooth for audio (for noise cancellation) and iPad for internet connection (because WiFi at rental house was wonky). The whole thing felt very 90s. But since you like to read, let's continue. You'll get lots more info here than I was able to cover in the video.
I know...I know...it's a rough life. But someone has to live it.
Bags from box on beach:

Some notes on the packaging. Like the brilliantly organized Traxxas kits, the Trail King includes all the parts for each component in a single bag. Open bag, use the parts in it to build that component, put spares away, move onto the next bag. Axial, Vaterra, RC4WD and just about everyone else should take note...this is how you should package a kit. The bags are even in alphabetical order in the order in which you assemble them (though it should be noted that SSD skips a couple of letters, like "I" and "L", because they think we might get confused). Well done, SSD - except for the part about thinking we might not know our alphabet so well, lol!
The instructions are very clear and easy to follow:

Let's start with the rear axle. Here's what you get in the rear axle bag:

Axles are new versions of the Pro44 axles that SSD has been selling for a little while. Like the existing Pro44s, these have 3-piece housings, but with nylon tubes instead of metal tubes. These also have integrated link mounts instead of the bolt-on mounts.
Note how you get a choice of diff covers:

Very nice touch, SSD!
Gears are AR44 compatible but all hardened steel, and the locker uses a 6-bolt design that is stronger than the stock Axial locker:

I was curious about the 3-piece design, but everything seems to go together very (very) snug. The tubes take a bit of wiggling and force before they slide into the pumpkin, but once they do, everything feels nice and tight:

Once it's all together, this is what you'll have:

More nice touches to note...SSD includes spare screws, bearing and spacer, and they include a few zipper bags to make it easier for you to keep your spares together after finishing the axle.
There were a couple of very small early production hiccups, but they were very easy to deal with. One of the bearing caps had some plastic covering the screw holes. A few seconds with the utility knife took care of that. Also, the instructions call for 3 different small M3 screw sizes (M3x4mm, M3x5mm and M3x6mm) to attach the tubes to the pumpkin and the bearing cap to the tubes. It looked like mine came with only 2 of those sizes (I'm guessing 4mm & 5mm, but I didn't bring a ruler with me). They worked just fine, so no worries there.
First impressions are very good. The kit is very well laid out, and the components are first rate. All gears are hardened steel, plastic quality seems very good, and everything seems to go together very well. I can't help but think this is the way everything should come from Axial but doesn't. Let's see if that initial impression holds up through the rest of the build. More updates to follow...
Last edited:


