• Welcome to RCCrawler Forums.

    It looks like you're enjoying RCCrawler's Forums but haven't created an account yet. Why not take a minute to register for your own free account now? As a member you get free access to all of our forums and posts plus the ability to post your own messages, communicate directly with other members, and much more. Register now!

    Already a member? Login at the top of this page to stop seeing this message.

B-MOW's TRX-4m Mini Blue Bronco

f477d236608dd68b3c025623d1e74d86.jpg

Those Ohio plates look familiar….


Sent from my iPhone using Tapatalk
 
The Blue Bronco is back in the garage. I picked up another set of brass goodies just like the ones I put on the Spectre SVT Defender. And I see as I go back in time in this thread, I forgot to post the completed pics of the Spectre Defender with the brass installed.

So it'll be the same setup in the Bronco, so I'll just post these pics and details now.

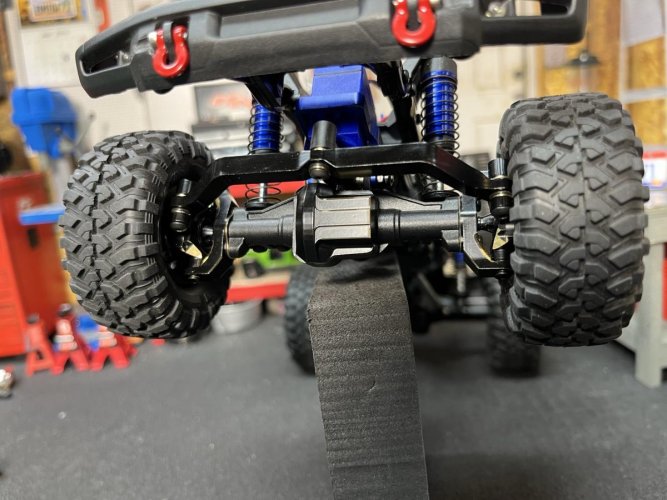
The cheap brass kit comes as shown here.

IMG_2136.jpg


As for bearing fitment, the bearings fit just like a glove. But I did have to do a little modifying with my Dremel to get it working the way it should.

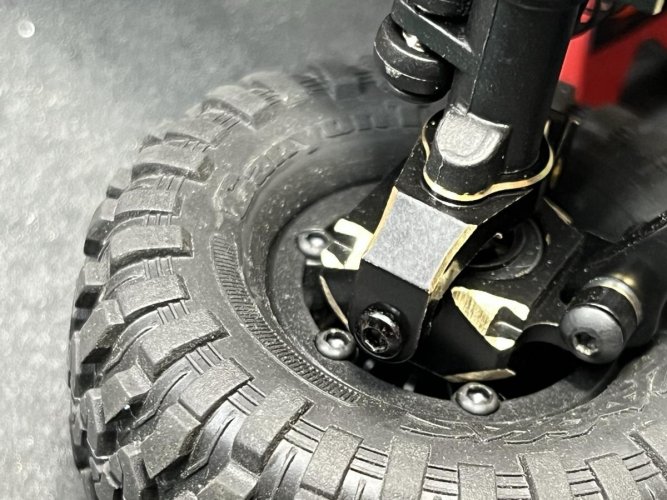
With the stock brass installed, I could not get full steering lock side-to-side. I had to round off the sharp edges of the c-hub and knuckles with my Dremel.

Super easy fix as you can see in these pics where I had to grind/smooth out the edges. Didn't take much and now it goes to full lock on the steering.

Also had to smooth out the corners on the face of the knuckle. The inner wheel screws would just slightly rub when the wheel was tightened down.

IMG_1952.jpg

IMG_1954.jpg

IMG_2137.jpg

IMG_2138.jpg

IMG_2139.jpg


The diff cover fit great too. These are really heavy for their size, so I decided just to use the front diff brass cover. I ended up leaving the rear off for now. If I find that it is too nose heavy when descending hills/rocks, I will throw on the rear to see how it does.

IMG_2140.jpg

All in all, this set is a good, cheap way to add some weight up front. Easy to install after a bit of a modification.

I forgot to mention, but the steering link fit just like the stock plastic link. This new brass link comes with tiny o-rings to keep the link centered in the mounting and leaves a nice smooth operation.
 
Very nice as always sir!

I used the same cheap brass set on both of mine, pretty good deal for the price. I didn't notice that it was limiting steering, I'll have to check it out. I ran into the same issue with the TRX Methods, but I took the easy way out - just put a 3mm washer between the hex and the wheel - it was just enough to keep the screws in the wheel from hitting and still plenty of hex engagement.


Thanks man!

Well, duh, I guess I could of just added the washers like you did! Always overthinking and over engineering![emoji849]

The brass kit is nice for the price. I’ll be ordering another set soon.


Sent from my iPad using Tapatalk
 
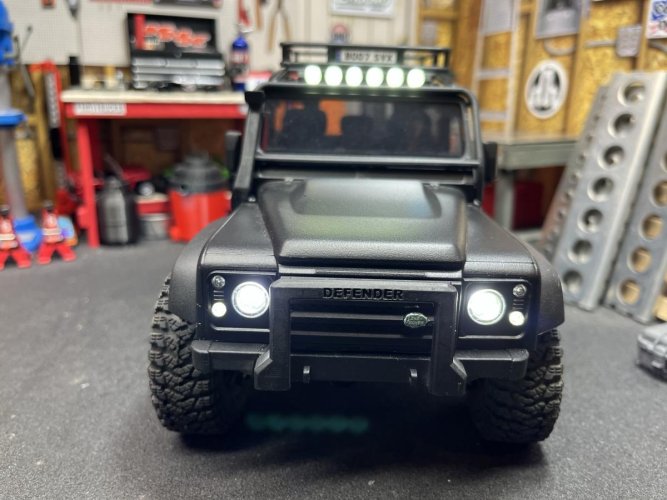
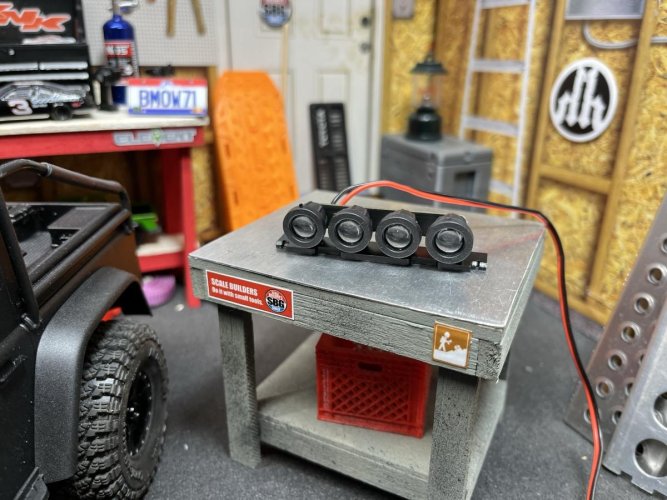
The Bond Spectre SVX Defender is back in the garage. I've been wanting to add roof lights, but never really found anything that either matched to real Spectre SVX or actually fit on the roof without covering up the license plate that is on the roof rack.

In my search in the Amazon, I found this that is designed to fit on the roof of the Bronco. These are somewhat similar to the 1:1, but I didn't like that they slightly covered up the license plate that is mounted in the roof rack.

IMG_2470.jpg

So I decided to try out the same light bar that I installed on my Bronco. It can be seen here in post #122 http://www.rccrawler.com/forum/micr...ws-trx-4m-mini-blue-bronco-4.html#post6137716

It's not accurate to the 1:1, but it plays well with the roof rack plate and is easily mountable. I drilled to holes for the tiny mounting screws and 1 hole for the wires to pass through. A dab of black hot glue to seal and cover the hole.

IMG_2473.jpg


Wiring all tidied up by using some black hot glue and routed the wires to the back of the vehicle.

IMG_2472.jpg


These little tiny LED lights are bright and I think look great! The perfect size lights and brightness!

IMG_2474.jpg

IMG_2475.jpg

IMG_2476.jpg


Also, the tiny mini TRX-4m fleet is growing! Here's look at my recent B-Day gift from the wife. The new Cheyene High Trail TRX-4m. More on this later.

IMG_2382.jpg

IMG_2384.jpg
 
Your scale garage is crazy at one point I thought it was a 1:1 garage but then realized it was scale. You did a great job on it as well as you builds. You are one talented dude. BTW Happy Birthday always fun to get new toys for a bday instead of socks.
 
That light bar suits that build quite nicely! Likin' the new square body too!!

Sent from my SM-G950W using Tapatalk
 
Your scale garage is crazy at one point I thought it was a 1:1 garage but then realized it was scale. You did a great job on it as well as you builds. You are one talented dude. BTW Happy Birthday always fun to get new toys for a bday instead of socks.

Thanks Gramps! Appreciate the birthday wishes. I'll take new toys over clothes anyday!:ror:

That light bar suits that build quite nicely! Likin' the new square body too!!

Sent from my SM-G950W using Tapatalk

Thanks Jim! Looking forward to adding some details to the old Chevy Cheyene!
 
Your scale garage is awesome for sure. The light bar you chose not to install, is it a single item? I have similar that came with the roof rack. It is a spot light, those are focusing beam lenses. It really throws light far. Once I used my truck with those lights as a flashlight on a trail, worked great. Would you have a link by some chance? Wanna have one more but didn't see it without the roof rack.

Sent from my LG-V521 using Tapatalk
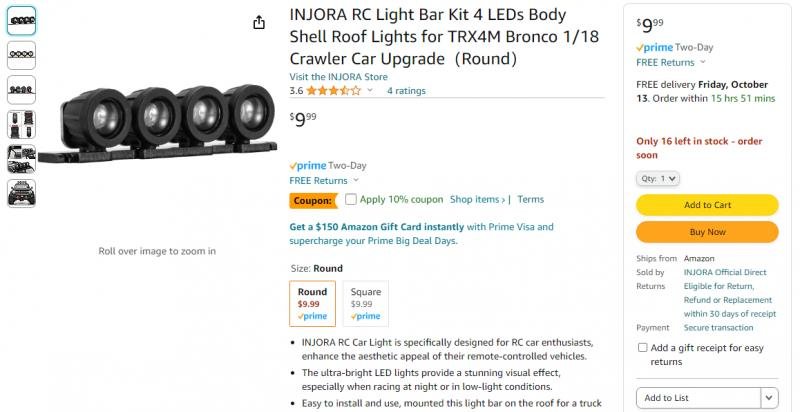

Hey thanks!"thumbsup" Yeah it is a single item. I purchased it from Amazon. I could not get a link, but here is a screenshot of the item. There is an option for round or square lights.

Lightbar.jpg
 
Glad I could help

Guess 4 old eye are better than two :lmao:

Yep, sure are!:ror:

Thank you both! Two is better then one ... Or four. [emoji3]

Sent from my LG-V521 using Tapatalk

You're welcome!"thumbsup"

It is a nice little light bar. I'm thinking I may use it on the bumper of my Phoenix. It is the perfect size for 1/10 scale bumpers.:)
 
Yep, sure are!:ror:


You're welcome!"thumbsup"


It is a nice little light bar. I'm thinking I may use it on the bumper of my Phoenix. It is the perfect size for 1/10 scale bumpers.:)
Funny you should say that. It's my plan to use it on my 1/10 defender. It really throws the light far.

Sent from my LG-V521 using Tapatalk
 
Funny you should say that. It's my plan to use it on my 1/10 defender. It really throws the light far.

Sent from my LG-V521 using Tapatalk

Nice!"thumbsup"

Share a pic if you can. I'll be interested in seeing how it looks! Thanks!
 
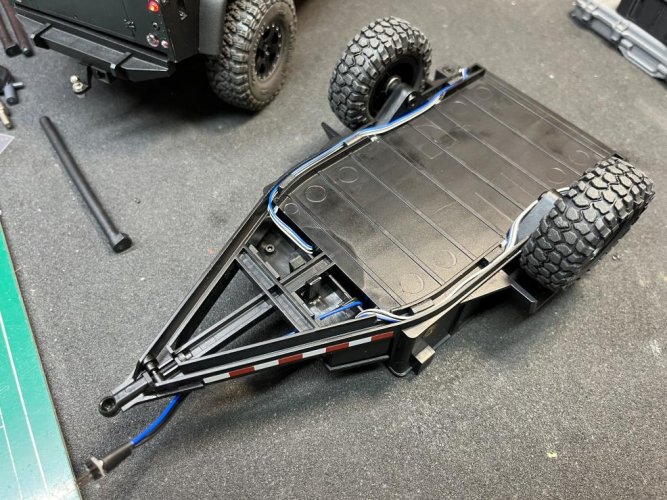
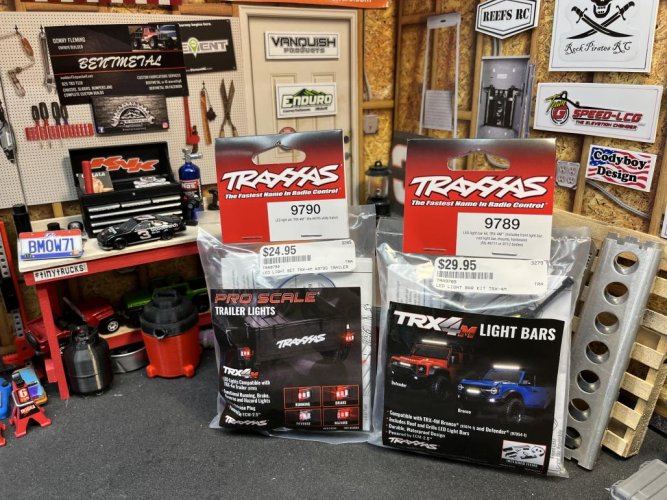
A recent trip to my local Hobbytown found me bringing home the new trailer light kit and the new light bar kit.

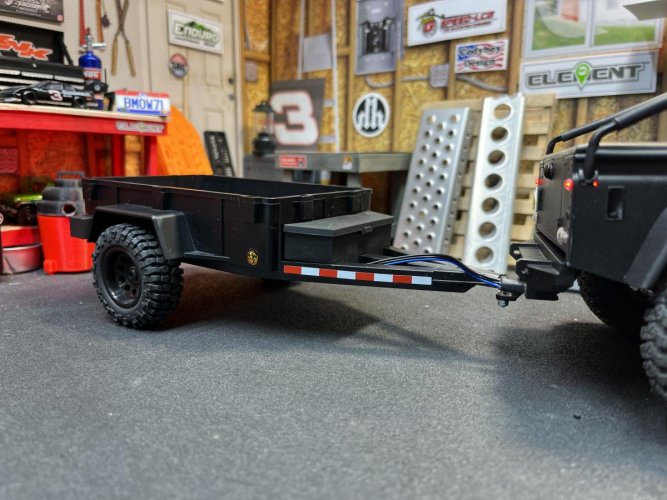
For now I'll be installing the trailer light kit. The kit comes with a faux toobox that houses the electronics that runs the lights. It includes a brake light and backup lights just like the Bronco and Defender light kits from Traxxas.

The new lights slide over the existing plastic/decal taillights that are on the trailer. These new lights are held on with a screw that attaches from the bottom of the light. The wiring attaches the bottom of the chassis and the wires are held in by rubber pieces that keep the wire wedged in to the chassis rails.

According to the instructions, there is cutouts in the bottoms of the rails to run the wiring into. My trailer, which is one of the first ones to be released did not have these cutouts. I used a pair of snips to make the cutouts in my rails.

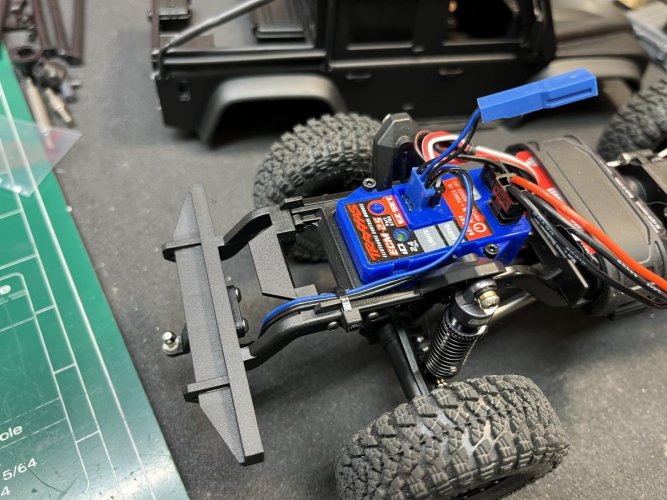
The included "Y" pig tail for the light kit plugs into the ESC/receiver and routes down to the rear bumper. There is a plug holder that attaches to the trailer hitch mount. As seen below, the wiring for the trailer plugs in just below the bumper.

In my first test drive, I noticed that when turning sharp to the right, the wiring hits the trailer tongue and limits the turning radius. I may see about raising up the plug holder above the bumper later.

IMG_2666.jpg

IMG_2680.jpg

IMG_2681.jpg

IMG_2682.jpg

IMG_2683.jpg

IMG_2684.jpg

IMG_2685.jpg

IMG_2686.jpg

IMG_2687.jpg

IMG_2688.jpg
 
Picked up an Injora bearing set for the Cheyene. Replaced all of the bushings in the trans and each axle.

While I had the axles off, I added a brass diff cover to both axles. I had an extra diff cover left over from my Bronco and my Spectre SVX Defender.

I'm hoping that these brass diff covers help keep this tall boy upright. With it being so tall, it does like to tip over quite often. I'll be getting some brass wheel weights for it in the future.

Bonus flex pics posted below!:ror:

IMG_2689.jpg

IMG_2690.jpg

IMG_2691.jpg
 
Back
Top