• Welcome to RCCrawler Forums.

    It looks like you're enjoying RCCrawler's Forums but haven't created an account yet. Why not take a minute to register for your own free account now? As a member you get free access to all of our forums and posts plus the ability to post your own messages, communicate directly with other members, and much more. Register now!

    Already a member? Login at the top of this page to stop seeing this message.

B-MOW's TRX-4m Mini Blue Bronco

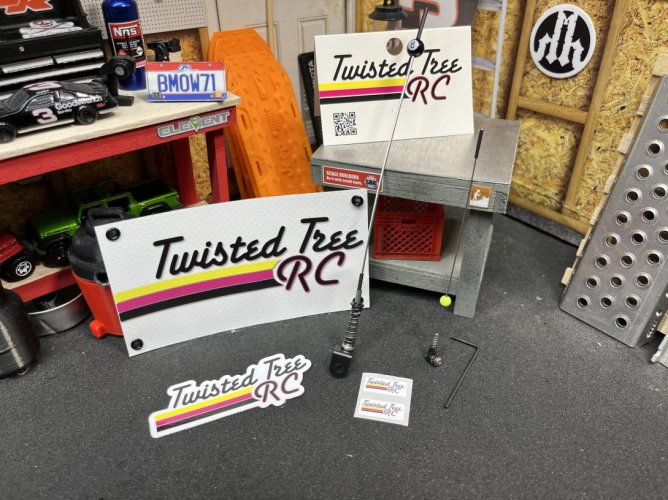
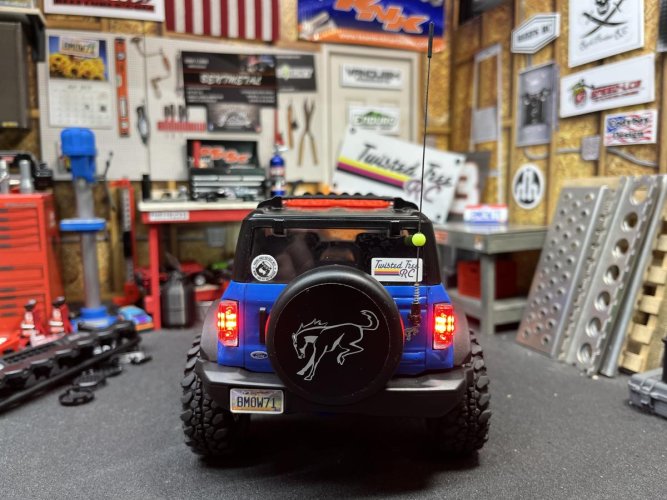
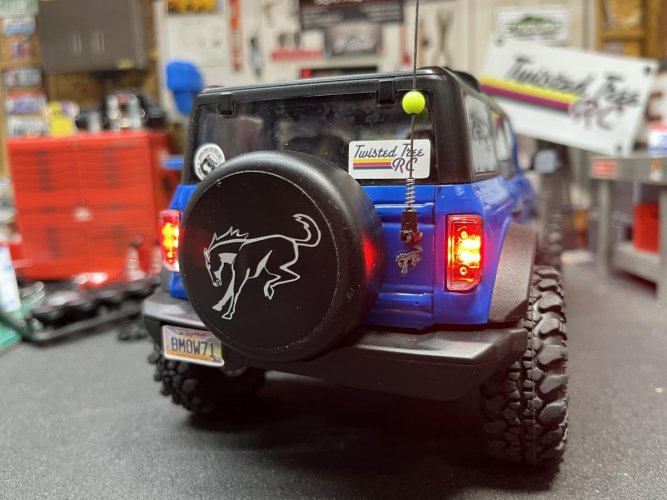
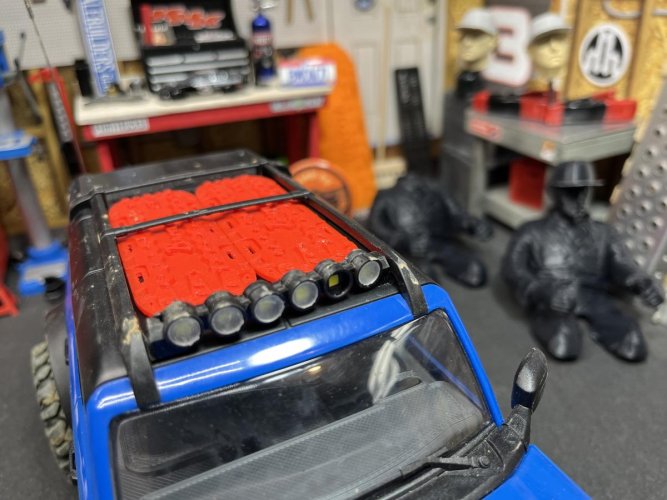
Another order from Twisted Tree RC has arrived. Picked up a mini antenna for the Bronco. Found a bonus item in the bag when I opened it. The bonus scale banner will look great on the garage wall. Thanks Twisted Tree RC!"thumbsup" Now to find an empty spot on the wall!:ror: Also included was some decals and an hex key to install the antenna's.

The eight ball antenna will be going on my new Phoenix build that is parked in my garage bay #2.:)

IMG_2808.jpg

IMG_2809.jpg

IMG_2810.jpg

IMG_2811.jpg
 
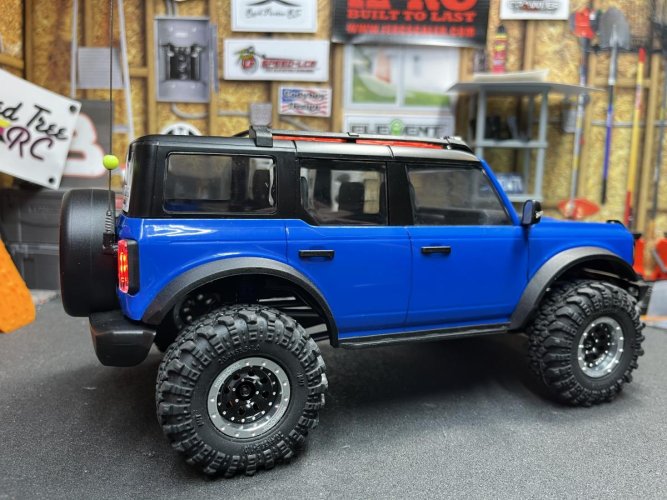
^^ Looks absolutely sick with that wheel and tire combo!

Thanks! Now that you mention the combo, I guess I should have told what they are. I forgot!:oops:

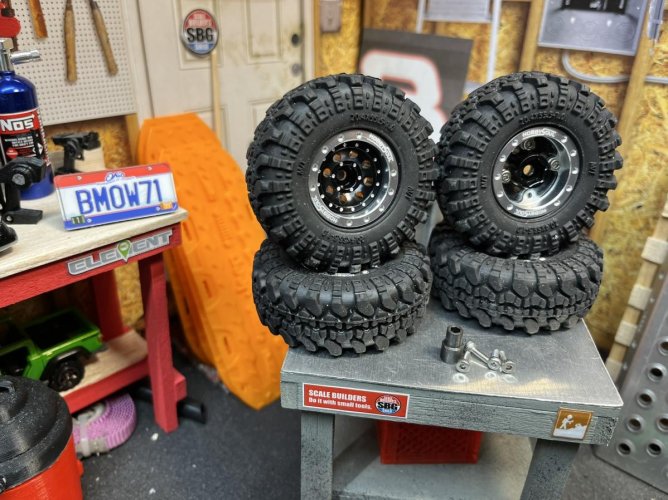
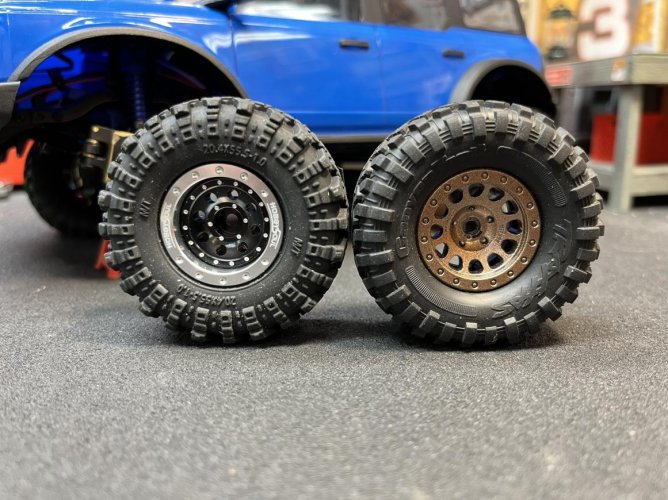
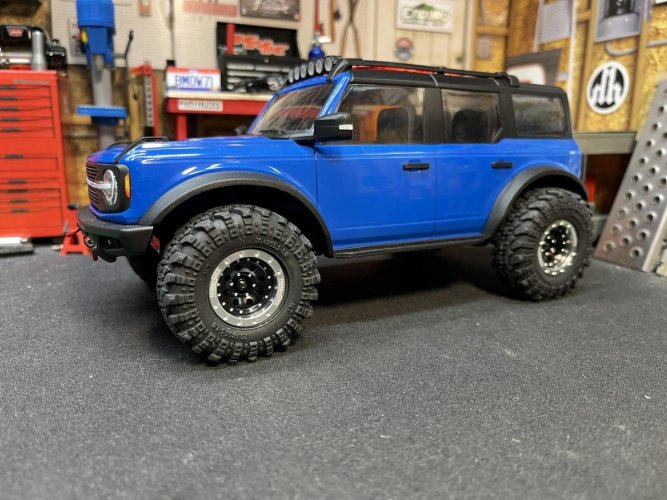
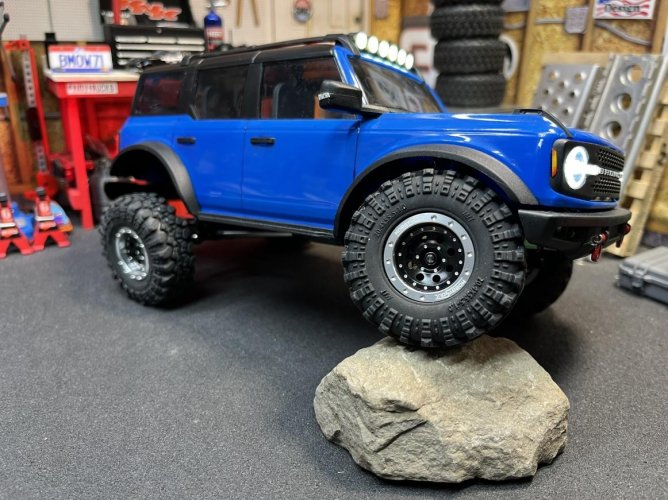
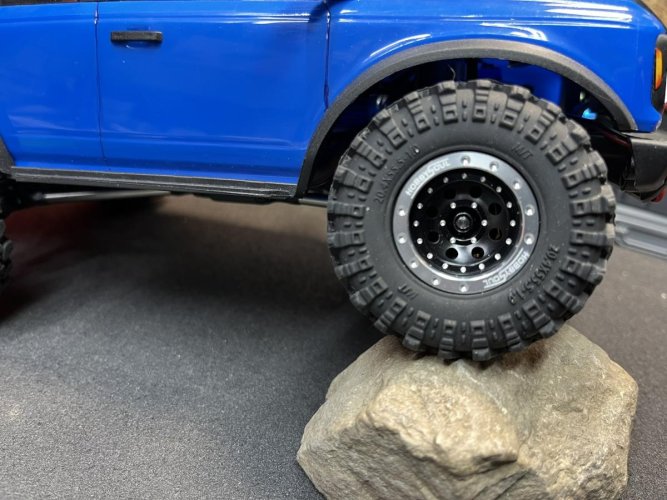
Ok, here is the new wheel and tire combo that I picked up from Amazon. These are branded as Hobby Soul and come complete and assembled. I saw someone on FB post a pic of these in a different flavor and thought they looked great. So I bought these to try out on the Bronco.

The tires feel really good and should do well. The wheels look great and have a nice finish. They are nearly the same size as the stock lil' Canyon Trails. The tires are not vented and I can't tell if they have foams in them. I'll have to get one apart and report back about the foams.

IMG_2694.jpg

IMG_2695.jpg

IMG_2696.jpg


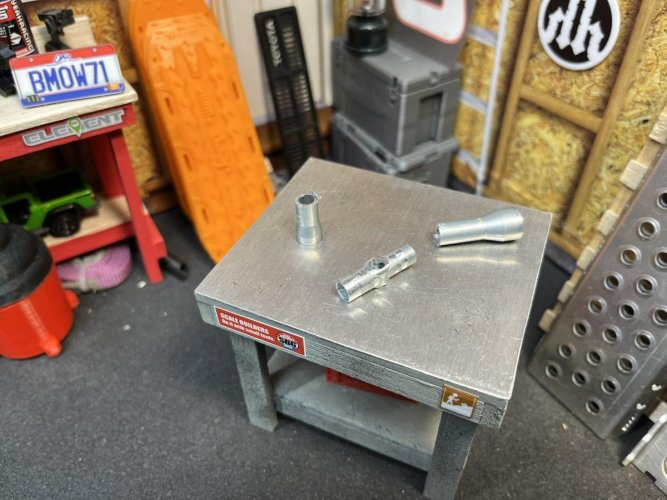
One problem that I found is since these are labeled for the SCX24, the inset in the wheel for the wheel nut doesn't leave enough room to get a socket on the nut. The SCX24 has a smaller nut than the TRX4m.

I had to get creative and cut up an extra T-wrench. The T-wrench has very thin walls and works perfectly to get the nuts on and off as seen below. I am able to stick my 4mm hex into the other end to remove the nuts. Sorry for the blurry pics, but I think you can see what I mean.

IMG_2750.jpg

IMG_2751.jpg

IMG_2752.jpg

IMG_2754.jpg

IMG_2756.jpg

IMG_2758.jpg
 
Oh man....those tires and wheels do look great B. Nice work around on the t-wrench too. "thumbsup"
 
Oh man....those tires and wheels do look great B. Nice work around on the t-wrench too. "thumbsup"

I agree with JimK those tires and wheels look great on 'Ole Blue'

Thanks! The wheels look even better in person. The fit and finish look great!

I'm curious to see how the tires do out on the rocks. They feel good in hand, so I think they should do great. we'll see!
 
Nice!"thumbsup"


Share a pic if you can. I'll be interested in seeing how it looks! Thanks!
There you go. It took a while for lights to arrive. It's not mounted yet but looks good. Mixing scale items sometimes works better then intended.
fe23d276b5812a4c16288fd09260cfd8.jpg
28f99cadb01785261adf60339691c930.jpg
f3a55b6bbfbe083d91f466a3d43a2183.jpg


Sent from my LG-V521 using Tapatalk
 
There you go. It took a while for lights to arrive. It's not mounted yet but looks good. Mixing scale items sometimes works better then intended.

Sent from my LG-V521 using Tapatalk

That's a perfect spot for them lights. Agree, these lights are perfect for 1/10 scale. I more than likely will be mounting mine to one of my bumpers on my 1/10 rigs.
 
Do you if the High Trails are considered to have a long bed or a short bed?

Well I'd guess it is a long bed by the looks of it. I don't think the bed length was ever mentioned in the description of the truck.

The side views of the K10 and F150 on the Traxxas website look like long beds. Good question!
 
Finally got the Bronco out on some real rocks. I took it this past Saturday to a local event about 30 minutes from home.

The 1st annual RC River Cliff Trails 2023 Turkey Crawl. A group of veteran RC’ers spent the summer preparing a nice piece of land near the Mt. Gilead State Park. They put in a ton of work to make rock trails and different types of obstacles to drive on. It was cool to see Operation 11 Charlie there with there booth setup in support of our military veterans.

I didn’t get too many pics of the mini since I spent most of the day driving my bigger 1/10 scalers.

c8f816eb3a8eb8660836aa8418a7f50d.jpg


befb6739b2028b050fb686241a01d82f.jpg


273ae63c956b990f6ac2db3fb55afa7e.jpg


Sent from my iPad using Tapatalk
 
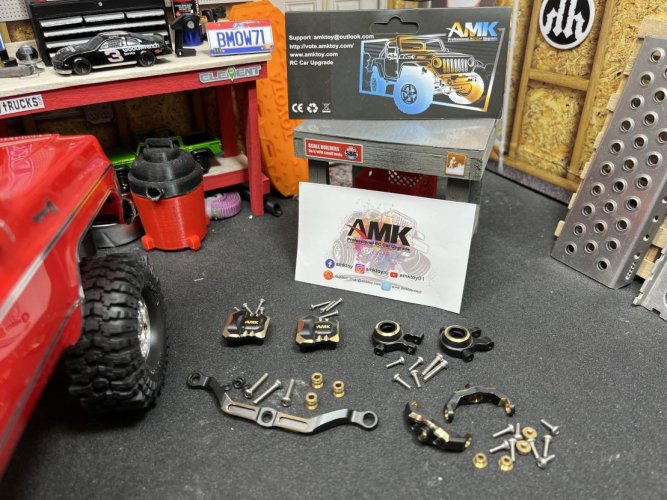
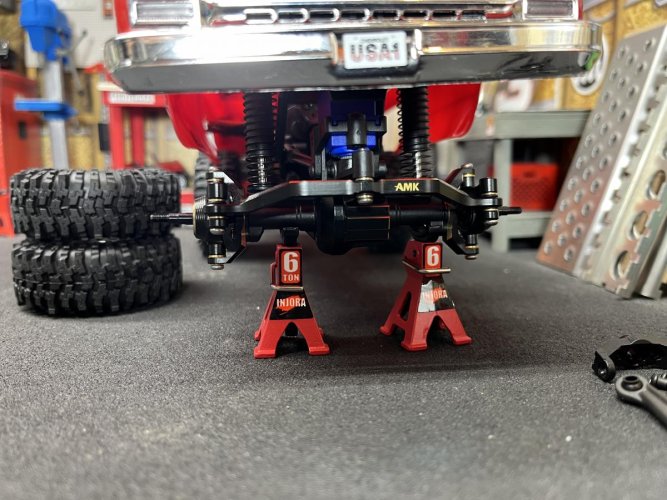
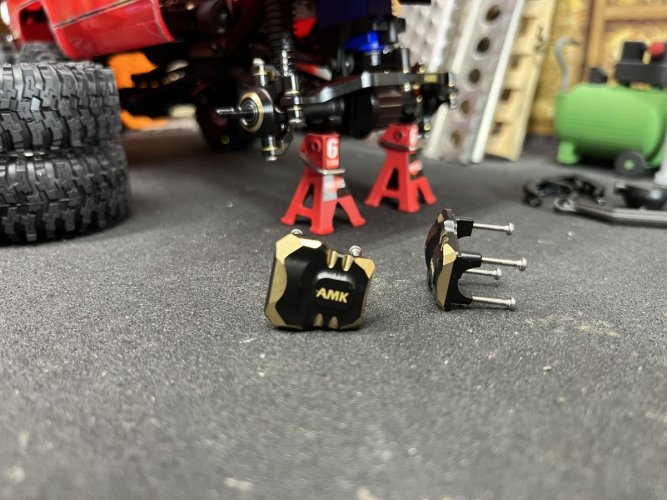
The Cheyene is back in the garage for some more brass weight. I picked up a cheap, but nice looking set of front axle brass from Amazon.

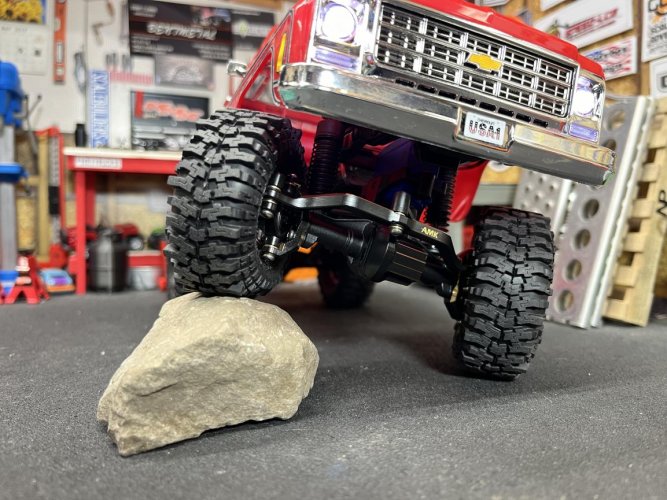
The fit and finish on these looks much better than the brass sets that I bought for my Bronco and Spectre SVT Defender. On them sets, I had to Dremel and file the c-hubs and knuckles so that I could get full steering lock side-to-side. On these, though they don't weight as much, required no filing or sanding to get full steering. I did notice a slight bind when turning the the steering by hand to full lock. It did loosen up a bit after a rotating the c-hubs back and forth a few times. Once the servo was hooked up, the stock servo had no problem turning the wheels to full lock in both directions.

IMG_3370.jpg

IMG_3372.jpg

IMG_3373.jpg

IMG_3374.jpg


I decided not to use the supplied brass diff covers. These covers do not feel as heavy as the brass diff covers that I had already installed before. I will probably use these extra diff covers on the rear axle on my Bronco and the Spectre SVT Defender.

IMG_3375.jpg

IMG_3376.jpg
 
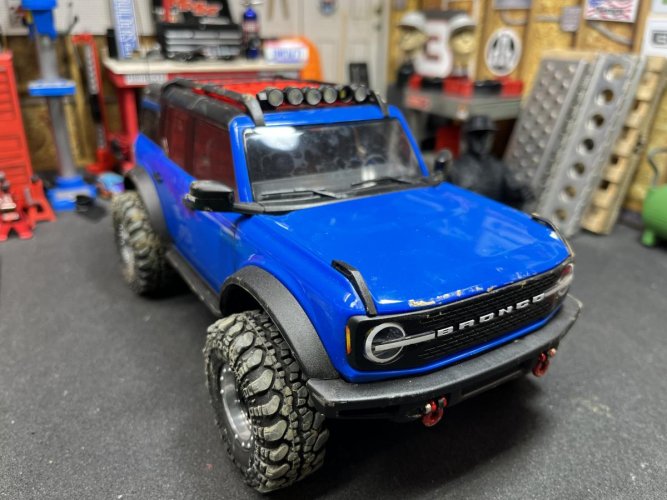
So when I had the Bronco out at the RC River Cliff Trails a couple weeks ago I managed to break the roof light bar on the very first roll. I actually saw the lens pop off from about 8 feet away. Though I couldn't find the lens when I tried looking for it.

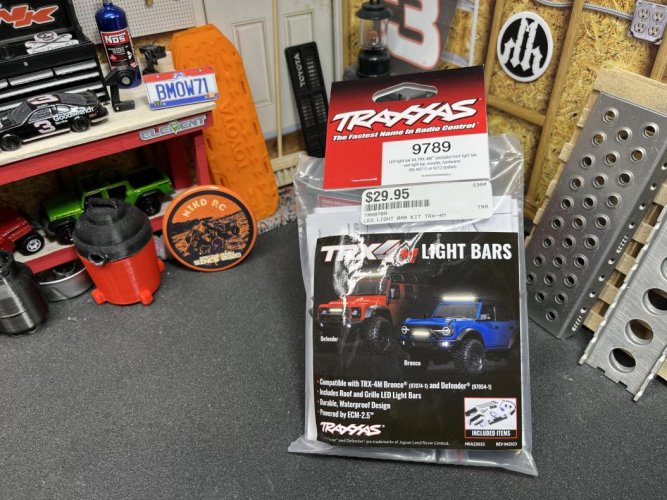
Recently, Traxxas released a new light bar kit and it has been on my radar to buy it the next time I visited my LHS. Well, I made that trip and picked up the kit. It comes with the roof top LED light bar and a bull bar with an attached LED bar that attaches to the front grille.

This kit is designed for both the Bronco and the Defender. The kit comes with a new grille area for the Defender if it is being installed on it.

IMG_3356.jpg

IMG_3357.jpg


The damage from it's first rollover!:roll: The 3D printed light bar didn't stand a chance from all of the weight of this itty bitty tiny truck!:ror:

Never mind the Matt's in the background. New 3D prints that are being prepped for paint and managed to get in the shot!

IMG_3358.jpg

IMG_3359.jpg

IMG_3360.jpg

I'll post the rest of the story later today.
 
Those HobbySoul wheels and tires are perfect on the Bronco! And the AMK stuff looks nice. It doesn't even loos like there's slop between the knuckles and axles.

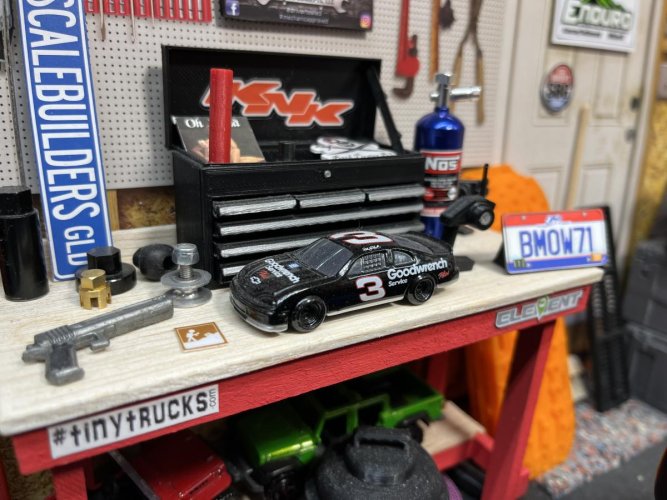
Oh and I love the DE #3 RC car on the bench. Do it for Dale!
 
Those HobbySoul wheels and tires are perfect on the Bronco! And the AMK stuff looks nice. It doesn't even loos like there's slop between the knuckles and axles.

Oh and I love the DE #3 RC car on the bench. Do it for Dale!

Yeah, these wheels are nice for the money. I'll be getting more set of these in the future.

I lucked out with the AMK brass kit. There is absolutely no slop to be found. The tiny brass bushings in-between the c-hub and knuckle tighten it right up. The tiny o-rings on the brass balls in the steering link also do a great job to tighten up the steering.

The Man In Black will always be found in my shop. Sure do miss him! NASCAR has never been the same since we lost him.:cry:

When I was down at DEI in Charlote back in 2001 the same year he died, I picked up one of his dealership badges. It has been stuck to my Z71 tailgate up until just a few years ago. Now it lives in my tiny garage!:)

IMG_3391.jpg

IMG_3392.jpg
 
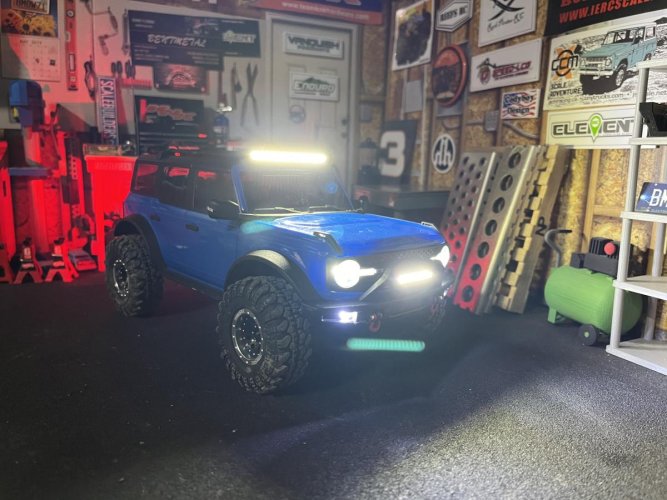
Lights are on. Fairly easy install on the LED light bars. The hardest part was disassembling the front grille and lights to add the bull bar. The bull bar mounts right to the grille with screws that attach from the inside. Once installed, the bull bar has the appearance of being attached to the front bumper.

IMG_3386.jpg


I used a hot glue gun with black glue to anchor the wires to the body. Reinstalled the interior and plugged the lights back in. I plugged the head and taillights into the supplied Y-connector so that all of the lights including the bumper lights will be on when the vehicle is on.

IMG_3381.jpg

IMG_3382.jpg


Wow! These light LED lights are bright!:shock: Shouldn't have any problem seeing anything on a pitch black trail!

They were so bright that it made it hard to get a good picture of them.

IMG_3383.jpg

IMG_3384.jpg

IMG_3385.jpg
 
Back
Top