skillcandylive
Newbie
noice eather way thay look great man!!!
Sent from my SM-N960W using Tapatalk
Sent from my SM-N960W using Tapatalk
")
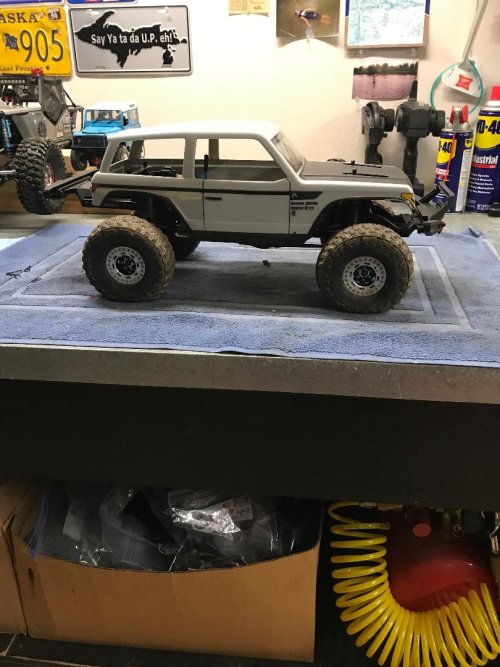
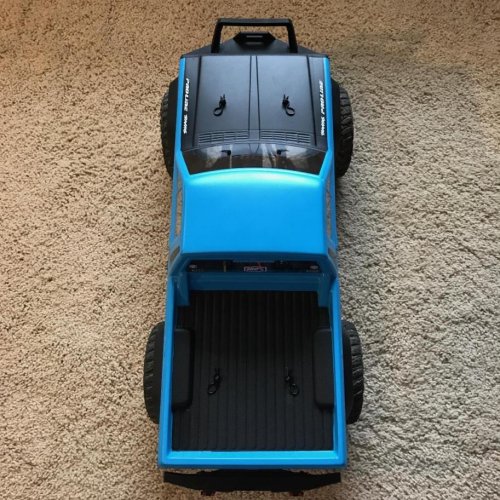
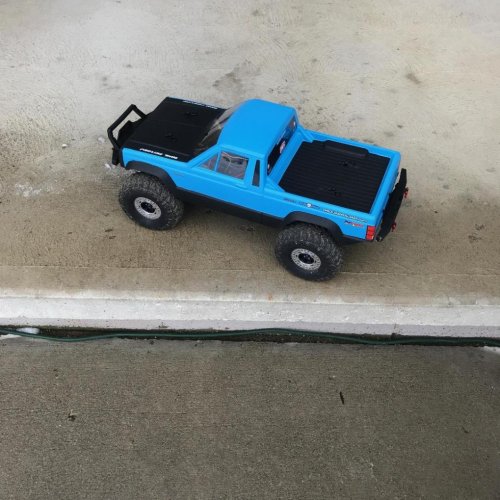
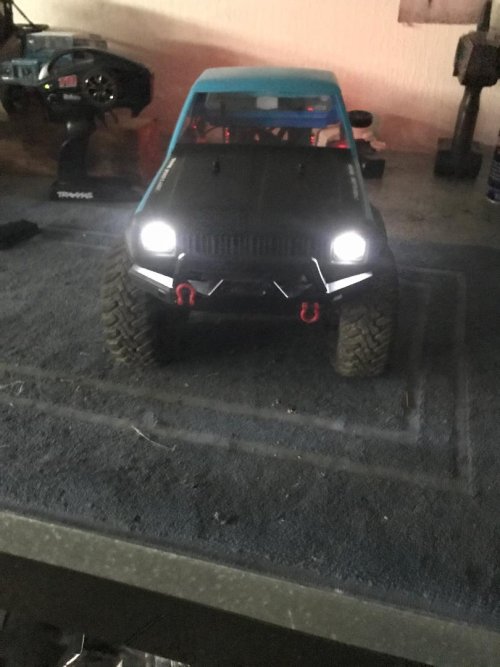
Run no front or rear bumper other option for front get the once that mount to frame directly this way it will sit deeper in.I played around with some different body ideas to replace the Sport body. Actually kind of digging this Spawn body from my Wraith. Only issue I can see is how to abbreviate the front end enough to bring the bumper in. Only about a 1/2" of straight frame rail up front before it arches up. Back end is str8 forward chop. (I'd have to buy a new one in clear since this one is chopped for BGR shock towers for the Wraith). I don't think you'll see too many TRX's rolling this body any way! Opinions?????
Also ordered under drive gear set for out back, and some ARB diff covers. (Plastic red ones are just offensive to me:lmao


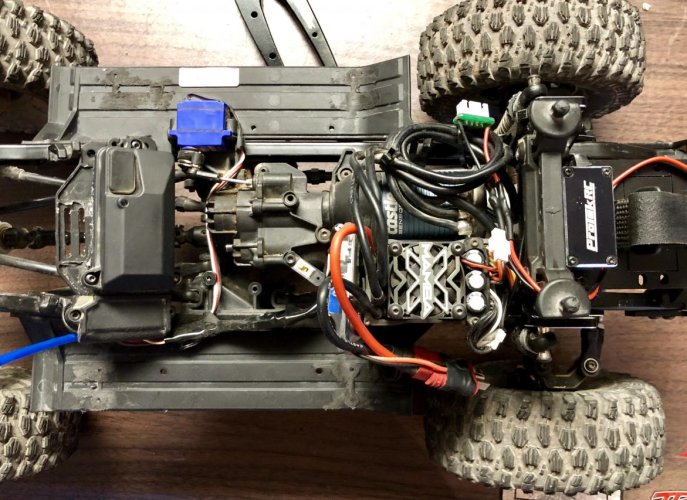
Tore the transmission apart to find the source of clicking. Found nothing. Put it back together wrong.
Tore it back out. Corrected my mistake. Put it back in. Now it’s hanging on something inside tranny. [emoji58] Must have missed it.
Tore it apart again. But now it’s full of sticky marine grease and I’m done searching for the bugger in there.
 That's a bummer.
It looks like you brought home some of the shore-line from your run beside the water. ;-) From the sand in the skid-plate, you probably got a little in the gears too. As snug as the gears are, it wouldn't take much at all to give you a problem. It sounds like a grain or two may have been hiding in there, waiting to jinx ya. :evil: and grease won't help with that.
8)
You are 100% right. Sand got all up in there. And when I reinstalled it a 2nd time, I suspect my table was contaminated with sand and dirt and I probably got more sand in it with all that grease. I was trying to get inside it as I put it together again not really knowing what I was doing other than watching a video.
I know not to grease the diff locker. And to be sparring with it on portals.
But is it not advised to pack the tranny and transfer case?
Sent from my iPhone using Tapatalk
It doesn't take much to cause problems, so it helps to keep it all fresh and clean. ;-) 


 By that I mean I dropped the gearing as low as I could find... 8T pinion. ;-)