• Welcome to RCCrawler Forums.

    It looks like you're enjoying RCCrawler's Forums but haven't created an account yet. Why not take a minute to register for your own free account now? As a member you get free access to all of our forums and posts plus the ability to post your own messages, communicate directly with other members, and much more. Register now!

    Already a member? Login at the top of this page to stop seeing this message.

What are you working on??

Ordered up 2 GCM diff inputs for the ascenders. Still cant believe the used rig hasn't broken this part yet. But the kit one with 4 or 5 runs on it shattered that easy. Been tinkering with the street demon, my heavily modded 2wd slash turned street outlaw. made the jump to 3s today. totally have to re-dial the car in. even turned down to 3/4 power. blows the tires off it and 10 feet later does a huge "CROW" like death roll. glad its a long weekend. 2 more days of tinkering to go!

That thing must crank!! Can you weigh the front end down? The crow was an awesome car too bad chief totaled it, that was one of the worst wrecks I've seen!
 
3800Kv on 3s...yah it cranks. Will pull the wheels rolling ive got a lot of weight in it. Need a low cg chassis. Gets going about 40 mph and turns into a kite lol
That thing must crank!! Can you weigh the front end down? The crow was an awesome car too bad chief totaled it, that was one of the worst wrecks I've seen!
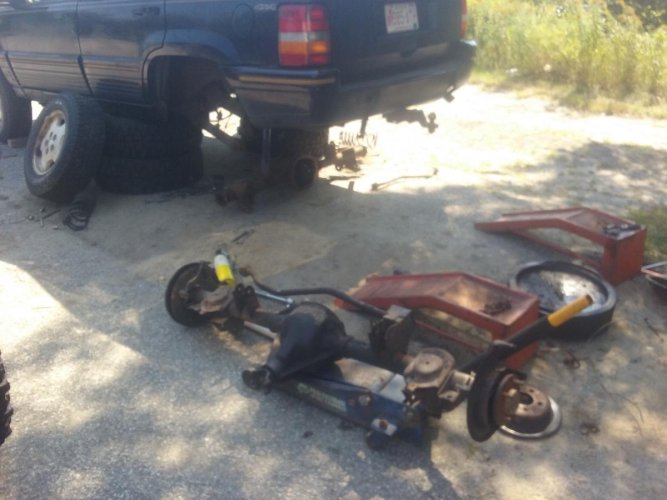
 
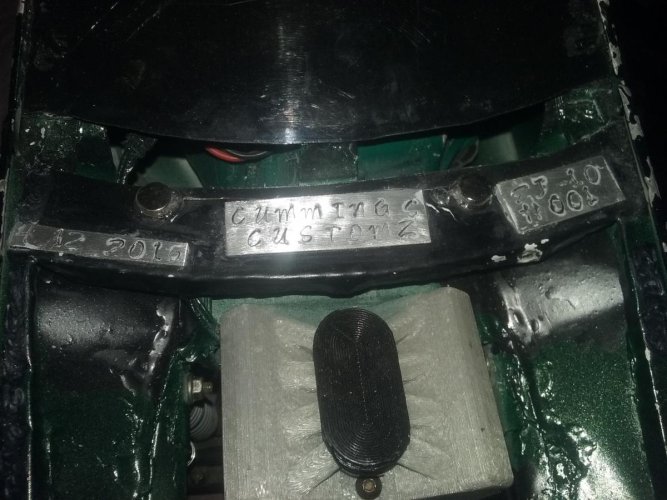
Commandeered the wife's new steel stamp set and made build plates for the ZJ -10.

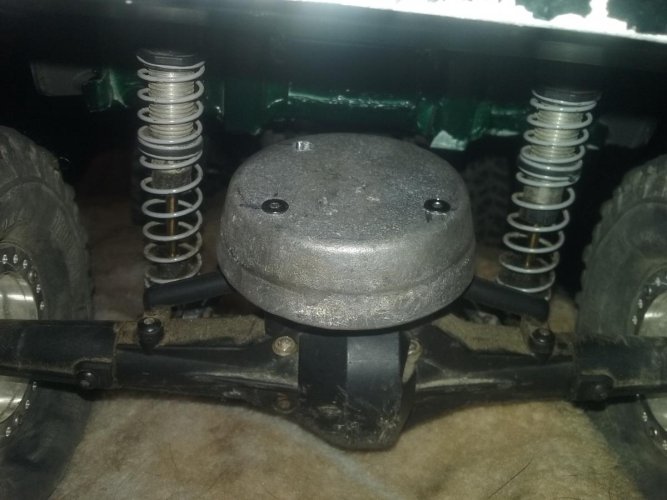
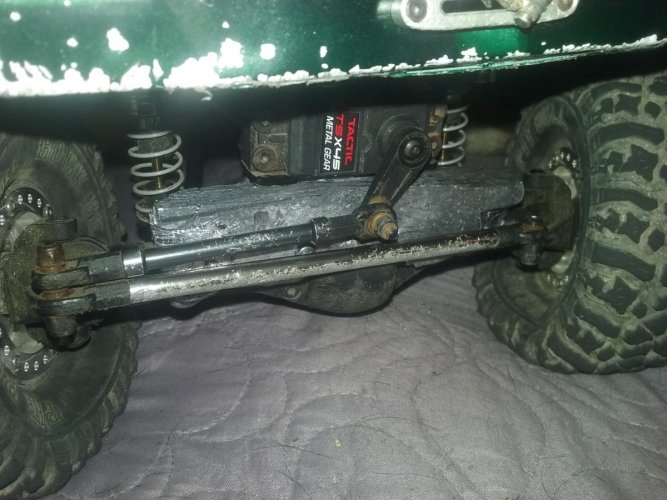
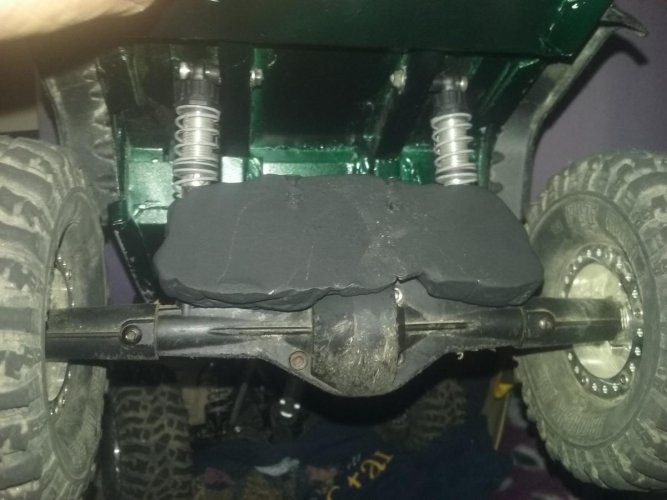
Also made a(roughly) 17.5 ounce weight for the rear axle.
Trying to figure out a way to add some ballast to the front axle, but as we all know, there's just not much room for any real amount of weight without causing interference with one steering or suspension component or another.
I'll come up with something..... lol
 

Attachments

  • 20160907_213716.jpg
    20160907_213716.jpg
    140.9 KB · Views: 335
  • 20160909_202741.jpg
    20160909_202741.jpg
    102.9 KB · Views: 365
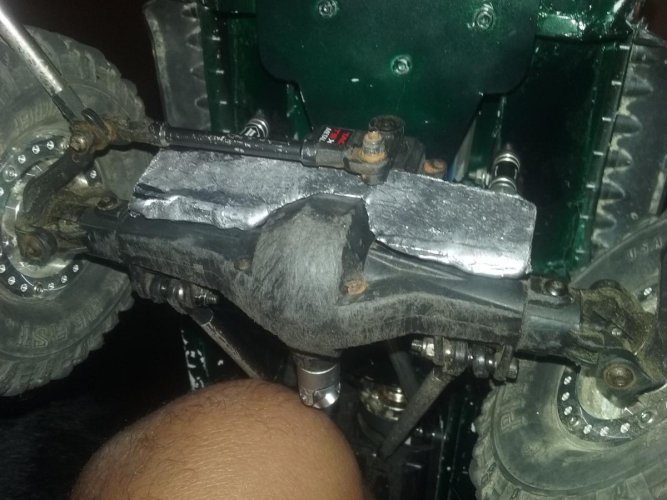
Used some aluminum foil and made a rough mold for a front axle weight.
It took several attempts, and finally, 3 layers of foil to make a sturdy enough mold.
It just needs some fine tuning and it will be sweet!
 

Attachments

  • 20160910_202729.jpg
    20160910_202729.jpg
    118.3 KB · Views: 326
  • 20160910_202443.jpg
    20160910_202443.jpg
    129.7 KB · Views: 339
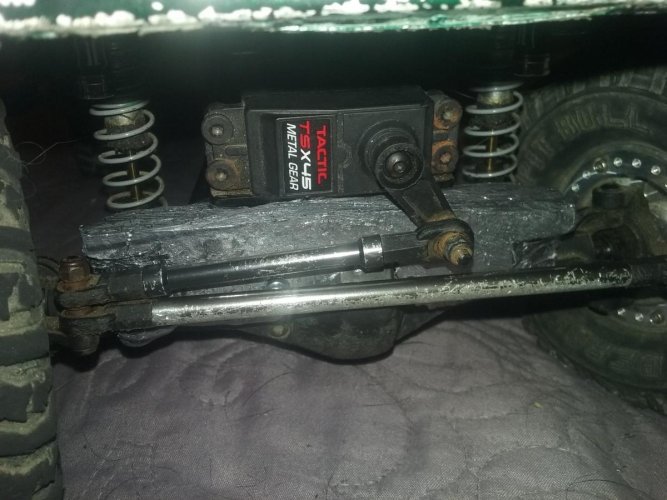
Final weigh in: 10.2oz.

I wasn't sure I could get that much weight on the axle itself.

Looks like I'll have to make another one for the rear, out of the 17 ounce weight I mounted on top of the axle.
 

Attachments

  • 20160910_222233.jpg
    20160910_222233.jpg
    133.1 KB · Views: 320
  • 20160910_222247.jpg
    20160910_222247.jpg
    151.2 KB · Views: 314
Not trying to one up you Rob, But I've just made some beef to add to my front axle on my blazer too...


Not sure on the exact weight added but it's some for sure.
Ben
 
Finished the interior. I stink at taping off the mold. I couldn't find a nice body line to go to. So I just ended up with seats. I think it came out ok for what it is.
The dash matches up nicely. The front body mounts were tricky. I dremeled the lip off and used a body clip(with rubber grommet to not scratch plastic) to hold the correct height. You can use the stock posts, but you have to really squish the interior + body together and the clip will rub badly. This way there is room to spare.
The rear "trunk" is about an inch short of the Jeep rear. Not terrible, but slightly annoying.
The width is decent as well. About a 1/4" on each side.
There are body post hole dimples for the reg scx10. Those don't work obviously.
And the new trans hit the interior as well. So a small notch is needed.


Last edited:
That's not a bad way to go. Light, and the possibilities you could put a drop box in the back. The set up I had was too bulky and heavy. Now all you need is a driver...or family of 5 ...and that's going to look great! May have to do that to my sons rig.
 
Robert, that looks awesome!

I finished my rear axle weight and painted both weights black.
The rear weight(18.2oz) looks like shit, but I wanted functional rather than scale.

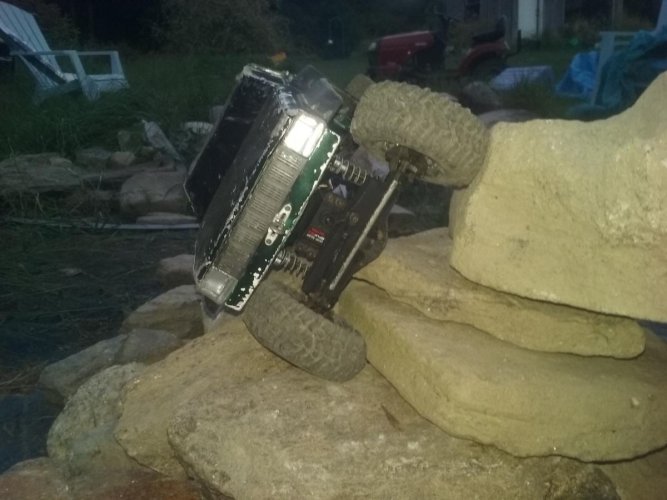
My side-hilling capabilities just doubled!
 

Attachments

  • 20160912_165307.jpg
    20160912_165307.jpg
    95.9 KB · Views: 265
  • 20160912_185943.jpg
    20160912_185943.jpg
    101.2 KB · Views: 284
Got one input shaft changed on the new ascender. And had to drill out a grub screw...well tried to...ended up having to take the trans out and give it hell with a fresh cut off wheel. Think I will wait for the other to break before I go through that again. The boys jeep hit a huge snag. The Proline Cherokee body is a 11.8" WB where im set up for the standard 12.3" WB. Found a Axial scx10 ii body with all the exterior parts and bumpers. So problem solved. Guess I need to find the Proline body a home. Really don't need it. Cant wait to get this going. Took a lot to try and reproduce the same shock set up as Big Green. But I think I pulled it off. Yah its a junkyard dog, but that's how I like it. Stock parts made better and it doesn't matter who made them.
 
The Wroncho and Plow truck are no more.. I cannibalized the Wroncho for my Bomber kit that is on the way.
The plow truck got an "upgrade" to a SCX10 chassis. It will still be the plow truck this winter, but it has a lot less slop than it did. That old EMAXX trans was junk. Half a wheel turn before engagement.


Put some r35 falkens on my scx10ii,ordered a new front bumper and Holmes 30t going to stay brushed in this one. Ordered a tamiya xv01 and "finished" my mega truck. Need to post up some pics but most are on instagram
 
Skybolt sent me a thread
I thought of buying them, but looking at the pictures I realized I had a bunch in my parts bins. The axial plastic wheels come with fake wheel hub caps. threaded for 4mm screws.

I didn't have long enough 4mm set screws so I used actual screws. Just dremeled off the head. If I had 20mm set screws it would've been fine.
Using my dremel I cut off the body post top as well.
Drill out the center with 1/8 bit.
I put the headless screw in my drill chuck and screwed it in 1/3 the way.

Assembled it back together and it works great.
ONLY downfall, is that the Axial body posts are a bit small. In the pictures you can see that the post doesn't have much material left after drilling it out. So we will see how durable they are. Seem OK, but time will tell.


Back
Top