soze
I wanna be Dave
Nice, more progress on this build!
Thanks for compiling that "thumbsup". Seems like the only place to find instructions and detailed veiws is in facebook videos, which i can see in the background :mrgreen:
Nice, more progress on this build!
This is turning out super "thumbsup" Another good one TB!
impatiently waiting for a run video...
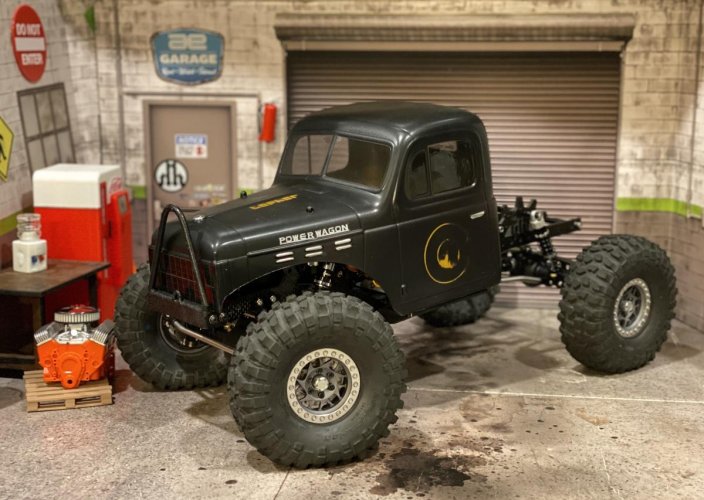
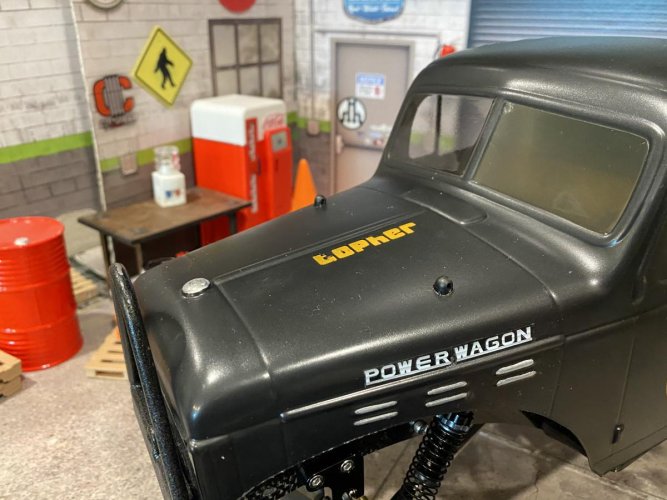
Also tried something a little different to get the logos to look faded and not so new and crisp. Basically I sprayed some black before peeling the masks then sprayed gold before that black was completely dry. I think it worked out well enough, also matted it out
I was wondering what you did for those though I'm still a bit lost on the order and where you painted. Did you paint the sticker or the body, inside or outside?
Anyway that came out great "thumbsup"
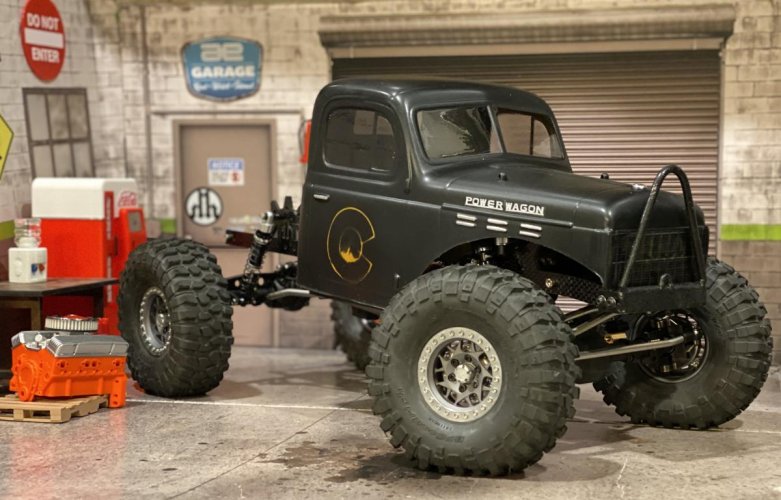
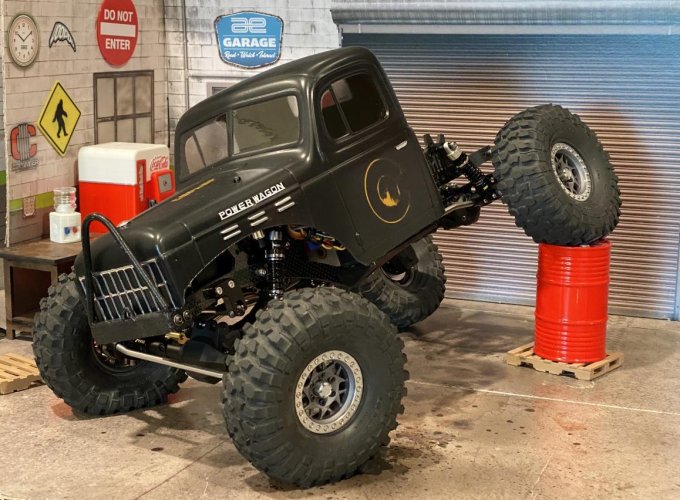
I'm not generally a fan of Pwagon bodies, but this thing looks wicked! That stance though!!! Cant wait to see video!
Lou

That is looking sweet!
Love it!
The paint effect turned out really well!
Great looking truck Topher! One of the better power wagon setups I’ve seen. But solid looking rig
Sent from my iPhone using Tapatalk
Another outstanding build TB!"thumbsup"
Great choice in color! Looks cool with the faded logo! Love the flat paint look! I've been using the flat clear more and more these days!
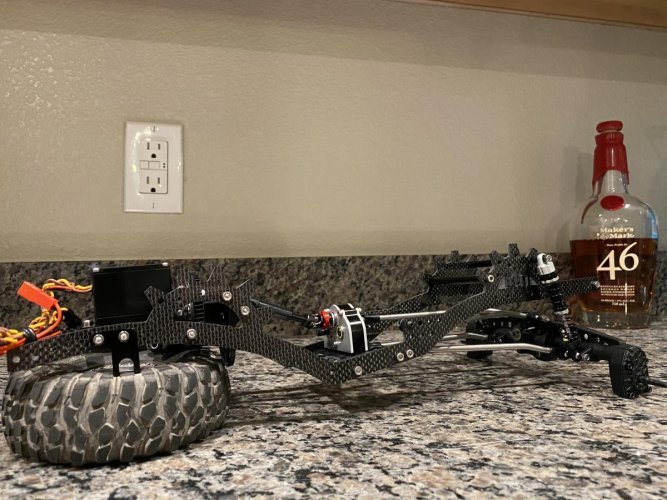
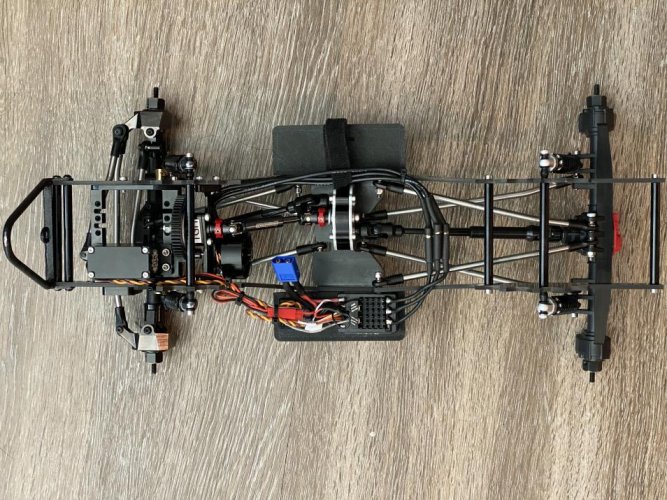
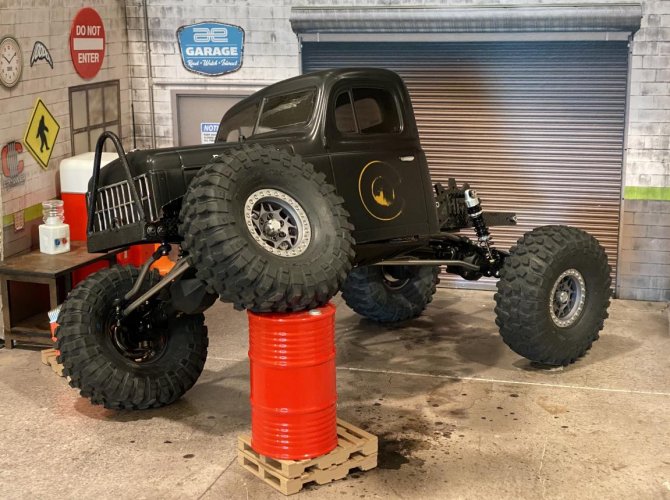
Yeah, looks like plenty of flex to me. I'm sure with your setup it's going to crawl well no matter how much flex you have. I've been happy with 90mm length shocks or less. Crawls just as well and requires less body trimming.
I agree, a little flatbed in the rear between the rails would look good! Maybe a little wooden bed made out of Popsicle sticks made to look distressed and worn out. Just a thought!
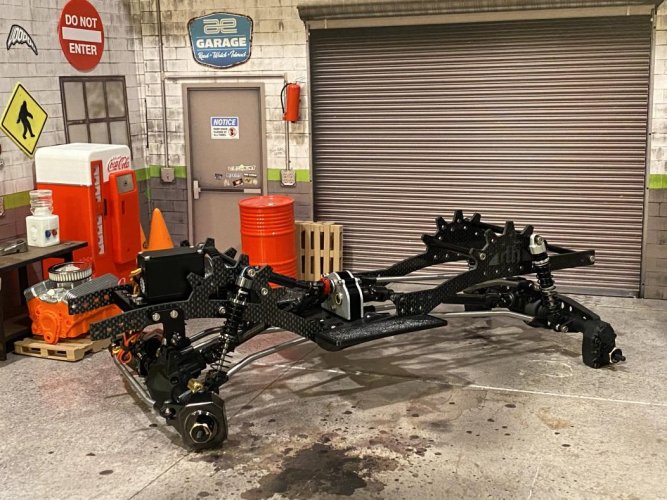
Well, after seeing how good this chassis looks, I'm not sure if I want to build the Sherpa or the Gspeed chassis. Decisions, decisions! I'll wait to hear what you think of this chassis after you've had a chance to get some rock time on it!
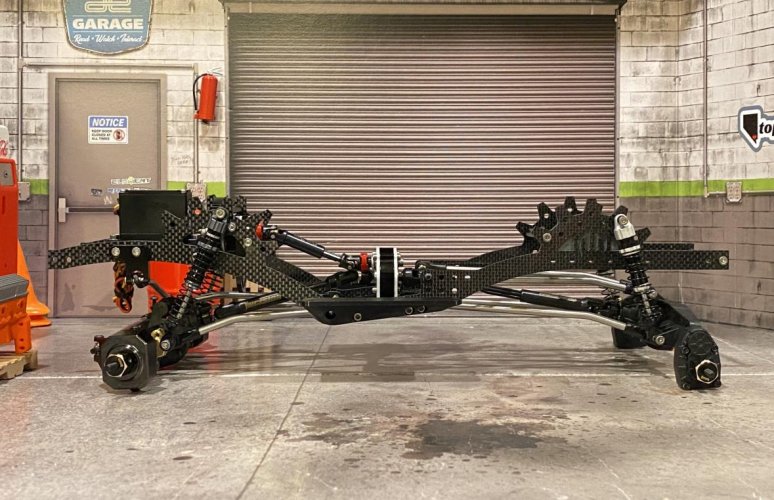
Awesome truck as usual. Really liking the jacked up in the back look, reminds me of an older hot rod, which paired with the power wagon body reminds me of a kind of rat rod crawler.
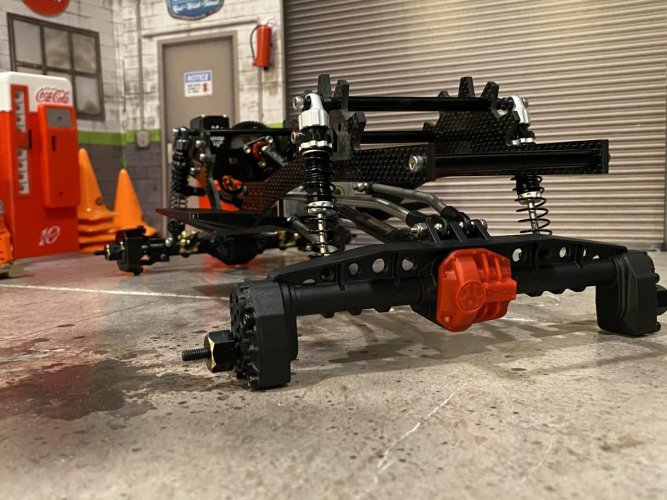
On a side note, I think these pics are the first time I've seen one of my Coke machines in an actual scale garage setting... really need to finish my garage, lol
Sent from my SM-G970U using Tapatalk
")