• Welcome to RCCrawler Forums.

    It looks like you're enjoying RCCrawler's Forums but haven't created an account yet. Why not take a minute to register for your own free account now? As a member you get free access to all of our forums and posts plus the ability to post your own messages, communicate directly with other members, and much more. Register now!

    Already a member? Login at the top of this page to stop seeing this message.

SCX10 II by newIIrocks

new2rocks

I wanna be Dave
Joined
Apr 2, 2014
Messages
2,254
Location
North Carolina
Can this really be the first? I wasn't planning to do a build thread on this because I've got a ton going on (including a birthday weekend for a newly minted 7 year-old tiny trucker). To my surprise, I got a call this afternoon from my LHS to let me know that my pre-ordered SCX10 II had arrived this afternoon. After spending the evening with grandparents that just arrived from out of town and watching the dubs destroy the Cavs, I figured that surely someone else would have torn theirs open and gotten something up by now. But since not, I decided to get started.

Disclaimer: I don't expect to finish this quickly, but I'll get it up and running as quickly as possible so that those who don't have theirs yet can see what they're getting into.

Overall initial impressions:
-- Kudos to Axial for releasing this as a kit first. This plus the recent release of the Bomber and Yeti SCORE kits proves that kits are alive and well. Yay!!!
-- Spoiler alert...there are some typical early-production QC issues. If you don't have patience for that type of thing, wait a few weeks for Axial to sort them out. Vaterra went through similar issues with the Ascender, as did RC4WD with the re-release of the TF2 with the Mojave 2 bodyset. This happens, so don't be surprised. Or just wait a few weeks until it's been addressed.
-- Kudos to Axial for going all out on this one, surely in response to the Ascender. Only time will tell how well some of the design decisions (like the axles) work out, but at least Axial came out swinging.

So with that said, here goes...

First, the box:
DSC00269.jpg

Looks like the UPS guy sat on this one. No worries, though. Just a little flesh wound, as Monty Python would say. To the inside:
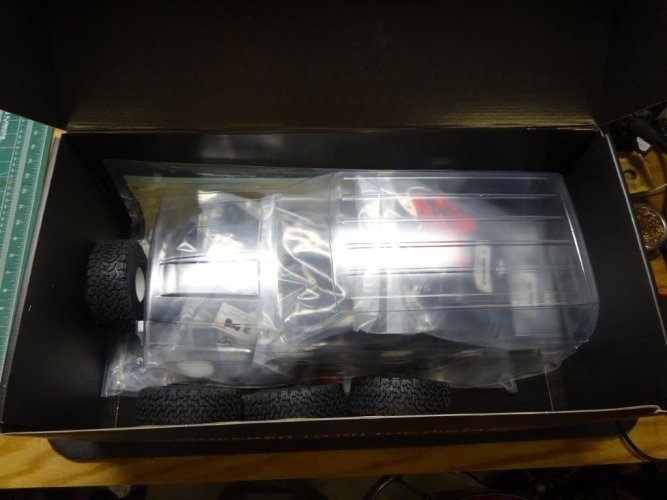
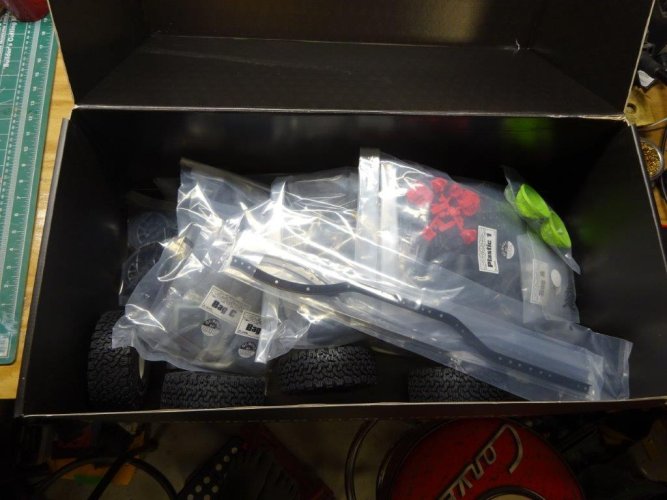
DSC00271.jpg

DSC00272.jpg

Typical Axial packaging...all business, with lots of neatly lettered and numbered bags.

Before getting to the build, let's check out these new BFGoodrich All Terrain T/A K02 tires:
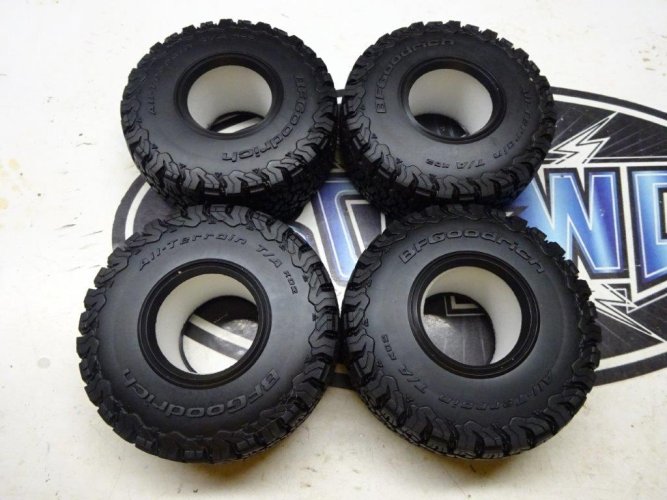
DSC00273.jpg

DSC00274.jpg

Next to some Pit Bull Rock Beast 1.9s, they look a tad taller:
DSC00276.jpg

I really like the way these look for a class 2 tire. Looking forward to getting them out on the rocks.

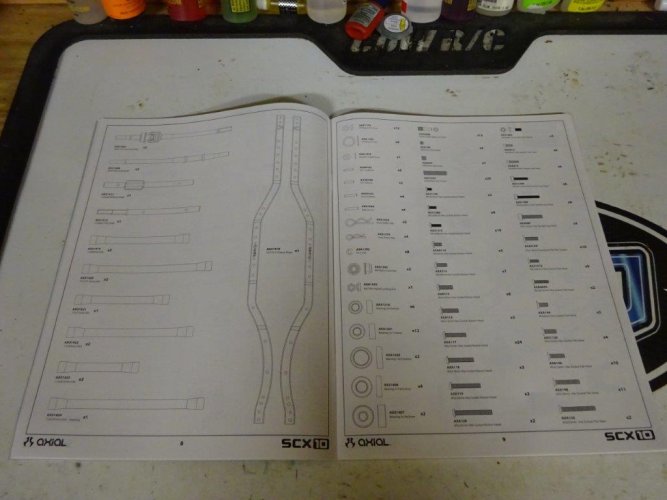
Now onto the build. Axial's instructions are very well laid out, beginning with renderings of all of the parts:
DSC00277.jpg

DSC00279.jpg

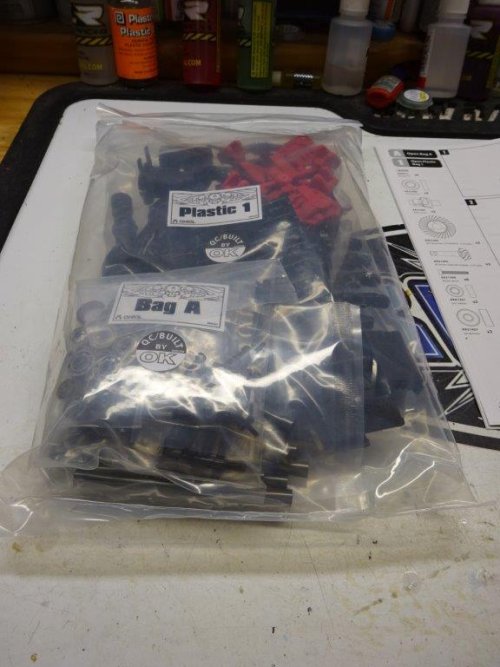
Everything is bagged so nicely:
DSC00280.jpg

First up to assemble are the lockers. From the publicity pix, it looked like they might be one-piece, but alas not.
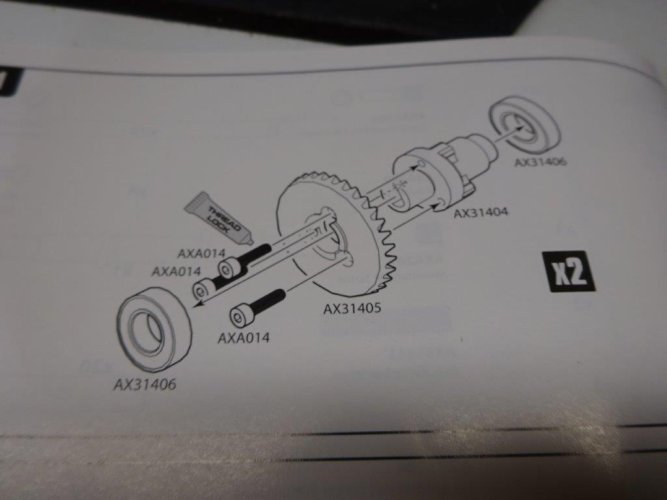
DSC00281.jpg

DSC00283.jpg

DSC00287.jpg

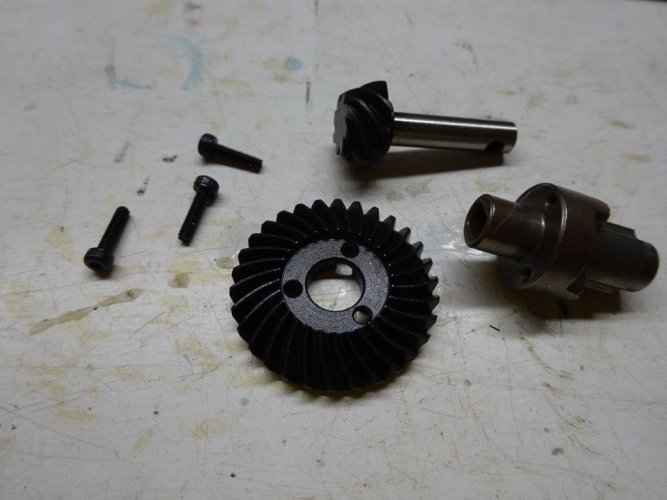
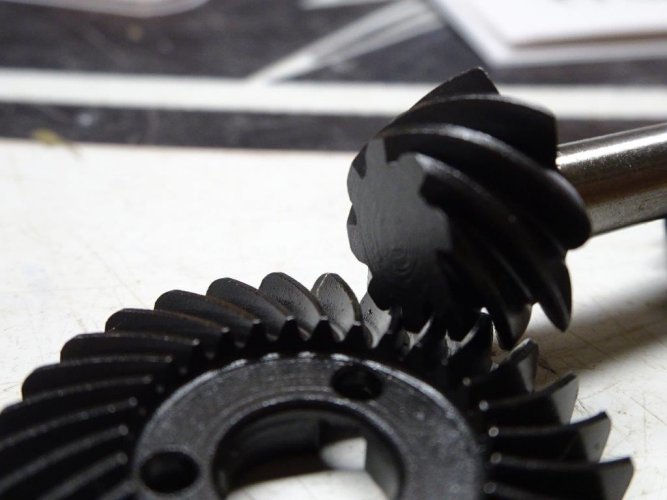
The helical gears and offset pinion are quite interesting:
DSC00284.jpg

DSC00285.jpg

It will be interesting to see how well these work. I was also excited to see sealed bearings:
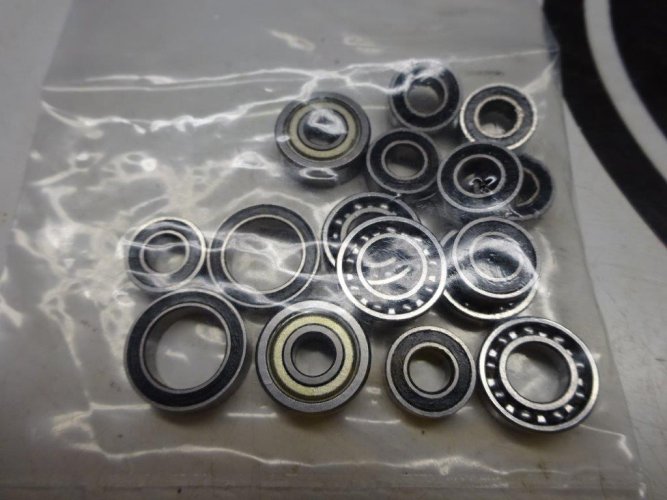
DSC00292.jpg

But not sure what's up with these very un-sealed bearings:
DSC00293.jpg

I'll have to consult some smart people to see if this is going to be an issue. I originally thought my kit was short 2 5x11x4 bearings, but I later realized that I had put 1 extra bearing in each side of the rear axle tubes (the rears only need the bearings inside the lockouts). That's what you get for wrenching in the wee hours, lol. I'm thinking the extra bearings won't hurt, so they will stay in and I move onward...
 
Last edited:
Unboxing video?

Sent from my SM-G900T using Tapatalk

LOL I'm in no condition to do a video this week (Roo's birthday, buying a house, crazy busy at work, etc. etc.), so we'll have to stick with a build thread and pix for now. I'll try to get a video up sometime in the next week or so.
 
Yeah, if I had to pick someone to do the first build thread while I impatiently wait for mine, it would definitely be you N2R. You always have excellent detailed descriptions and plenty of pics in your threads. I like that a lot. Keep the good stuff coming and thanks for sharing with the rest of us unlucky bastards.
 
Once assembled, the lockers go into the axle just as on an Ascender. Bearing caps are integrated into the diff cover:
DSC00295.jpg

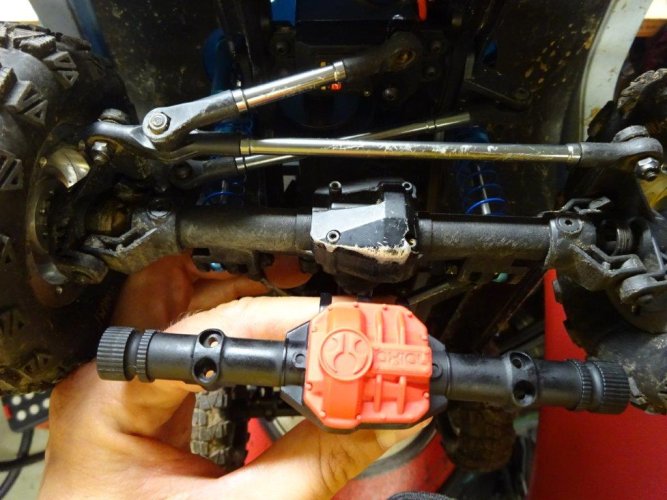
Here's a pic comparing the new axle to the Ascender:
DSC00299.jpg

The new pumpkin isn't quite as compact as the Ascender's, but it's a quantum leap over the old axles.

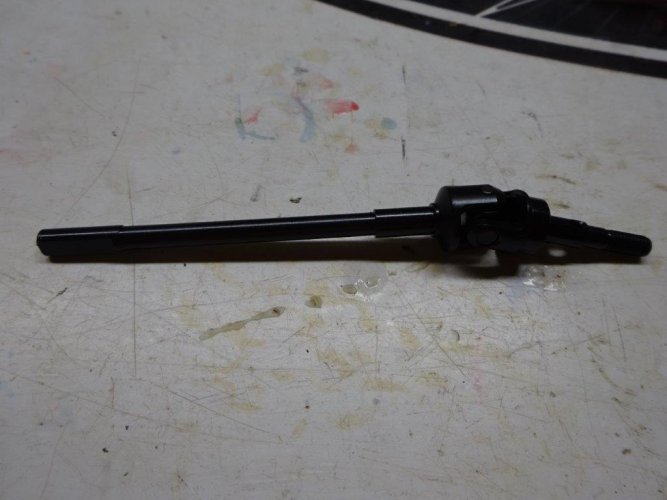
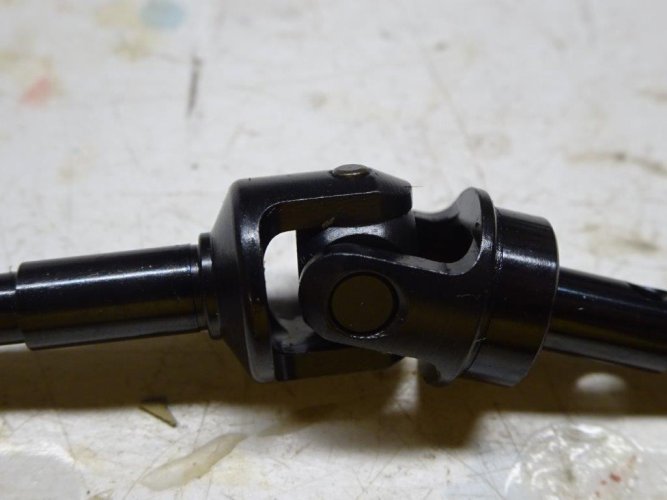
Time to finish up the axles. Universals look solid:
DSC00302.jpg

DSC00303.jpg

Here are the stock knuckles:
DSC00300.jpg

These don't seem quite as beefy as the stock Ascender knuckles, so we'll have to see how they do. I'm sure the aftermarket will have some options very quickly, particularly since the universals should allow more than the 45 degrees of steering that the stock knuckles/c-hubs permit.

No more flanges that require zero-gravity conditions to install properly:
DSC00309.jpg

Yay!

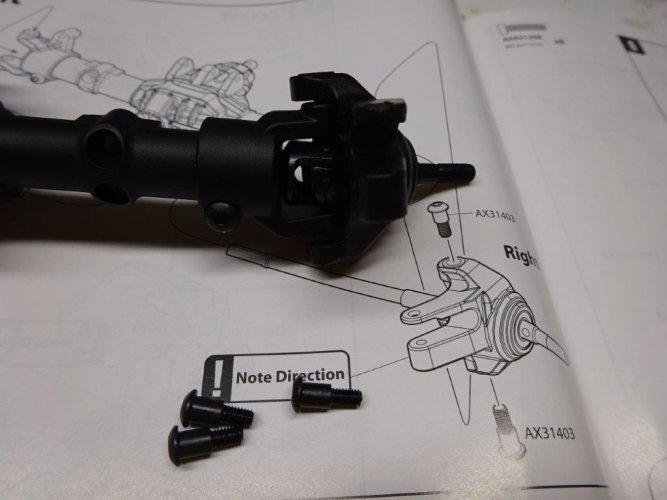
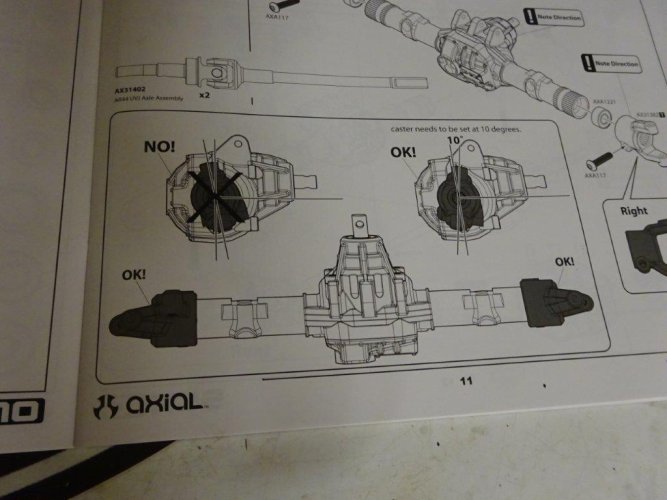
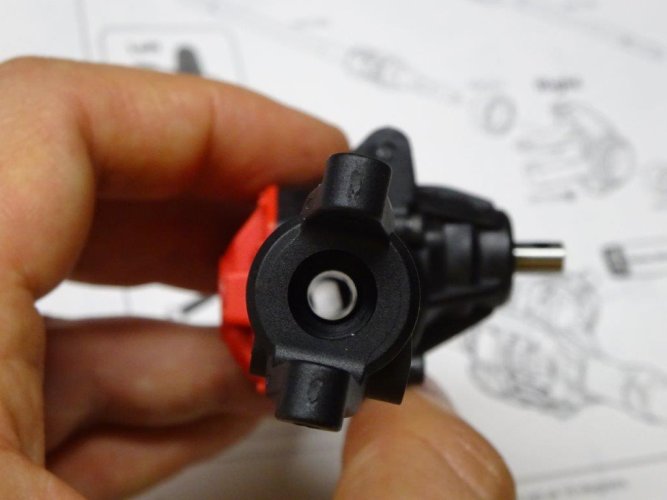
One place the instructions fall a bit short is on mounting the knuckles. The instructions insist on 10 degrees of caster but there aren't any obvious reference points molded into the axle or c-hubs. After playing with a couple of different positions, though, I think I have it:
DSC00305.jpg

DSC00306.jpg

DSC00308.jpg


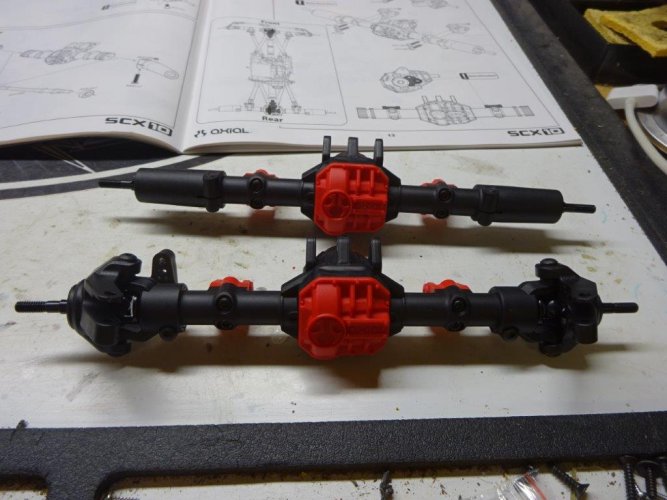
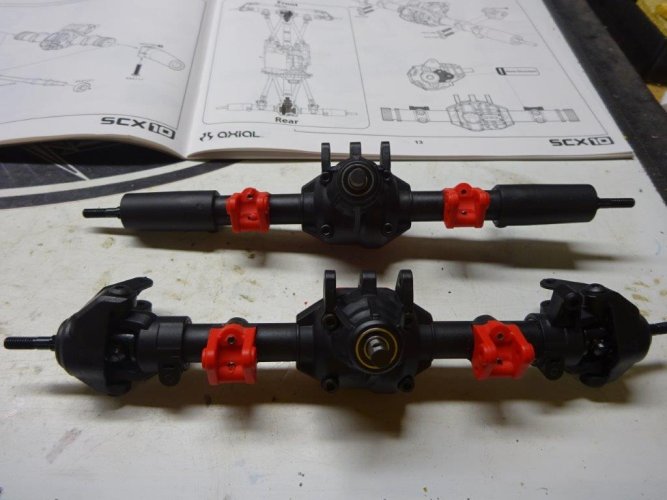
Lockouts were a breeze, leaving me with these:
DSC00311.jpg

DSC00312.jpg

The red lower link/shock mounts are a bit flashy for a scaler, but if that's the worst part of the kit, we'll be doing great.

Time to hit the sack. I'll try to get more posted tomorrow and over the weekend.
 
Yeah, if I had to pick someone to do the first build thread while I impatiently wait for mine, it would definitely be you N2R. You always have excellent detailed descriptions and plenty of pics in your threads. I like that a lot. Keep the good stuff coming and thanks for sharing with the rest of us unlucky bastards.

You're too kind, sir. But I'm happy to be the guinea pig. Oink oink. :ror:
 
Thanks for getting this up so quick!

I've been chomping at the bit for this new kit but wanted to see one on here first.

Question: are the axle tubes of smaller diameter than the "old" tubes? The imposed pics show that they are but wasn't sure if that was for effect. "thumbsup"
 
Thanks for getting this up so quick!

I've been chomping at the bit for this new kit but wanted to see one on here first.

Question: are the axle tubes of smaller diameter than the "old" tubes? The imposed pics show that they are but wasn't sure if that was for effect. "thumbsup"

The axle tubes are definitely smaller than the old. The housings are a vast improvement from a scale appearance perspective over the old ones. The only thing I'm not feeling at the moment are the red diff covers and lower link mounts, lol.

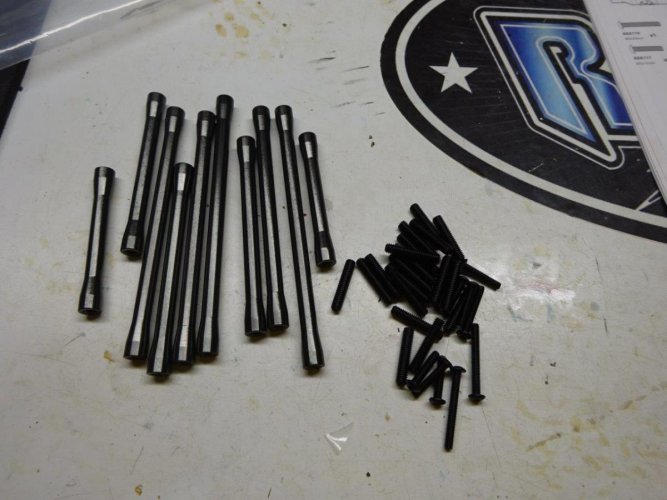
I put in a little more time on the bench this morning before getting ready for work and ran into another early production glitch. First, the good:
DSC00313.jpg

The ALL metal links, no plastic uppers, is a welcome sight for anyone used to building Axial kits. At least until I discovered that my kit had an extra lower link and was short an upper link. More on that in a minute.

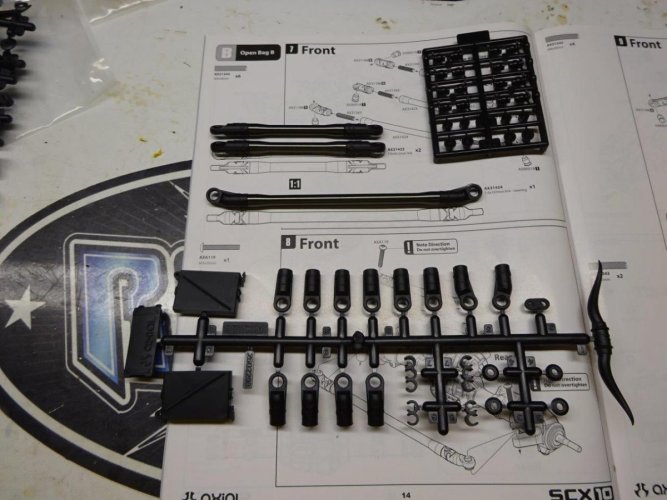
Rod ends are familiar Axial with plastic ball joints on familiar parts trees:
DSC00314.jpg

Those haven't held up too well in my experience, so I will likely swap those out for a mix of Traxxas and RC4WD rod ends (RC4WD makes an assortment of angled ends that come in handy). But these will do for now.

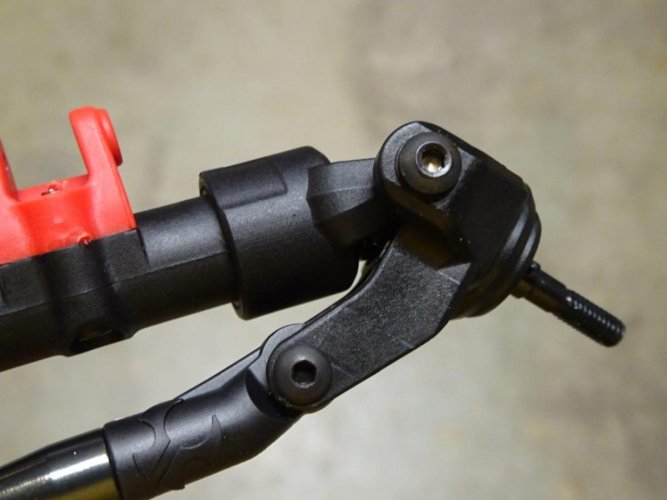
I've been curious as to why only 45 degrees of steering with universals. It looks like the culprit is a combination of steering link hitting the pumpkin (easy to fix with a bent link) and knuckles hitting the C's:
DSC00315.jpg

DSC00316.jpg

DSC00318.jpg

I'm sure the aftermarket guys (ahem, VP) will quickly figure out how to get a few more degrees of steering here.

The directions have a little error when it's time to mount the Panhard to the axle. The diagram shows you to place the Panhard rod end behind the mount on the axle:
DSC00321.jpg

But that won't work. Flip ahead a couple of pages and a later picture shows you how it should look, so that's what I did:
DSC00323.jpg

DSC00324.jpg

DSC00325.jpg

The standard rod ends don't allow a lot of angle for the steering link:
DSC00322.jpg

Once I have it all together, I may swap those for bent rod ends.

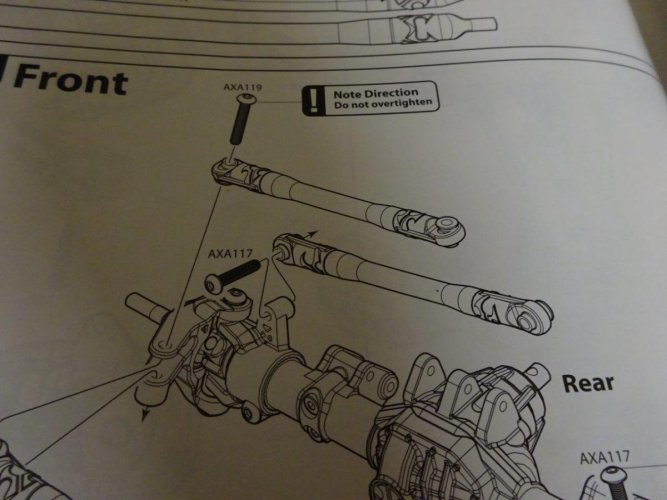
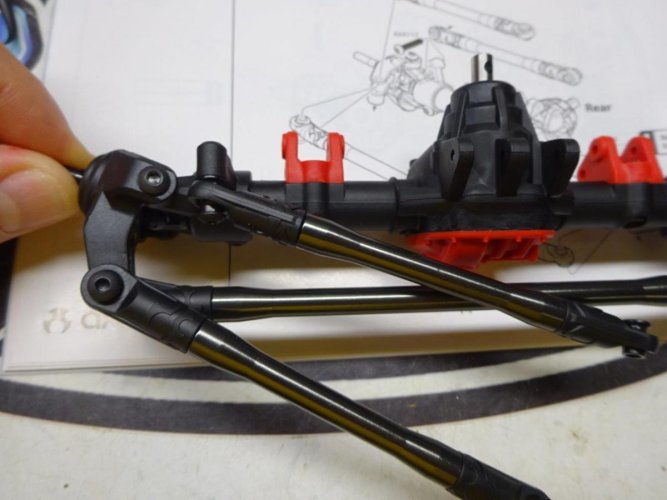
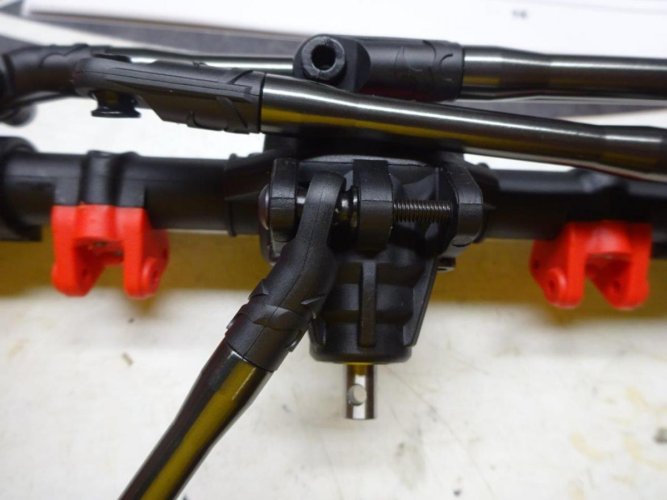
When attaching the front upper link, the directions tell you to note the direction of the rod end at the axle but the picture doesn't really tell you what that should look like:
DSC00327.jpg

Here's how it should go:
DSC00326.jpg

At each step, note the direction of the ball joints when inserting the rod ends and then mounting to the axles and later the chassis:
DSC00328.jpg

DSC00329.jpg

DSC00330.jpg

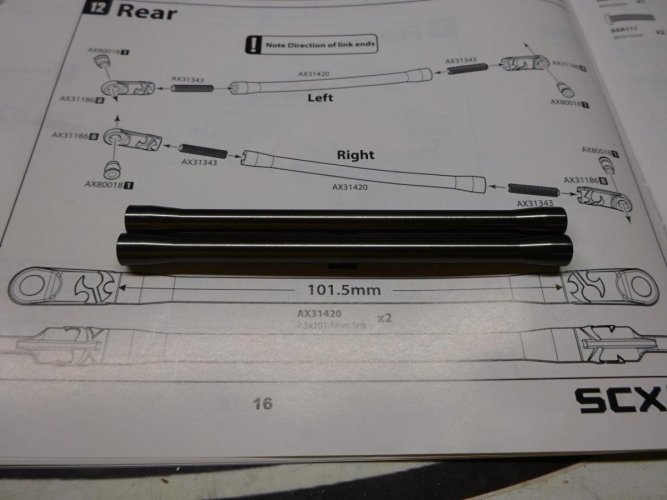
I was all ready to start the rear links...
DSC00331.jpg

...until I noticed this:
DSC00332.jpg

I'll probably whip up a quick home-brewed link for now, but that will have to wait until after work and family time tonight. I'll post more as I can.
 
1 missing link, 1 extra link, 2 missing bearings?

im still buying 2 kits. I am going to keep one boxed up.

cant wait to see what the frame rails look like.

great description and rundown. keep it going.
 
LOL I'm in no condition to do a video this week (Roo's birthday, buying a house, crazy busy at work, etc. etc.), so we'll have to stick with a build thread and pix for now. I'll try to get a video up sometime in the next week or so.

A new house to make room for your tiny trucks is a little extreme, wouldn't shelving be a more cost effective solution?

Or you could just stop buying ....... never mind.

Please proceed. :mrgreen:
 
oh! just noticed. looks like you have your lower link mounts upside down. according to the 7th picture down on your last post.
 
oh! just noticed. looks like you have your lower link mounts upside down. according to the 7th picture down on your last post.


LOL. That's what I get for starting a build way too late on a school night. That will get fixed tonight. "thumbsup"

Best thread ever. Nice stuff!


Too kind. Especially considering that I don't even know how to install a link mount. :ror:


Sent from my iPhone using Tapatalk
 
A new house to make room for your tiny trucks is a little extreme, wouldn't shelving be a more cost effective solution?


Or you could just stop buying ....... never mind.


Please proceed. :mrgreen:


Hmmm...Derek thinks I may be a bit extreme. Pot calling the kettle black...? :-P

BTW - when are you bringing your Bronco over for a play date?


Sent from my iPhone using Tapatalk
 
Hmmm...Derek thinks I may be a bit extreme. Pot calling the kettle black...? :-P

BTW - when are you bringing your Bronco over for a play date?

Touche Mr. Kettle.

The Bronco is ready to go, it will be over soon. I also have some SCX10 II theories to discuss with the BowHouse R&D team. "thumbsup"
 
Mine is on the truck so this is very helpful especially from you sir. Love the ascender comparisons too!
 
I think I remember Axial saying that the hollow balls were a "new" material...I wonder if Traxxas hollow balls will fit?

Black diff covers were mentioned as an optional part. I'm guessing they werent included? Surely SSD and VP will come out with some aluminum covers soon.
 
Looking awesome bud. It sucks that I just built a new scx10 and this came out:evil: if I wait a while so you think the new axles will work with the original scx10 to get the same turning radius ?
 
Back
Top