Thanks Tom!Looks great Brian, thanks for sharing.
I’m definitely interested to see what you have in store for the green panels
I’m also curious to see what I do with them!
Thanks Tom!Looks great Brian, thanks for sharing.
I’m definitely interested to see what you have in store for the green panels
I hear ya on the price. I never had a plan to buy these machined rod ends in the past. I’ve seen others use these on the Optic and thought this would be a good way to get a closer look at them and see how they hold up. I more than likely will never buy these for link rod ends.Looks great, but I just can't justify $35 for a few rod ends! Are those rod ends tight on the shift linkage to make the perfect length steering link for the Hydrosteer?
Thanks for the info. More reason for me to not get these. That space would drive me insane.I hear ya on the price. I never had a plan to buy these machined rod ends in the past. I’ve seen others use these on the Optic and thought this would be a good way to get a closer look at them and see how they hold up. I more than likely will never buy these for link rod ends.
They are not tight up against the shift linkage center. There might be another half or full turn to go. There is enough room for more adjustments. I did put a small drop of Loctite on the threads to hold them from spinning.


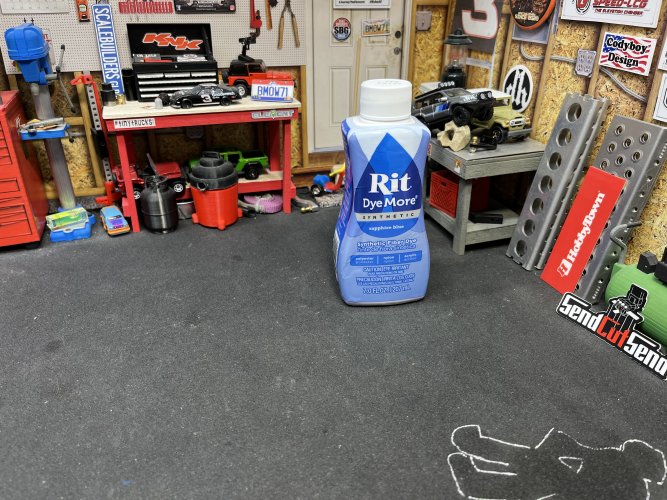
Not on this one. Still deciding which direction to go with the green.Wow. Thats a nice blue. Guessing not going with the green panels?
It is a nice looking color. I’ll make it work.Maybe darker than what you wanted but that took the color extremely well.
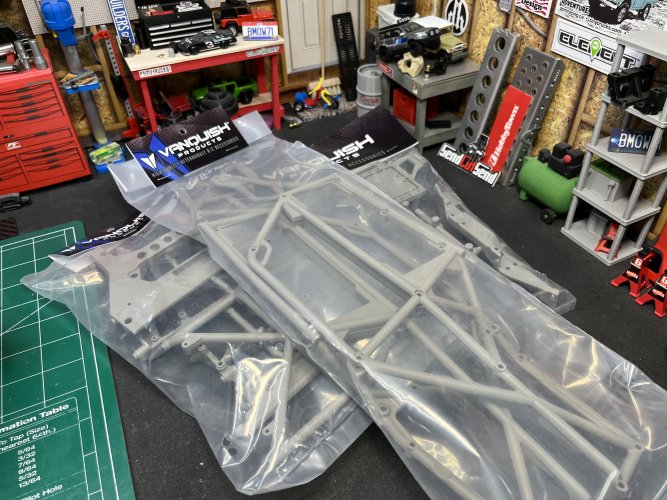
Black panels would look good. No the cage does not come with screws. Luckily I have thousands of spare black oxide screws laying around.That’s a great looking shade of blue. Some maté black panels would look killer. Does the cage come with the hardware to assemble it?
No the black plastic won’t take color like the gray. I let you know how it holds up.wow!! I just fell in love.... I want to know how that works hahaha, I imagine that in black plastic it wouldn't take the same color, right??
Thanks. Nice to be back! CF panels would look great! Nice idea for the green panels.Nice to see you back around ... always with the great informative post and absolute detail in the images. The Blue looks great and more with some dark colored panels even the CF ones too ... I would think for those that got the green panels, a dark green cage will pop with the lime green and even dye your green panels a shade darker.....
I do remember the old Fox colors. May keep that in mind for a livery. Thanks!That blue is vintage Fox (suspension) blue. Before they stole KTM colors (orange and black).
Edit: here's a pic of their old truck shock decals. All the bike stuff was blue up until about 2010 when they did some black and then a couple years later they went orange/black across the board
Blue Fox decals
Thanks. The deep blue is growing on me.Wow that is a very vivid blue. I love it! Bummer it's not what you were going for, but I think it looks great.
Thanks for following along. I’m not sure how deep the dye is. I should have dyed a piece of the sprue to do the check. I’ll report back once the cage gets some rock rash.Following in the bg as usual lol always a pleasure to see what build project you got on the go. How far does the dye penetrate (looks good), how deep of scratch can it take before exposing the original cage colour, if any?


You’re right. I’ve got other plans for the stock fuel cell with the red plug.The Optic kit comes with two of the anodized red screw plugs. One for the axle and one for the stock fuel cell.
