• Welcome to RCCrawler Forums.

    It looks like you're enjoying RCCrawler's Forums but haven't created an account yet. Why not take a minute to register for your own free account now? As a member you get free access to all of our forums and posts plus the ability to post your own messages, communicate directly with other members, and much more. Register now!

    Already a member? Login at the top of this page to stop seeing this message.

Rusty Attempts A G.I. Joe Never Sleeps 1/6 Scale

rustneversleeps

RCC Addict
Joined
Apr 12, 2015
Messages
1,425
Location
New Brunswick,Canada
What's up people. it's been at least 3 to 4 years since i did a build.
Matter of fact sold most of my RC and have 9 left and they're all been sitting dormant since then..
lol..
So now i have the itch to start another build during the winter months.
This time it will be the G.I. Joe Jeep Willy's that been on the shelf for like 8 years and didn't have the courage to rip it apart.

So after doing some homework and Googling (G.I. Joe Jeep Willy's build) and lot of images pop up to give some insight on where to go with this..

I would like to keep it Army looking, will save me time to paint but you never know....
also i want to make this a leaf spring instead of links set up that i see every body doing..
My OCD tell me to do leaf's spring to make more scale, don't care for articulation at the moment but if leaf's don't pan out will try the links....

For parts I'll be just using what i have on hand as I'm going to try a budget build which in my mine is still going to cost me...hahaha

As for trans going try a brand new Axle Yeti trans Or (Xtra Speed 2 speed trans, at least with forward engine ,More Money)with Old school axial axles and like to upgrade to D44 axle housings..

Servo-cheap one for now, and still working on some type of army tire...
Anyways there probably be lots of pics and I'll try to explain as best as I can....
Also as i write this I'm a bit a head of the build so I'll try to play Ketchup.. lol Catch-up..
Enjoy....one more thing, for all you Hasbro Jeep willy's build thanks for your knowledge and inspiration..
Ps might be a long build nothing fancy just long and slow....
As one person said on this forum a while back said,this is (Eye Ball Engineering) at best..

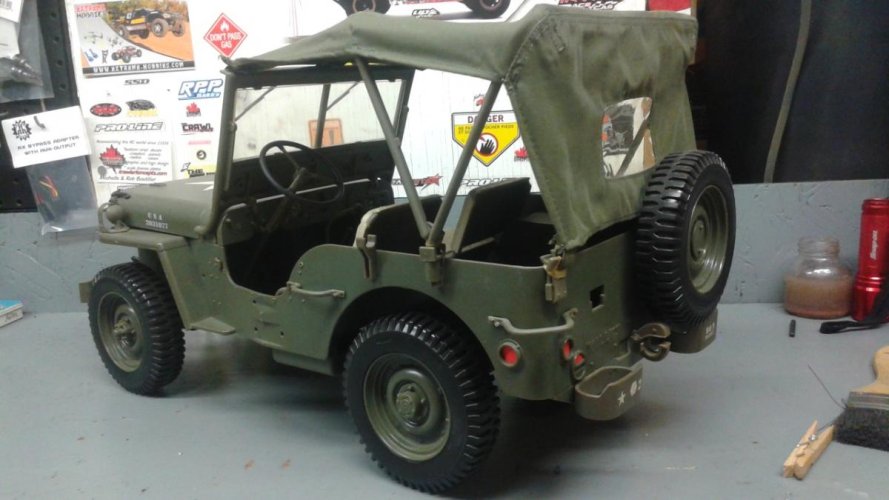
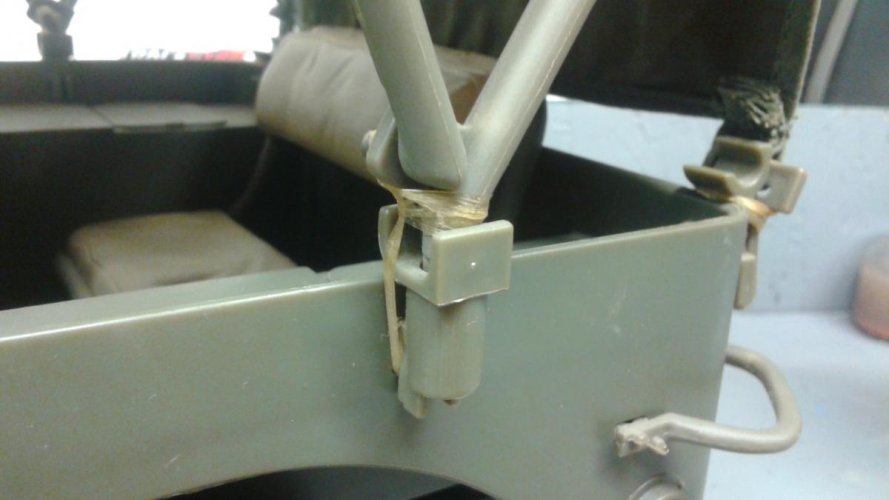
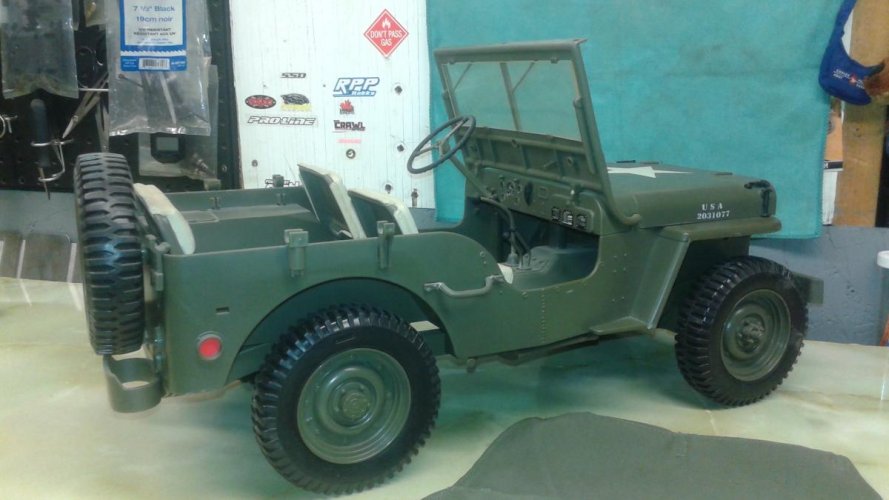
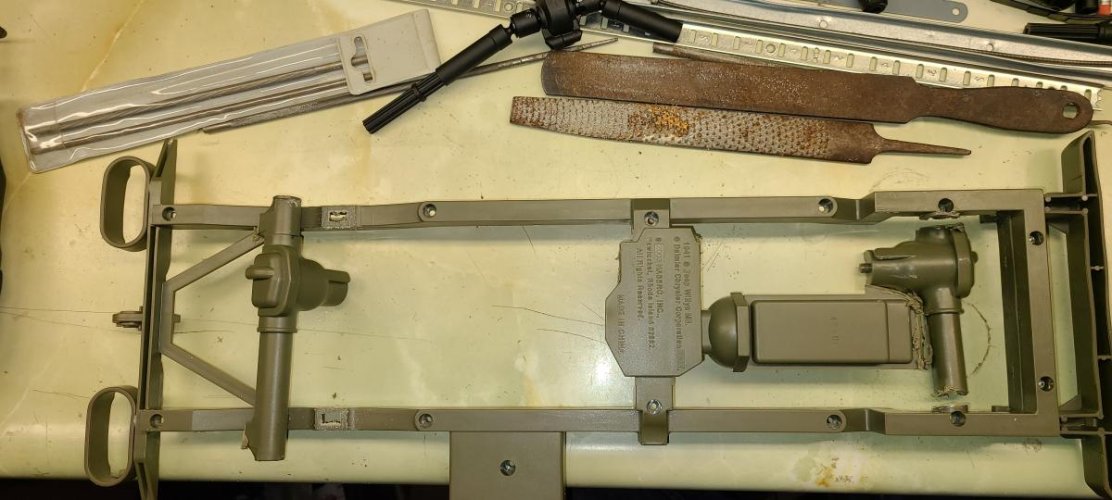
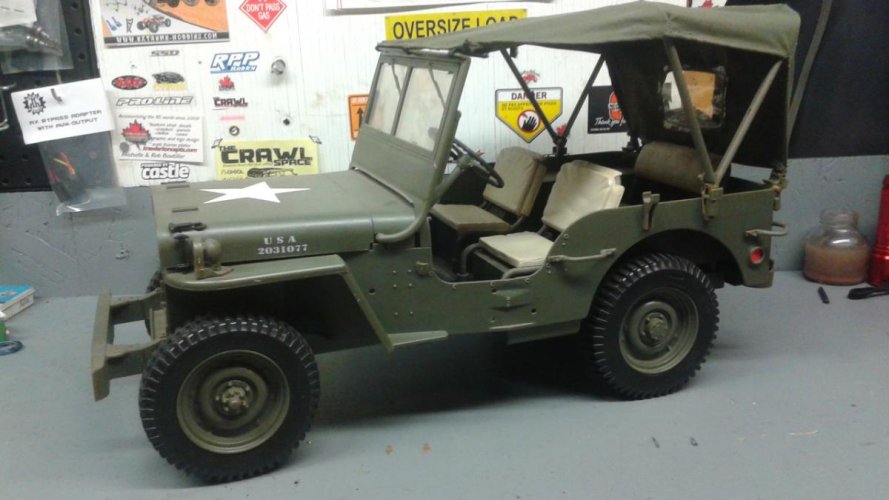
this is what i have to work with..2003 Gi Joe Jeep Willy's..
20170303_234053.jpg

20170303_234137.jpg

20170303_235317.jpg

20180502_210312.jpg

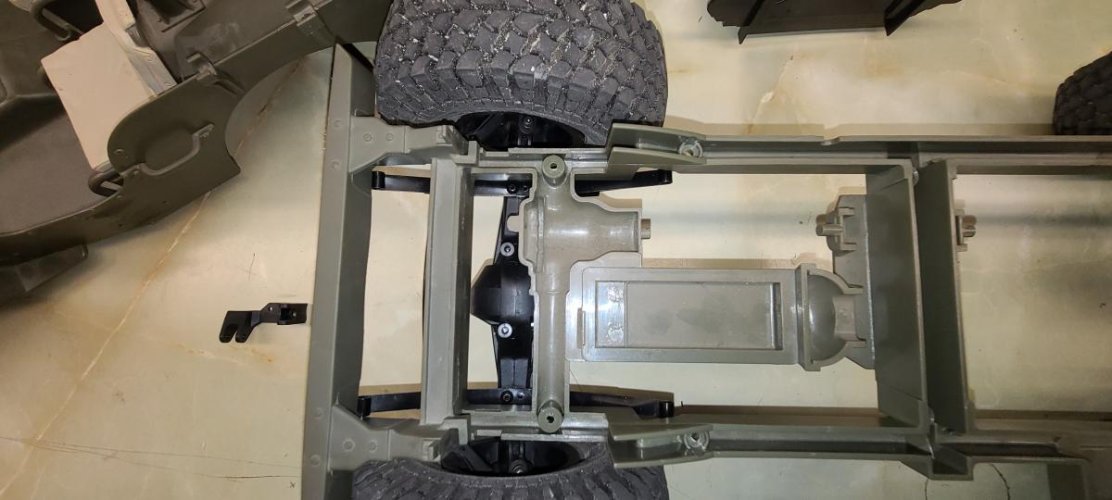
So this where I'm at now all apart and investigating each piece on how and where I'm going to cut and modify....."thumbsup"
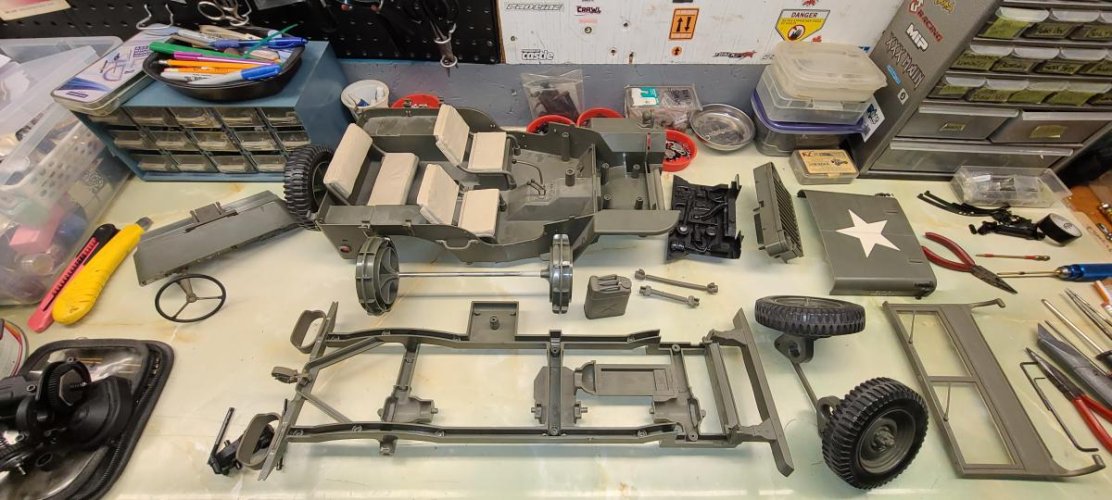
20201106_192820.jpg
 
well made some more progress not much but getting there...

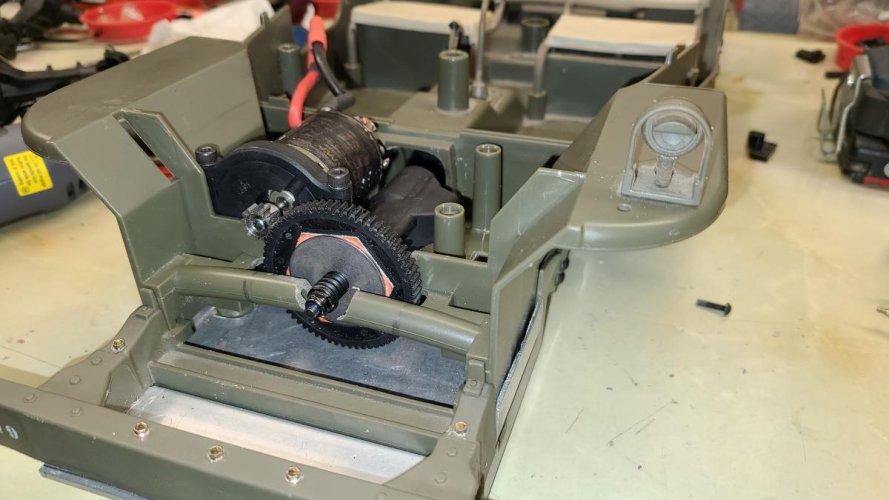
Not to good at explaining stuff but try my best.so after grinding to where I want to be the transfer case fits well...

frame off resto..
20201106_193129.jpg

figuring out leaf ..
20201106_193341.jpg

20201106_194725.jpg

20201106_194742.jpg

ties are 2.2 going to try 1.9 thinner tire 4.75 height...

20201106_194752.jpg

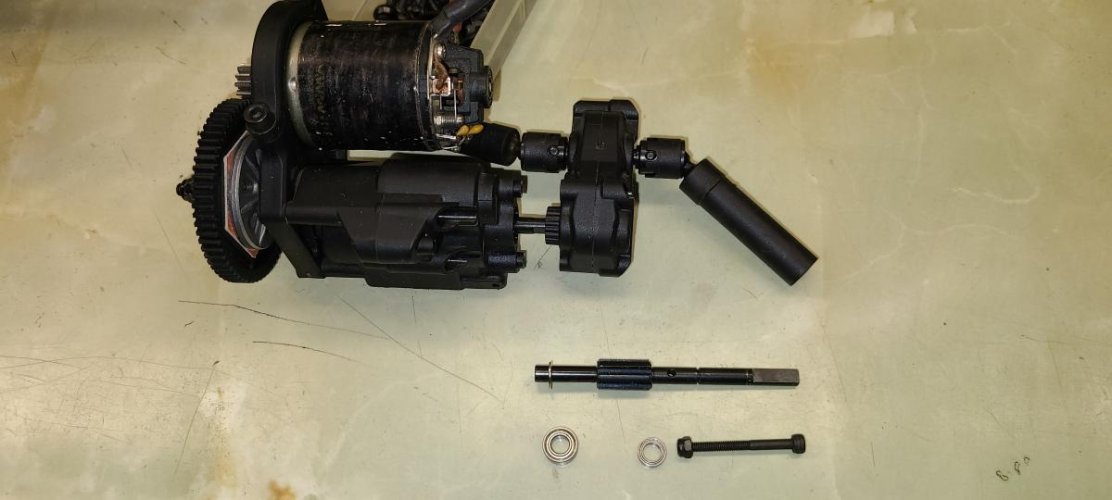
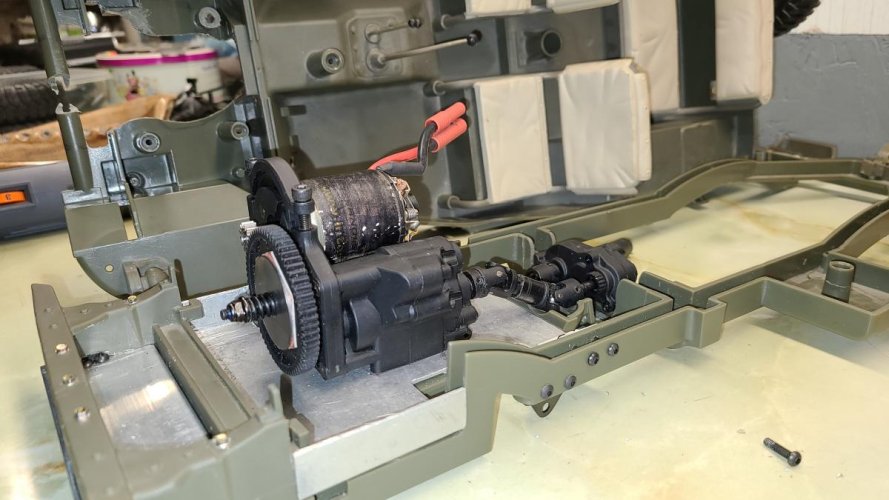
here's the yeti trans and motor that I'm going to try to shoehorn under the hood...lol
20201110_192522.jpg

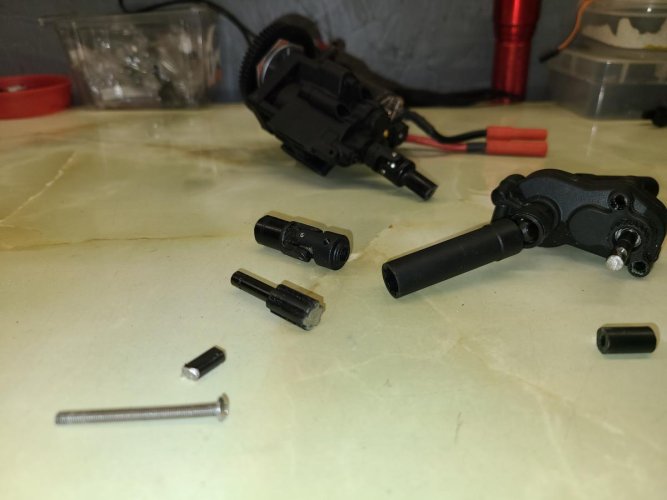
using xtra shaft the i had from the yeti and cutting it here.....
20201110_192551.jpg

20201113_003459.jpg

not sure if it's order but hope it helps...
 
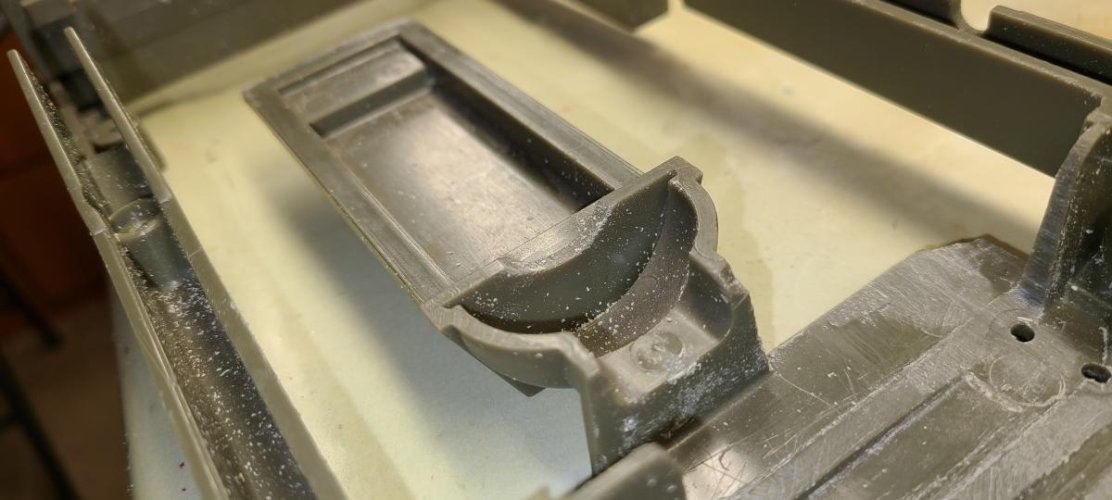
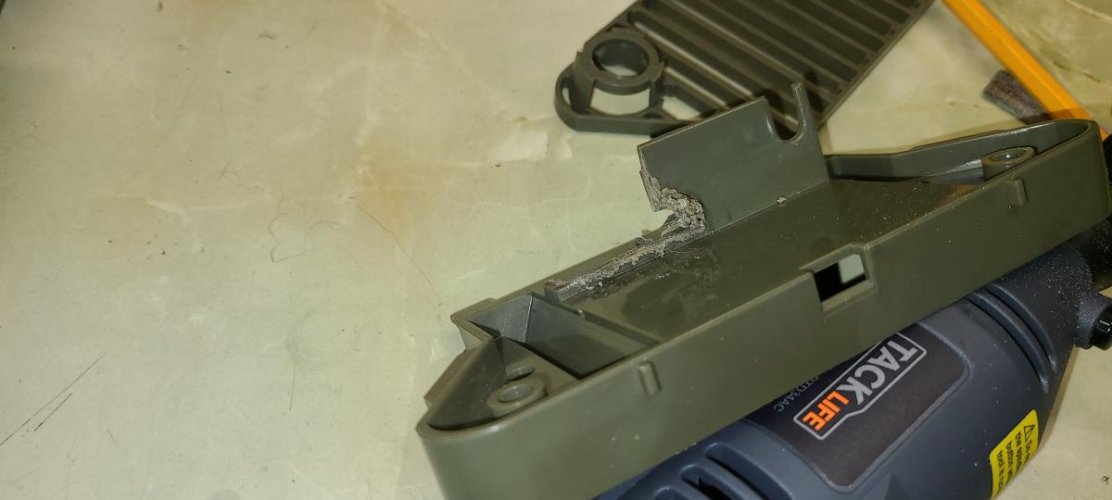
so as you can see I remove most of the extra plastic to fit yeti transfer case...still have to fab up support for motor and trans
pics pretty much explains everything......

20201110_200035.jpg

20201110_211548.jpg

20201110_211618.jpg

20201110_211607.jpg

20201110_211724.jpg

I decided to leave the Oil pan for now i think i might be able to use it for support.. Sanded ready for trans..

20201113_012556.jpg

20201113_012602.jpg

20201113_012615.jpg

Well that pretty much it for now..."thumbsup"
 
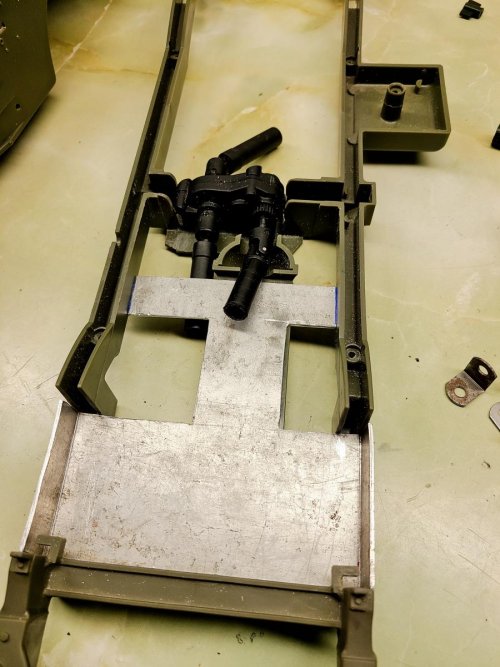
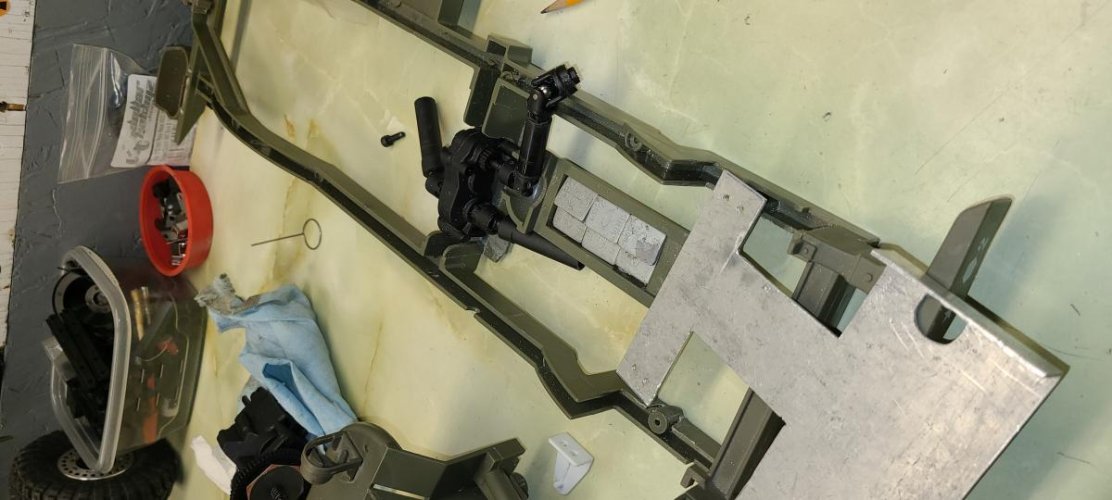
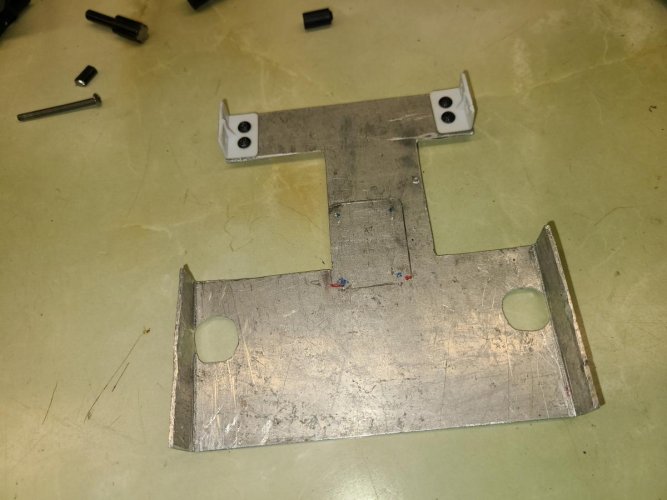
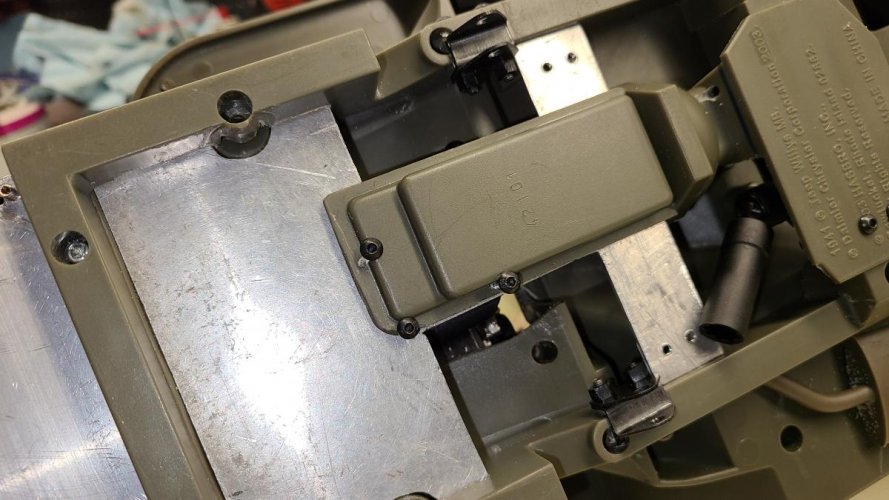
Little more done today made myself a little support to my trans and motor...nothing fancy not sure if it's going to work but just going with the flow.
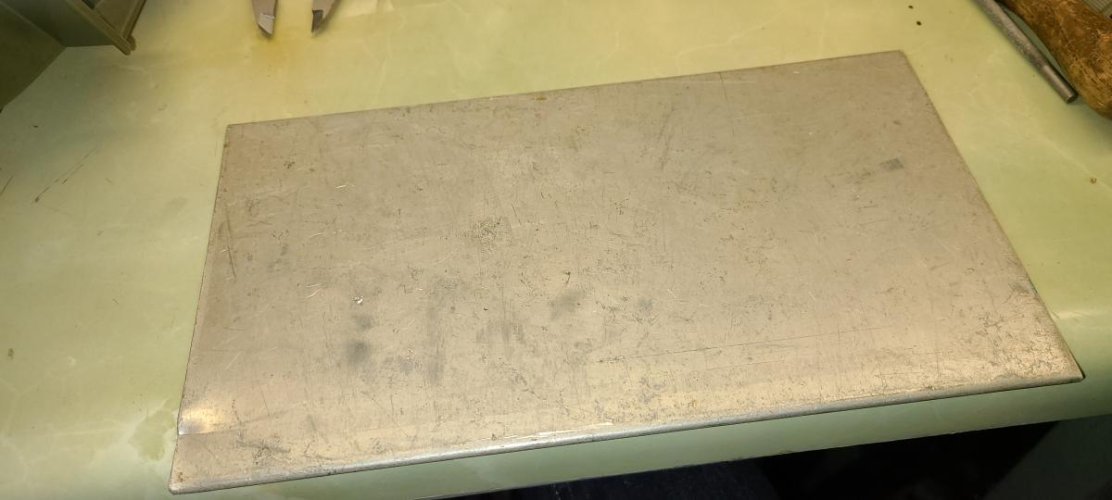
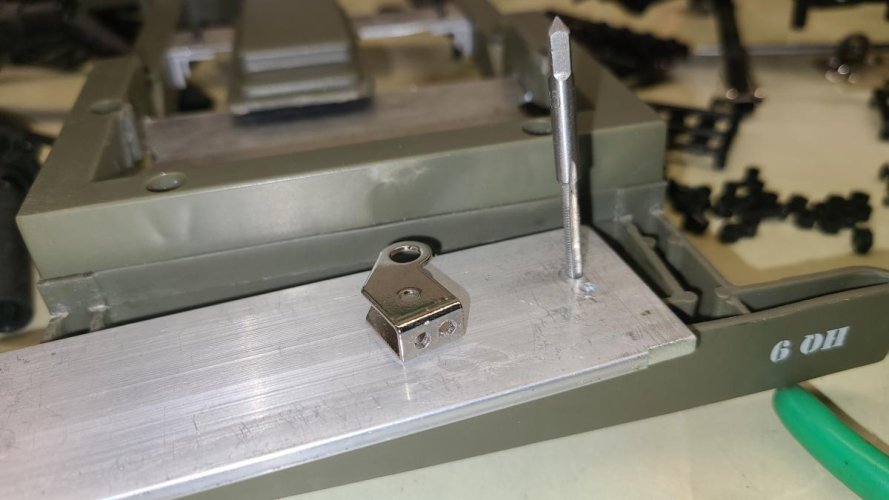
Aluminum plate cut to fit in between stock frame rails...

20201113_193602.jpg

20201114_180142.jpg

20201114_195807_01.jpg

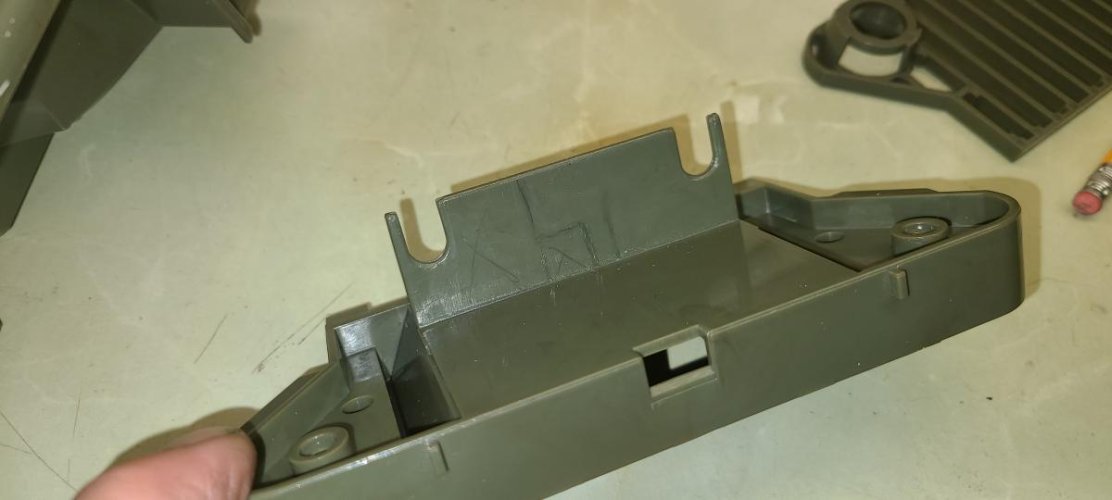
as always looking for scrape pieces and came across this for window blinds for now later will make better ones..

20201114_195841.jpg
 
Had a error come up while loaded pics so here are the remaining ones..
Here's a good place to add some extra weight for Low CG...

20201114_214903.jpg

fudge it won't load pics except for one...lol i'll try tomorrow..:flipoff:
 
Other than the added wait in the frame it looks great
A heads up I'm loosing allot of steering because of the slop in the leaf springs and frame flex I'm thinking of going to servo on axle to fix it just something to think about since your still building
 
Other than the added wait in the frame it looks great
A heads up I'm loosing allot of steering because of the slop in the leaf springs and frame flex I'm thinking of going to servo on axle to fix it just something to think about since your still building

YA I'm also looking at doing a servo on axle cause i have limited space in the engine compartment...

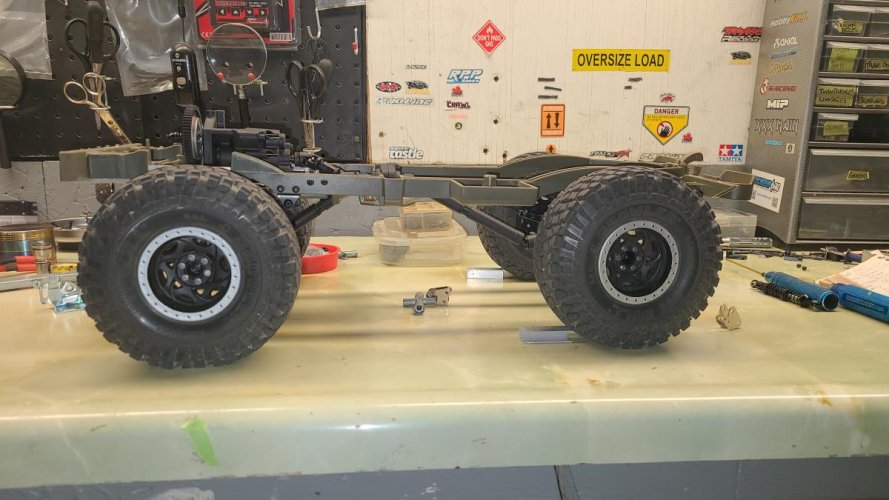
here's a pic in advance of my leaf spring setup, it's change more then once but for now turning radius is perfect but leaf springs are stiff ( Probably remove small one and put it on top or just have 2 leafs, there is not much flex..."thumbsup"

20201121_202633.jpg
 
Well time for little update.....
So I'm at the point were I have to stuff this motor trans,combo in the engine compartment.. Being 18 yr old Hasbro body was scared to screw up or cut to much, but I went for it any ways...

20201113_031313_06.jpg

20201113_232645.jpg

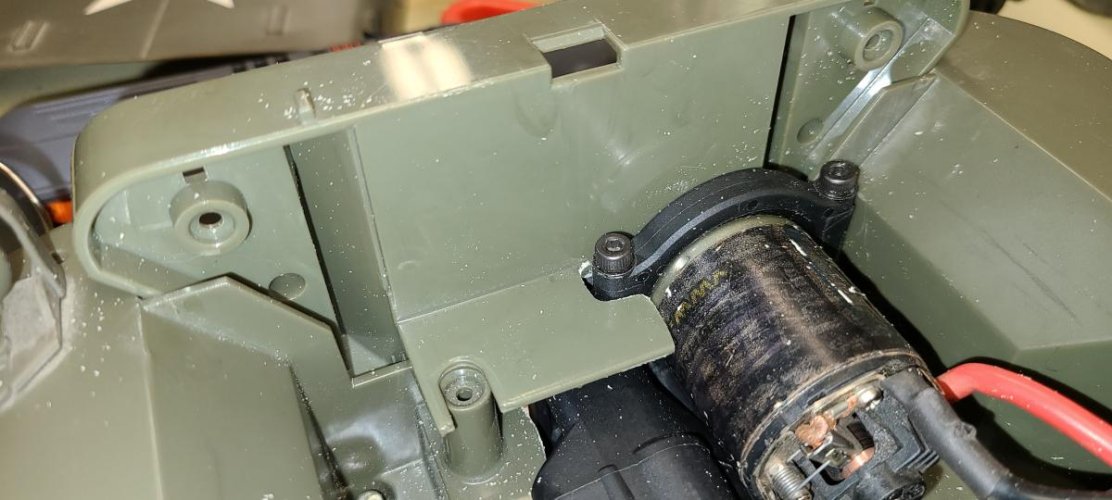
A little trimming is needed for transmission to fit snug and cut off couple engine mount so would fit...

20201114_004159.jpg

20201114_011552.jpg

20201114_020652.jpg

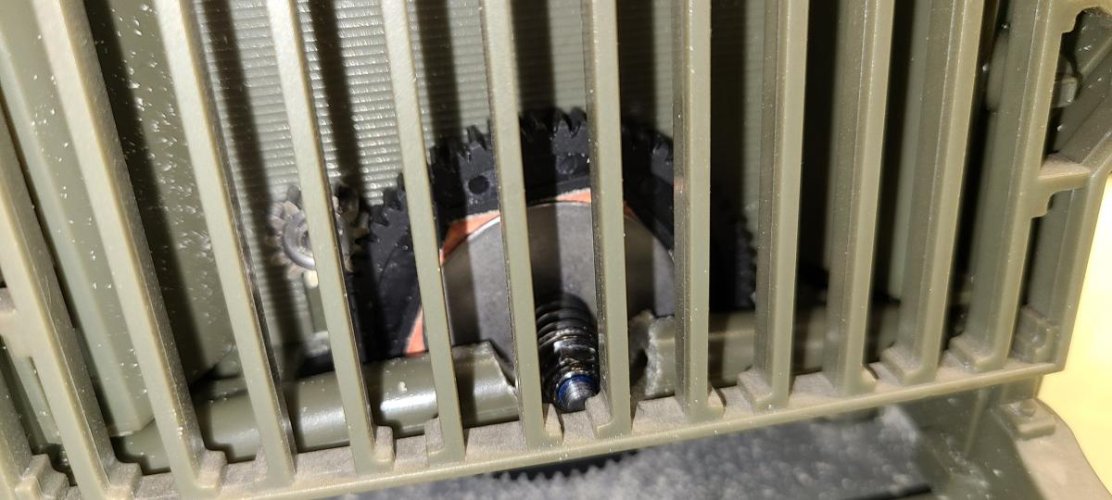
Almost there decided .Gonna try to see if i have enough room to have the pinion and gear set are visible just for fun may be paint fake fan..

20201114_215336.jpg

20201114_215349.jpg

Engine cover fits

20201115_010407.jpg

20201115_010415.jpg

20201115_211412.jpg

That it for now. I guess it's time pitter patter and get at her ..
I don't know about you but I love fabbing up stuff..."thumbsup"
 
Ok so i figured out the motor mount for now.. It seem to be in a good location but as i progress there will some changes for sure since a leaf spring set up and using the existing plastic frame. I may fill in the void inside the frame with a epoxy once it's all setup..
So I'm at the point where I have to install the rad & grill combo.. Rather then cut it up totally i wanted to see if I would have enough room to have it in front of rad rad so where you can see it..0 tolerance ...More pics.."thumbsup"

20201115_220924.jpg

20201115_221051.jpg

20201115_221327.jpg

Cut here Fan and Pinion ..

20201116_001633.jpg

20201116_001550.jpg

It fits on to the next mod...

20201116_001533.jpg

20201116_001945.jpg

20201116_001959.jpg

well i guess that it pretty simple..on to the next mod.. oh ya broke the bank and ordered me some goodies should show up in about a month...lol
take care all..."thumbsup"
 
Last edited:
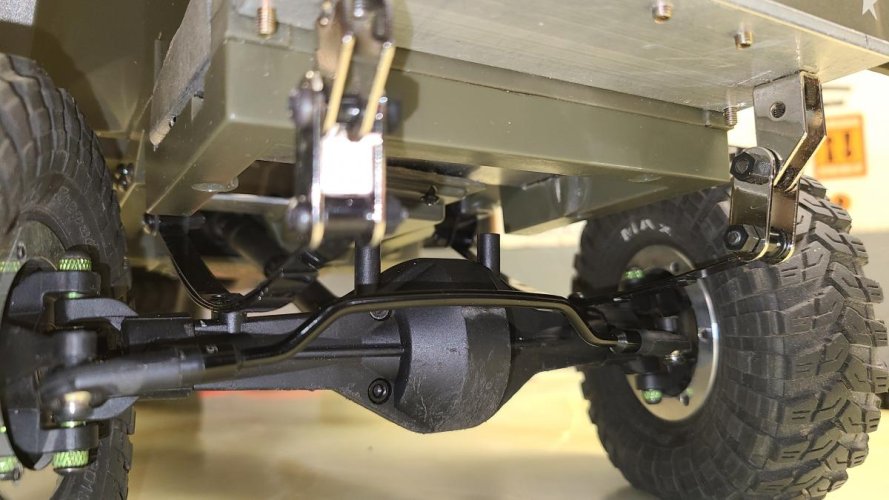
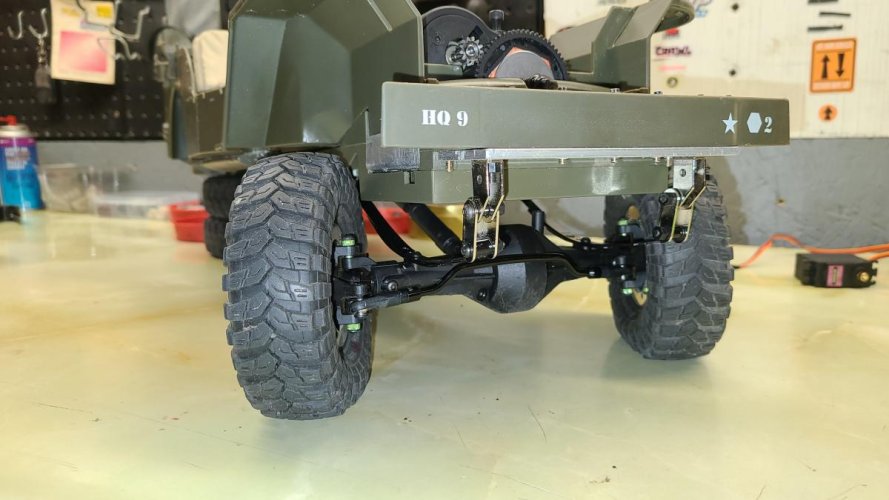
Well I worked on the willy's the last week and took some pics of the front spring set up, still have no idea where or how I'm going to set the shocks and its been going slow too. Right now I think its going to sit to high so next step might have to be is to try the springs under the axles and I'll probably have to cut some of the front frame..I'll keep at it till the end never give up...
Stay safe people..

20201118_214121.jpg

20201119_170657.jpg

20201119_220244.jpg

20201119_233040.jpg

20201122_025243.jpg

20201122_025257.jpg

20201122_025321.jpg
 
I like where this is going, it'll be interesting to see how the leafs work once all the weight is on them. As far as where to mount the top of the shocks, if you look at other Jeeps here with your same body and frame, they've attached inside the fenderwell to the body.

I built the old style Hasbro 7000 Jeep, with 4 link & shocks, and when it was completed with ladder frame, cage, figures, accessories, and battery, it came out to 14 1/2 lbs
 
Last edited:
Back
Top