• Welcome to RCCrawler Forums.

    It looks like you're enjoying RCCrawler's Forums but haven't created an account yet. Why not take a minute to register for your own free account now? As a member you get free access to all of our forums and posts plus the ability to post your own messages, communicate directly with other members, and much more. Register now!

    Already a member? Login at the top of this page to stop seeing this message.
  • RCSC

Kyosho Blizzard goes Unitrac

Instead of buying a mixer. There are many old fm computer radios that have a lot of mixing features. With a flapperon mix you could push left and have it spin on spot all from the right stick. This would leave the left stick for blade up, down, left, and right.
 
Instead of buying a mixer. There are many old fm computer radios that have a lot of mixing features. With a flapperon mix you could push left and have it spin on spot all from the right stick. This would leave the left stick for blade up, down, left, and right.

Too late, already ordered :)
Anyway, thank you for your recommendation! I`m not sure how to realize the snow blade yet, so the seperate mixer gives me the option to switch channels.
 
Very nice build.

Thank you!

I love tracked vehicles.

Me too. I like them more and more the longer I play with them :ror:


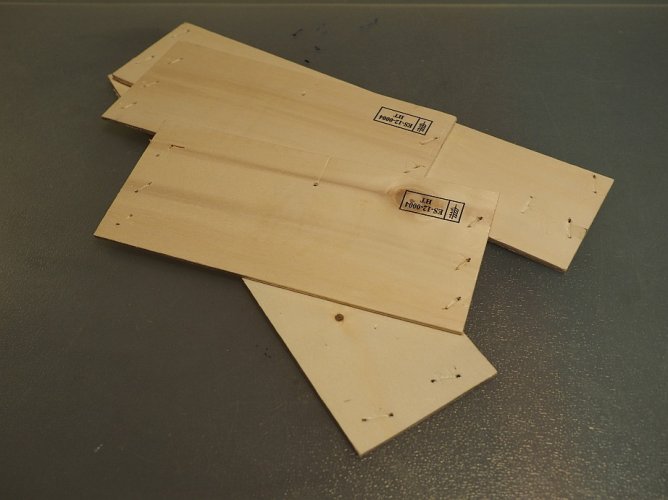
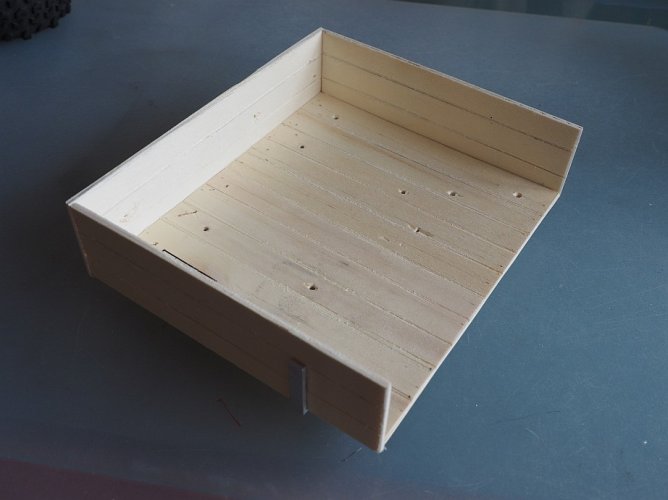
I started the bed today. The unitrac will get a wooden bed. This is what it will be made from:

Blizz 157.jpg

First, as usual, cutting and hacking them down :lmao:

Blizz 158.jpg

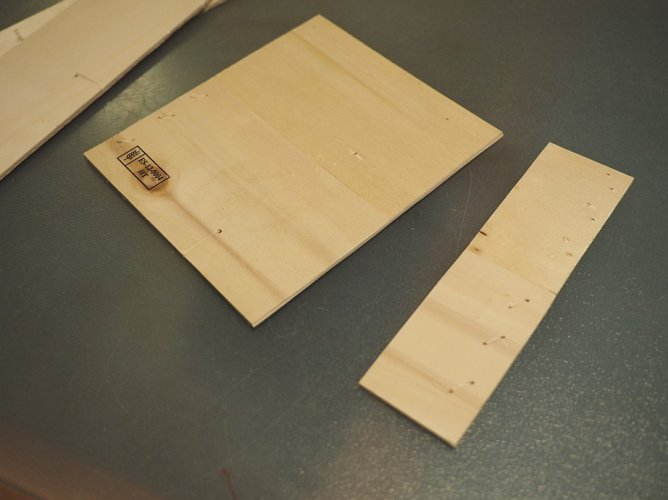
Gluing together:

Blizz 159.jpg

And cutting again:

Blizz 160.jpg

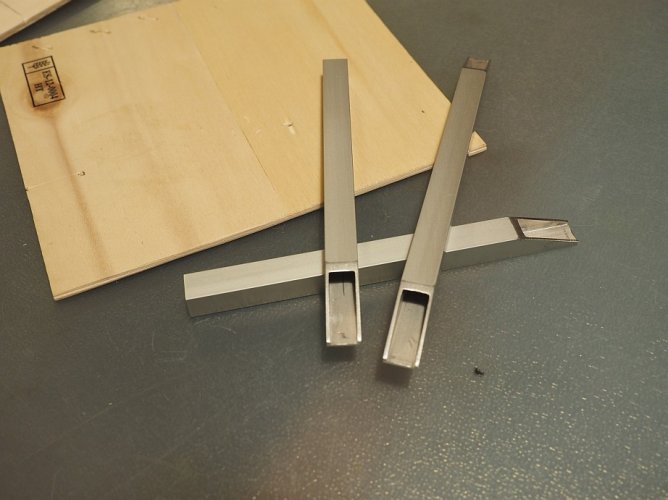
Some square tube for support:

Blizz 161.jpg

And fixed to the underside of the bed:

Blizz 162.jpg

Blizz 163.jpg
 
Some updates on the bed today. I used a saw to mimic a board pattern on the panels and floor and glued them together:

Blizz 164.jpg

I added two aluminium brackets for strength:

Blizz 165.jpg

I painted the square tubes using flat black as base color and red primer afterwards for the rusty look:

Blizz 166.jpg

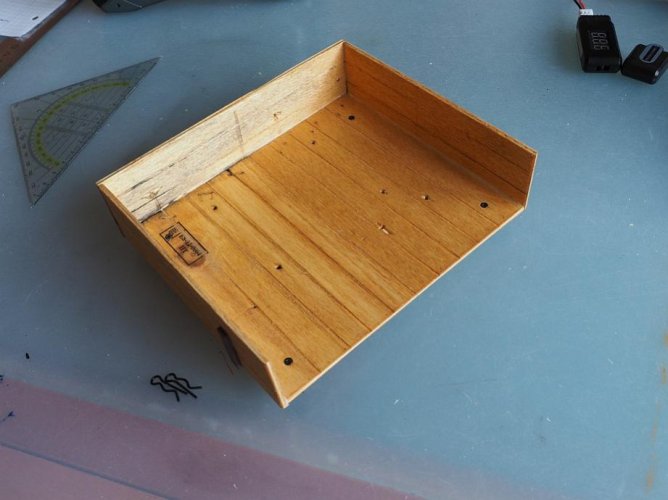
Some wood stain for the bed:

Blizz 167.jpg

Blizz 168.jpg
 
I did some testing with the electronics earlier today. Calibrated the ESCs and tried different settings using the programming card.

First, some limitations:
1.) Running modes are "forward w/o reverse" and "forward with pause then reverse", no crawler-like "forward and reverse".
2.) Max. drag brake is 30%, but this should work for now.

Low speed control is still bad, even with a very low motor timing. And I have sometimes issues with one motor starting earlier as the other, which leads to unmeant cornering, which is hard to control because steering is a little bit agressive ... :roll:

Otherwise it is running great, with plenty of power :lmao:
 
The V-Tail Mixer came in today and I had some time to play around. I hooked it up with the receiver and the ESCs and recalibrated the ESCs. That`s it, ready to run:

V-Tail 01.jpg

It still runs a bit rough, but at least I can operate it with the control elements I am familar with.
I reduced travel adjust on the radios settings for the steering to 50% and also set expo to 50%, too. Steering is way more sensitiv now. Driving the beast is becoming fun now :ror:

I hooked up two servos instead of the ESCs just to check how they move, and they are not running as smooth as they do when directly fitted to the receiver. The servos are slightly stuttering when moving. Maybe the cheap mixer is to blame for that. Anyway, I haven`t noticed this effect when driving.
So driving and cornering is ok now. Only initial acceleration is still way to hard. The Unitrac always jolts into motion ...
 
With sensorless the herky jerky startup is a fact of life. Twin stick skid steer style is my favorite way to drive tracked vehicles.
 
Try really low KV out runner motors. That is what people use on RC snowcat.

This is what I am working on right now.
 
97dcec45fe9dee0c2346461f44a5536c.jpg


Sent from my iPhone using Tapatalk
 
With sensorless the herky jerky startup is a fact of life.

Yes, I should have known better :roll:
I was hoping to reduce this effect to an acceptable minimum by gearing down ...

Twin stick skid steer style is my favorite way to drive tracked vehicles.

Yep, twin stick steer for me too, but in a different manner. I tried a skid steer setup for fun, but I was hopelessly zigzagging all the way around, unintended imitating a totally drunk driver ... :lmao:


Try really low KV out runner motors. That is what people use on RC snowcat.

That`s a good idea, I will have a look at this. "thumbsup"
I am also thinking about going back to brushed motors and a Sabertooth ESC. Not sure yet.

This is what I am working on right now.

Wow, that`s a clean and sturdy setup :shock: What is your gear ratio, and how fast will you be?

If I would take an attemt at a bevel gear drive, I would also like to eliminate the primary chain and try to direct drive the sprockets (as the aluminium shaft is already inside of my chassis).
The primary chain is definitely a huge downside of the Blizzard.
 
The gear ration is 3:1. There is a guy on rcsnow cats who sells them. I am using a saber tooth and 35t motors and assuming I will be doing 15mph but torque will be huge over stock.

I wired my motors us with 12g wet noodle. Esc terminals won't fit for the 14g. Waiting for new wire to arrive.

If you don't mind I can post a update on your thread after I get more out together.


Sent from my iPhone using Tapatalk
 
The gear ration is 3:1. There is a guy on rcsnow cats who sells them. I am using a saber tooth and 35t motors and assuming I will be doing 15mph but torque will be huge over stock.

15mph is pretty fast :shock:

If you don't mind I can post a update on your thread after I get more out together.

I would be happy to see some updates of your Blizzard, so please feel free to post some pics "thumbsup"
 
I want to add a warning light to the Unitrac. My first thought was to place it on the roof of the cab, but i didn`t like to run the cables inside down from the roof, because they would be hard to hide.
I found a pic of Mog with a warning light in the back:

UT 002.jpg

I like the way it is attached to the cab, even if my version will not be extendable.
So I started making some brackets from small rod ends:
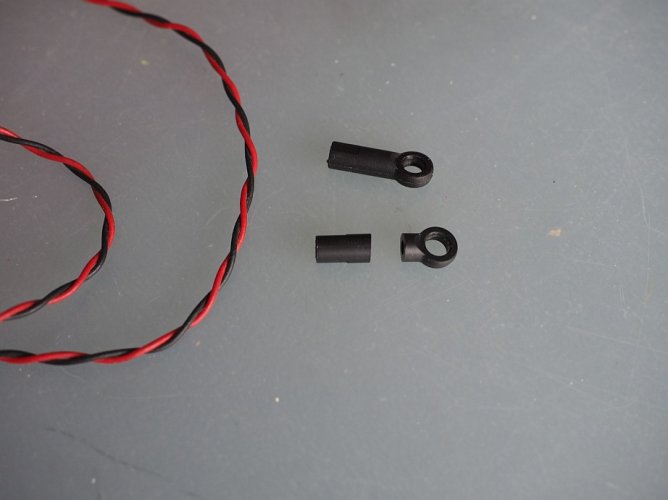
Blizz 169.jpg

some brass tube:

Blizz 170.jpg

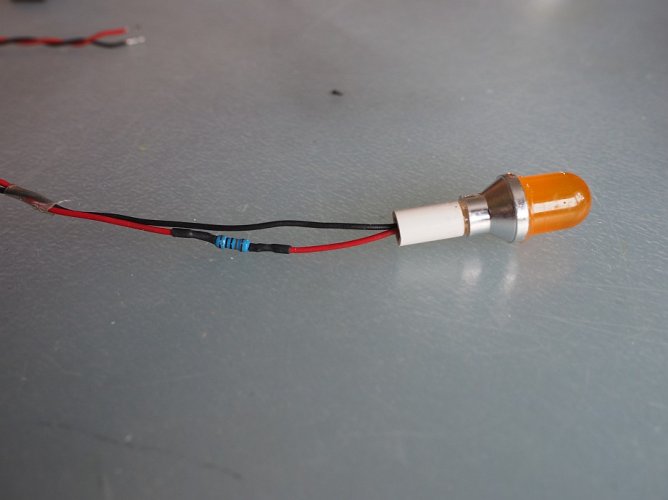
And, of course, a LED. This is a flashing amber LED, so I need no further electronics (beside a 150 Ohm resistor):
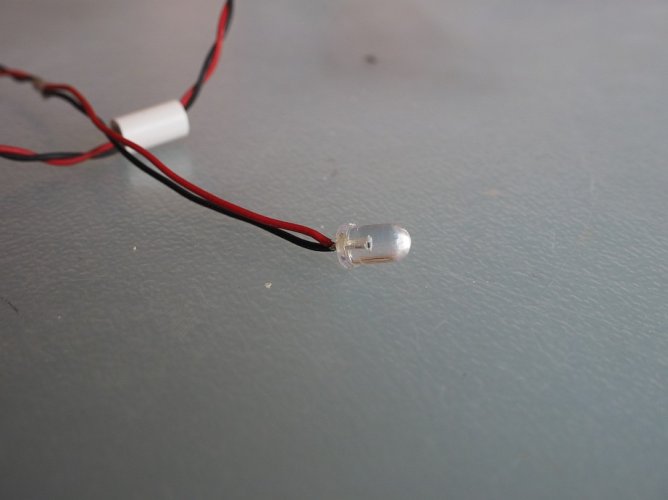
Blizz 171.jpg

Plastic sleeve as adaptor for the tubing:

Blizz 172.jpg

Resistor in line with the LED ...

Blizz 173.jpg

... and servo plug, so this can be powered by the receiver or rather by a HEYOK switch, so it can be turned on and off by radio :ror:

Blizz 174.jpg

Attached to the cab using two 2mm screws:
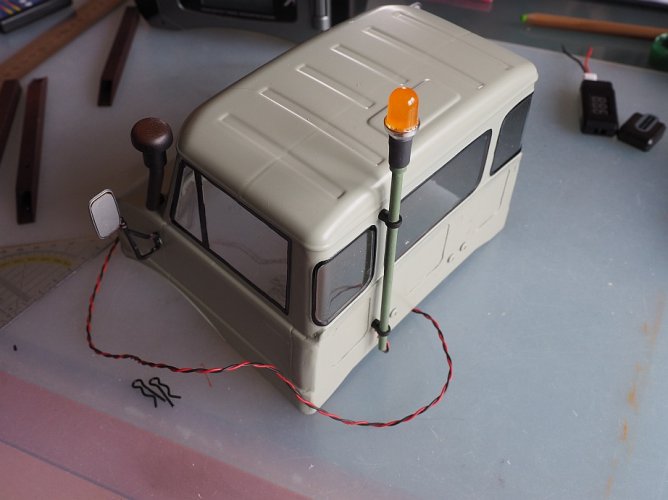
Blizz 175.jpg

I will take some outdoor shots at the weekend.
 
Great pictur,,, Where I can purcase it???
o.png

Not sure what you want to purchase. Flashing led and warning / hazard turret are from:

rc-beleuchtungen.de - Beleuchtung für RC Car - LEDs & Zubehör Modellbau Rundumleuchten Blitzlicht - LED BLINKEND 5mm "ORANGE" 6.000mcds

and:

rc-beleuchtungen.de - Beleuchtung für RC Car - LEDs & Zubehör Modellbau Rundumleuchten Blitzlicht - Signalleuchten ohne LED

I don`t know if they offer international shipping.

You can also go for HEYOKs hazard light flasher. It will work with standard LEDs, so you don`t have to use a flashing LED:

http://www.rccrawler.com/forum/vendors-electronics/517539-hazard-light-flasher-light-flasher.html

Hope this helps.
 
Stellar work all around. Mount the bed already. The suspense is killing me. Nice touch with the light. What is the resistor for.
 
Stellar work all around. Mount the bed already. The suspense is killing me. Nice touch with the light. What is the resistor for.
Thank you :)
Bed is mounted, I am working on headlights and taillights now.
The resistor is dropping the BEC voltage (~6V) to the LEDs operating voltage (~3,5V).
Pics are coming soon. :ror:
 
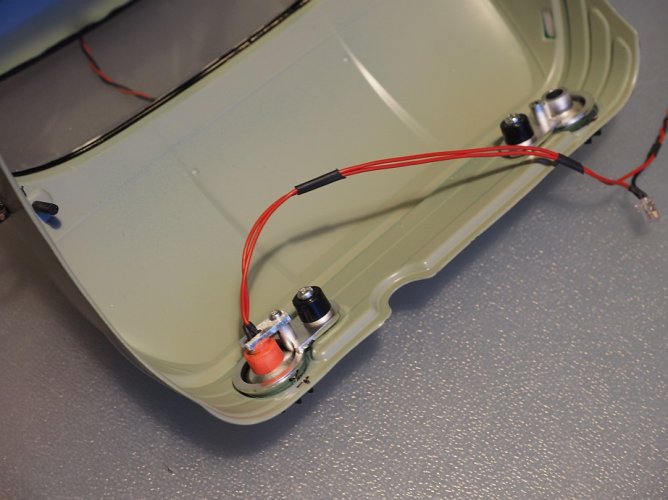
Weather wasn`t nice to today so I stayed inside and went to the lighting. I started with the headlights. I wired up the two LEDs in line, so no resistor is needed. I used some (red) heat shrink tube to prevent stray light on the inside of the cab:

Blizz 176.jpg

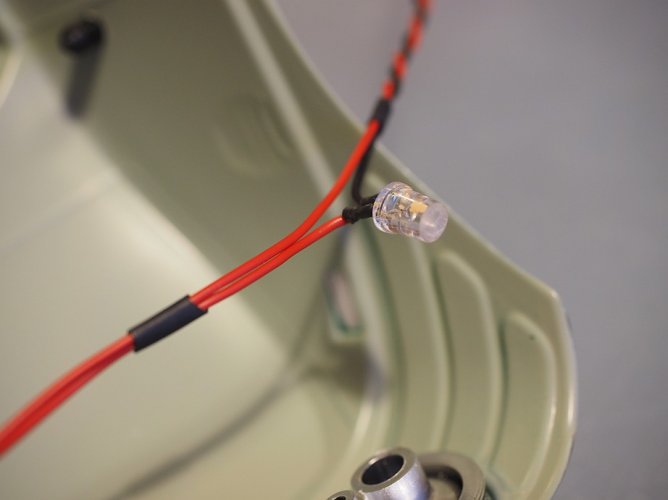
The LEDs have a 15° spot beam, which is too narrow for a vintage headlight, so I sanded the round nose of the LEDs and made them flat. Light pattern is like a floodlight now.

Blizz 177.jpg

Blizz 178.jpg

Both LEDs in. Cables connected to a plug, so it is easier to detach the cab:

Blizz 179.jpg

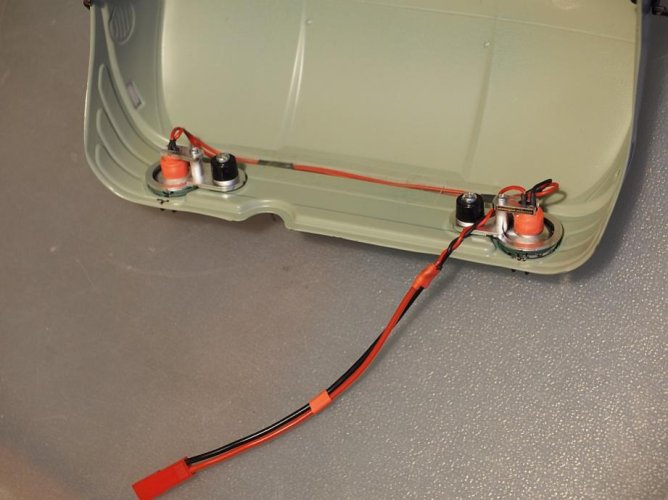
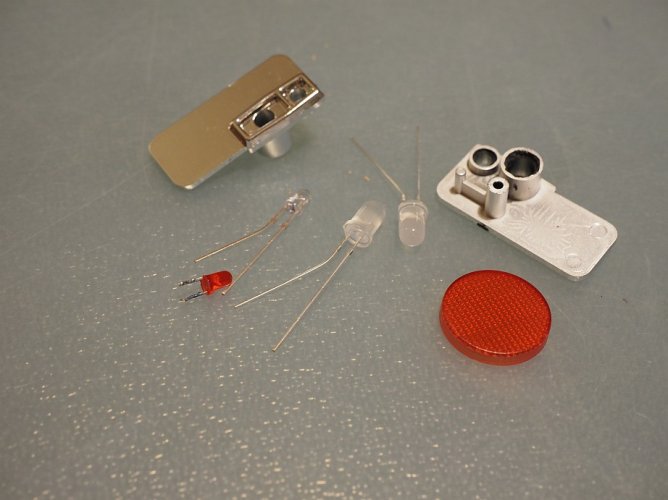
Next are the tail lights. This what I have at hand:

Blizz 180.jpg

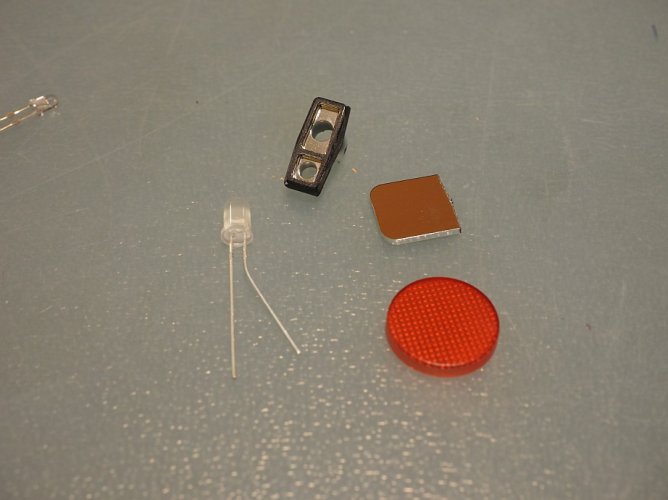
Hacked down the provided tail lights of the Tamiya body set and removed the chrome using a box knife:

Blizz 181.jpg

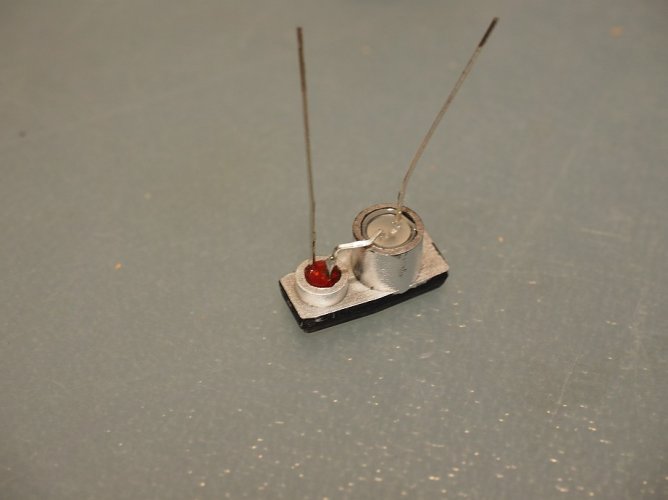
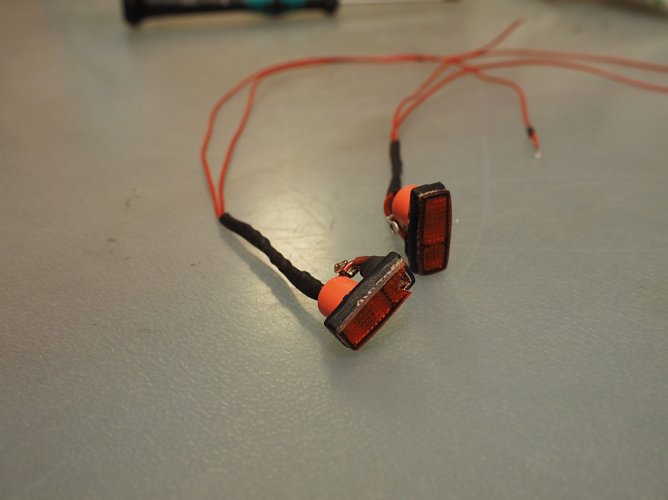
Soldered up the LEDs. Two LEDs on each side:

Blizz 182.jpg

Blizz 183.jpg

Quick performance check:

Blizz 184.jpg

Too bright at the moment, but we will see how it looks when the covers are on.
 
Sorry gentlement for stopping in the middle of the build, I took a few days off. I`ll be back on this project soon.
Thanks for watching.
 
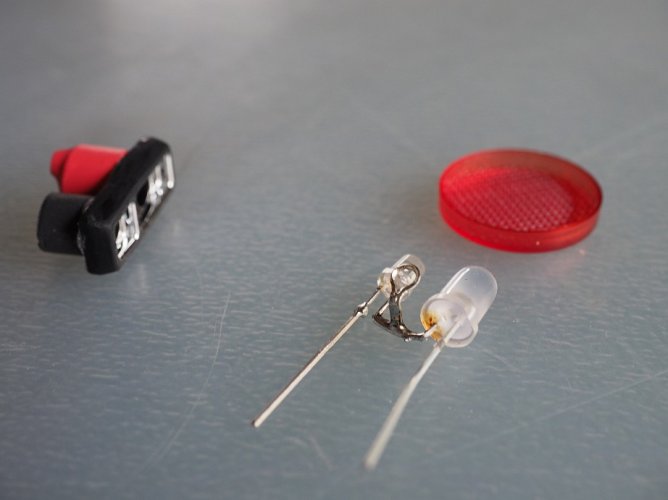
Small update today. I am still fiddling with minor details which takes a lot of time. I continued to complete the tail lights. I made some lenses out of, hmm, some kind of bigger lenses:

Blizz 185.jpg

I soldered a small wire hoop to the led as attachment point, so I can fit the light to the bed with a 2mm screw:

Blizz 186.jpg

Both tail lights ready for installation:

Blizz 187.jpg

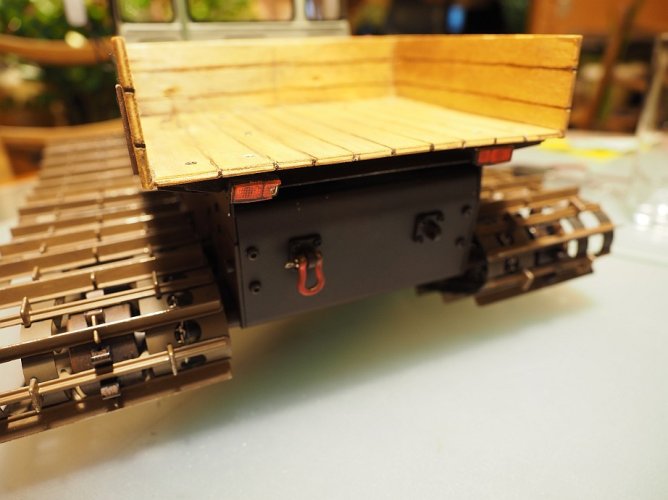
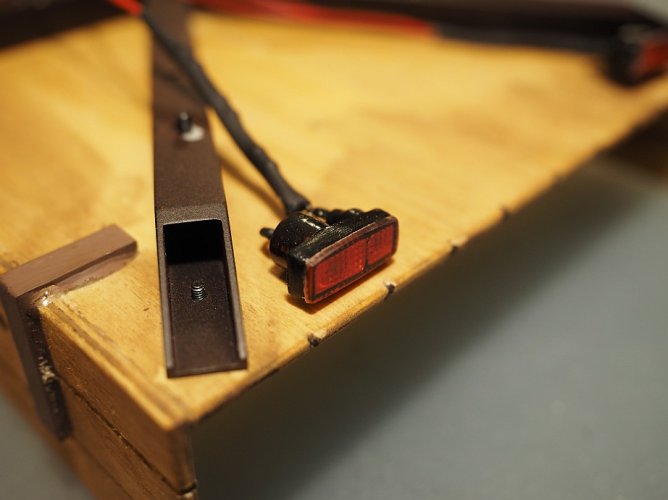
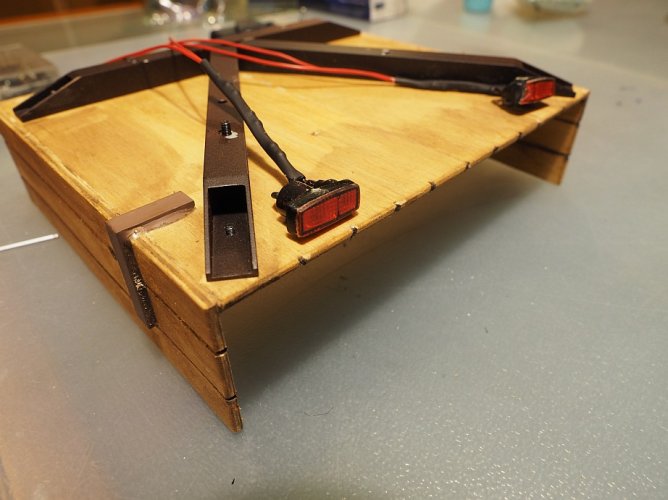
Fitted to the bed:

Blizz 188.jpg

Blizz 189.jpg

Yes, well spotted, one light is broken and hanging down :ror::

Blizz 190.jpg

Blizz 191.jpg

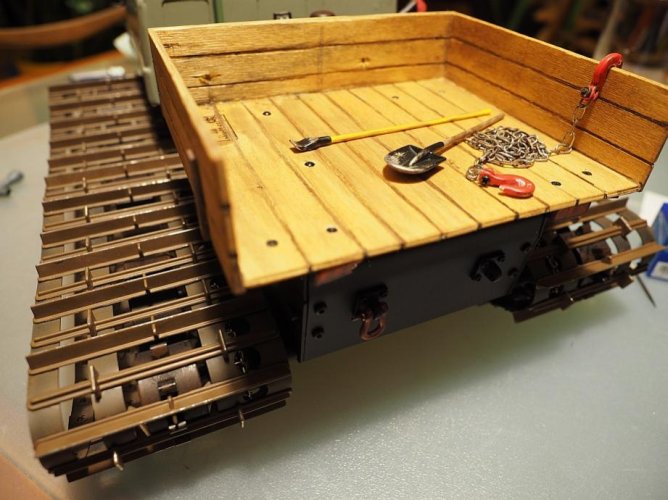
I put some tools in the bed, so I am ready for some forest work now:

Blizz 192.jpg

The shovel and pry bar are from a Proline accessory kit, chain and hook are from Yeah Racing. All tools are weathered using techniques from the "paint and body" section of this forum. My favorite technique is drybrushing, easy to do and great results. :ror:
 
Back
Top