• Welcome to RCCrawler Forums.

    It looks like you're enjoying RCCrawler's Forums but haven't created an account yet. Why not take a minute to register for your own free account now? As a member you get free access to all of our forums and posts plus the ability to post your own messages, communicate directly with other members, and much more. Register now!

    Already a member? Login at the top of this page to stop seeing this message.
  • RCSC

Kyosho Blizzard goes Unitrac

Great Thread...
and Awesome Work...."thumbsup""thumbsup"

Hurry Back...

Thank you for the compliments!

Love the mods so far! I am still waiting for some snow to get my blizzard out this year

-Mike

I am very pleased my build makes you feel the urge to bring your Blizzards back into action. Please feel free to post a pic of yours here!

As mentioned before, this will just be a tad slower, not on hold. As you can see, my work space is a mess and I have to find some place between the MRC parts to show you the paint I got for the Blizzard body / cabin today.
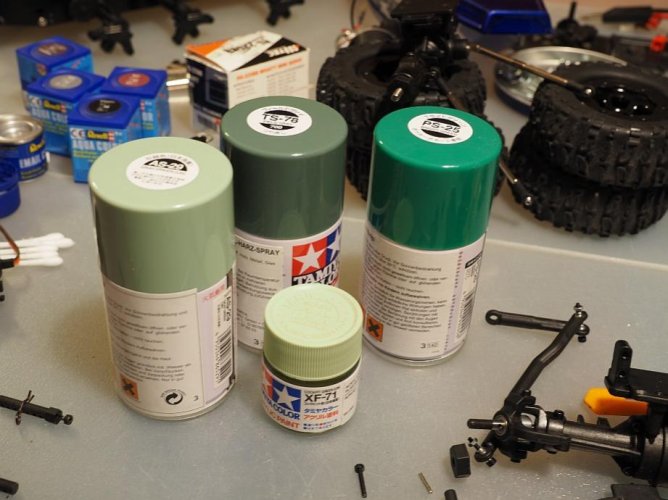
Blizz 060.jpg

I am not sure which will be the best. AS-29 is to light, TS-78 to dark and more kind of grey than green. PS-25 will be the primer for the lexan body. XF-71 would be a good match, but I would have to buy an airbrush gun first :roll:
Maybe I find the opportunity to spray a first layer of paint on the Blizzard chassis tomorrow. I will start with flat black and add some brown and rusty red later.
 
This looks awesome "thumbsup"

I can't wait to see it come to running status with a body on. The Bruder 1400 mog cab & bed would probably fit this perfectly.

How do you cut your aluminum so clean, it looks sheared ? "thumbsup"
 
This looks awesome "thumbsup"

I can't wait to see it come to running status with a body on. The Bruder 1400 mog cab & bed would probably fit this perfectly.

How do you cut your aluminum so clean, it looks sheared ? "thumbsup"

Thank you, well spotted! It is indeed sheared :ror:
I have access to some metal shears in different size and style. This helps a lot.

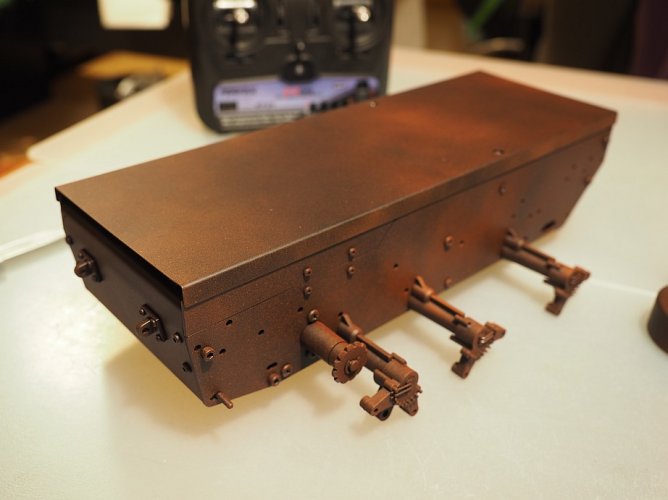
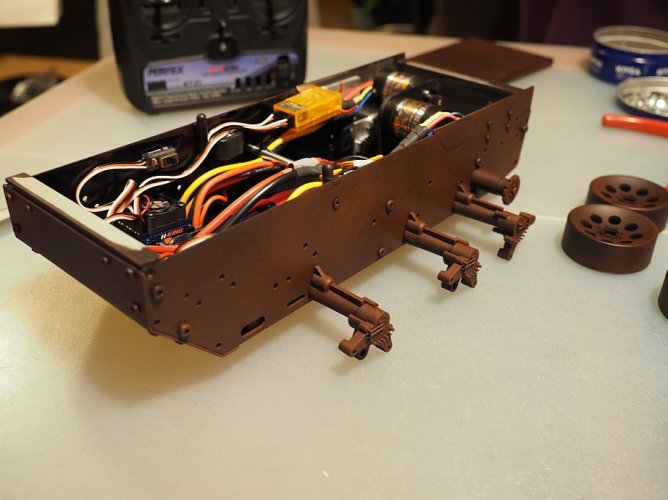
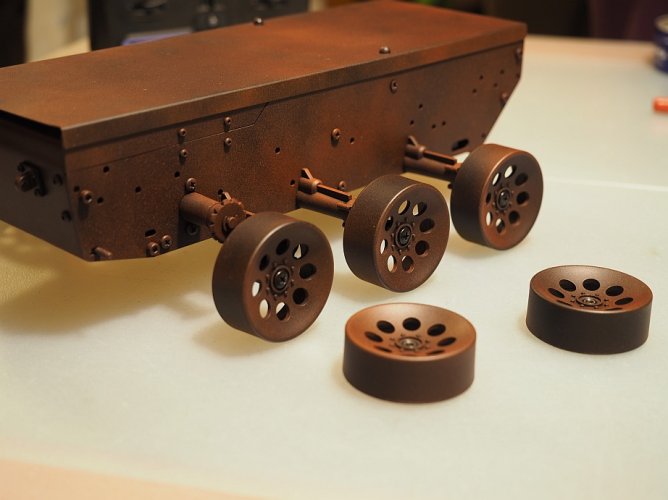
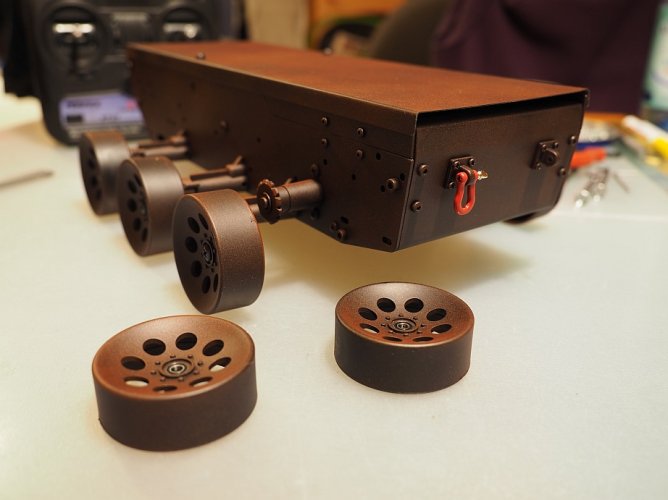
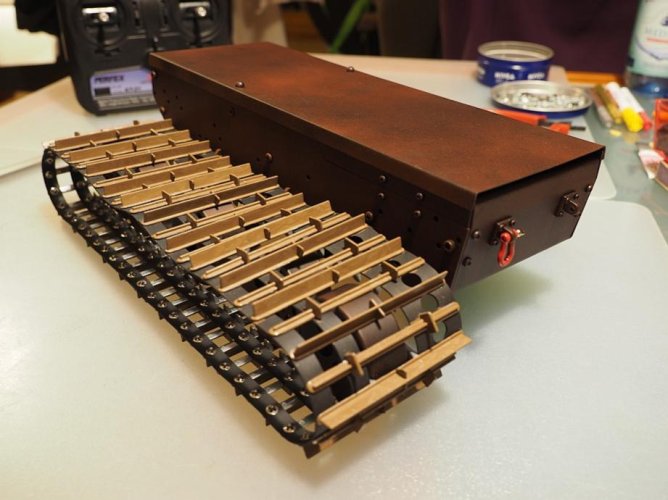
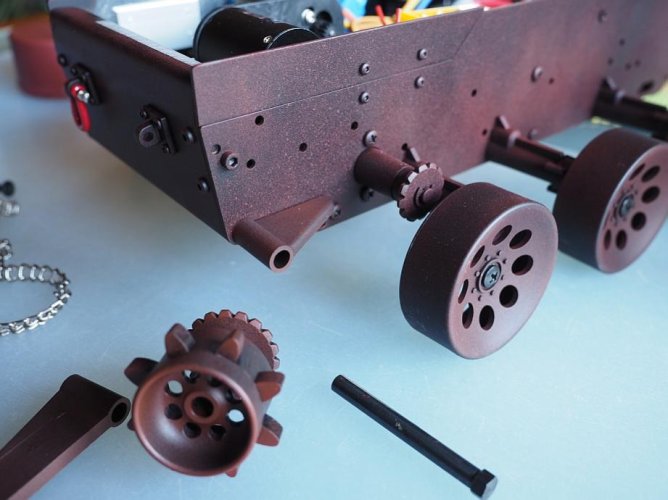
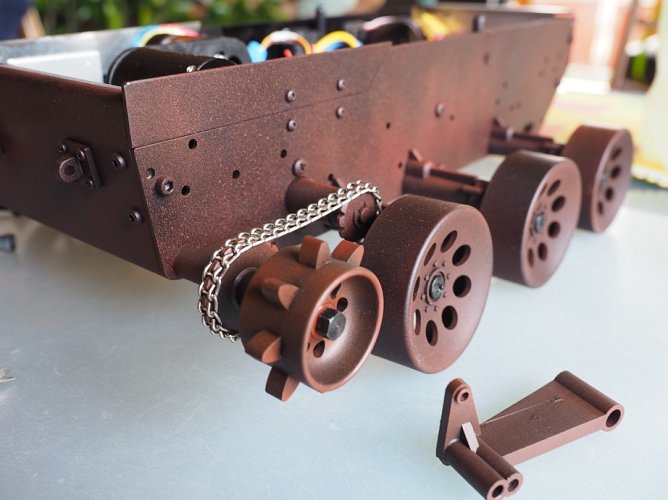
Got some paint on the wheels and chassis today. That was fun :mrgreen:
I am happy with the result, even if the pics cannot show the real colors. I will take some outdoor shots next days (when it stops raining :roll:)

Blizz 061.jpg

Blizz 062.jpg

Blizz 063.jpg

Ball bearings for the wheels:

Blizz 064.jpg

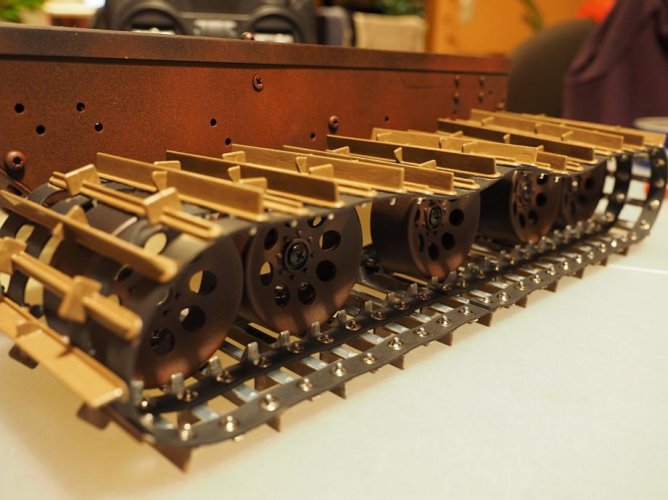
And the wheels on:

Blizz 065.jpg

Blizz 066.jpg

Flex shot :lmao:

Blizz 067.jpg

And couldn`t resist throwing the tracks on:

Blizz 068.jpg

Blizz 069.jpg

The tracks will need some more paint somehow ...
 
That looks amazing! I like the idea of the metal tracks but I don't run mine enough to justify the price.

Here's a link to a previous Blizzard thread for ideas, inspiration and amusement :mrgreen:.

http://www.rccrawler.com/forum/non-crawler-rcs/99176-blizzards.html

Thank you! The metal tracks are totally different, I like the way the upper run is hanging on the wheels due to its weight. Anyway, in my opinion the plastic tracks will be a good or even better choice for speed runs.
Thanks for the link, very entertaining and a full of good info, although I`m not through it yet :)

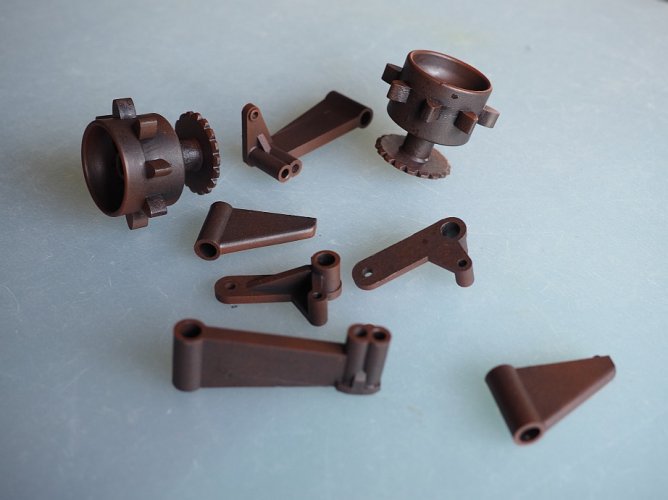
I am going to paint the remaining parts of the tensioner and the drive sprockes next days before putting the drive train alltogether.
And then it`s time for a test run. I am going old shool with a stick radio, as I do with all my trucks. I plan on doing two setups, first with two throttle sticks (one for each side - same as stock) and a second setup with one stick for throttle and one stick for steering. I will try to mix channels for the two escs to make this happen. How do you guys command your Blizzards?
 
Probably the easiest way is to buy a V-Tail mixer for an airplane. It allows a throttle input and a steering input to be converted into outputs that can drive two separate ESCs -- or in its original intended context, it allows a pitch and yaw input to be turned into outputs that can drive two V-tail control servos.
 
Probably the easiest way is to buy a V-Tail mixer for an airplane. It allows a throttle input and a steering input to be converted into outputs that can drive two separate ESCs -- or in its original intended context, it allows a pitch and yaw input to be turned into outputs that can drive two V-tail control servos.

Good note on the V-Tail mixer! This could be my plan B :)

This thread is evil. You made me go out and buy a sr off of eBay!

YES! Another soul is lost! :twisted: Welcome to the Dark Side of Crawling, where metal tracks are the new sticky compound!!! :lmao:

As far as controlling the dual ESC setup I had an idea I'm going to try on my rig once it arrives. http://www.rccrawler.com/forum/electronics/519296-mt-4-kyosho-blizzard-channel-mixing.html

My plan is to use the mixer inside my Spectrum DX6i. Throttle from my left stick will be mixed 100% to the second esc. Steering will be mixed to add power to one esc and reducing power to the other esc. Not tried it yet, but hope it will work.
 
Last edited:
Doesnt seem to be much different than setting up a stick radio for an MOA..
I know when i setup a dx6i for moa, the radio had to go to spekrum to put in a return to center stick on the left side and to flash the program so the radio knows the left stick is a return to center....

Good luck

Keep up the great build.."thumbsup"
 
Doesnt seem to be much different than setting up a stick radio for an MOA..
I know when i setup a dx6i for moa, the radio had to go to spekrum to put in a return to center stick on the left side and to flash the program so the radio knows the left stick is a return to center....

Good luck

Hhmmm, I had to call Spektrum to get a self-centering kit, but they didn`t mention to do a software upgrade ...

Keep up the great build.."thumbsup"

Thank you, I will give my best!


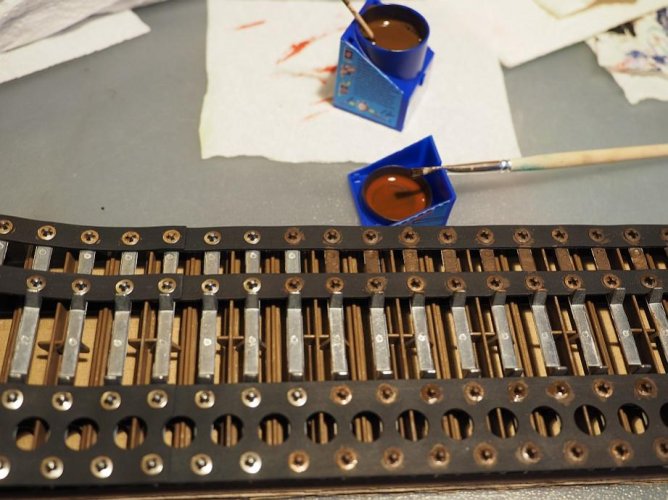
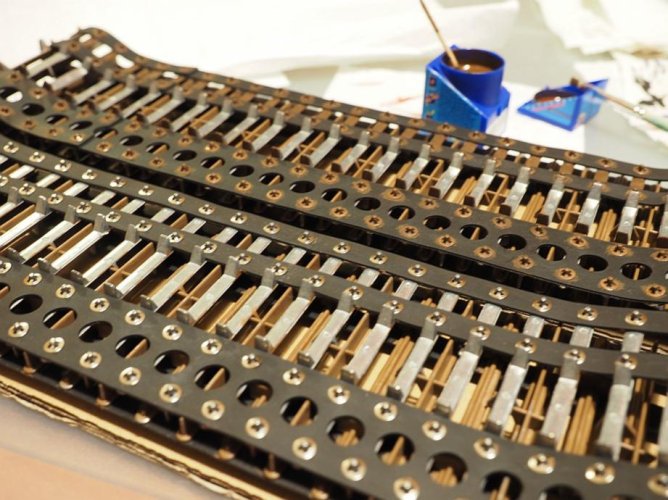
Did some work on the tracks. I covered the bare metal spots on the inside with dark brown paint:

Blizz 070.jpg

Blizz 071.jpg

Did some light covering with dark brown Tamiya spray paint on the inside and outside of the tracks afterwards to give them a muddy look. Because after covering the metal spots the black rubber between was to shiny :roll:
Pics will follow ...

Painted the remaining parts of the drivetrain:

Blizz 072.jpg

And reassembly:

Blizz 073.jpg

Blizz 074.jpg

I shimmed the sprockets with some steel washers to remove the slop / play:

Blizz 075.jpg

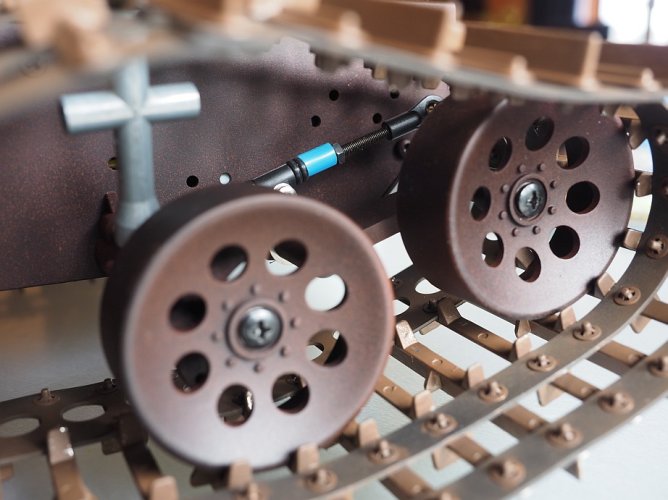
The tensioner is still giving me some problems. Due to the awkward leverage it is hard to give a light initial tension without allowing it to suddenly slacken by flipping backwards (I moved the tensioner upward, so my system is pushing, not pulling). What I came up with is a pushrod which has a hard backstop to limit travel for increasing tension and a soft stop (rubber rings) for slackening. This should allow the first wheel also to give a little when climbing obstacles. The blue tubing is just a quick selfmade spacer:

Blizz 076.jpg

This is a working model which allows me to make quick corrections. If it proves ok, I will do a final version in a more scale manner. Maybe I go back to the Tamiya shocks.
 
Managed to get it run now. Rattling and clanking like the big one :ror::ror:
I tried different options using the radios mixers, dualrate and v-tail mixer. It is still running very bumpy, so it`s asking for a lot of fine tuning. The ESCs are running in original condition, so they refuse to go backwards without stopping before, which is very annoying because there`s frequently one track on hold when moving straight after a tight turn, which leads to another turn ... :roll::roll:
I am waiting for the programming cards now ...

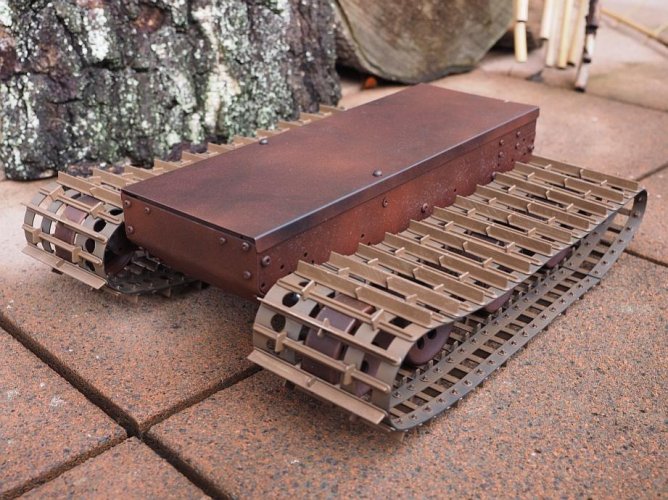
Some outdoor shots in daylight may give you an idea about the colors:

Blizz 077.jpg

Blizz 078.jpg


And now to the next big step: The Body:

Blizz 079.jpg
 
The rubber won't stay shiny for long if you run it in dirt. Even if you wash the dirt off, the tiny abrasive bits in the dirt will degrade the shiny finish on the rubber. No need to worry about it looking new for long, as long as you actually use it outside.

That being said, your paint work looks amazing. If my Star Trek starship models looked half as good as that, I could get a job building them for lazy rich people.
 
The rubber won't stay shiny for long if you run it in dirt. Even if you wash the dirt off, the tiny abrasive bits in the dirt will degrade the shiny finish on the rubber. No need to worry about it looking new for long, as long as you actually use it outside.

Ok, maybe this wasn`t a problem. But it bothered me and it was was fun to fix. :)
And I can put the Blizzard on the shelf now and without making it dirty :ror:

That being said, your paint work looks amazing. If my Star Trek starship models looked half as good as that, I could get a job building them for lazy rich people.

Thank you very much for your kind words! I am happy with the outcome even if it is far from being perfect.


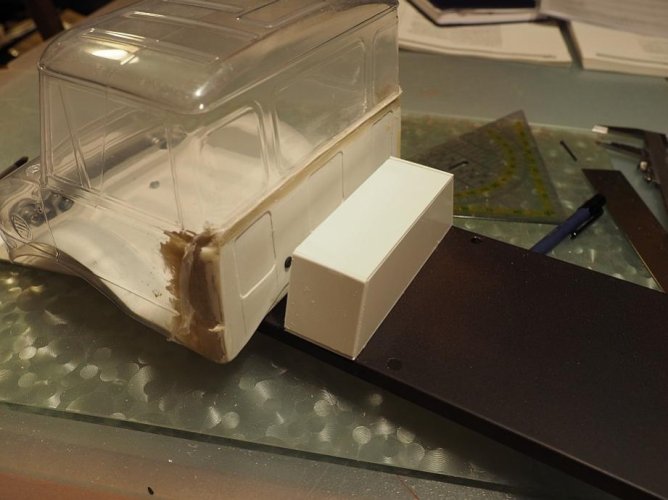
I started cutting out the body. It is looking nice up front, ...

Blizz 080.jpg

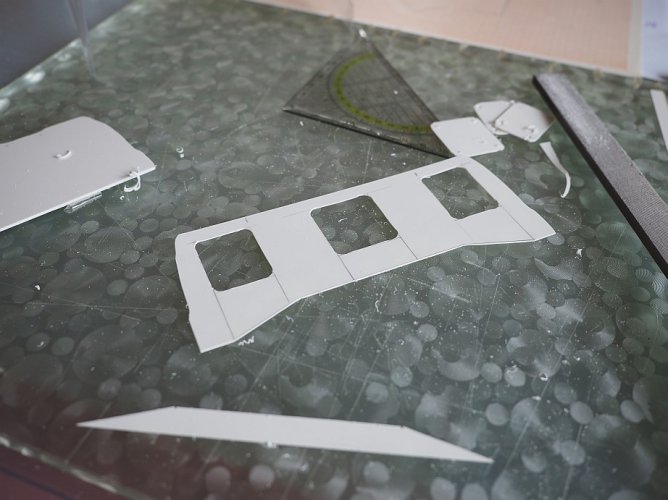
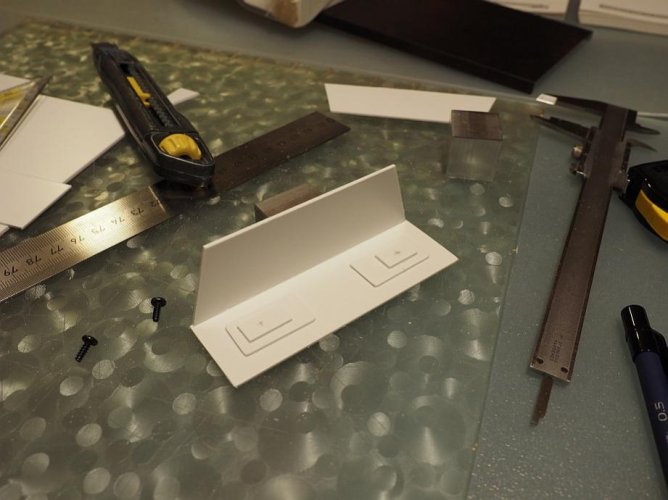
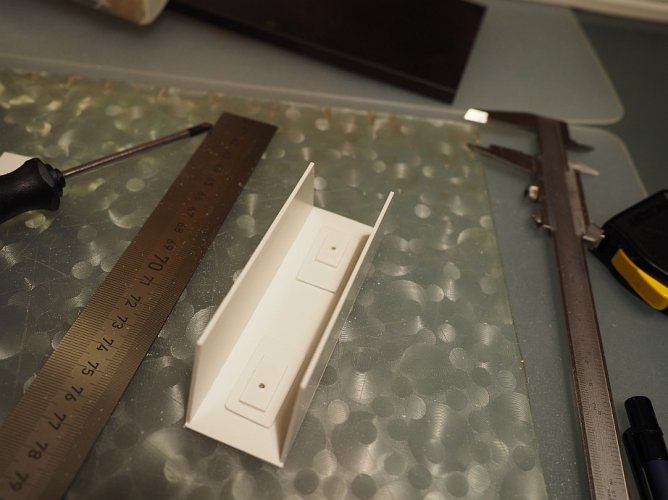
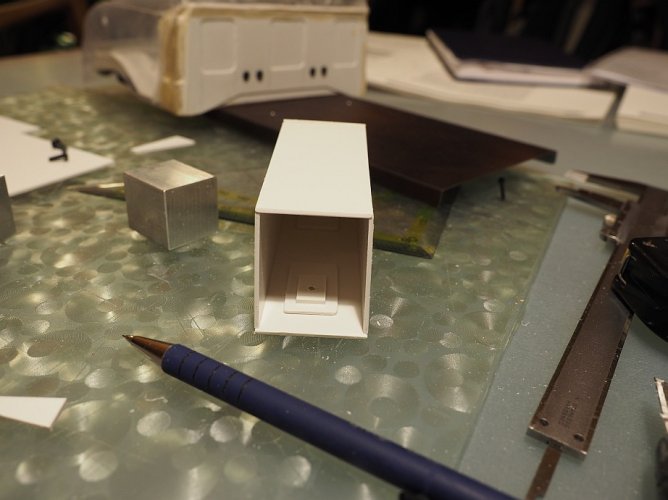
... but removing the cargo bed left a large opening on the backside of the cabin, so I started my first styrene work:

Blizz 082.jpg

Blizz 081.jpg

Blizz 083.jpg

Blizz 084.jpg

Blizz 085.jpg

Detail of the inside. I reinforced the adhesive area with some gauze bandage:

Blizz 086.jpg

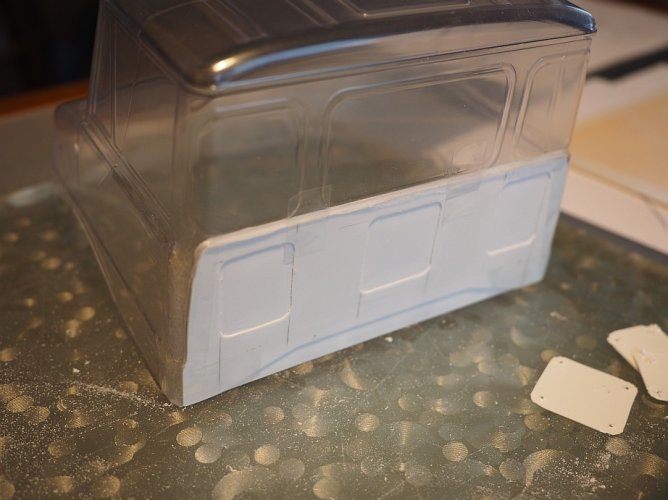
Joining the styrene plates with the lexan film is tricky. I`m afraid I have to cover up the mess with body filler afterwards ... :roll:
 
Got a little work done. Started with body filler on the cab and a lot of sanding.

Blizz 090.jpg

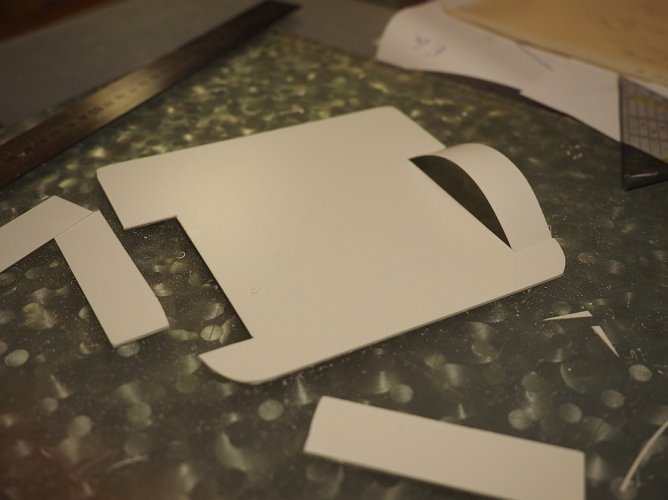
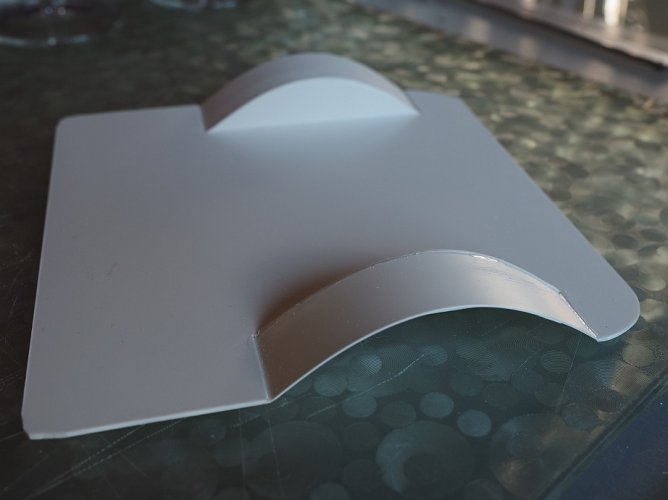
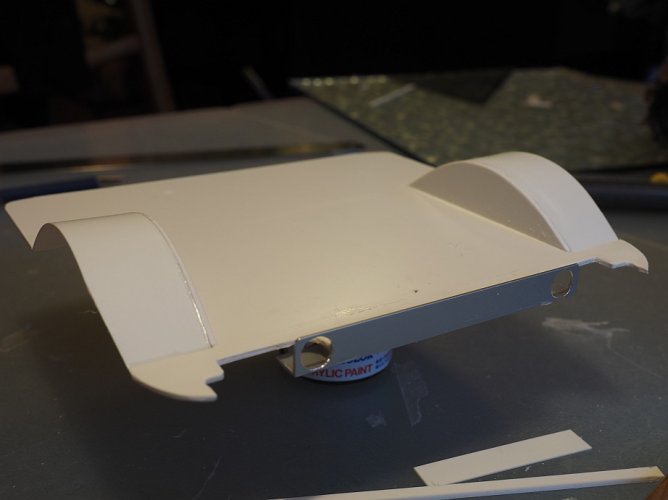
Next was the floor plate. Made some wheel wells and a mounting bracket for the cab.

Blizz 087.jpg

Blizz 088.jpg

Blizz 089.jpg
 
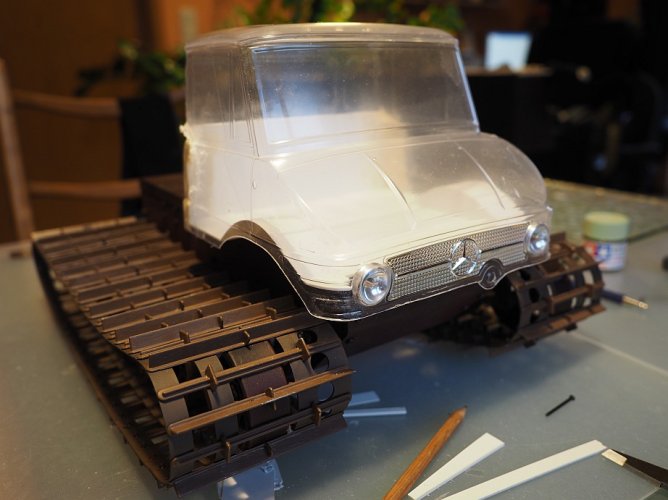
The cab was sitting to high, so I had to lower the front bracket. Cutted also the floor panel for the headlights. Final, unpainted version:

Blizz 091.jpg

And with cab sitting on the chassis:

Blizz 092.jpg

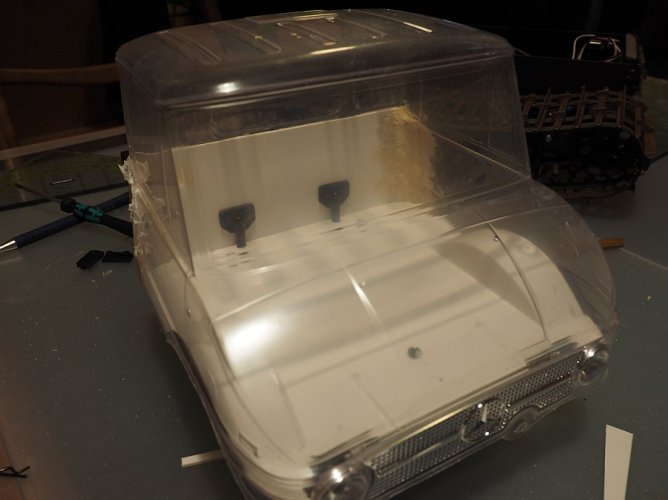
The floor plate will be attached to the chassis cover permanently using M3 screws. The cab will be fitted to the floor plate with body posts / clips.
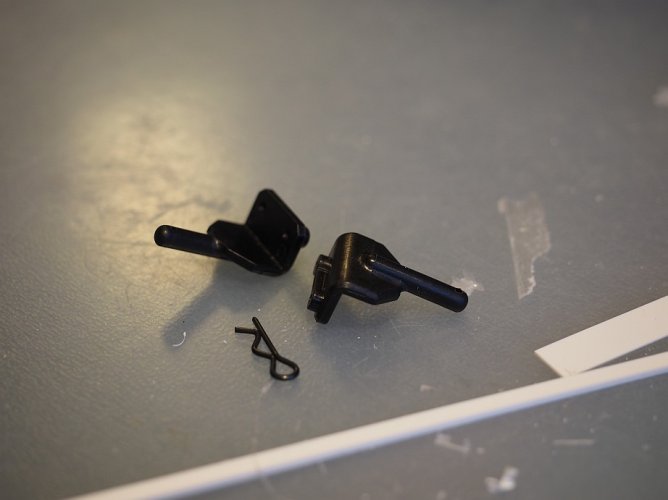
Started with some leftover Losi body posts:

Blizz 093.jpg

Cutted, drilled and tapped, using leftover srews from the Blizzard:

Blizz 094.jpg

Blizz 095.jpg

Floorplate fixed on the chassis:

Blizz 096.jpg

Holes for the body posts drilled through the floor and cover:

Blizz 097.jpg

Mounted:

Blizz 098.jpg

Bottom side:

Blizz 099.jpg

Detail from the front (upside down): The black jackets from the body grille plug into the aluminium bracket on the floor pan:

Blizz 100.jpg
 
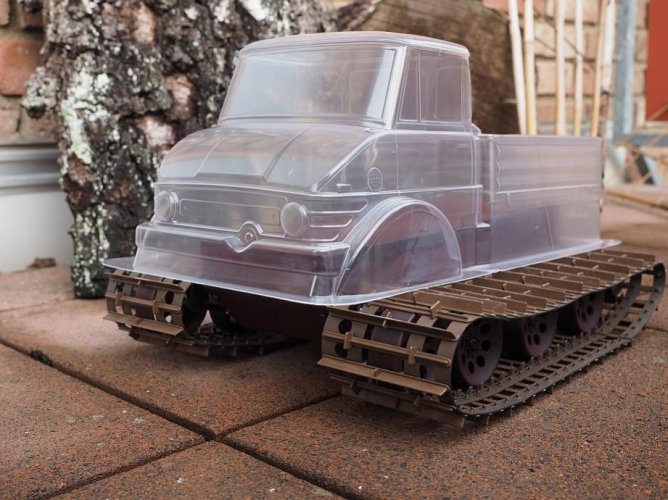
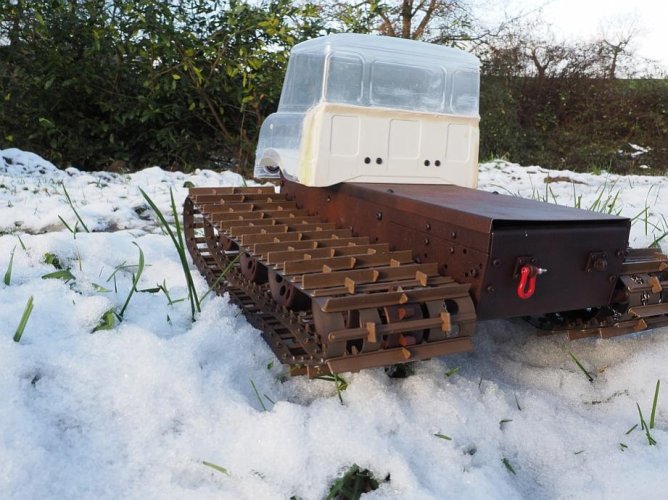
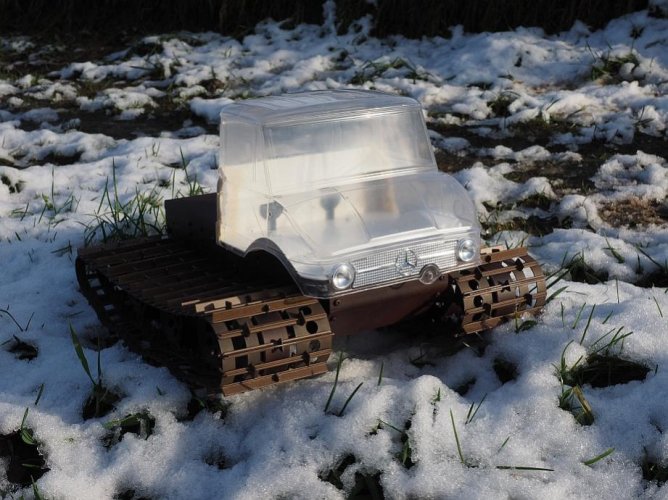
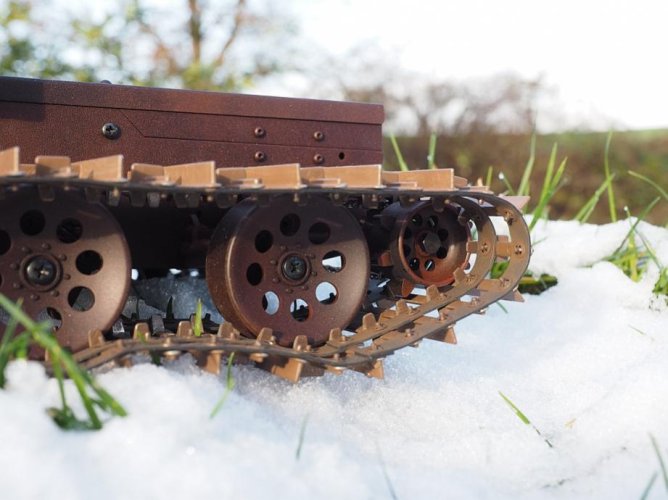
I jumped the chance to take some poser pics out in the sunshine today. Even if it`s less than half done, it was fun to see her (or him?) in the snow (ok, not that much snow).

Blizz 101.jpg

Blizz 102.jpg

Blizz 103.jpg

Blizz 104.jpg

Some detail shots:

Blizz 105.jpg

Blizz 106.jpg

Blizz 107.jpg

I hope you enjoy :)
 
Back
Top