• Welcome to RCCrawler Forums.

    It looks like you're enjoying RCCrawler's Forums but haven't created an account yet. Why not take a minute to register for your own free account now? As a member you get free access to all of our forums and posts plus the ability to post your own messages, communicate directly with other members, and much more. Register now!

    Already a member? Login at the top of this page to stop seeing this message.
  • RCSC

Kyosho Blizzard goes Unitrac

That's a heck of a custom-made body. Just don't ever roll the vehicle over, or those glue joints might break apart.

Thank you, roll overs are not on my agenda :lmao:
Seriously, if it rolls over, it will shatter. That`s for sure. And it will get worse after each repair ... :roll:
So, no roll overs with this body. :ror:


Just keeps getting better.

Thank you, that`s the plan.


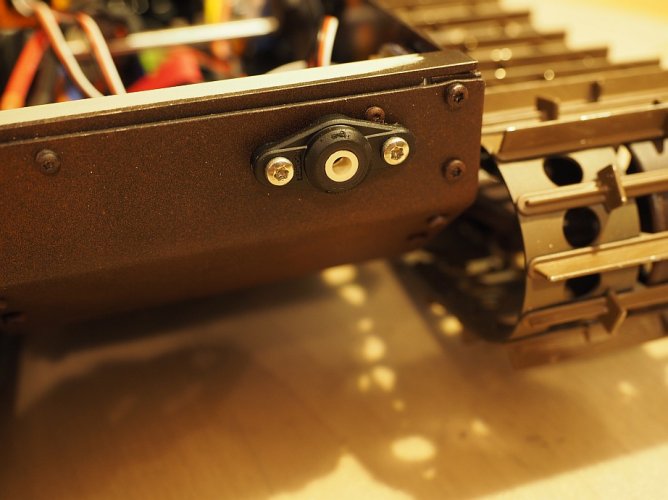
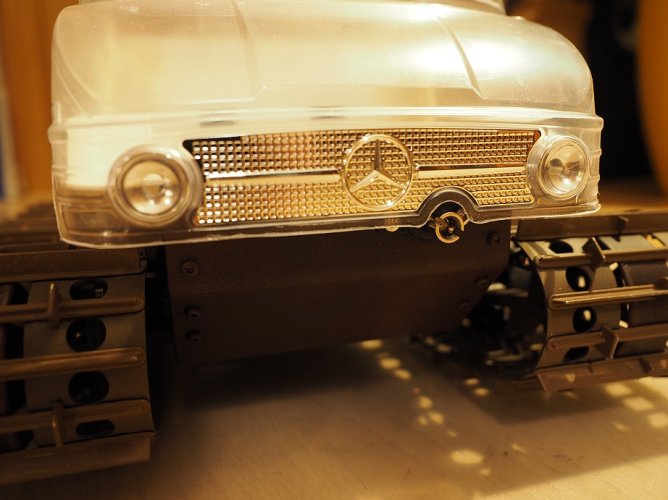
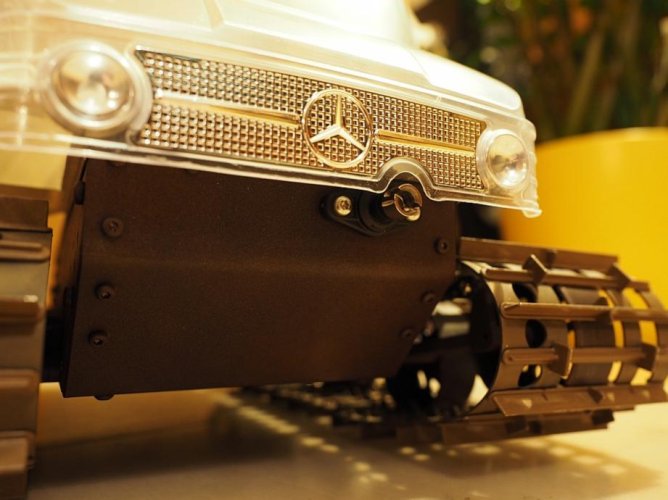
For today, I cherry-picked an unnecessary but nice gadget. I started on the front power take-off shaft. I had the outer parts laying around, so I let go.
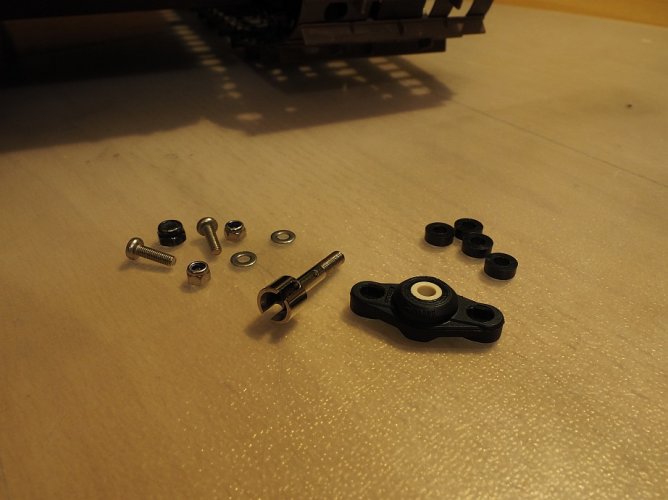
Blizz 114.jpg

Hole pattern for the flanged bearing:
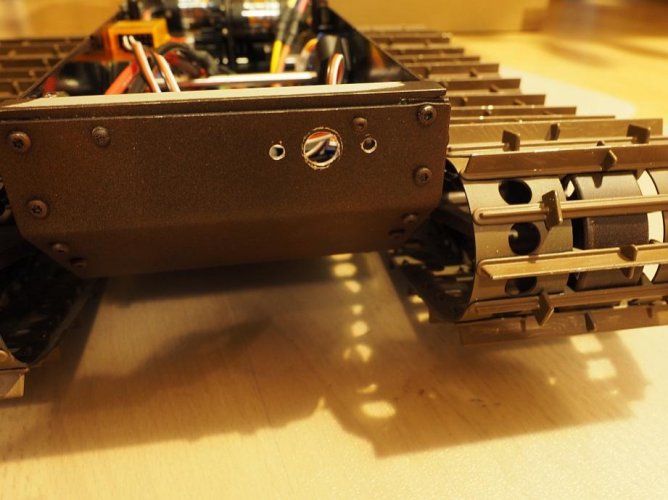
Blizz 115.jpg

Mounted up:

Blizz 116.jpg

Losi MRC half shaft in it`s new workplace:
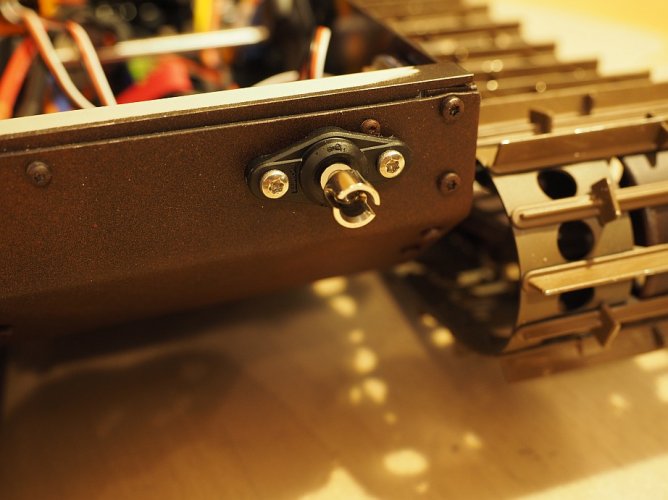
Blizz 117.jpg

And body shots:

Blizz 118.jpg

Blizz 119.jpg

I plan on using a mini gearbox motor on the inside as power unit, but I haven`t decided yet which size and speed. Painting for the rusty look on the outer parts will follow later.
 
You could use that to power a winch.

Yes, a mechanical winch is a good idea. I thought of an auger or a sevage pump.
Maybe an electric power generator, that would be fun. Transforming electric energy into kinetic energy and back into electric energy :lmao:
 
Some goodies came in today:
Sand scorcher shocks for a more scale looking tensioner :)

Blizz 120.jpg

Blizz 121.jpg

To bad I forgot to order the rubber bushings for the upper joint. Arghrrr ...
 
Excellent thread. Picked up a wifi version and gathering some ideas.

Thank you, I am happy if you find some inspiration. I would like to see a pic of yours, of course :)


Small updates tonight. Update number one, I painted the Tamiya shock housings (gun metal grey):

Blizz 122.jpg

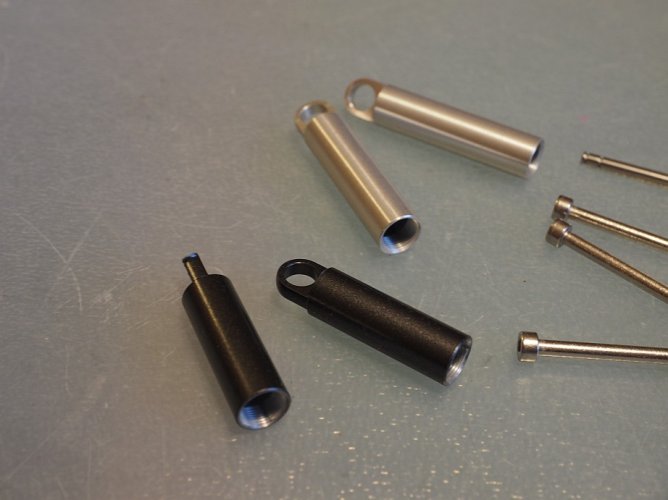
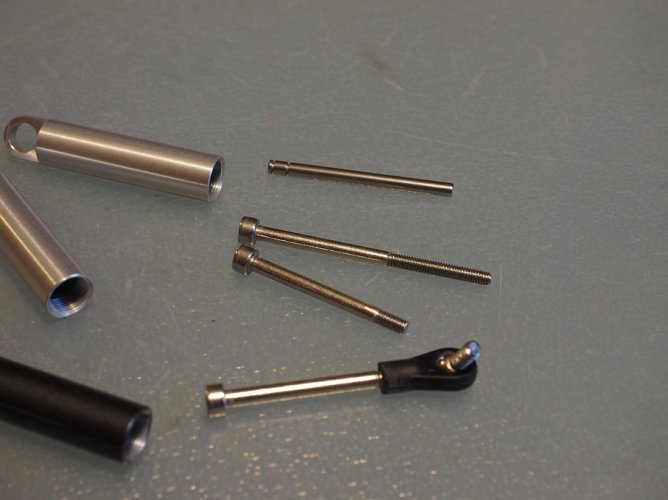
Made some shafts from stainless screws:

Blizz 123.jpg

Bolted them together with two red rubber rings (working as rubber springs)

Blizz 124.jpg

Now I have some nice looking tensioners :) (still waiting for the rubber bushings) :roll:
As I have a very slow moving rig, I do not need much tension on my tracks, so this will work fine for me. You speedy guys will need a more dynamic solution for your tensioner.
 
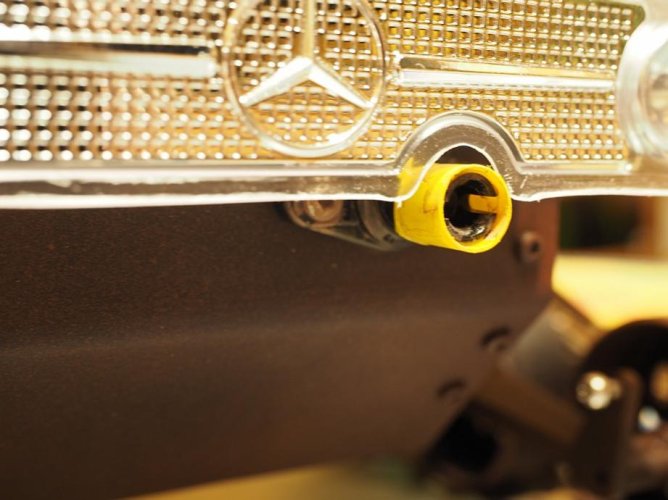
Small update number two, I had to install the mandatory yellow plastic safety cover on my PTO :ror:
So I got some plastic drill boxes and cut them up

Blizz 125.jpg

Put some paint on them

Blizz 126.jpg

And after some quick weathering on shaft and bearing I am ready to go:

Blizz 127.jpg

Safety first! "thumbsup":lmao:
 
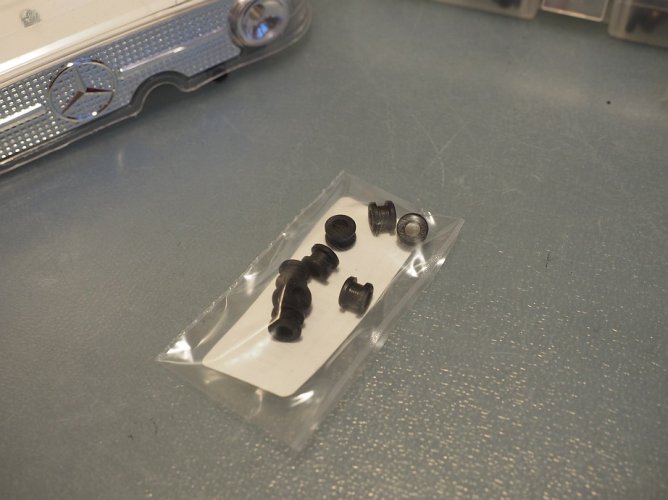
The missing ubber bushings arrived yesterday:

Blizz 128.jpg

installed:

Blizz 129.jpg

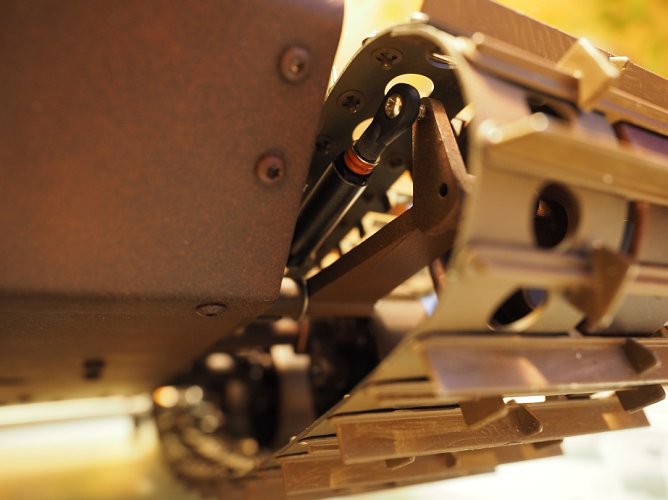
And attached to the vehicle:

Blizz 130.jpg

Blizz 131.jpg

One problem solved, on to the next :ror:
 
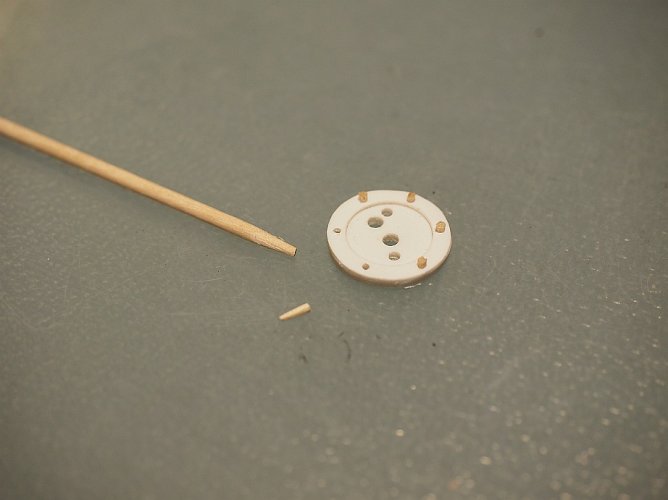
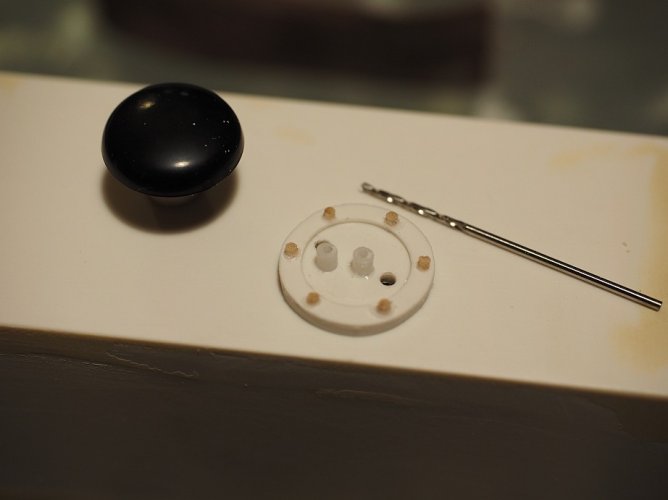
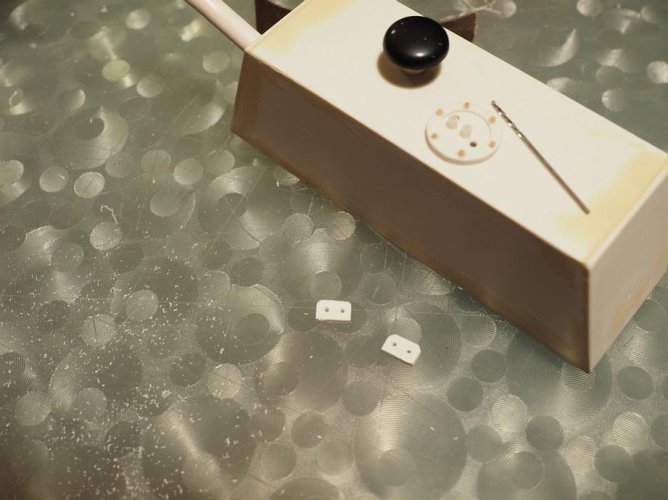
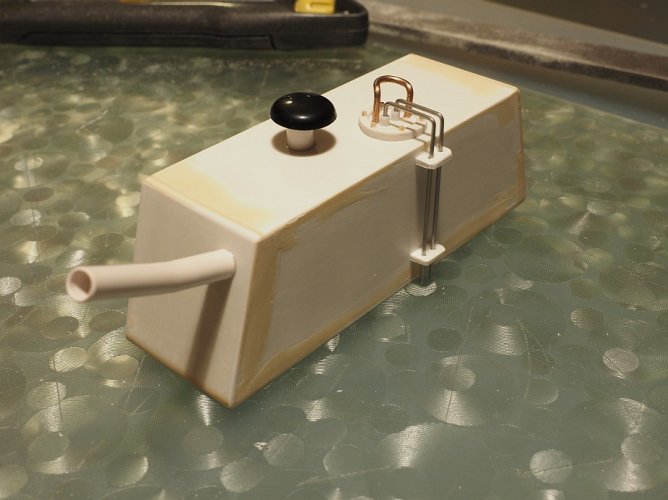
I finished the fuel cell today. I managed to build a flange for the fuel lines. I used some styrene sheet for the flange and made some bolt heads from toothpicks:

Blizz 132.jpg

1,5mm welding rod for a guard:

Blizz 133.jpg

Fuel cell with flange, filler pipe and breather. The original Unitrac has an even more ridiculous filler pipe but no breather and flange on top, but I wanted to give it a more interesting look:
Blizz 134.jpg

To mimic the screw joint I used som 2mm styrene rod and drilled it out with a 1mm drill bit. Oh man, once the scale bug bites you, you are lost :shock:

Blizz 135.jpg

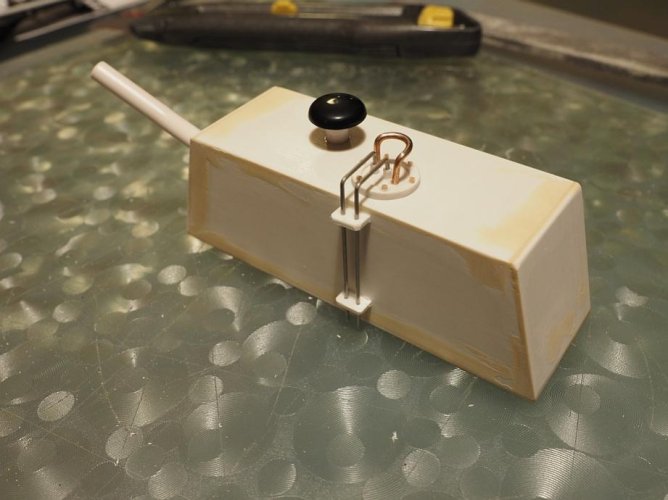
Some brackets for the fuel lines:

Blizz 136.jpg

Blizz 137.jpg

The fuel lines are made from 1mm stainless steel welding rod:

Blizz 138.jpg

Blizz 139.jpg


I am running out of excuses now for not painting the body ... :roll:
 
Last edited:
Man that is really coming along. I love the amount of detail! Do you plan on playing with it once it's done or is it going to be a shelf queen?

Thank you!
Of course it will get some runtime! 8) But to be honest, I have the most of fun building it and then test drive it to see if it works as it is supposed to. If not, or if something can be improved, it goes back to the workbench.

It will get probably the most runtime by the kids :ror:
 
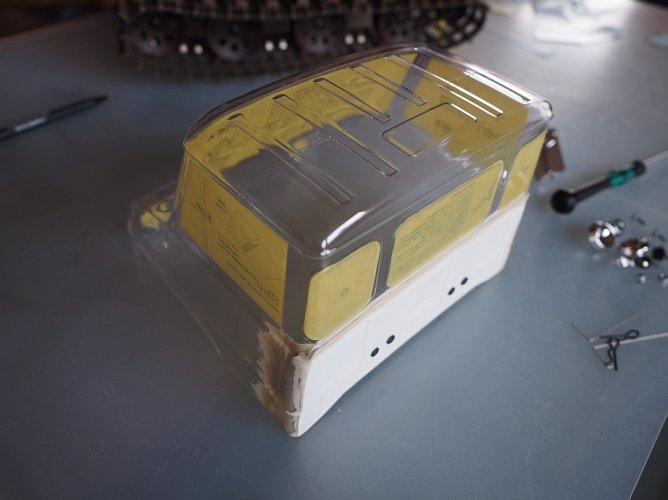
Finally I started with painting the cab. First I had to mask the windows from both sides, as I will paint the cab from the outside as well as from the inside. This is necessary because I will use a dull color, which isn`t a lexan paint, therefor I have to use a lexan paint for primer first. And since I want to see the same color on the inside as on the outside (as common on Mogs), I have to paint from both sides. I hope this makes sense and I hope it will work.

Masking is done:

Blizz 140.jpg

I got interrupted by the postman, who brought some very nice scale parts from rc4x4-shop.cz for the UT90:

Blizz 141.jpg

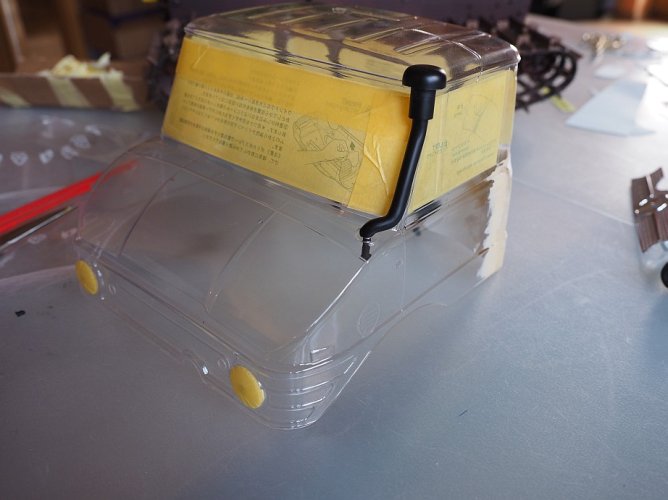
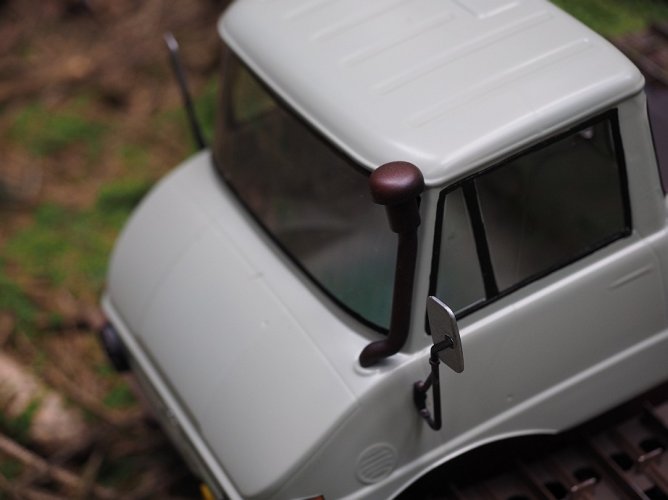
I couldn`t resist to put the snorkel on the Mog:

Blizz 142.jpg

Best Mog snorkel ever "thumbsup"
 
Man, you are going all-out with the detail on this thing. I'm content to use the stock body covers or panels that come with my vehicles, I just care if the mechanical and electronic parts work as well as possible. Looks like a great project for cold winter nights, though, as long as you have someone to keep you company when you get sick of tinkering.
 
Man, you are going all-out with the detail on this thing.

Yes, once you get into detail, you are lost :ror:

I'm content to use the stock body covers or panels that come with my vehicles, I just care if the mechanical and electronic parts work as well as possible.

Same with me, my main interest is more in a technical manner. But after seeing all these nice scale trucks in this forum I had to give it a try. And even as a beginner it`s a lot of fun for me doing all the details.

Looks like a great project for cold winter nights, though, as long as you have someone to keep you company when you get sick of tinkering.

Don`t worry, no major marital problems here. Just a fun winter project filling up some free time :ror:
 
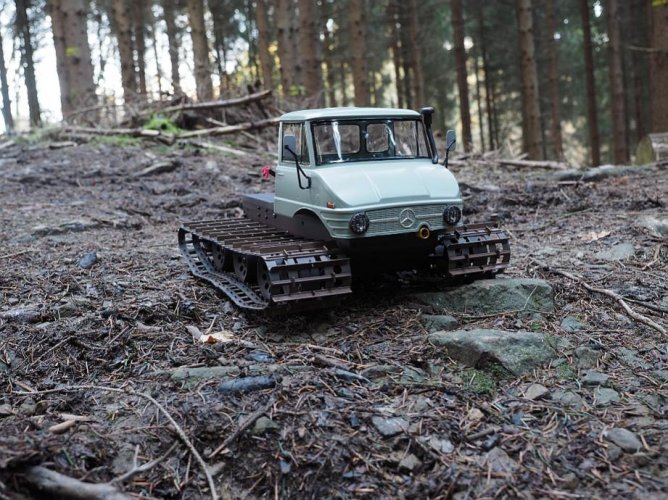
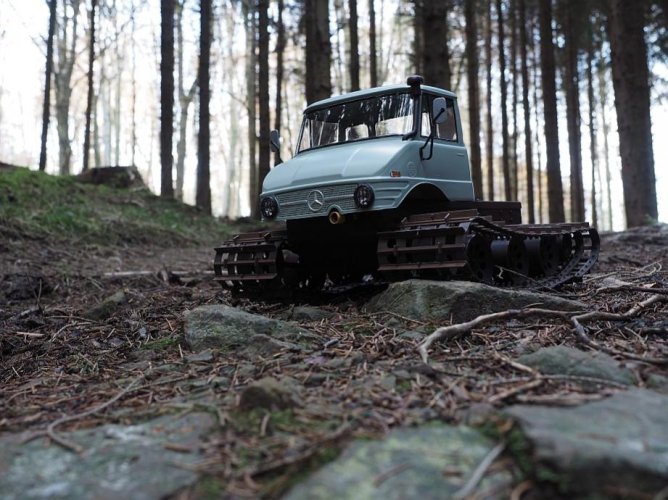
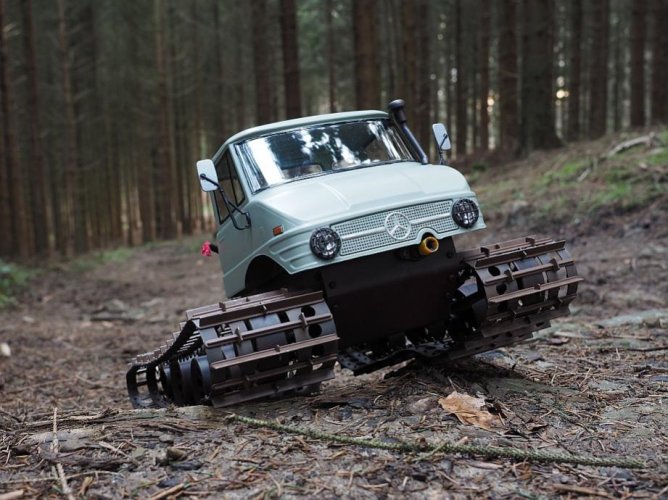
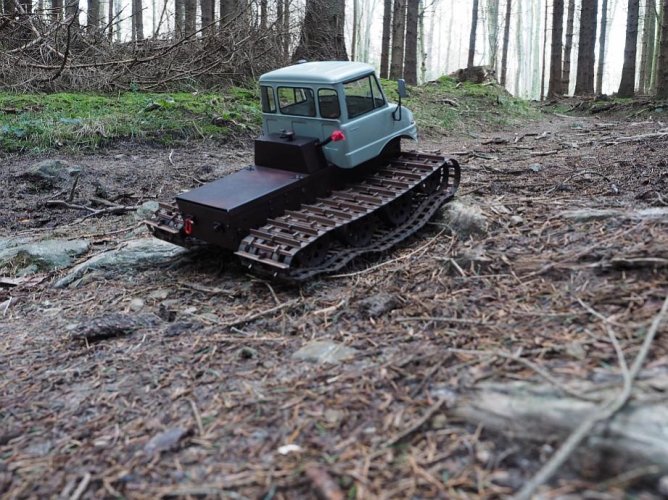
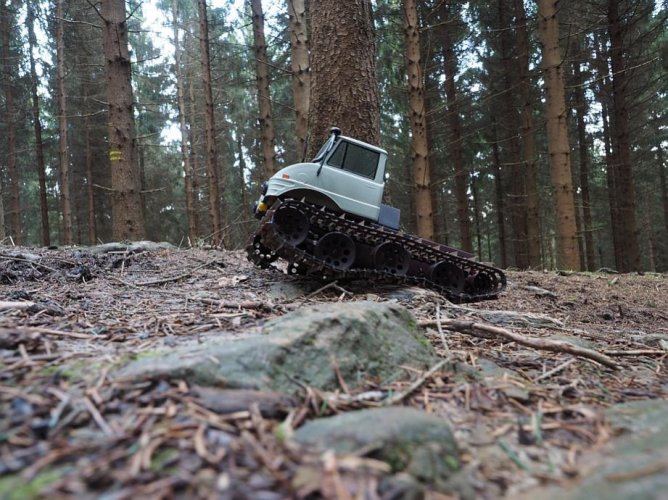
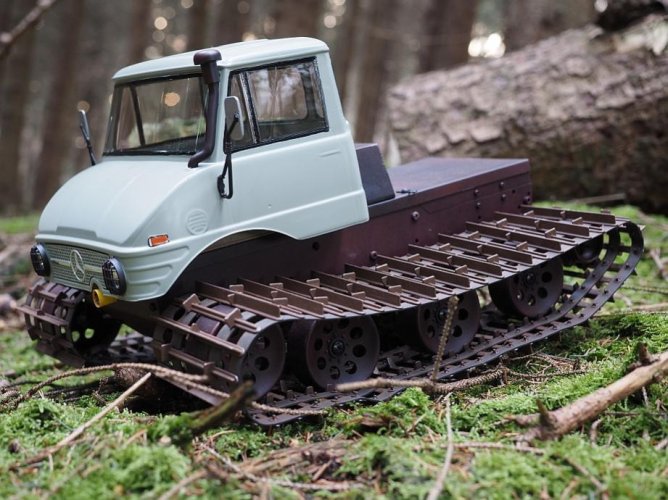
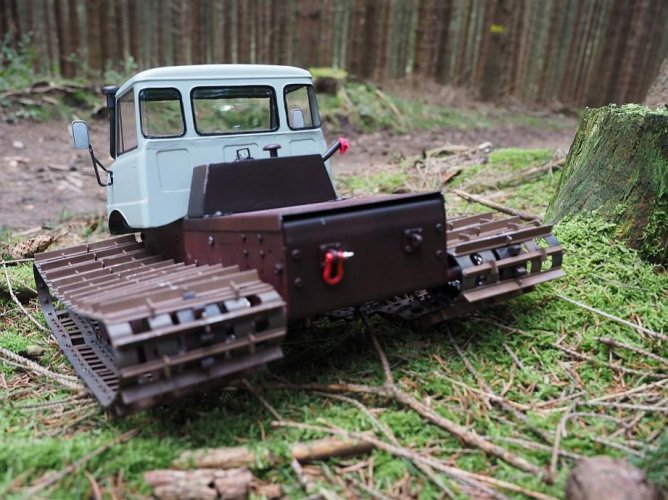
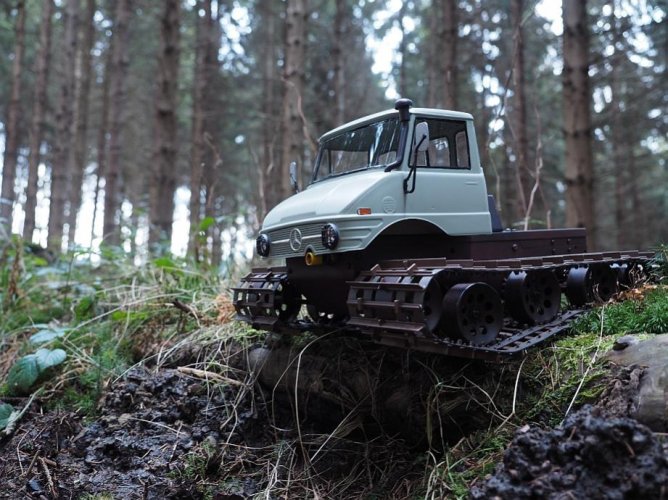
Finally I got some paint on the cab. It is not perfect but I am happy with the result. So I took the Unitrac out for some outdoor shots:

Blizz 143.jpg

Blizz 144.jpg

Blizz 145.jpg

Blizz 146.jpg

Blizz 147.jpg

Blizz 148.jpg

Blizz 149.jpg

Blizz 150.jpg

Blizz 151.jpg

Blizz 152.jpg

Hope you enjoy :)
 
4e724d5fe26b8a56d7bd781866ef2e7c.jpg


What electronics you using? Hard to see in the pic..
TIA
 
Looks awesome dude, totally digging the mog body on it "thumbsup"

Thank you! A Mog on tracks is uncommon, glad you like it "thumbsup"

What electronics you using? Hard to see in the pic..
TIA

I am running two "HK 35A Sensored/Sensorless Car ESC":

Blizz 153.jpg

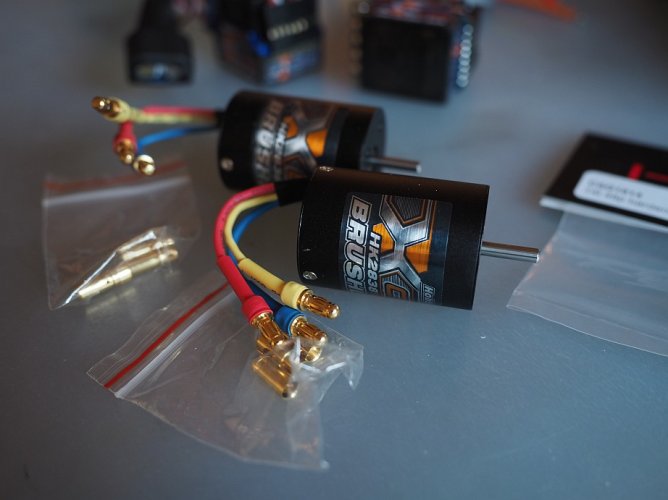
Two "HK S2838-2800 Brushless Inrunner" ...

Blizz 154.jpg

... geared down to 14t (stock is 16t):

Blizz 155.jpg

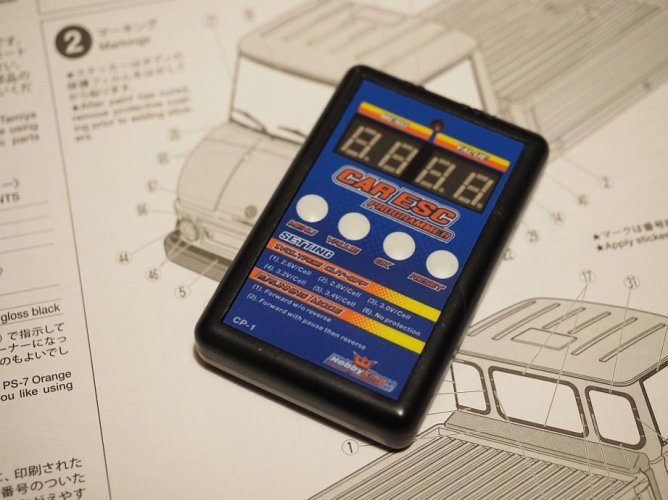
And make sure to have the matching programming card, which is the "HKSS programming card for HK 150A ESC":

Blizz 156.jpg
 
Any video showing the rig in action? I'm curious how fast it is compared to stock with the motor/ESC combo you chose. Also curious about the low speed control with the sensorless system.
 
Any video showing the rig in action? I'm curious how fast it is compared to stock with the motor/ESC combo you chose. Also curious about the low speed control with the sensorless system.

Low speed control is still miserable and high speed, well, uhm, not that high at all. Anyway, it is a slow, bumpy ride, just like the real one :lmao:
But now that I have the matching programming card, I will get back into this and try to teach him some manners :mrgreen:
I am currently using the radios V-Tal mixxer, which is limiting my choice of channels, so both throttle and steering are on the right hand stick of the radio at the moment :x
I will order a seperate V-Tail mixxer to have the full range of channels available. I still prefer to have throttle on the left and steering on the right hand side ...
 
Back
Top