• Welcome to RCCrawler Forums.

    It looks like you're enjoying RCCrawler's Forums but haven't created an account yet. Why not take a minute to register for your own free account now? As a member you get free access to all of our forums and posts plus the ability to post your own messages, communicate directly with other members, and much more. Register now!

    Already a member? Login at the top of this page to stop seeing this message.

3D Printers and Printing

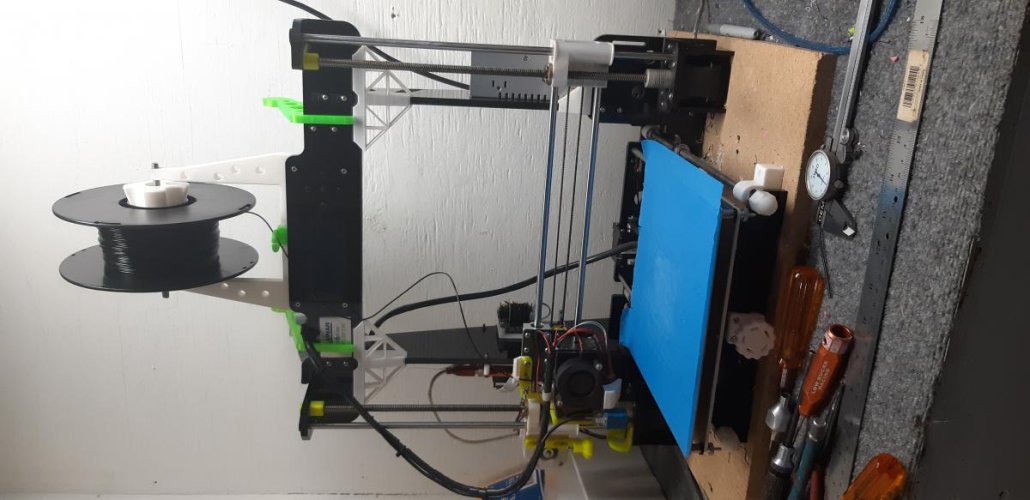
Right now I am at 200/50, and prints are still sticking, but they are not completely embedded into the tape. But, it could be better. I am thinking I will try to blue painter's tape before I try the glue, the blue is a lot smoother.

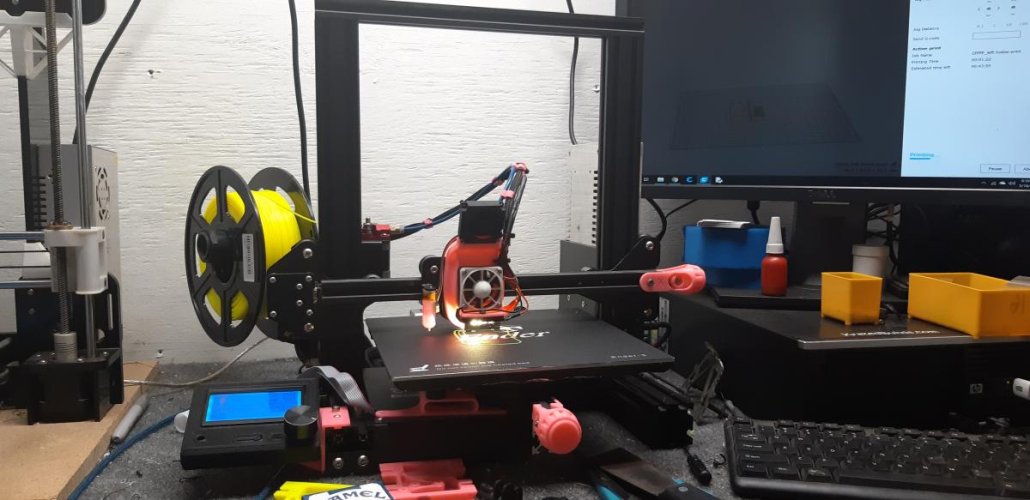
For a test print I use the print for the filament advancement knob, it is very quick to slice and prints in about 20 minutes.

I am placing an order this week for some Matter Hackers PLA, and I'll throw an Arduino board in.

I would try the blue tape for sure but also change the temps. I print PLA at 195/65 first few layers and fan 30%.

At .5mm the temps change to 190/50 and cooling gos to 100%. It helped me with adhesion and layer lifting on my corners. Also letting the bed cool completely to room temp lets me pop the prints with no tape lifting.

What slicer are you using? Of course I am using Cura, but the settings options are limited and I am getting ready to pull the trigger on Simplify 3D.
 
You should be able to tweak every setting in cura that you can in S3D. Not sure if Cura does custom supports. I run S3D as I prefer the interface.

as for tape on the bed. Get a mirror from Lowes and use glue stick. Less hassle than putting down the tape. Slap some glue stick on there, heat up the bed, by the time you're to temp the glue is dry. Off you go.

Other than glass, there is the popular Wam Bam flex plates and Polypropylene plates. I run glass on my Flashforge clone, and Polypropylene on my CR10s Pro. You can hear the print break free of the Polypropylene as it cools. I mainly print in PETG.
 
You should be able to tweak every setting in cura that you can in S3D. Not sure if Cura does custom supports. I run S3D as I prefer the interface.

Yeah, Cura has a ton of settings available but a lot of them are hidden as to not overwhelm new users. There is a menu where you can chose what settings to display on the print settings sidebar.
 
What slicer are you using? Of course I am using Cura, but the settings options are limited and I am getting ready to pull the trigger on Simplify 3D.

Cura 3.5

Theres a lot of options in the settings and can be overwhelming. I have to profiles for my different printers, one for my Anet and one for my Ender3 primarily because of the different types of extruders.

I can share my Cura profile if you're interested. Really the only thing thats different is my retraction speeds.
 
Damn, there are A LOT of ways to skin this cat.... :shock:

What are your guy's thoughts on magnetic flexible print beds?
 
Thats my weak spot right now. I havent figured out how to Gcode the head to lift with different profiles yet so any time I print PETG my line width isnt right.

When going from PLA to PETG your Extrusion Multiplier, speed, temps, and retraction amount & speeds change.

With PETG you also start tickling the off gas point of Teflon, around 235~250C. So bowden tube should be capricon tube or swap out to an all metal hotend like the Micro Swiss hotends that don't use Teflon in the heat brake.

For my CR10s Pro with Micro Swiss hotend I have .98 extrusion multiplier, 4mm retraction @3600mm/min, 1mm coast distance, print speed 4200mm/min, hotend 240c first layer, 235c 5th layer on, 80c on bed.

Got the Micro Swiss hotend and the teflon tube already, huge inprovement just on printing.

Never tried playing with coast but ill try those settings next time I play around with it. Appreciate it. "thumbsup"
 
Well, tried the smooth blue painter's tape last night... learned two things...

One, do not use the smooth blue painter's tape.

Two, always make sure your prints are flat to the bed in Cura...

I think I am going to try glue tomorrow, see how that goes.

I have thought about keeping a log, anyone do that? If so, what does it look like?
 
The adventures continue...

For all of the research I did on the CR10, one key thing was missed, the print beds often arrive warped, mine included. No amount of bed leveling would get rid of uneven extrusion in the middle of the print bed. I fixed it by getting a 12x12 mirror from Home Depot. With that, I tried Aquanet to help adhesion, it did not do badly, but after turning the bed temperature down to 50, I think I need to turn it back up to 60 to get the Aquanet to work properly. On a side note, after going with me to buy Aquanet and mirrors, I think my wife is starting to suspect that I have a new lifestyle, instead of just a new hobby.

Last night I discovered a new facet of 3D printing, "Pucker Printing". This is printing with the last bit of filament on the roll and not knowing if there is enough to finish the job. Luckily I had just barely enough to finish the six hour print, leaving just one wrap of filament left on the roll.
 
Last edited:
Last night I discovered a new facet of 3D printing, "Pucker Printing". This is printing with the last bit of filament on the roll and not knowing if there is enough to finish the job.

I rarely look at how much filament is left. Last night I finished a print with 4 wraps around the spool left. It was a pretty small job, so it wouldn't have been that big of a deal if I had to start over, but it was still a bit of a shock when I came by to check on things and saw the spool showing.
 
The adventures continue...

For all of the research I did on the CR10, one key thing was missed, the print beds often arrive warped, mine included. No amount of bed leveling would get rid of uneven extrusion in the middle of the print bed. I fixed it by getting a 12x12 mirror from Home Depot. With that, I tried Aquanet to help adhesion, it did not do badly, but after turning the bed temperature down to 50, I think I need to turn it back up to 60 to get the Aquanet to work properly. On a side note, after going with me to buy Aquanet and mirrors, I think my wife is starting to suspect that I have a new lifestyle, instead of just a new hobby.

Last night I discovered a new facet of 3D printing, "Pucker Printing". This is printing with the last bit of filament on the roll and not knowing if there is enough to finish the job. Luckily I had just barely enough to finish the six hour print, leaving just one wrap of filament left on the roll.


Careful when using the glass, not like bad things type be careful but more mindful. If your bed is warped (which it probably is like you mentioned) then where ever its warped is gonna create a gap with the glass.

Generally its the center that Ive read/seen/experienced being the warped spot. Thingiverse has wedges you can print and side in there to help bandaide the problem.

Or you could try running a slightly hotter bed on initial layers then dropping after the first few.
 
I print petg on glass, I heat the bed to 75 and it will take an act of God to remove the print before the bed cools. When the bed does cool, the print base shrinks and it pops off on its own. I don't think beds are that expensive are they? Might be wort an upgrade if it's warped an giving you hassle.

I am pretty sure when you install a bed leveling sensor it tells the printer that the bed is warped, and the first layer of say a square based print might only fill in the low spots and not be square shaped at all. I never needed one so I'm not sure. Learned that from a Prusia commercial I think.

Before I used glass I used blue painters tape and glue stick on top of that. It was not ideal if the appearance of the first layer matters.

Sent from my SM-N950U using Tapatalk
 
Last edited:
I finally got my Ender 3 Pro last night and spent a little time on it and it's almost finished, I need a USB B cable to upload the test print files, cause I don't like the mini SD Card setup to be honest
 

Attachments

  • 20190617_092133.jpg
    20190617_092133.jpg
    154.7 KB · Views: 271
  • 20190617_095306.jpg
    20190617_095306.jpg
    161.4 KB · Views: 286
If using blue tape, use 3M blue tape and not whatever is cheap next to it. I've tried tons of brands and 3M is the only one that works reliably. clean it with rubbing alcohol and its sometimes too good.


I print PETG and TPU on tape. TPU also prints well on PEI. PETG requires boro glass or else glue stick/ hairspray so the glass doesn't chip. I'll normally choose clean glass to print on unless TPU. I have a boro bet for PETG and mirror glass for everything else.
 
I got tired of 3M tape ripping when prints stuck to it so I switched to a PRINTinZ print surface skin and never looked back.
 
My SOOWAY SW-200 that's 180mm x 180mm x 180mm came to today and took me like 5 minutes too assemble, now I got to build a bench or see if I can find something on the Market Place or Craigslist cause my extra Rollaway tool box is too small for both printers and my laptop
 

Attachments

  • 20190617_152816.jpg
    20190617_152816.jpg
    65.4 KB · Views: 266
  • roll away .jpg
    roll away .jpg
    80.3 KB · Views: 258
Last edited:

Attachments

  • 20190516_214514.jpg
    20190516_214514.jpg
    84.2 KB · Views: 239
  • 20190516_214528.jpg
    20190516_214528.jpg
    89.7 KB · Views: 246
Back
Top