-
Welcome to RCCrawler Forums.
It looks like you're enjoying RCCrawler's Forums but haven't created an account yet. Why not take a minute to register for your own free account now? As a member you get free access to all of our forums and posts plus the ability to post your own messages, communicate directly with other members, and much more. Register now!
Already a member? Login at the top of this page to stop seeing this message.
You are using an out of date browser. It may not display this or other websites correctly.
You should upgrade or use an alternative browser.
You should upgrade or use an alternative browser.
What did you do to your TRX-4 today?
- Thread starter Miatardo
- Start date
Getting the TRX-4 ready for my next G6 style comp in May. Will be taking it to Beat The Creek in Kentucky.
Tearing down the trans and axles for the first time today to check gear wear and also check to see if water has entered in either.
I am amazed at how well the gears and bearings look. And no sign of water anywhere. I have ran it pretty hard last fall at a couple comps and a few other trail runs with friends and it has gotten submerged a few times.
Here is a look inside the trans:

Sent from my iPad using Tapatalk
Tearing down the trans and axles for the first time today to check gear wear and also check to see if water has entered in either.
I am amazed at how well the gears and bearings look. And no sign of water anywhere. I have ran it pretty hard last fall at a couple comps and a few other trail runs with friends and it has gotten submerged a few times.
Here is a look inside the trans:

Sent from my iPad using Tapatalk
mewalsh100
I wanna be Dave
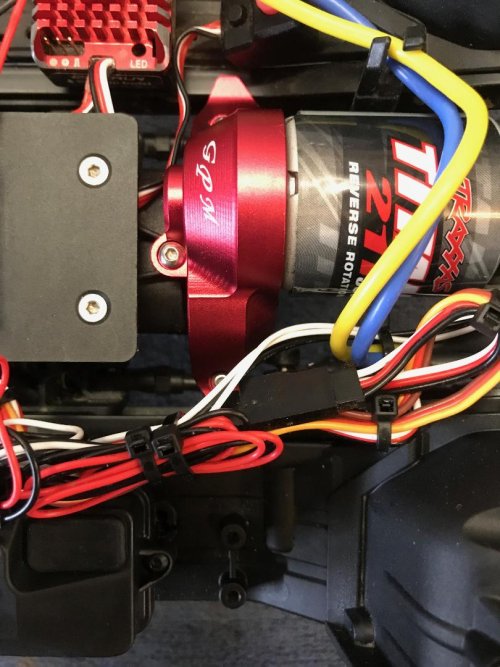
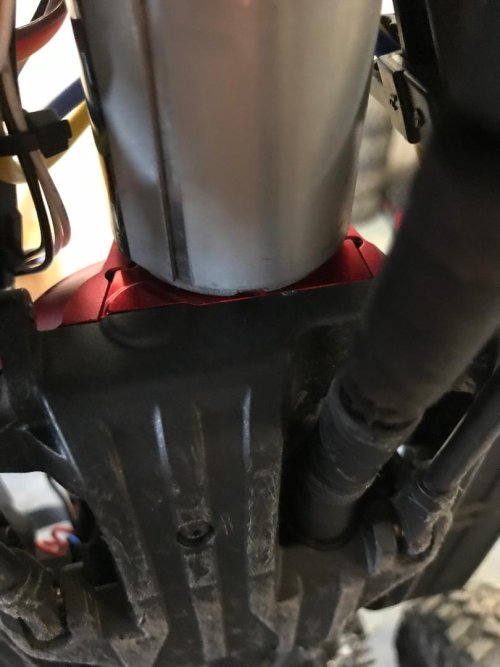
Where did you pick those up?Installed a GPM spur gear cover along with the aluminum motor mount. The combination of the two definitely cleaned up any slop I experienced with the plastics. "thumbsup"
rattmobbins
Rock Stacker
Btw i got something else the was prob the most expensive part for this assembly, ill just keep it a s surprise and post it here when its delivered.
Sent from my SM-G975U using Tapatalk
:shock: "thumbsup":mrgreen:
mewalsh100
I wanna be Dave
Where did you pick those up?
I found them on Ebay Kincer."thumbsup" The GPM aluminum machining is very nice. It really snugged everything up and took out that little wobble I was experiencing.
Awesome thanks man!I found them on Ebay Kincer."thumbsup" The GPM aluminum machining is very nice. It really snugged everything up and took out that little wobble I was experiencing.
mewalsh100
I wanna be Dave
Awesome thanks man!
"thumbsup"
mewalsh100
I wanna be Dave
Nice work mass-hole. Any idea what color you're doing the body?
Nice work mass-hole. Any idea what color you're doing the body?
I really dont know yet. I’ve never painted an RC body so i probably need to start simple. I also dont have a LHS within a resonable distance so i cant really go look.
I do like the pearl white colors on 1:1, like the Platinum Tricoat on F150’s, but that might be a little much.
Last edited:
CRAZYACE63
Rock Crawler
Mass, I am doing a candy blue Cherokee that should be done tomorrow. Doing it all with spray cans. Spaz Stix has some great colors if you are looking.
Sent from my iPhone using Tapatalk
Sent from my iPhone using Tapatalk
mewalsh100
I wanna be Dave
I really dont know yet. I’ve never painted an RC body so i probably need to start simple. I also dont have a LHS within a resonable distance so i cant really go look.
I do like the pearl white colors on 1:1, like the Platinum Tricoat on F150’s, but that might be a little much.
My advice would be to keep it simple for your first body. Pearl's are easy to apply, so you can definitely do that.
The key with a good paint job is prep. Make sure you wash the body really well. I use Dawn dish soap or Simple Green first. Once it's clean, and thoroughly dry, you apply your window masks and any other masking you need to do. (be sure to handle it with latex gloves after it's been washed so you don't get any oils from your hands /skin on it.) After you've done all your masking, give the whole inside of the body another quick wipe down with isopropyl alcohol. This will ensure you got any remaining oils and contaminants - plus the alcohol evaporates quickly.
Shoot your pearl base. Light, multiple coats are key so you don't get bleeds and runs under your masks. Use the the whole can of pearl if you're really looking for that pearl "pop". I'd say 4 good dusting coats should empty the can.
Let the pearl set up for at least a few hours. I typically place mine over a heat register in the house when it's cool out. Once it's cured, you can shoot your finish color. Same deal here. Stick to doing multiple, light coats to build the color up.
Lastly, depending on the color you decided to go with, back it with black, white, silver. Different backing colors work better with certain colors. White and silver tend to pop the main color, while black makes them deeper/richer.
Prep and patience are the key to a good paint job. I'd much rather see a well executed, clean and simple finish than a poorly executed, complex, intricate design. Good luck and post up some pics when you're done!"thumbsup"
mewalsh100
I wanna be Dave
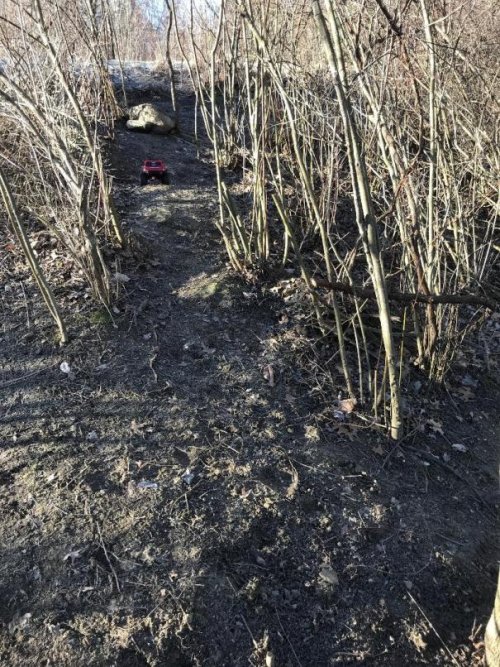
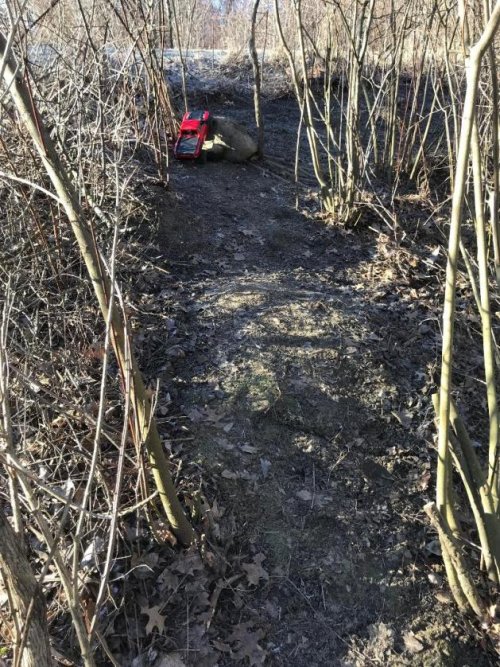
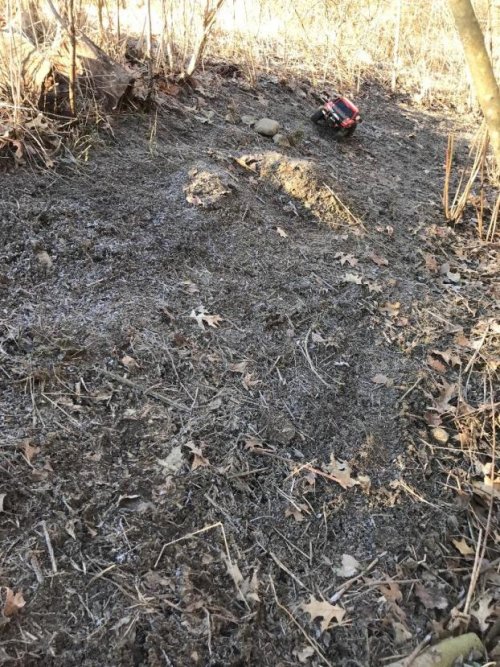
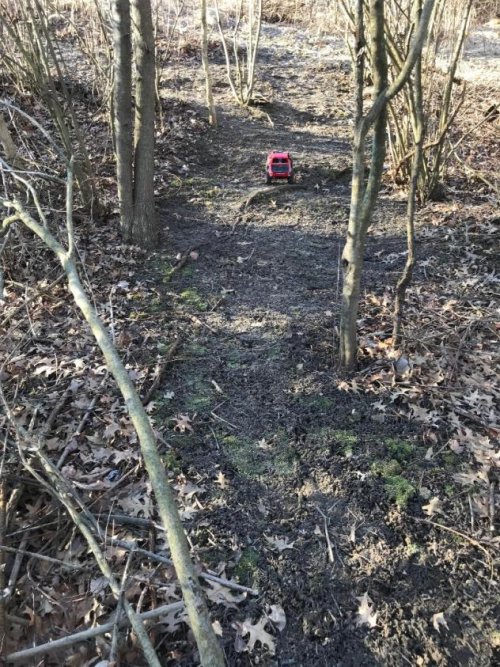
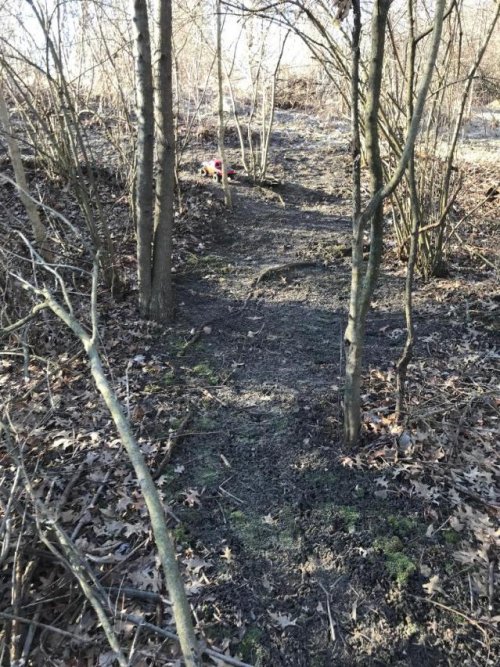
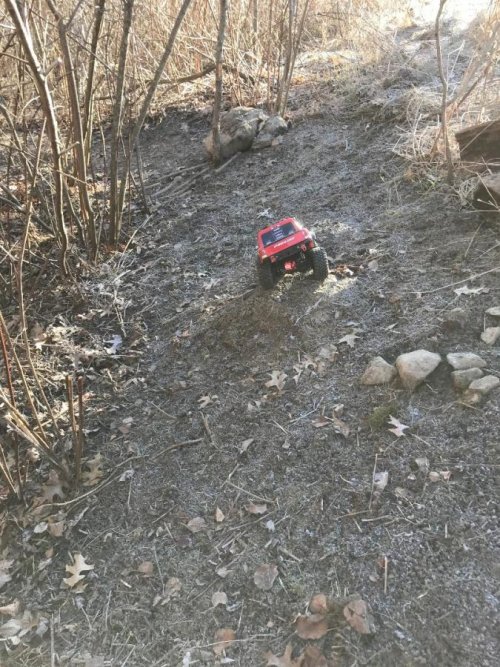
It was nice and cold this morning so I figured I'd get out for a rip while everything was still frozen. It's been so damn wet around here!:evil:
I wanted to beat on the rig for a bit to really check the gear mesh since adding the GPM spur cover and aluminum motor mount. I'd been noticing some slop and play in the plastic set up. Mesh sounds awesome and there is zero play or wobble when you try and wiggle the motor. "thumbsup"
Anyway, got to test out some of my new trails that I've been clearing. Still a lot of work to be done with adding rock gardens and other features, but I think it's going to be pretty sweet. A couple of these pics show the trail I just cut that makes for some good side-hilling. It's definitely more pronounced than what the pics show. I had a couple roll overs screwing around on this section, so it should be good and challenging when I get more features added. Any of you guys that are local to semi-local and find yourselves near me are welcome to stop by!"thumbsup" My goal is to have this fairly complete by late Spring early Summer. That said, I'm sure it will be constantly evolving.
Attachments
Topher Builds
I wanna be Dave
(Like to the last page + of posts here)
Building has been slow for me this week because of work. I finally got around to finishing up getting the Cherokee grill into the Comanche body. The mirrors and door handles are from the same parts tree. AXI31389 "thumbsup"


Building has been slow for me this week because of work. I finally got around to finishing up getting the Cherokee grill into the Comanche body. The mirrors and door handles are from the same parts tree. AXI31389 "thumbsup"


Last edited:
mewalsh100
I wanna be Dave
Looking STOUT Danza! "LIKE"
Topher Builds
I wanna be Dave
Looking STOUT Danza! "LIKE"
Like "thumbsup"
AnimalHippie
RCC Addict
Went for a crawl yesterday and shot some video! Was a great time! Love my rigs!
https://youtu.be/Cfh1GyKlKfo
https://youtu.be/Cfh1GyKlKfo
mewalsh100
I wanna be Dave
Looks like a fun little crawl spot Animal! "thumbsup"
Similar threads
- Replies
- 6
- Views
- 2K
- Replies
- 31
- Views
- 7K

