• Welcome to RCCrawler Forums.

    It looks like you're enjoying RCCrawler's Forums but haven't created an account yet. Why not take a minute to register for your own free account now? As a member you get free access to all of our forums and posts plus the ability to post your own messages, communicate directly with other members, and much more. Register now!

    Already a member? Login at the top of this page to stop seeing this message.

What did you do to your SCX24 today?

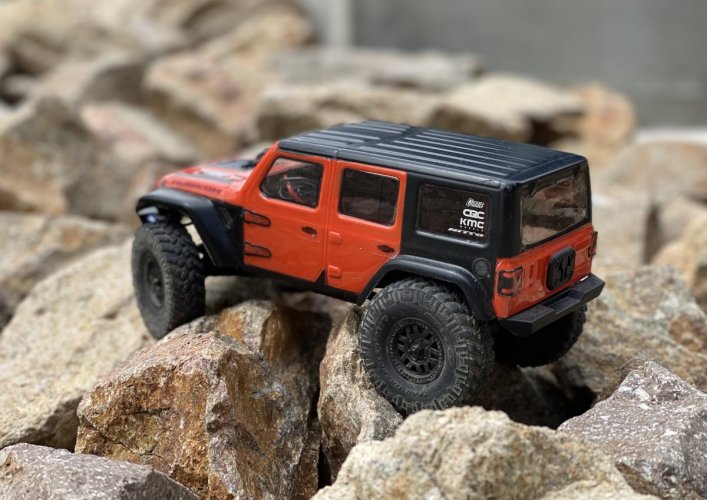
Got mine unboxed and battery charged ( I got the white jeep JL ), put on the sliders and stinger bumper I 3D printed for it. Seems like a fun capable rig for the size. Ill do the shock grease mod within the next couple days. I still have the battery relocation tray to put on but not sure how to deal with the servo wire being a bit short.

Is everyone using the stock charger to charge the battery?? I made an adaptor so I can actually balance charge it from my Hitec RDX1 Pro.
 
Lots, lol
Upgrade stearing, lowered battery and electronics rear tire mount and sliders (shapeways)
Snorkel
Side mirrors
Roof rack
Tires
Brass diff covers
Hot Racing shocks
trimmed front fenders
Removed some stickers...
It was a slow work day, lol

gvNySAC.jpg


byutUJR.jpg


HS4ulpn.jpg
 
Last edited:
I'm a simple man... I just moved the lights to the body with the existing wires, found they friction fit into the light buckets behind the decals and all it takes is a little extra finger work when hinging the body.
iYu6qHB.jpg


I'll probably shroud behind them with electrical tape later.
 
Installed new servo (ES08MD), hot-racing emax servo tray and steering link/rod. Also used some hockey tape to stop light bleed from the LED’s.

e0642c26c2a6342bf473a19f6cc048ef.jpg
 
Drove it for once! Need to figure out how to get more steering ASAP. Stock ain’t cutting it.
 

Attachments

  • D9E80560-FE59-436B-8302-43FC5A7A04EF.jpg
    D9E80560-FE59-436B-8302-43FC5A7A04EF.jpg
    141.5 KB · Views: 2,292
Went to the LHS and look through 30+ SCX24's looking for a teal Chevy C10, found 1, think it was the last one. My next choice would have been the green Deadbolt to go with my 1/10 Deadbolt. brought it home, unboxed it, installed batteries and drove it around the living room for about 30 minutes. Crawling over anything in site. I was surprised how well it did. Think the 1st mod will be adding a little grease to the shocks to take some of the bounce out.

i-WKfs8wZ-M.jpg
 
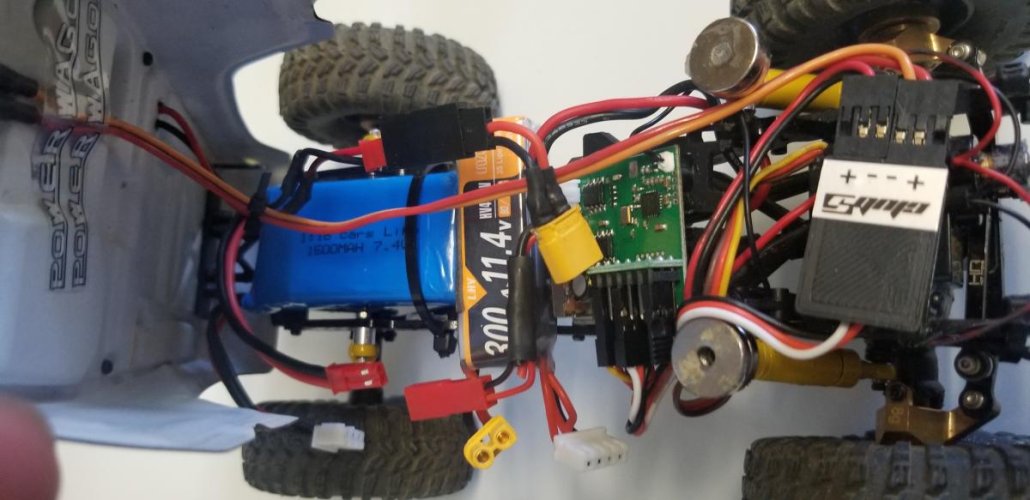
Having expeience with PH 2.0 connectors on my tiny whoops, they have a very limited plug unplug count before they start getting loose and not making good contact. With this in mind I cut the battery approx in half and put an XT30 in between the battery and the esc. Now I can unplug the battery without messing with the PH 2.0 connector.


i-zDzx3B6-M.jpg


i-mLvCrL6-M.jpg


i-SFtdVdr-M.jpg
 
Drove it for once! Need to figure out how to get more steering ASAP. Stock ain’t cutting it.
Trimming the body helps.
I am trying this servo.
Seamuing 6Pcs MG90S Micro Servo 9G Servo Motor Metal Geared Micro Servo Motor 9G Smart Robot Car Helicopter Plane Boat https://www.amazon.com/dp/B07F7VJQL5/ref=cm_sw_r_cp_tai_uyBuFbPN3WDEC
More power. Tighter turn radius.
Fits the stock mount with longer bolts, though the horn protrudes further forward.
Had issues with the Emax. Will see if the Seamuing holds up.
 
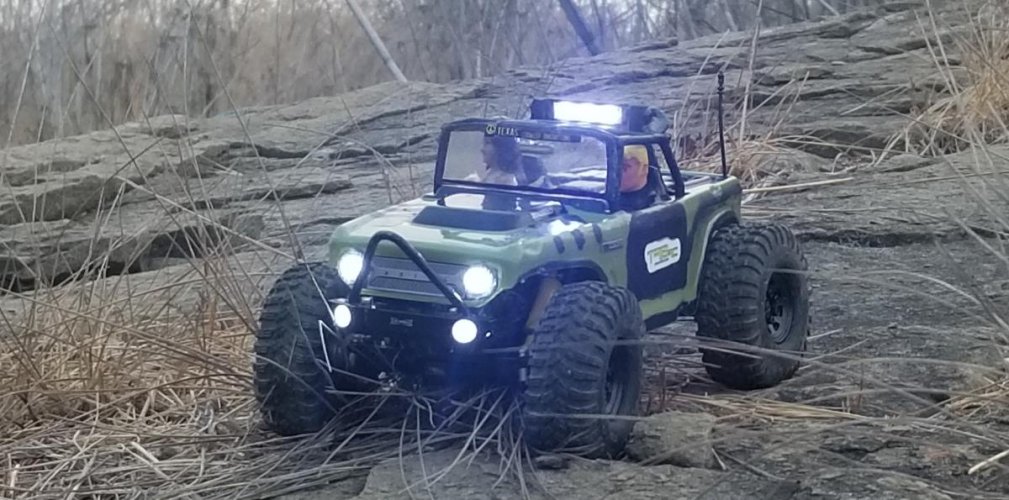
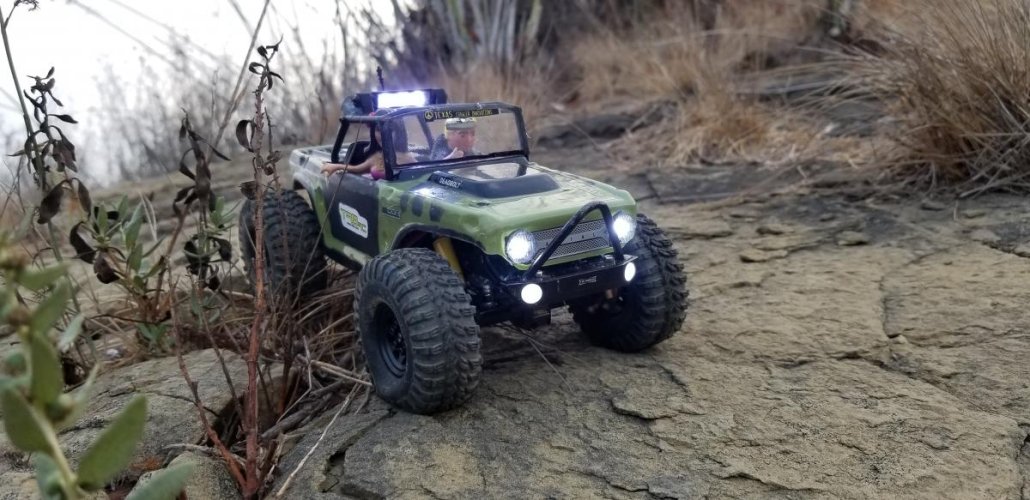
Just put hot racing shocks and Leds in the light bar. Spare tires and jerry can on. This one's all set for when I get a chance to run it. Oh and put brass knuckles on the front.
54857416f6796c82102dae451897b9a0.jpg


Sent from my Pixel 4 XL using Tapatalk
 
Last edited:
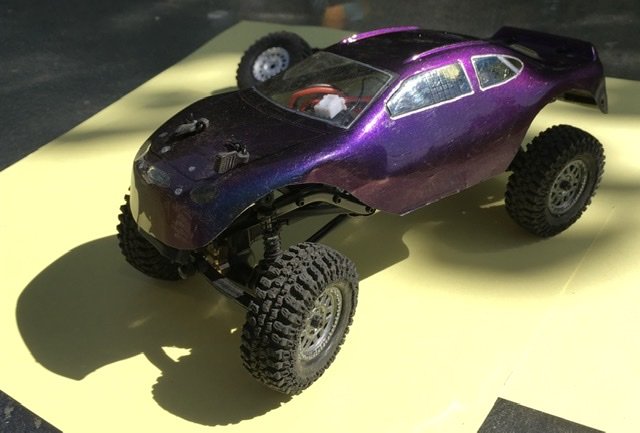
Lightweight color-change jellybean Taurus slot car body
 

Attachments

  • CA478DAE-AEAC-4F9F-BEFE-086E0439DE76.jpeg
    CA478DAE-AEAC-4F9F-BEFE-086E0439DE76.jpeg
    71.7 KB · Views: 2,336
Didn't like seeing the wires through the windows of my C10 so I made an interior out of styrene and 3D printed parts. Painted it nutmeg.


i-2rJQfV3-M.jpg


i-BbtJD7m-M.jpg


i-mVmVrMT-M.jpg
 
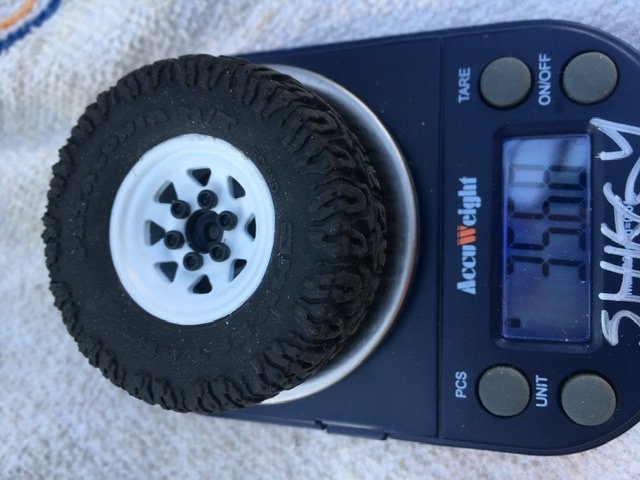
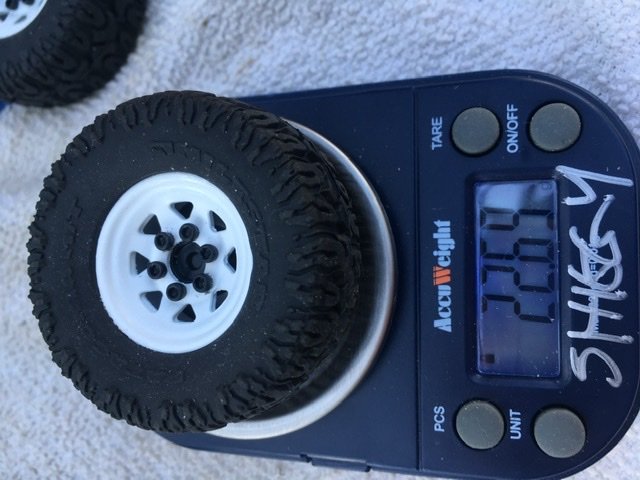
The C10 got some upgrades today. Installed a Emax servo, & swapped out the wheels and tires for some RC4WD steel wagon wheels. I think they improve the appearance of the truck.

i-f2Cx4wj-M.jpg


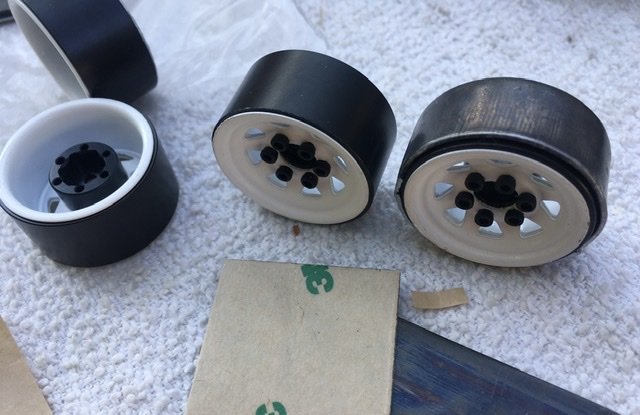
Also vented the wheels before I installed the tires.
i-MVdHbG3-M.jpg
 
Cramming a 1500mah 2s for driving and 3s 300mah so i can run the fog lights.
 

Attachments

  • 20200918_145802.jpg
    20200918_145802.jpg
    84 KB · Views: 2,039
  • 20200918_145358.jpg
    20200918_145358.jpg
    125.3 KB · Views: 2,091
  • 20200918_071455.jpg
    20200918_071455.jpg
    125.4 KB · Views: 2,029
New RC4WD Milestar Patagonia tires and bead lock wheels.
 

Attachments

  • D02AA66D-5E83-41BC-908B-059A65C66FAE.jpeg
    D02AA66D-5E83-41BC-908B-059A65C66FAE.jpeg
    88.4 KB · Views: 1,847
  • 4074CE26-2626-470C-9707-580288FC65CB.jpeg
    4074CE26-2626-470C-9707-580288FC65CB.jpeg
    94.2 KB · Views: 1,869
  • D7FC5BCC-C613-471C-810F-5CD25952272D.jpeg
    D7FC5BCC-C613-471C-810F-5CD25952272D.jpeg
    87.9 KB · Views: 1,885
  • 7E22CD66-6185-4E67-98B0-2A52927FA48D.jpeg
    7E22CD66-6185-4E67-98B0-2A52927FA48D.jpeg
    152.1 KB · Views: 2,270
  • F814A3CE-C74D-4B13-A460-7B46831C91E0.jpeg
    F814A3CE-C74D-4B13-A460-7B46831C91E0.jpeg
    173.5 KB · Views: 1,867
Last edited:
Finished it. Well, it will never be finished but it's where I want it. Lol!
0ac0885cfb23a72a1dd11e36a39274eb.jpg
6da76d81ec62456ba760fed4c80d10b5.jpg
a14bfd89d27276aa6683d72f0bc050db.jpg
9fbc9889159482bded7e0cc14479c483.jpg


Sent from my LG-LK460 using Tapatalk
 
Back
Top