-
Welcome to RCCrawler Forums.
It looks like you're enjoying RCCrawler's Forums but haven't created an account yet. Why not take a minute to register for your own free account now? As a member you get free access to all of our forums and posts plus the ability to post your own messages, communicate directly with other members, and much more. Register now!
Already a member? Login at the top of this page to stop seeing this message.
You are using an out of date browser. It may not display this or other websites correctly.
You should upgrade or use an alternative browser.
You should upgrade or use an alternative browser.
Vanquish VS4-10 Origin Limited Build/Thoughts Issues
Re: Vanquish VS4-10 Origin Limited Build/Thoughts/Issues
Thats a misprint in the manual. Should have been IRC00211 - Incision 90mm Scale Shock Plastic Parts - Vanquish Products
Thanks for all your feedback "thumbsup"
I see that you are not using metal balls in the top shock mounts, but using the plastic balls off the parts tree. Were the metal balls not included in your kit either? Just curious because the manual specifically calls out the metal balls for the top shock mount by part number, but I think that is an error.
Thats a misprint in the manual. Should have been IRC00211 - Incision 90mm Scale Shock Plastic Parts - Vanquish Products
Thanks for all your feedback "thumbsup"
Kits are packed at Vanquish HQ in California.
Thats correct. All components that come from Taiwan are re-checked when they arrive. We do final packaging here in Sacramento before they go out to customers/shops.
What's the made in Taiwan printed on the box for then? Nothing against them manufacturing off site but it's good to understand if it was made elsewhere that it conforms to Vanquish standards in both manufacture and the metals used.
The components made in Taiwan are shipped to our HQ in Sacramento in the final packaging. Any products manufactured outside of the US is required to state the origin of the product when imported. In this case "Made in Taiwan" on the shipping box. Each box is then opened and packaged with all the components made here in the US.
It really is an impressive undertaking for two factories to work together seamlessly and bring a product of this nature to market. We always appreciate the positive feedback "thumbsup"
2mtech
RCC Addict
It really is an impressive undertaking for two factories to work together seamlessly and bring a product of this nature to market. We always appreciate the positive feedback "thumbsup"
We use the same procedure. If by "impressive undertaking" you mean "logistics nightmare" then I concur. ;-)
Any chance you'd care to share anticipated annual volume for this model from your business case? Understood if not, just curious what the market is supporting for such an elite example within the hobby.
rohrej
Rock Stacker
Re: Vanquish VS4-10 Origin Limited Build/Thoughts/Issues
Your welcome! Thanks for putting out a great kit!
Thats a misprint in the manual. Should have been IRC00211 - Incision 90mm Scale Shock Plastic Parts - Vanquish Products
Thanks for all your feedback "thumbsup"
Your welcome! Thanks for putting out a great kit!
mikemcE
I wanna be Dave
Re: Vanquish VS4-10 Origin Limited Build/Thoughts/Issues
Excellent !!
Hang up and Drive
Thats a misprint in the manual. Should have been IRC00211 - Incision 90mm Scale Shock Plastic Parts - Vanquish Products
Thanks for all your feedback "thumbsup"
Excellent !!
Hang up and Drive
rohrej
Rock Stacker
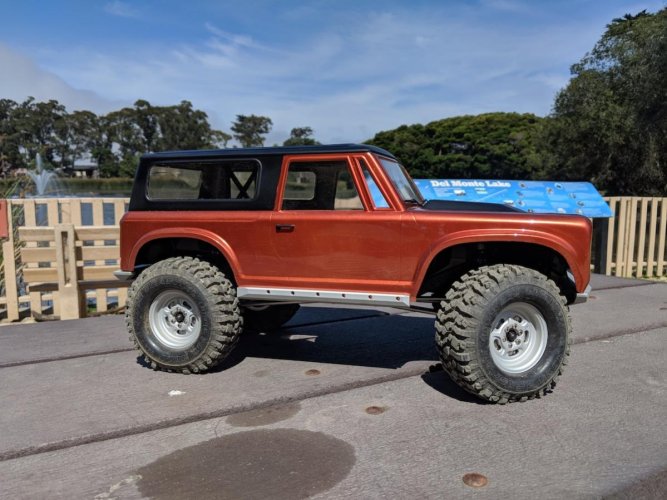
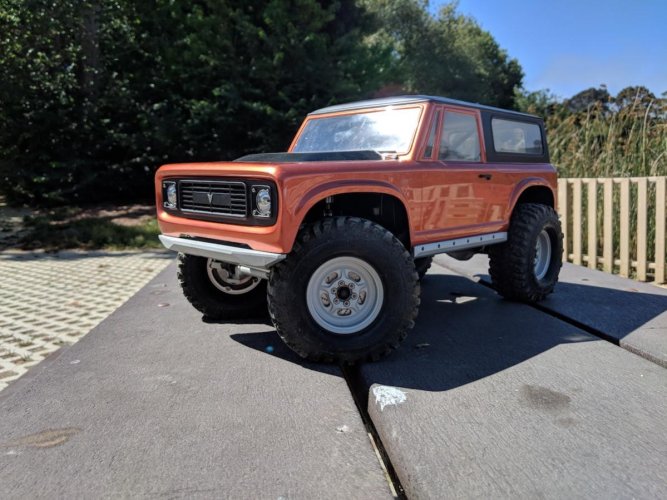
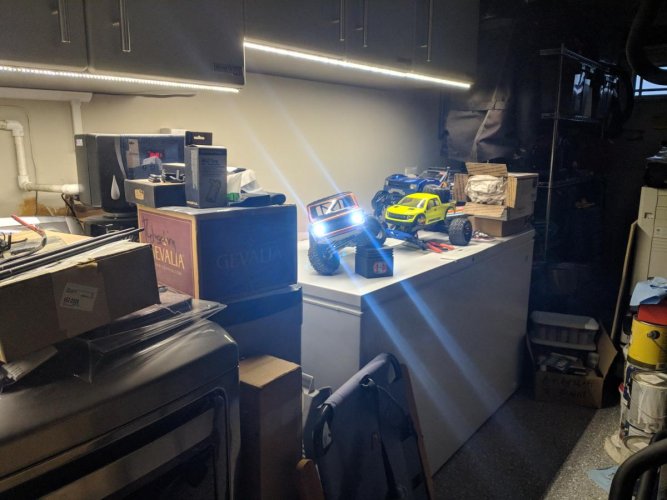
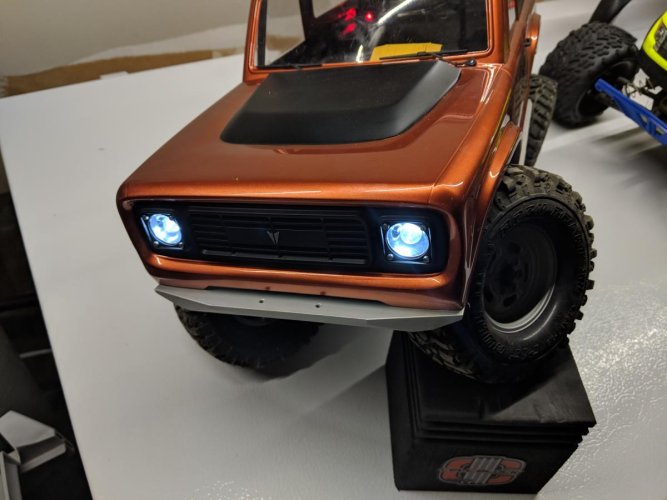
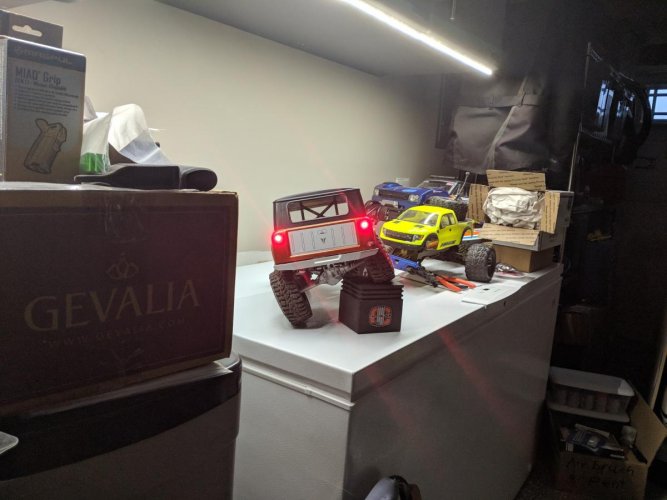
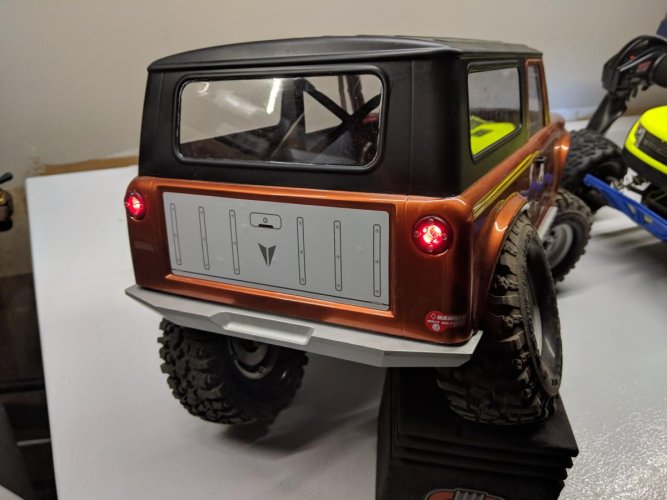
Not having any idea when my backordered Q-series lights will ship, I installed 10mm LEDs in the interim. And 5mm LEDs in the rear.
Attachments
Not having any idea when my backordered Q-series lights will ship, I installed 10mm LEDs in the interim. And 5mm LEDs in the rear.
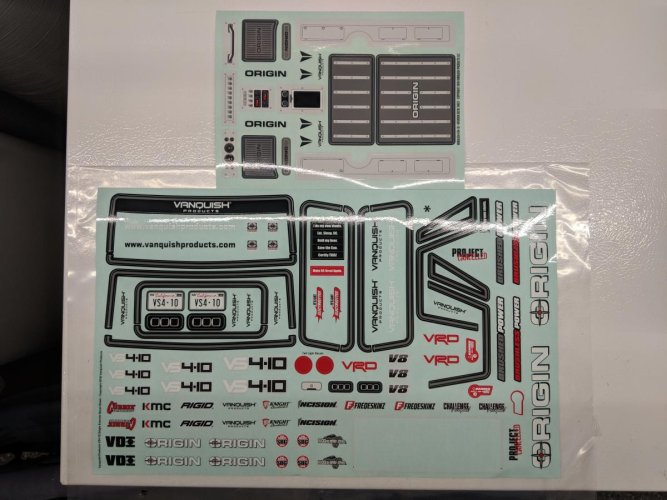
Looks great. I like your sticker choice on the rear quarter panel. I dont think anybody has taken a photo of the included decals yet.
Hollywood13
Newbie
Does anybody have any problem with leaking shocks?
rohrej
Rock Stacker
Looks great. I like your sticker choice on the rear quarter panel. I dont think anybody has taken a photo of the included decals yet.
Someone has now...
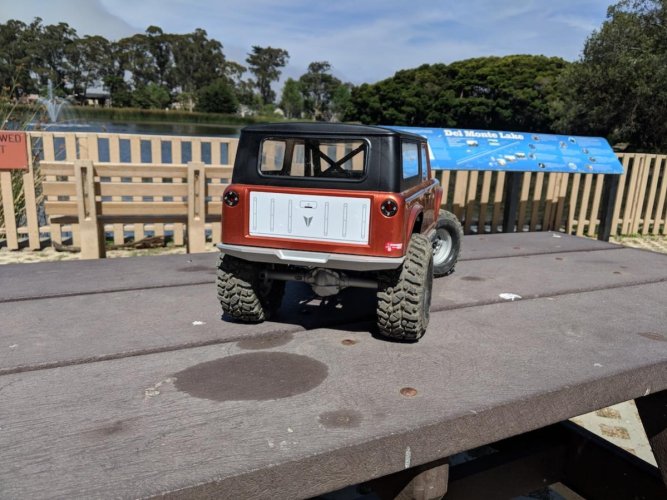
I used 2 stickers, one for the tailgate detail, and one of the "banned" CA emissions stickers. I will me using the interior stickers, just haven't done my interior yet.
Attachments
Last edited:
Topher Builds
I wanna be Dave
Excellent thread and build! Love the color choice, that copper looks great.
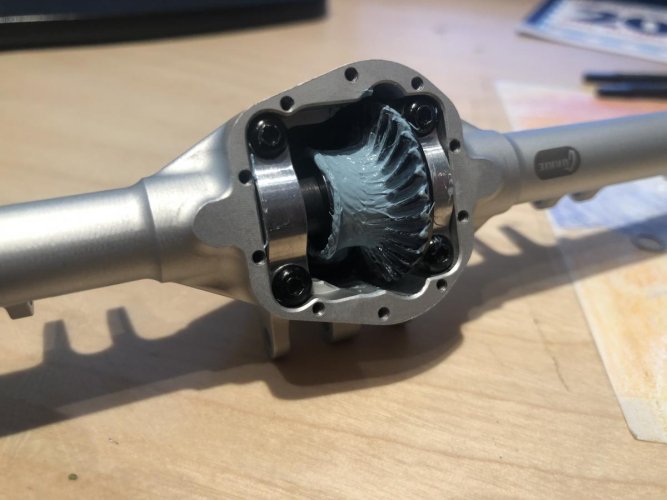
I’m having issues with my rear axle assembly, the front one went together like a breeze. Great fit and action everywhere. The rear one is very tight when I try and drop the gear assembly in. I’ve redone it a handful of times and still get a tight fit that causes binding. Everything spins freely outside of the housing but I can’t tell if it’s an issue with the housing or if perhaps one of the bearing carriers are slightly off. Either way, I’ve reached out to VP and hope for an easy resolution.
I’m having issues with my rear axle assembly, the front one went together like a breeze. Great fit and action everywhere. The rear one is very tight when I try and drop the gear assembly in. I’ve redone it a handful of times and still get a tight fit that causes binding. Everything spins freely outside of the housing but I can’t tell if it’s an issue with the housing or if perhaps one of the bearing carriers are slightly off. Either way, I’ve reached out to VP and hope for an easy resolution.
Attachments
rohrej
Rock Stacker
Excellent thread and build! Love the color choice, that copper looks great.
I’m having issues with my rear axle assembly, the front one went together like a breeze. Great fit and action everywhere. The rear one is very tight when I try and drop the gear assembly in. I’ve redone it a handful of times and still get a tight fit that causes binding. Everything spins freely outside of the housing but I can’t tell if it’s an issue with the housing or if perhaps one of the bearing carriers are slightly off. Either way, I’ve reached out to VP and hope for an easy resolution.
Sounds like the same issue I and others have had, so hopefully VP support will get you sorted quickly as they did for me.
mikemcE
I wanna be Dave
Re: Vanquish VS4-10 Origin Limited Build/Thoughts/Issues
Agreed , Michael emailed me back within 1/2 hour of opening for the day. VP has shipped replacements out already.
Shipper said Monday, Oh well I have the Body and interior to play with.:mrgreen:
Hang up and Drive
Agreed , Michael emailed me back within 1/2 hour of opening for the day. VP has shipped replacements out already.
Shipper said Monday, Oh well I have the Body and interior to play with.:mrgreen:
Hang up and Drive
Last edited:
At some point, should this be moved to:
"Scale Rigs Brand Specific Tech"
?
"Scale Rigs Brand Specific Tech"
?
At some point, should this be moved to:
"Scale Rigs Brand Specific Tech"
?
I agree. With so many of these released now, we need a place to go to with our builds and questions.
Sent from my iPad using Tapatalk
rohrej
Rock Stacker
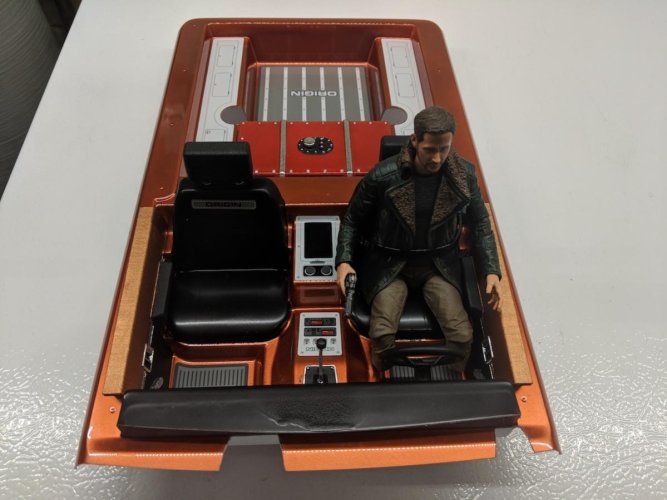
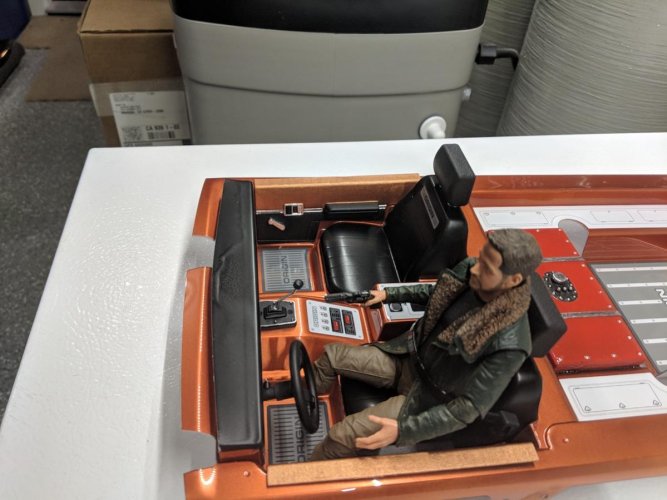
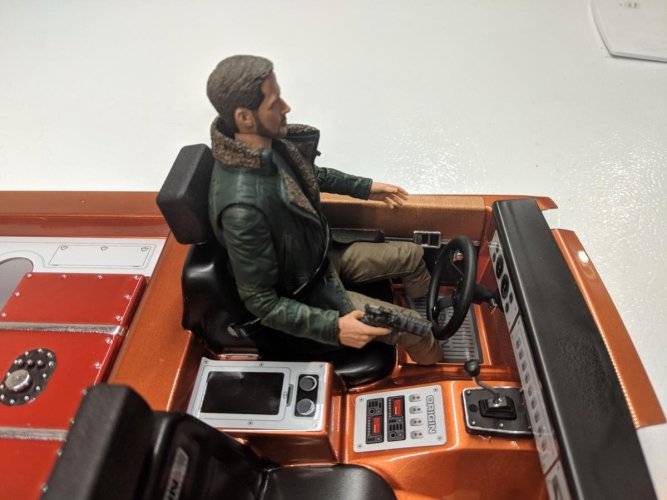
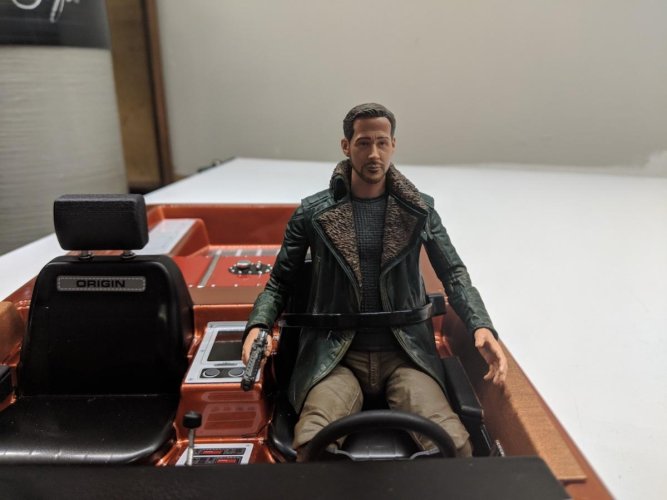
Interior update. It's mostly there. First serious attempt at an interior, and also first time using shapeways, so definitely learning a few things. The paint on the door panels should be the same color as the pain on the lexan, but isn't, I guess due to the texture on the 3D printed parts? I like chrome paint pens... Used flat clear over the seats and am pretty happy with those.
Ryan Gosling agreed to be the Driver (true story). He is almost certainly too tall for the Origin however.
I have the Knight Custom gauge parts and LEDs for it, but am pretty unsure how to make that look right (i.e. how to make gauge faces such that just the correct parts will light up). I also made an unfortunate choice for the ESC position, so the wires interfere with the passenger footwell. Have a bit of work to do before I can fit this for real.
Attachments
Last edited:
rohrej
Rock Stacker
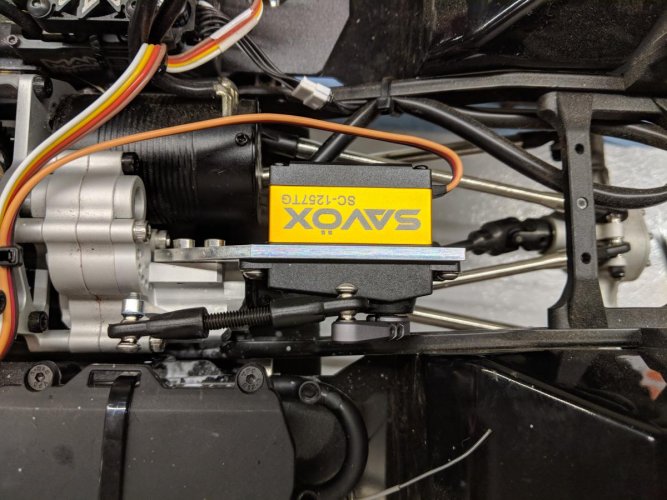
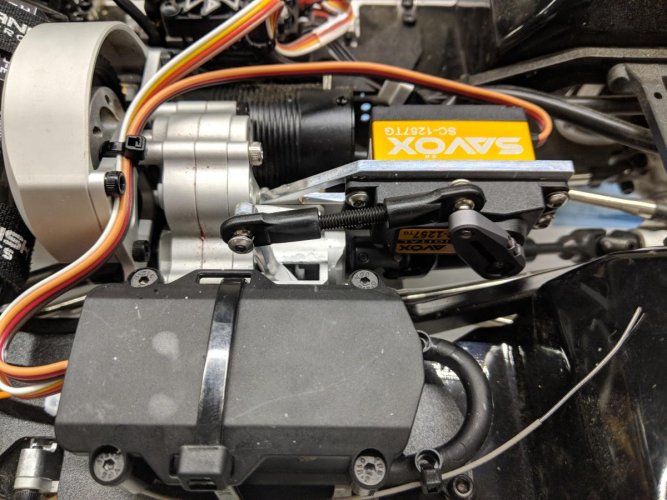
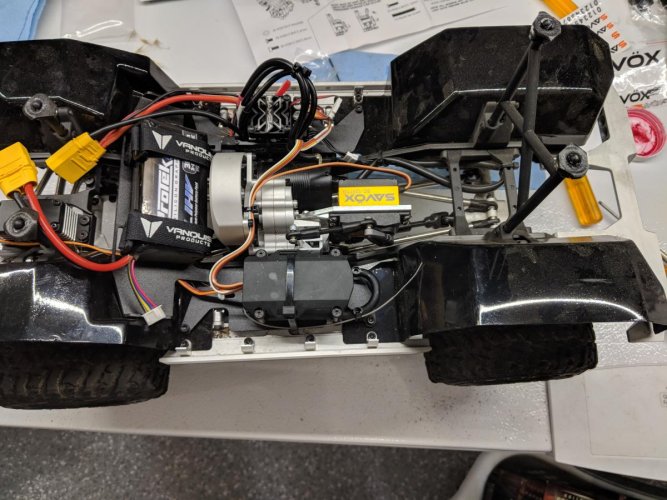
Now with infinitely more DIG! No changes required to the driveshaft, so that was a pleasant surprise.
I'm using a 138 oz high-speed servo, so roughly in-line with Harley's recommendations. It's surprising to me how much it can flex the servo mount if trying to engage the dogs when they aren't aligned.
Neither the instructions or Harley's installation video suggested any lubrication, and I'm concerned about sand getting stuck inside it, so I initially left it dry. In this configuration the dogs usually get jammed against each other, which allows it to function fine (4wd, dig both work, but only through friction, the dogs aren't actually engaging one another) but leaves the servo straining, so I was concerned about burning it up. I'm guessing this may get better after some break-in. However it finally occurred to me that there are other types of lube besides grease/oil :roll:, so I tried a PFTE dry-lube spray on it, which seemed to help. Hoping to get it out on the rocks this afternoon!
Attachments
racinghammer
Newbie
What steering servo arm did u end up using I've got same problem
Similar threads
- Replies
- 7
- Views
- 248

