• Welcome to RCCrawler Forums.

    It looks like you're enjoying RCCrawler's Forums but haven't created an account yet. Why not take a minute to register for your own free account now? As a member you get free access to all of our forums and posts plus the ability to post your own messages, communicate directly with other members, and much more. Register now!

    Already a member? Login at the top of this page to stop seeing this message.

SCX10 II by newIIrocks

That's great info right there.
So +4mm up front looks was at better. Did you space the upper and lower links or just the lowers?

Sent from my SPH-L720 using Tapatalk
 
That's great info right there.
So +4mm up front looks was at better. Did you space the upper and lower links or just the lowers?


I spaced them both to maintain the already excellent stock pinion angle. I don't have an exact measurement on the spacer length yet (the 4mm reference was to inner hole diameter) but will post when I settle on something. I think the upper link mount still clears the panhard, but by a whisker.

Build is looking sharp! Body position looks perfect


Thanks! Pleased with how it's coming out. "thumbsup"
 
I was able to make one final push to get her ready for her maiden voyage. Here are a few notes on the body accessories:

Door handles came out slightly out of alignment on the passenger side because I drilled both holes for each door handle first using the molded bumps in the shell as a guide before fitting the handle. The driver's side came out better. I drilled the rear-most hole (the one with the clip post) first for each handle, then test-fit the handle to identify where the other hole needed to go before drilling.
DSC00574.jpg

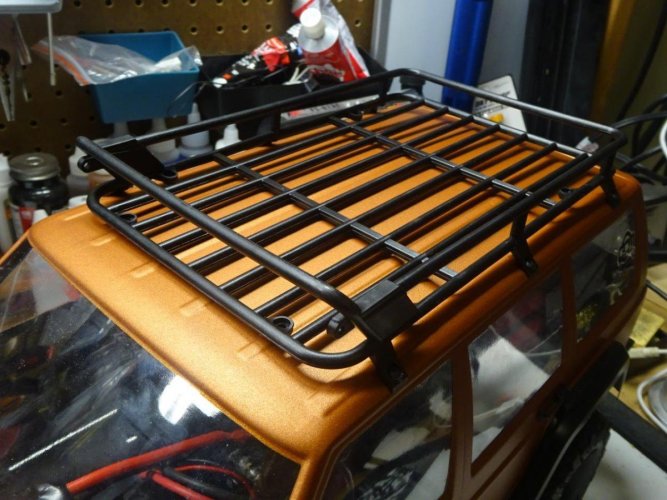
For the luggage rack, I found it best to start by drilling out out mounting the middle mounting screw on one side with the rack centered, followed by the middle screw on the other side. I then drilled out and mounted the four corner screws.
DSC00590.jpg

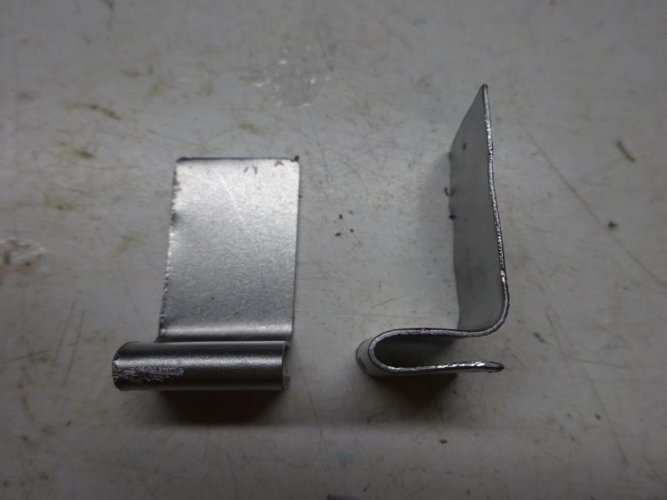
I consulted Chris at GCM for ideas on a clip-less body mounting system and came up with this for the back:
DSC00568.jpg

DSC00569.jpg

DSC00570.jpg

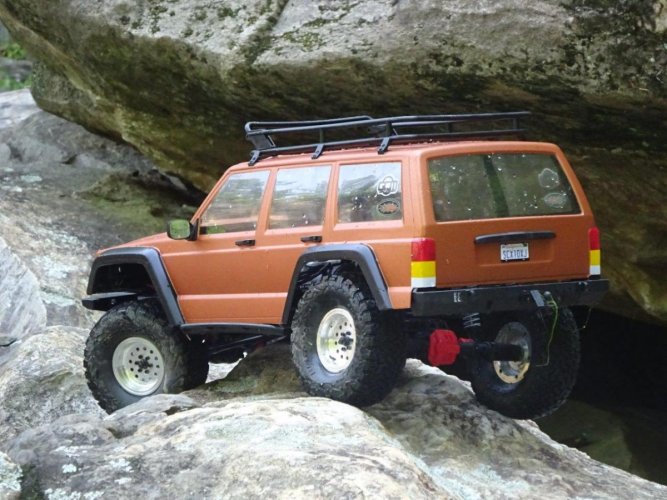
The homemade metal clips slide right over the rear bumper lip and are located as far outboard as they can go to avoid allowing the body to slide.

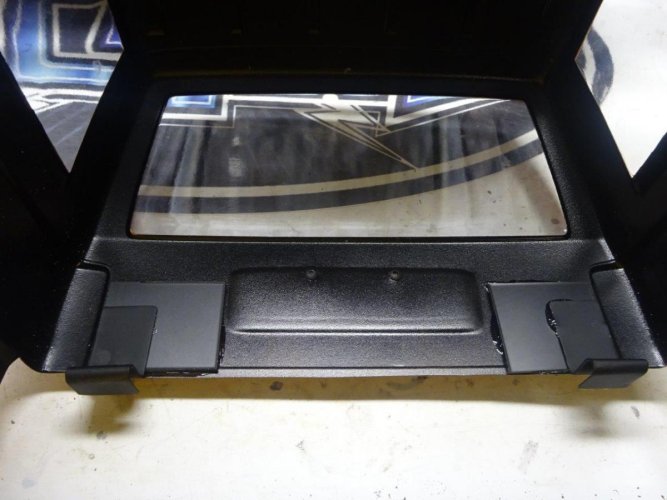
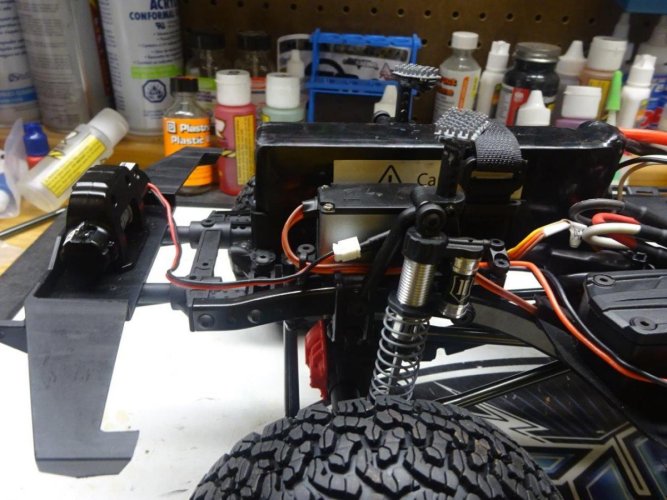
For the front, I decided on velcro for now, as I may change body positioning relative to the chassis once I make a final decision on link lengths. I glued styrene squares to the lexan first, followed by self-adhesive Velcro so that I have the option of switching to magnets later without damaging the lexan paint inside.
DSC00572.jpg

DSC00573.jpg

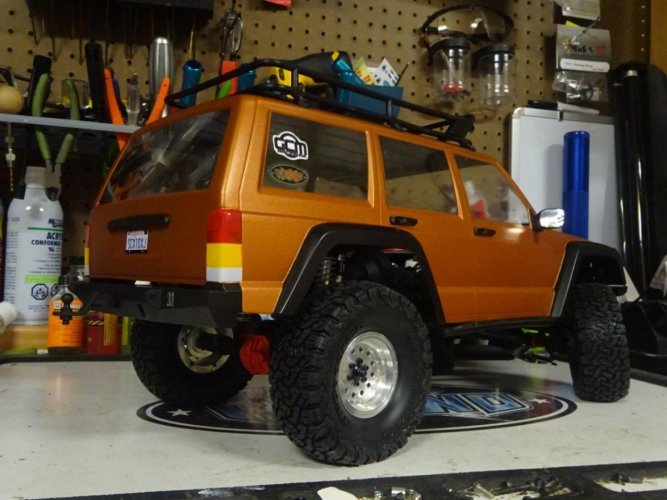
I added a few essential stickers, raised the front shock collars to lower the stance a bit, and I think she's ready to go:
DSC00583.jpg
 
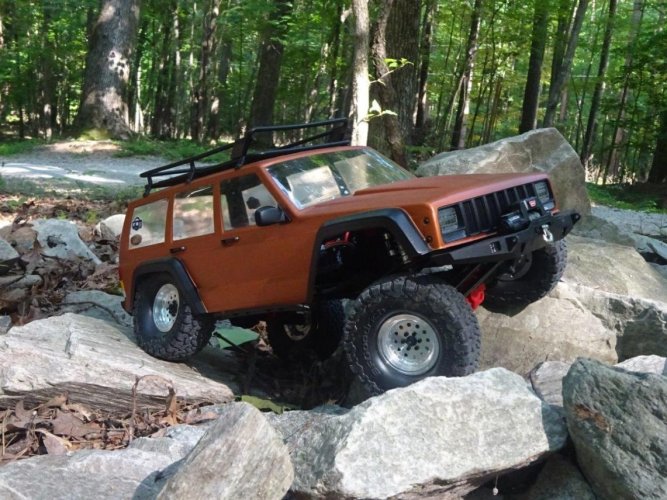
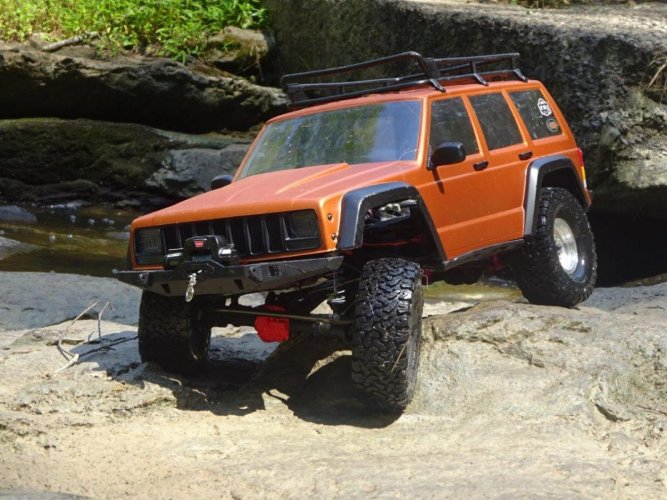
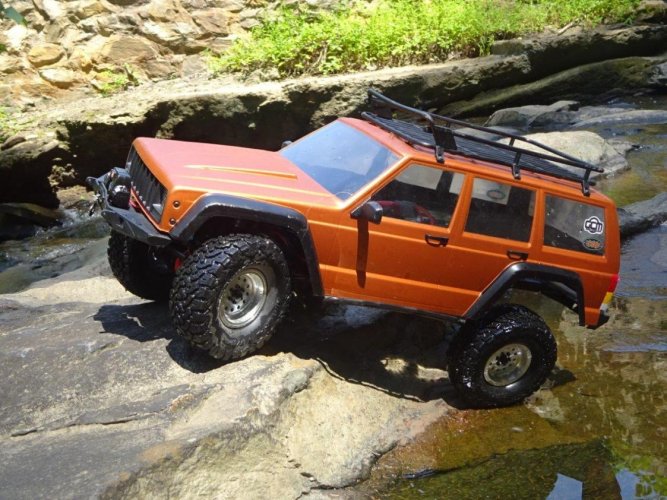
Just got back from my first run and, after 3 hours on the trails and rocks, I must say that I'm very impressed. Keep in mind that this rig is box stock save for two small "mods" - slightly longer front links and the GCM Deep Dish wheels instead of the stock glue-ons. Oh, and a paint job. :mrgreen: Everything else is just as it came out of the box, and it just plain works. Very well. So much so that even cr00zah, professional skeptic and grumpy old man that he is :ror:, was left vowing to buy one (he almost never buys new rigs) after watching it for a few hours and driving it for a few minutes.

Here are some initial impressions:
-- Wow is this thing quiet. The drivetrain is almost completely silent, and there was no echo chamber effect like you get with the Ascender Blazer body. You hear a little bit of motor, and that's it. Nicely done, Axial!
-- The suspension is very smooth. I will want to lower it, which will probably involve switching over to dual rate springs, but that's more of a personal preference. It works very well just as is.
-- The truck's overall balance is excellent, from sidehills to steep climbs to steep descents. Axial's engineers really did a nice job with the layout from a functional perspective. Not that it will stop me (and others, I'm sure) from turning the tranny around to face the right way, lol, but this layout works.
-- Stock tires did fairly well. They didn't seem to clear wet dirt as well as some others I've run (including tires on the other two rigs that were running in our group today), and grip on steep climbs and slippery roots wasn't great initially. Performance would probably benefit from more breaking in (which I'll do), venting (which I won't), and new foams (also probably not on my list). But for a stock all terrain tire, these look great and run just fine.
-- Ground clearance is definitely improved over the original SCX-10 thanks to the smaller pumpkins, but don't expect this to be hang-up proof. You'll still need to pick your lines around larger roots and rocks to avoid hanging on the pumpkin or center skid.
-- Those GCM wheels look like they were designed specifically for this body. Maybe Chris knew something the rest of us didn't when he released them... :)

The natural question on everyone's mind is how this compares to the original SCX-10 and the Ascender. Let's start with the original SCX-10. Simple: the II is vastly better out of the box than any of the original SCX-10s. Stronger components, better steering, better weight distribution, and the best stock body I've seen on an SCX-10. Comparing to the Ascender is a bit tougher. Both are very capable and durable out of the box. The Ascender has slightly better steering, but the SCX-10 has better shocks. Both have terrific bodies. For the moment, the Ascender is in the position of having better aftermarket support (can't believe I just typed that, lol), but we know that will change quickly. Ultimately, this will probably end up much like the Ford vs. Chevy and Jeep vs. Toyota debates. Aficionados on either side will passionately extoll the virtues of their preferred platform, but ultimately, both are excellent. There really is no right or wrong answer, so if you're torn, buy the one you like. You won't be disappointed either way.

I will work on getting some video up this weekend. In the meantime, here are some pix from the outing to hold you over. First shot getting the trail legs under us:
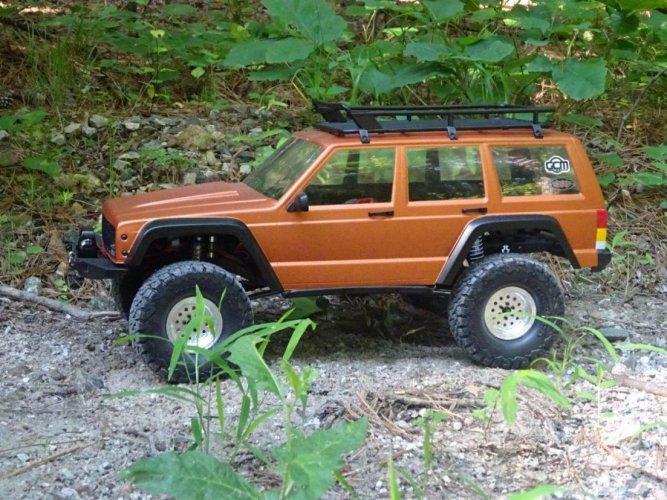
DSC00591.jpg

First time on the rocks:
DSC00592.jpg

DSC00601.jpg

DSC00604.jpg

DSC00605.jpg

Even cr00zah was impressed and now wants one:
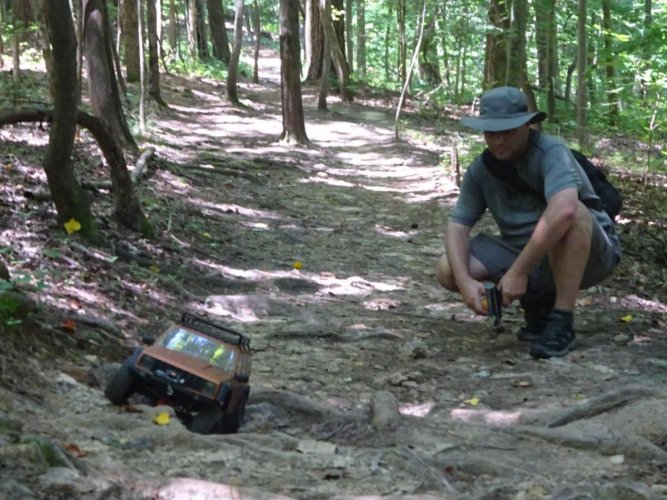
DSC00609.jpg

Last shot of our little group (SCX10 II made it to the top unassisted, followed by Roo driving our Ascender, and cr00zah's Dingo):
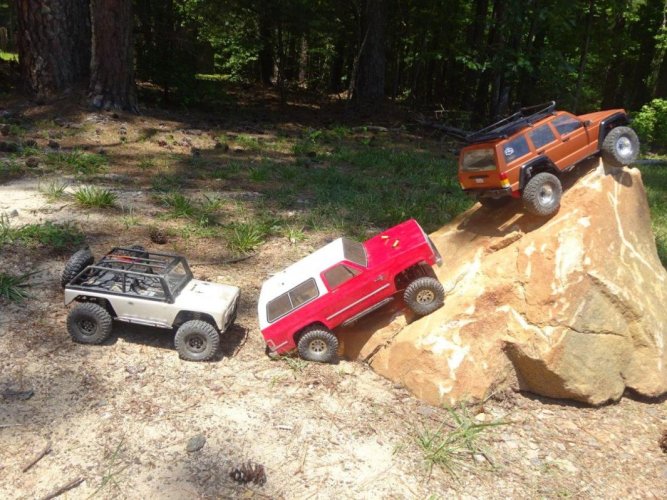
DSC00613.jpg

More to come. In the meantime, thanks to everyone for following and chiming in with your questions and feedback! "thumbsup"
 
Last edited:
You nailed it. You're also one of the first to agree with me that THIS BODY LOOKS GOOD! You've probably answered this before (and I've probably seen it and forgotten it), but what paint did you use? How is it holding up from painting it on the outside? I've also heard mixed emotions about the tires. How well did they perform?
 
You nailed it. You're also one of the first to agree with me that THIS BODY LOOKS GOOD! You've probably answered this before (and I've probably seen it and forgotten it), but what paint did you use? How is it holding up from painting it on the outside? I've also heard mixed emotions about the tires. How well did they perform?

Thanks! I used Pactra Fiery Orange inside and out. As for the tires, they do fine as an all around trail tire. Beyond that, the jury's still out for me. They could definitely use some more break-in time and probably venting and foams. But I'll probably stick with them as is for general trail and crawling tires and use something more aggressive for a comp tire.
 
I must admit, my skepticism was unfounded. Ditto everything N2R stated above - this thing flat out works as is, it's very very impressive. Throw a good set of tires on it and I suspect it will be a killer platform.

Pictures don't do justice to the work N2R did on the body - it's spectacular (and this coming from someone who is not a Jeep fan *cough*Toyota*cough*).
 
N2R it's great to hear your thoughts on this new rig and that it works nicely. Your build is well put together and the truck looks amazon.
 
How much for Chris to give me that neat body mounting system? :lmao:

LOL. Save yourself some money - this is definitely an inexpensive and easy home-brew solution. :mrgreen:

Pictures don't do justice to the work N2R did on the body - it's spectacular (and this coming from someone who is not a Jeep fan *cough*Toyota*cough*).

Too kind, sir. :)

N2R it's great to hear your thoughts on this new rig and that it works nicely. Your build is well put together and the truck looks amazon.

Thanks! It's definitely been a fun build, and I'm happy with the results thus far. "thumbsup"
 
I put together a build review with some clips from yesterday's run:

https://youtu.be/5BI_8_2jDEM

Disclaimer: I'm just getting started learning how to use Adobe Elements and trying to get a bit better with my videos, so go easy on me, lol! "thumbsup"
 
Last edited:
I scanned through and a great rundown, I have run into an issue and want to see if anyone else has noticed it.. My trans topshaft (the one the spur mounts to) has a ton of play, like 2mm of fore/aft movement, I've pulled it apart and double checked how everything went together and it's all as the instructions direct. Another local guy is having the same issue, those that have run theirs, does it matter?


Sent from my iPad using Tapatalk
 
I have play in mine, but I haven't run it yet. For what it's worth, it's got less play than my old SCX-10 and it hasn't been an issue there.

I scanned through and a great rundown, I have run into an issue and want to see if anyone else has noticed it.. My trans topshaft (the one the spur mounts to) has a ton of play, like 2mm of fore/aft movement, I've pulled it apart and double checked how everything went together and it's all as the instructions direct. Another local guy is having the same issue, those that have run theirs, does it matter?


Sent from my iPad using Tapatalk
 
After a bit of head scratching I shimmed it, a.o.k. now, I'd warn others to keep an eye out for this, it allows the spur gear to wander a good bit


Sent from my iPad using Tapatalk
 
Thanks for the build log/review... Awesome job!

I have one on order, hope it comes soon. I also ordered all the elecs from Holmes today. I'm really torn between this and the RR10 Bomber. I really want buggy type crawler at some point, but truthfully would rather build the chassis from tubing.

BTW... really appreciate the feedback you gave in regards to my Dingo build (stubby 3300kv HH motor), couldn't be happier.
 
Great build and review David! "thumbsup"


Thank you, sir!

After a bit of head scratching I shimmed it, a.o.k. now, I'd warn others to keep an eye out for this, it allows the spur gear to wander a good bit


Glad you got it sorted. There have been a few early production QC issues, but nothing that an email to Axial or a little bit of ingenuity won't fix.

Thanks for the build log/review... Awesome job!

I have one on order, hope it comes soon. I also ordered all the elecs from Holmes today. I'm really torn between this and the RR10 Bomber. I really want buggy type crawler at some point, but truthfully would rather build the chassis from tubing.

BTW... really appreciate the feedback you gave in regards to my Dingo build (stubby 3300kv HH motor), couldn't be happier.


Glad you're liking the Stubby. You've made a good choice with this kit. You can always build a Bomber next if you decide not to turn this into a tuber. ;)
 
We have all figured out that a new rig kit is just a big box of puzzles.. I'm just happy it had all the pieces in it. My yeti was missing stuff as I've heard a few of these are too..

Take some time and they will all work out, right?

Sent from my SAMSUNG-SM-G870A using Tapatalk
 
Back
Top