mewalsh100
I wanna be Dave
Also - does anyone have any good ideas / recommendations on the little side wing mirrors the TT's run? Scoured Shapeways and could not find anything.
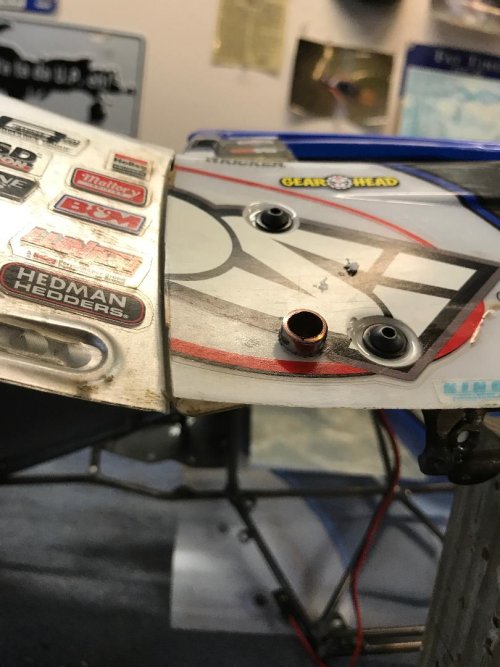
I did not see those. I went straight to MCI. Good find. I may grab those as well. I can't believe that's all paint work on your rig's body! Amazes me how well some people can paint. Probably my least favorite aspect of a build. I can do clean, simple paint jobs and color breaks, but that's a whole 'nother level. If you don't mind me asking, what does something like that run $ wise and could you get me his contact info?
PM sent. Let me see if I can find you some mirrors...
Edit: These might work, might be a bit big since they are showing them on a UDR.
https://www.amazon.com/Homyl-Rearvi...546361060&sr=1-1&keywords=traxxas+UDR+mirrors
Another that will be the right size but is going to be hard to get. Follow the link in the comments and it takes you to a European site that sells them. I don't think they are cheap though.
https://www.youtube.com/watch?v=XjlT8BDYuDg

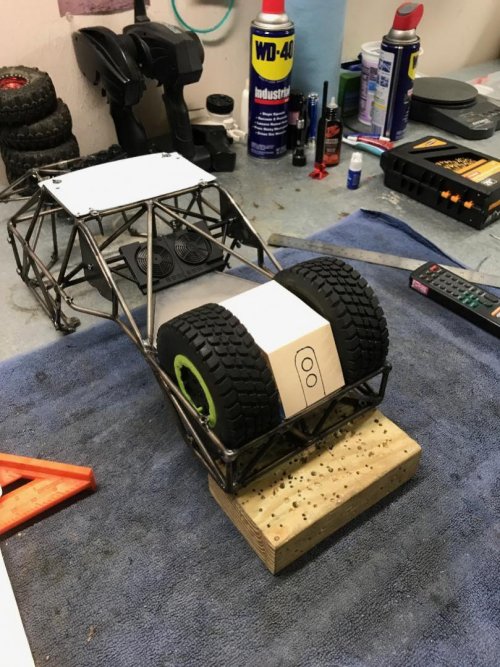
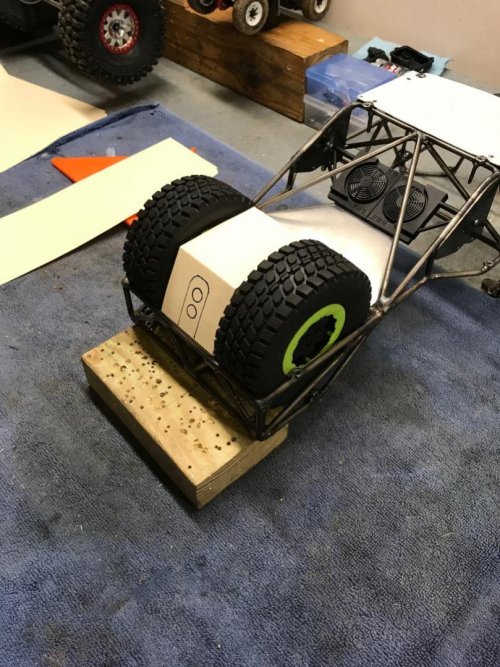
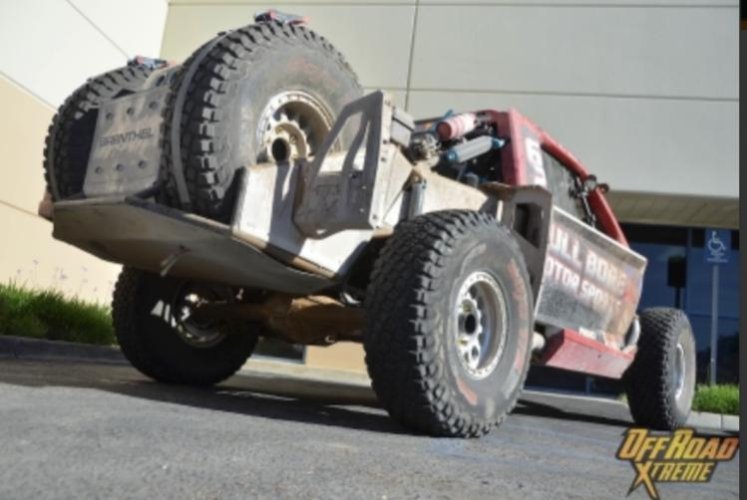
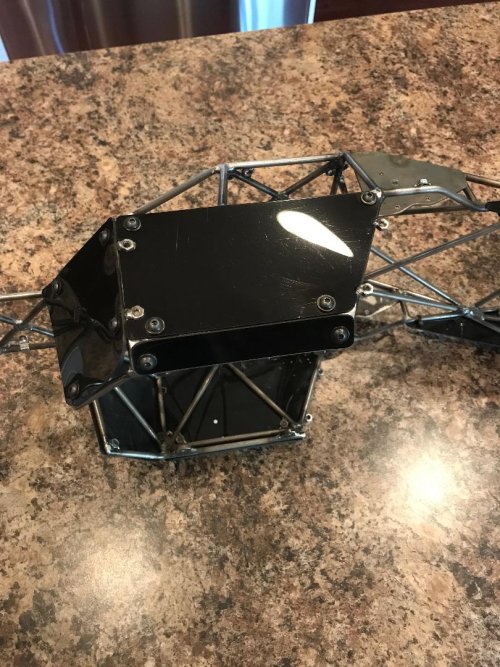
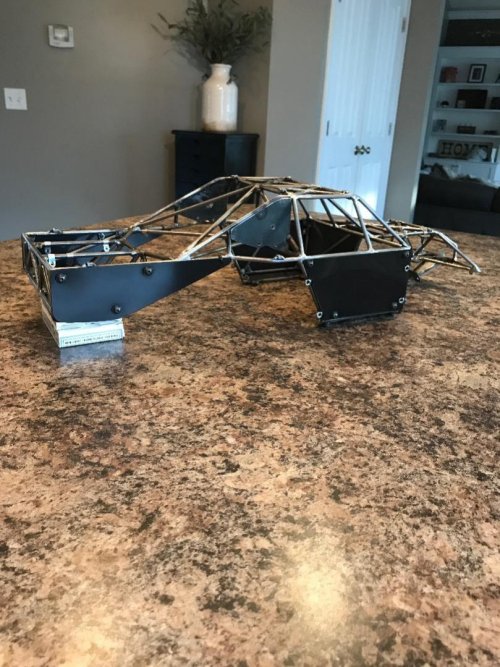
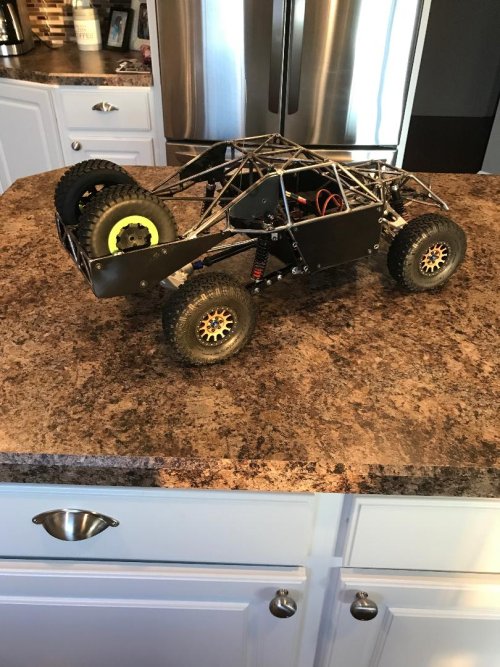
 Untitled by JASON MCKIMMEY, on Flickr
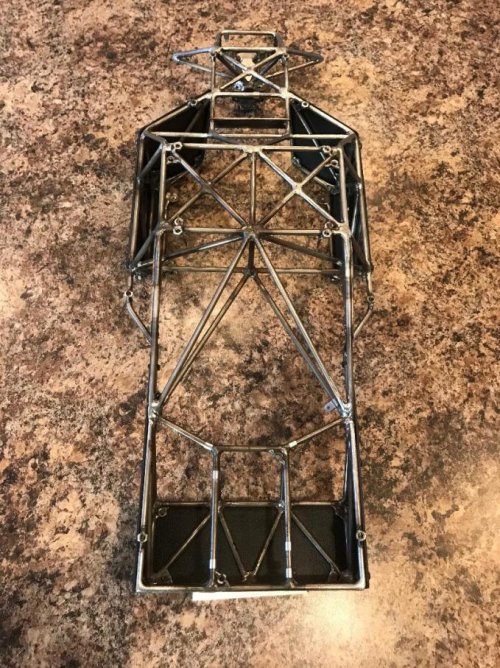
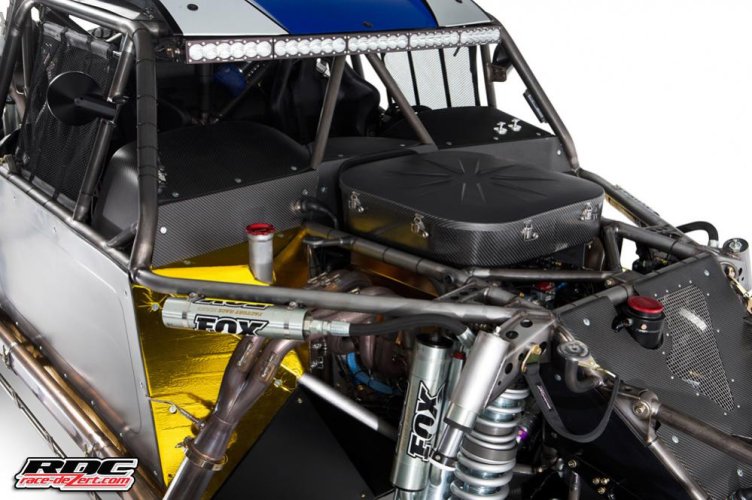
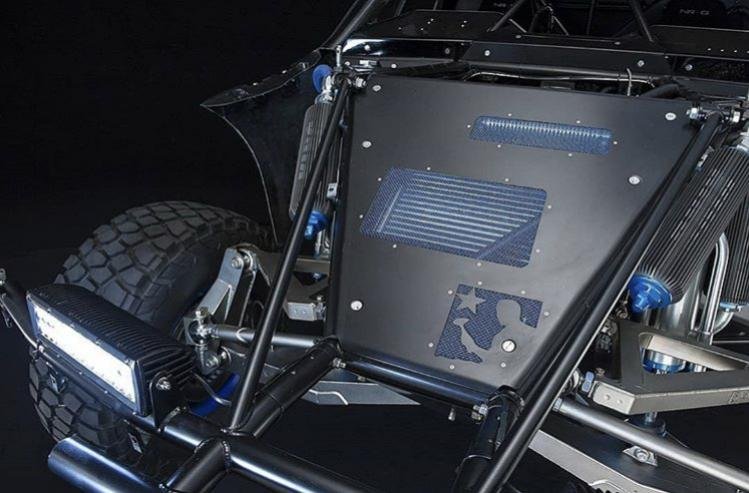
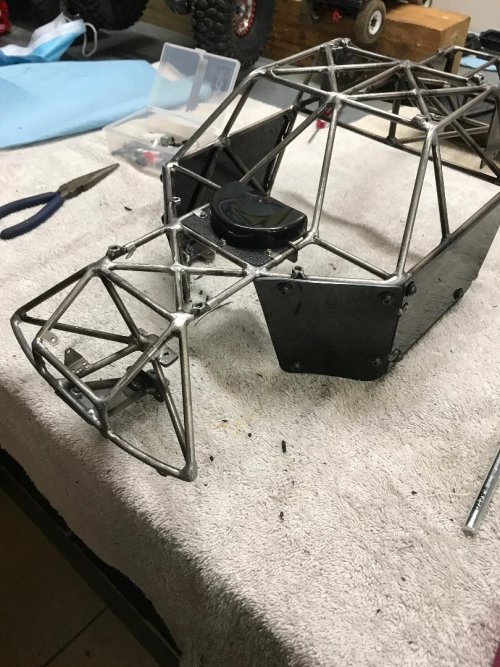
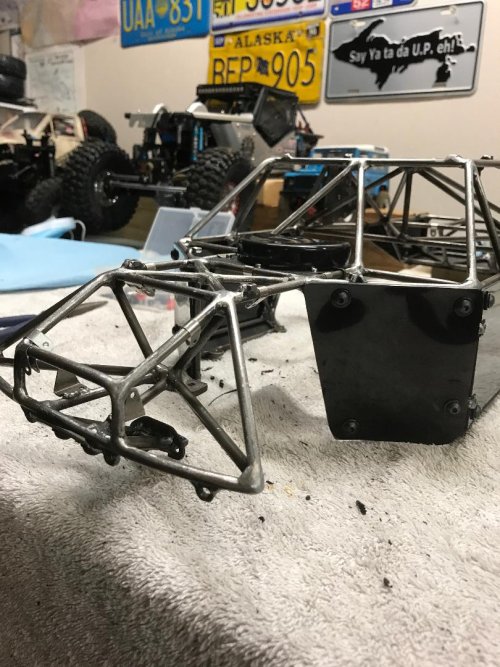
 Untitled by JASON MCKIMMEY, on Flickr
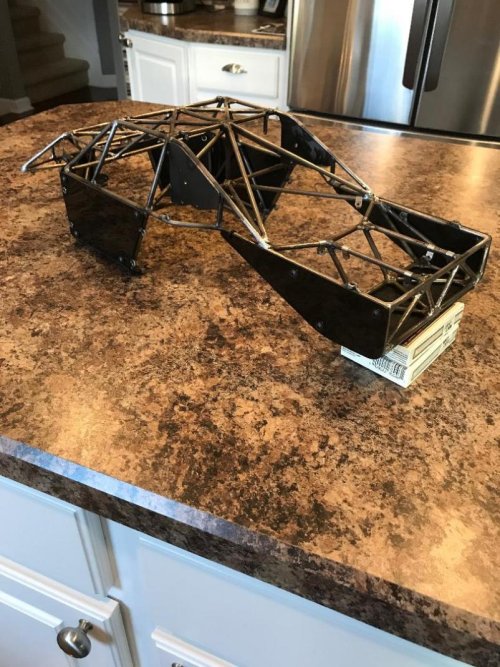
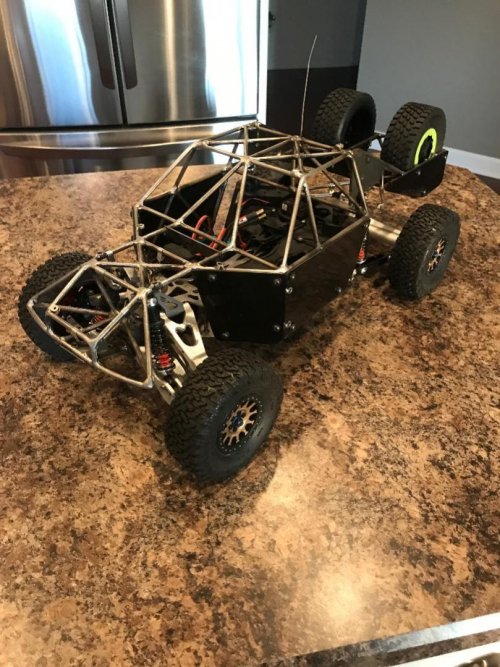