• Welcome to RCCrawler Forums.

    It looks like you're enjoying RCCrawler's Forums but haven't created an account yet. Why not take a minute to register for your own free account now? As a member you get free access to all of our forums and posts plus the ability to post your own messages, communicate directly with other members, and much more. Register now!

    Already a member? Login at the top of this page to stop seeing this message.

Cross PG-4L build

JacktheRipper

Quarry Creeper
Joined
Dec 1, 2019
Messages
257
Location
Woodstock
Just for grins build & post the model as I go. Mentioning some kit construction procedures/ideas.

To start this kit is really nice, hard body full of detail. Liking detailed and realistic models, this kit fits.

Some interesting points:
1. Has a light kit, complete
2. Two speed gear box and motor assembled
3. Bearings included
4. No interior, was a surprise, but doable... after market
5. Body good construction, solid
6. Trailer hitch, receiver

Staring out:
Opening the construction manual, getting the lay of the land. I decide to make copies of the manual to keep the page flipping to a minium.

Starting, copy the screw chart, and build page. Looking over the parts to be assembled. Collect and set out the fasteners for assembly, following with parts. Assuming this is not a new concept for most. Posting for a beginner, and meant only as a thought to consider.

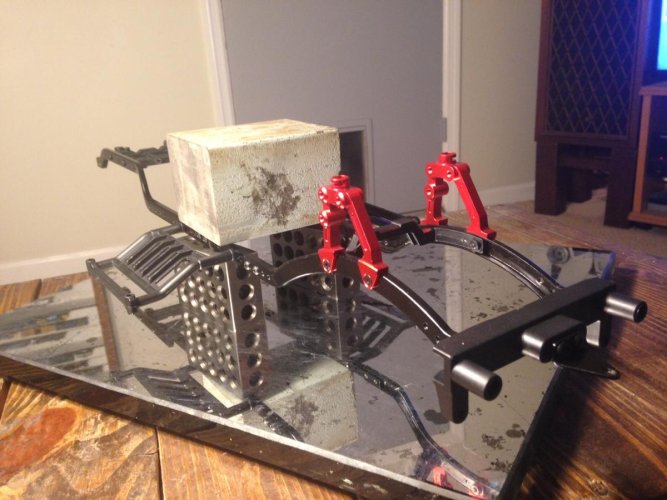
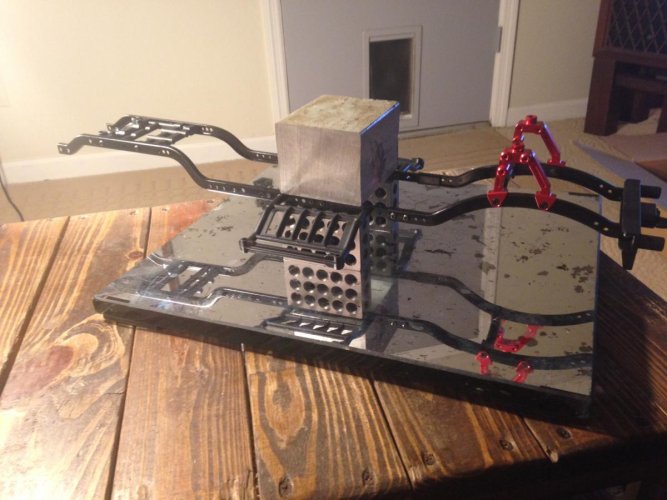
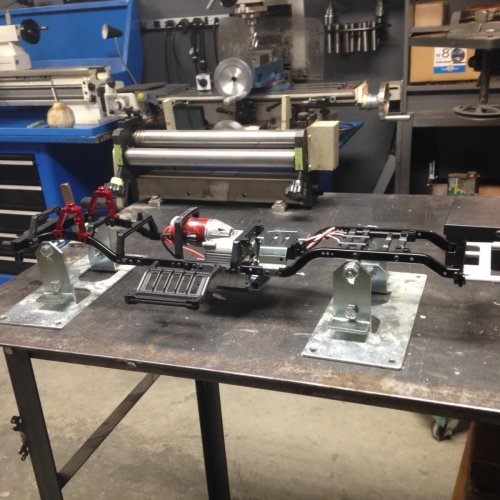
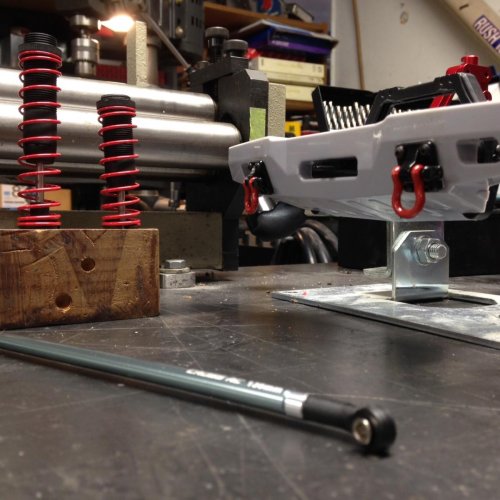
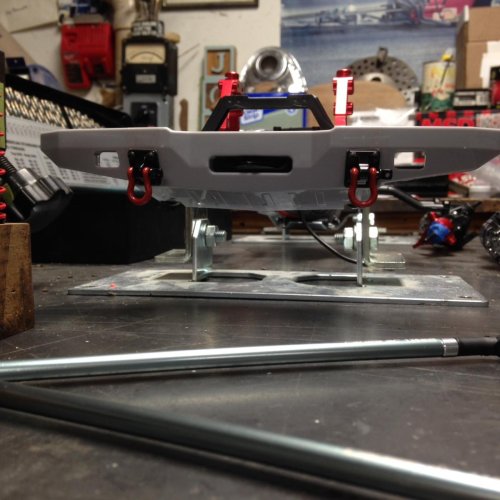
Assembling the frame rails, 3 pices for each rail are loosely screwed together. Then sung up the fasteners, look at the fit. Things look straight, rails fit flush in the U channels where they join.
Torque the fasteners, lock tight already applied. speaking of lock tight, I put a drop or 3 in a cap and use a brush to apply to the fastener thread, just wet them no need to drown them.

Rail sides completed, time for cross member install. Again loosely assemble the parts. Tighten the fasteners enough to align & check fit, and order and orientation . Pictures can be deceiving

The frame being the foundation, needing to be square. I use 123 blocks and a hunk of steel to make sure it is true.

This completes page 1


Pep
 

Attachments

  • IMG_4355.jpg
    IMG_4355.jpg
    120.9 KB · Views: 801
  • IMG_4354.jpg
    IMG_4354.jpg
    117.4 KB · Views: 813
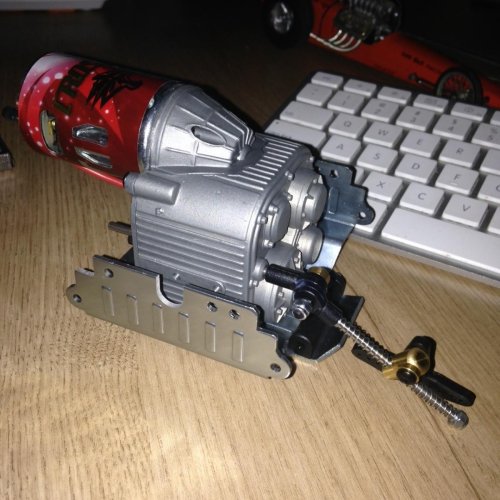
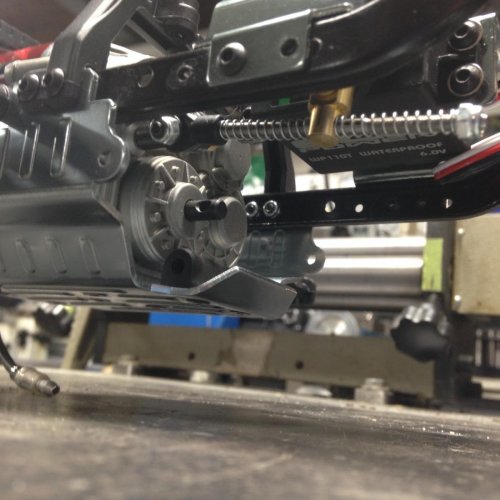
The Skunk Works called sent a picture telling me motor, transmission & shifter were ready for pick up.

So I sent a driver over to pick it up, try to get it installed over the weekend.

Pep
 

Attachments

  • IMG_4380.jpg
    IMG_4380.jpg
    172.4 KB · Views: 757
  • IMG_4385.jpg
    IMG_4385.jpg
    177.2 KB · Views: 787
It is Tower Hobby ... have a few years now. :lol:

Looked for the nitro a few years ago, not found they should bring it back.


Pep
 
Last edited:
The young lasses out an about waiting to help the guys spend that cash. Don't count on em showing up on time.

Once the crew shows up, after some coffee and a few dozen donuts the work begins.

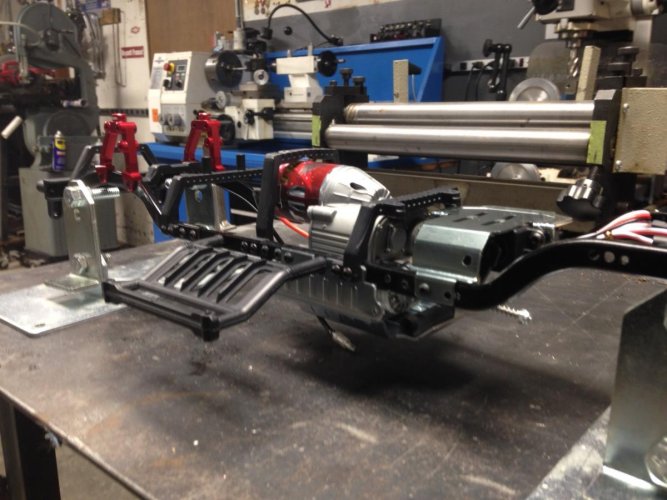
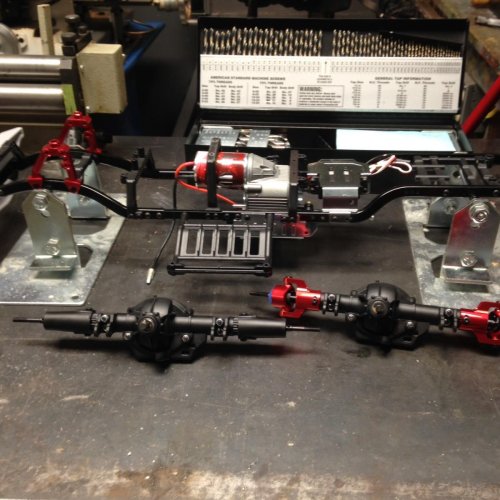
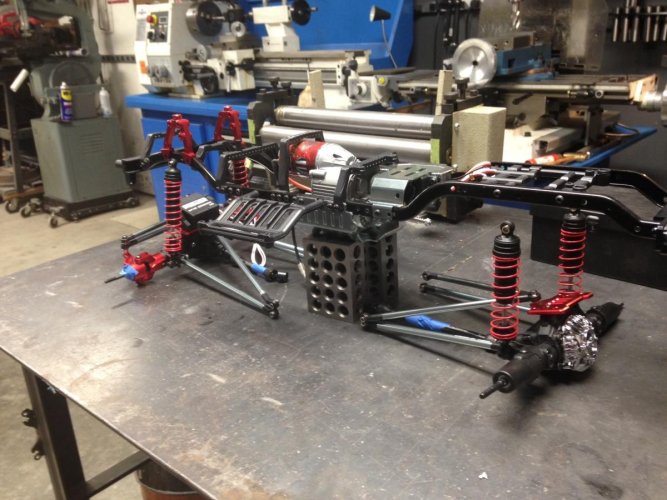
About mid afternoon the parts from the Skunk Works were installed. Finished the rest of the frame, and bracing for stiffing to remove flex under hard loads.


Some shots of where things are .

Pep
 

Attachments

  • IMG_4403.jpg
    IMG_4403.jpg
    165.4 KB · Views: 721
  • IMG_4402.jpg
    IMG_4402.jpg
    120.4 KB · Views: 713
  • IMG_4400.jpg
    IMG_4400.jpg
    119.6 KB · Views: 715
Last edited:
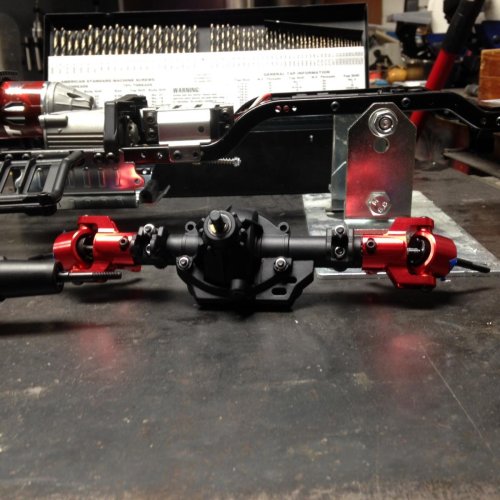
Shop has been building sub assemblies. The kit is outstanding, did run into a fitment problem with the rear axle,

Seems that the end cap that cages the bearing is short. With the bearing in place, and the housing on the end of the axle tube. The screw hole was way off, not even close,

No big deal, after pulling the diff cover and gear just to verify. Set the rear in a vise, located and drill new holes. Want to see the set up got a shot, will post.

Pep
 

Attachments

  • IMG_4435.jpg
    IMG_4435.jpg
    142.3 KB · Views: 659
  • IMG_4433.jpg
    IMG_4433.jpg
    140.7 KB · Views: 653
  • IMG_4431.jpg
    IMG_4431.jpg
    130.4 KB · Views: 657
  • IMG_4430.jpg
    IMG_4430.jpg
    174.1 KB · Views: 669
  • IMG_4429.jpg
    IMG_4429.jpg
    162.7 KB · Views: 659
Last edited:
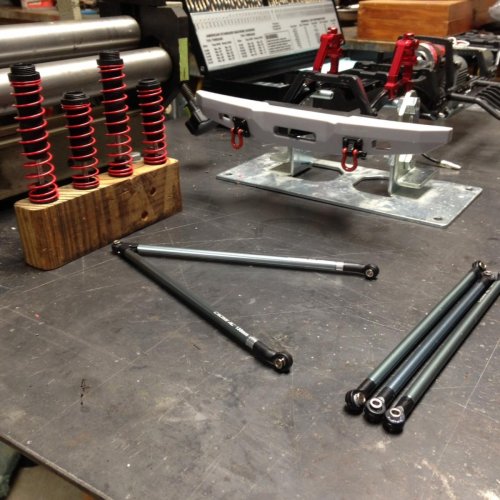
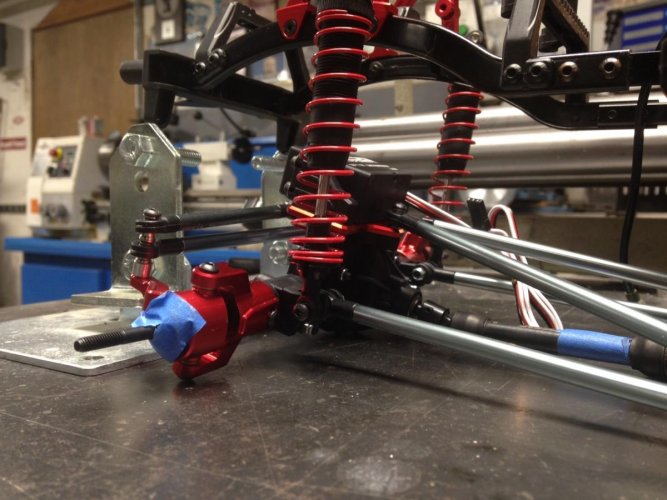
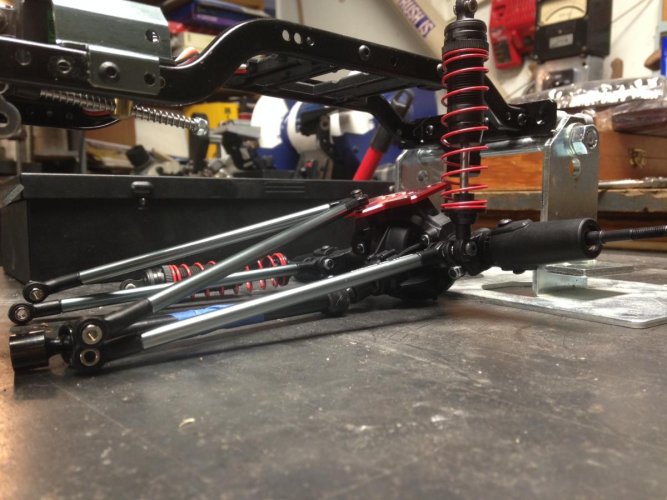
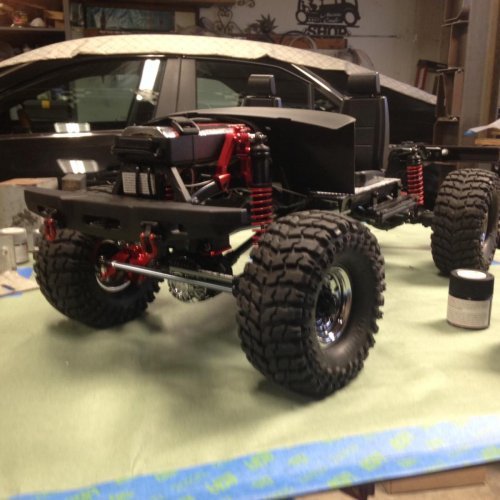
Starting to take shape, shop finished the suspension, shocks filled, steering in place. Blue tape seen is keeping bearings in place on the half shafts, drive shafts, keeping the phase aligned.

Picked up a trick from Denny's Drive shafts. Suggested that I use shrink tubing to secure the U joints pins.

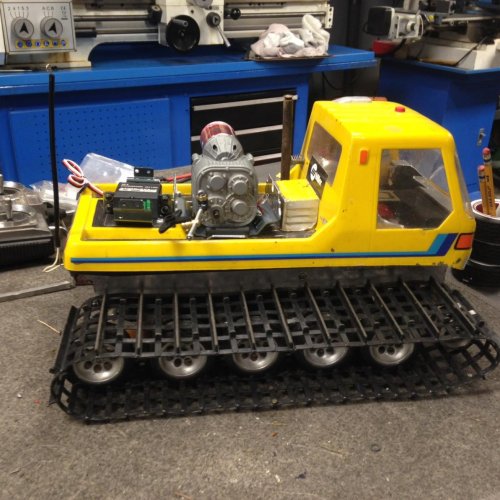
Sending Bones, on a run over to the tire shop. Taking the snow cat, he loves driving that thing. Never gets stuck in traffic, using short cuts thru open fields, parks and golf courses.
LMAO
Pep
 

Attachments

  • IMG_4439.jpg
    IMG_4439.jpg
    125.8 KB · Views: 598
  • IMG_4438.jpg
    IMG_4438.jpg
    125.3 KB · Views: 622
  • IMG_4443.jpg
    IMG_4443.jpg
    146.2 KB · Views: 597
No shop pictures, cause things got hairy and problems solved, required time and brain storming.

What happen, after the guys got the suspension hung. Standing back it became extremely obvious and annoying LOL. That the diff too ground angles and drive shaft were not correct.

Not terrible, just unexpected, the reason the kit so far has been very well designed. So some suspension tuning was the flavor of the day. Got the front drive worked out, doing the rear later today...... After some leaf blowing and Christmas outside decorating.

Pep
 
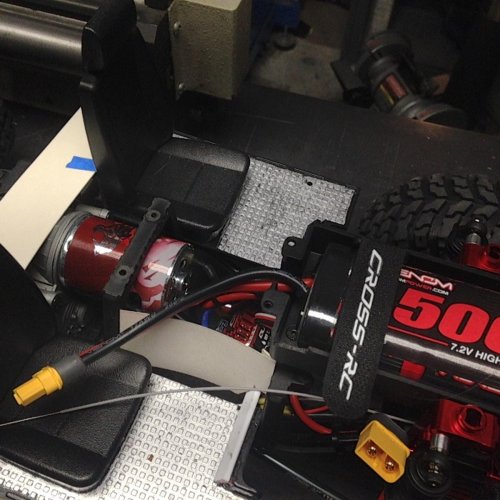
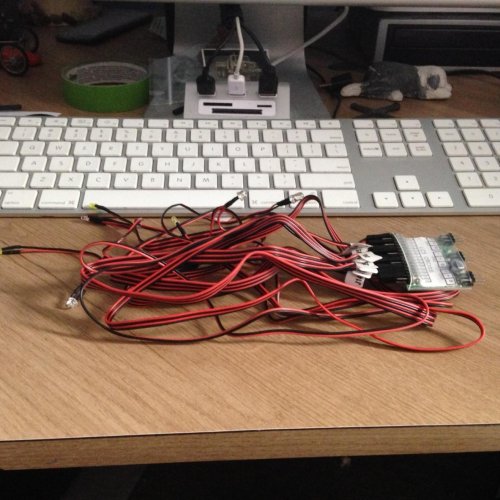
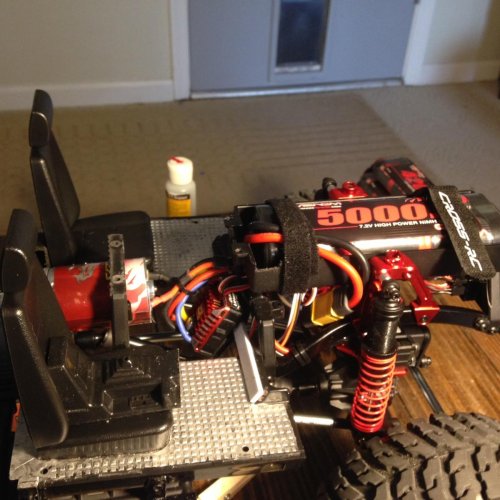
Both drive assembly angles corrected, we move to the wiring. Wanting an interior some planning was necessary to tighten up, bundle, and route stuff . The truck came with a full light set, when I say full even has roof driving lighting. All that fits very well in a deleted interior, wanting the interior, will not be installing the lights. The other draw back for me is the hassle trying to remove the cab to service the truck, did I mention rats nest.

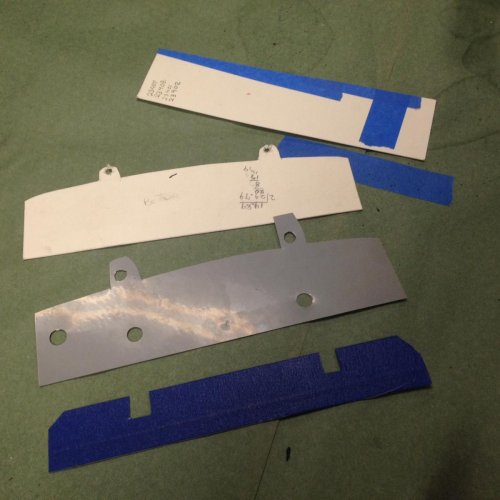
Also seen the patterns and the beginning of the interior. Seats are from another kit, the rest will be constructed from plastruct .

pep
 

Attachments

  • IMG_4461.jpg
    IMG_4461.jpg
    164.9 KB · Views: 531
  • IMG_4477.jpg
    IMG_4477.jpg
    176.7 KB · Views: 543
  • IMG_4483.jpg
    IMG_4483.jpg
    153.6 KB · Views: 527
Now having a roller, and radio sorted out. Its time to begin the interior. As nice as this truck is, loaded with detail. It lacks an interior. I will scratch build most of it, I did find some seats, the rest is on me.

It starts with a paper pattern, using poster board good stuff .
pep
 

Attachments

  • IMG_4560.jpg
    IMG_4560.jpg
    122.1 KB · Views: 488
Last edited:
Cross, was in this kit, looked over the site could not find it offered as an individual part sold.

And no part ## in the kit plans, I better not brake it.

pep
 
These always catch my eye. Are they good performers or more of a shelf queen type rig?


Not sure yet, making the interior, and have the body to paint and finish out.

The kit includes a full set of lights, including roof mounts, motor and transmission assembled, diamond plate, metal cleaves, CNC drive shafts, and screened hood scoup inserts, little extras .

Nothing I own is a shelf queen, the truck will get used, but not abused. Will drive it within its limits.

Cheers,
pep


pep

Nice. Seems like a well thought out unit. Enjoy.
 
Hands came to work full of ideas, all jazzed and ready to pound, cut, weld and shape some sheet metal. And dam he is noisy in the process.

A few hours later sitting in the office, head phones on playing Dark side of the Moon, alarm clocks ringing . All's quiet in the shop ........... Hmm what's up?

Out the door too the floor, with remnants of welding smoke rising and collecting in the ceiling. So surprised, stunned by what Hands had accomplished in such a short time, I almost fell down.

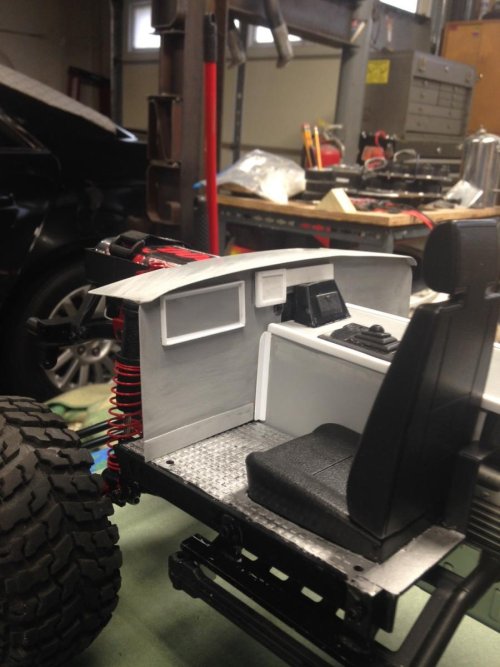
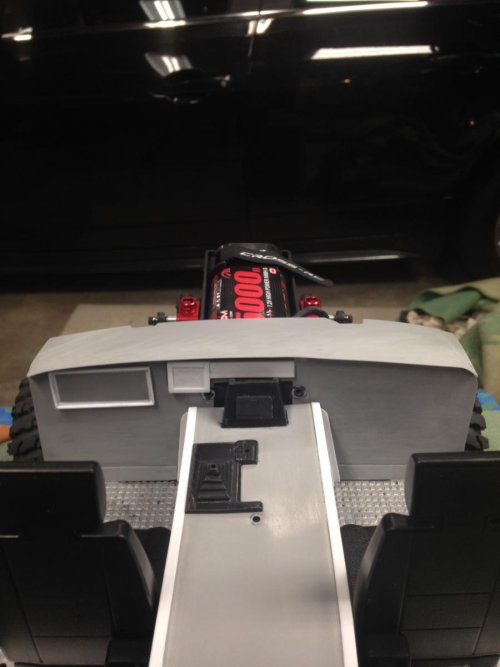
Dash, firewall, and console, from paper patterns. Mocked up and ready for the instruments and all that goes into a finished interior.

Told Hands! take the rest of the day off have some beers on me. Tossed him some cash (overhead expenses), no worry I'll clean up the shop..

pep
 

Attachments

  • IMG_4535.jpg
    IMG_4535.jpg
    100 KB · Views: 373
  • IMG_4534.jpg
    IMG_4534.jpg
    63.8 KB · Views: 371
~16.25" wheelbase. That's a hoss. They have a ton of great stuff on their site.

I was looking at that kit on their website, it shows leaf springs, did you decide to go coil over, or is it a different model?
 
Are you looking at the Dually by chance, this truck has coil overs, They are great models excellent detail, no interior. A complete light kit and controller is included, huge roof top floods, not a little miniature light bar.

Transmission and motor built. If you want a wench, will need 6 ch radio.

pep
 

Attachments

  • IMG_4559.jpg
    IMG_4559.jpg
    125.7 KB · Views: 400
Back
Top