• Welcome to RCCrawler Forums.

    It looks like you're enjoying RCCrawler's Forums but haven't created an account yet. Why not take a minute to register for your own free account now? As a member you get free access to all of our forums and posts plus the ability to post your own messages, communicate directly with other members, and much more. Register now!

    Already a member? Login at the top of this page to stop seeing this message.

B-MOW's Element GK-Ecto-Knightrunner Build

I joined that Facebook page to see what people are doing (groups have more people than here, so more cool builds to see) and decided to ask about them. They allow you to install the swaybar using the normal 4 link. I'm going to give it a go tonight see what I come up with. Maybe new ideas for your next build.

Your totally right, element manuals don't mention them at all.

Sent from my SM-S906U using Tapatalk

That's one of the reasons why I follow the FB Enduro page. Plenty of pics to get ideas from and some useful info too. I just avoid the idiots on there trying to cause problems.

Interesting about how it is to be installed. Curious to see how it works out for you. I'm trying to mentally visualize it without any luck!:roll:
 
That's one of the reasons why I follow the FB Enduro page. Plenty of pics to get ideas from and some useful info too. I just avoid the idiots on there trying to cause problems.


Interesting about how it is to be installed. Curious to see how it works out for you. I'm trying to mentally visualize it without any luck!:roll:

Kids game ran late, I can visualize part of it, kind of messed with it but the shock placement is throwing me off.

Edit: decided to try my Google Foo and see if I could find something. Element did a video on it. Simple and straight forward actually. I found it cause I found a video about reefs swaybar set up and how they did it to give me ideas, led me to the element video.

https://youtu.be/tEvAYFg3s-k


Sent from my SM-S906U using Tapatalk
 
Last edited:
Kids game ran late, I can visualize part of it, kind of messed with it but the shock placement is throwing me off.

Edit: decided to try my Google Foo and see if I could find something. Element did a video on it. Simple and straight forward actually. I found it cause I found a video about reefs swaybar set up and how they did it to give me ideas, led me to the element video.

https://youtu.be/tEvAYFg3s-k


Sent from my SM-S906U using Tapatalk

Thanks for kick-starting my memory!:lmao:

I did watch that video back when it first aired. Forgot I watched it and never really gave it a thought back then because swaybars weren't on my need-to-do list.

Good to know now where them pieces fit in case I need to use them in the future."thumbsup"
 
Thanks for kick-starting my memory!:lmao:


I did watch that video back when it first aired. Forgot I watched it and never really gave it a thought back then because swaybars weren't on my need-to-do list.


Good to know now where them pieces fit in case I need to use them in the future."thumbsup"
I posted in my KR thread. First run with sway bar was a mellow c2 comp with it for giggles, that swaybar I was able to run the course with the fully load scale body. But I had the medium installed, a bit stiff but I think the soft my be too soft with all the body weight. Definitely a massive help for not tipping when your running a high cog rig.

Sent from my SM-S906U using Tapatalk

Great to hear. I'll head that way to check it out!"thumbsup"
 
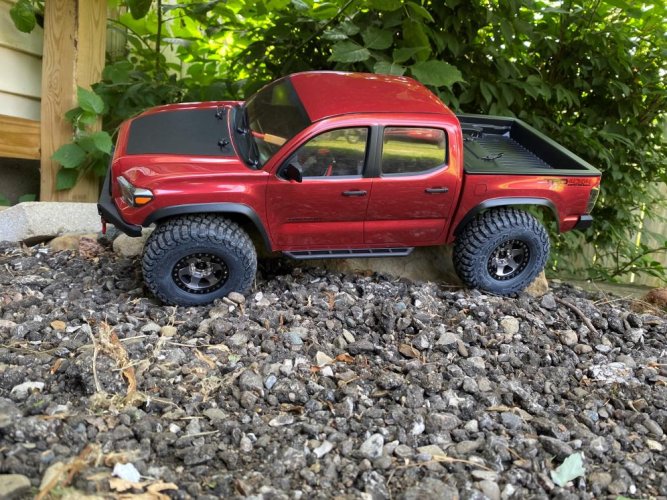
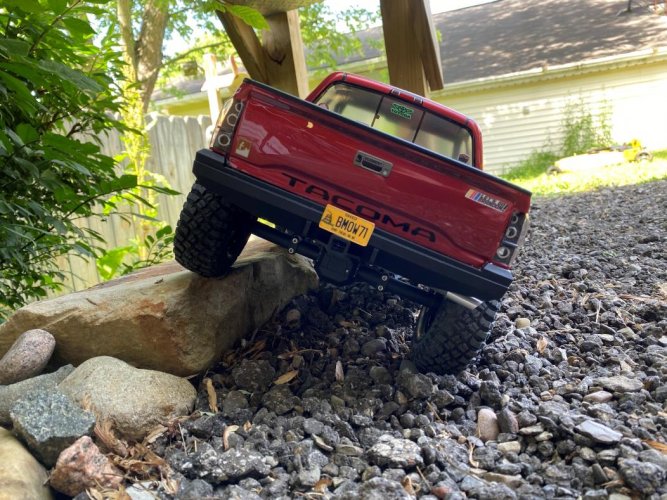
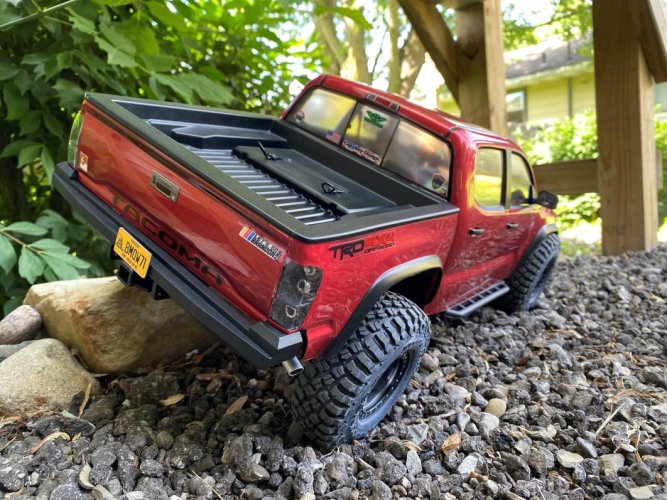
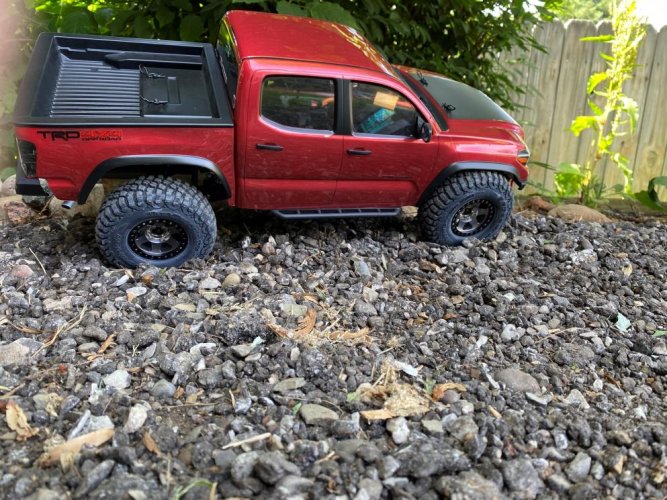
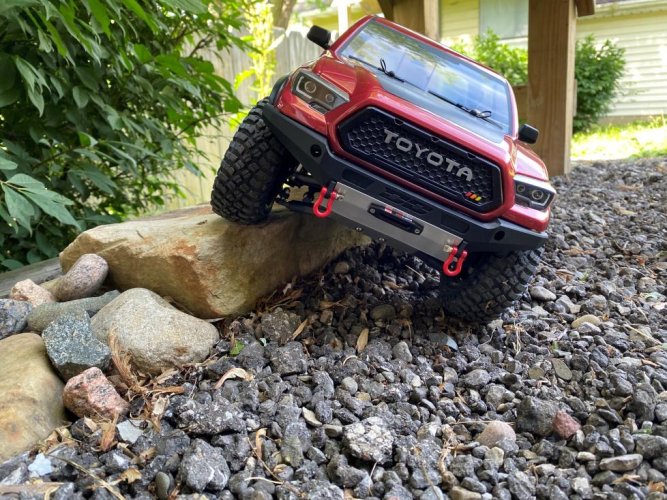
Took the GK-Knightrunner outside for a few glamour shots! I still need to get the lights installed and figure out which interior to buy and get it painted and installed.

Then I can call this DONE...for now!

IMG_8997 (2).jpg

IMG_8998 (2).jpg

IMG_8999 (2).jpg

IMG_9001 (2).jpg

IMG_9002 (2).jpg

IMG_9003 (2).jpg

IMG_9004 (2).jpg


It's big older brother in the background!;-)

IMG_9005 (2).jpg
 
Brian, you know...they're never truly "done". [emoji854]

~ More peace, love, laughter, & kindness would make the world a MUCH better place
 
Looks killer, well done sir.

On interior, I want to also do one up (Knight Customs), but I can't find one to purchase already printed and so I'll need to get one printed. I feel like with how nice these detailed bodies are I figure I may as well do an interior to finish it off.
 
Brian, you know...they're never truly "done". [emoji854]

~ More peace, love, laughter, & kindness would make the world a MUCH better place

Yeah, yeah I know!:lmao:

Looks fantastic, well done!

Sent from my iPhone using Tapatalk

Thank you sir!"thumbsup"

Fantastic work on this one, as usual. All the little details are great; I just noticed the labels on the top edge of the fairlead.

Thanks much! The little fairlead label does add a nice touch. I'll have to get a close-up pic of it.

Looks fantastic - well done sir!

Thanks! Much appreciated!"thumbsup"

Looks killer, well done sir.

On interior, I want to also do one up (Knight Customs), but I can't find one to purchase already printed and so I'll need to get one printed. I feel like with how nice these detailed bodies are I figure I may as well do an interior to finish it off.

Thanks! I started to print the KC interior, but haven't finished it yet. I have the dash and other components done, but still need to print the seats. I've been putting them off since they take about 3 years to print!:ror:
 
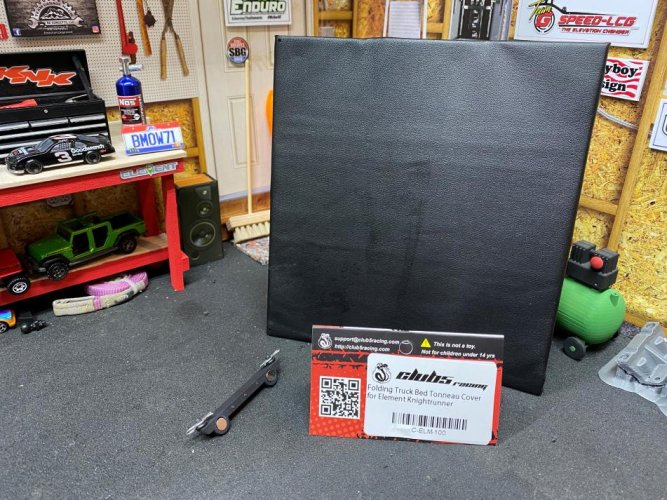
New stuff has arrived for the GK-Knightrunner. Picked up the Club5 Racing tonneau cover for it.

Let me start off by saying that alcohol and lack of sleep or tiredness does not mix well when putting this cover together!:ror: I started putting this together drinking a cold one and soon found out that I knew more cuss words than I though I knew!

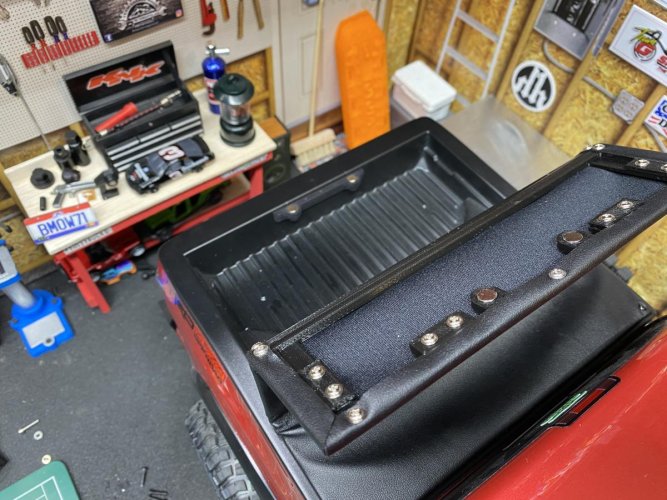
Started fresh and alert the next day and got it assembled. It really wasn't too bad to put together once I took my time. The microscopic screws were fun to thread in, but all went in without loosing any. I did cut off the sharp tips of the screws before I installed them. I found that on a couple, I could feel the tip of the screw poking into the bottom side of the tonneau cover.

I had to drill a couple holes in the tailgate to attach the rear magnet mount. Also had to drill two small holes in the front of the bed to attach it with the supplied screws.

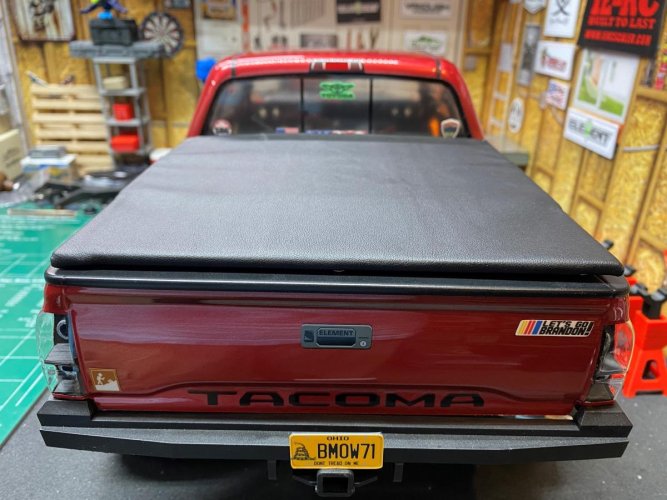
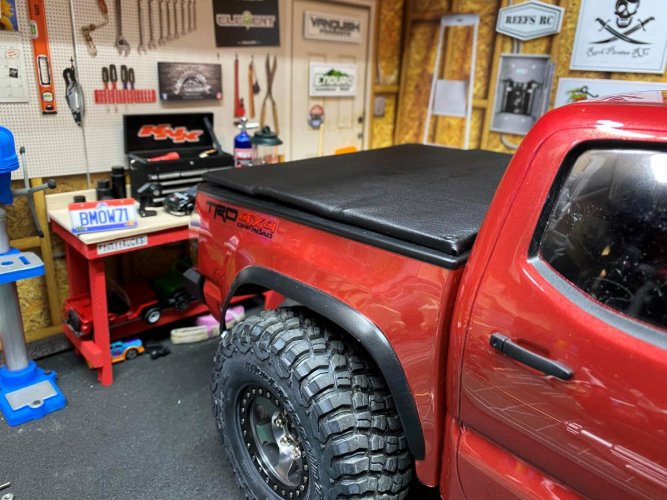
The cover folds up just far enough to get the rear body clips in. The plastic parts are 3D printed and seem to be printed fairly well. The magnets seem to hold the cover down well in the back. We'll see how well it holds once it hits the trails!

Here's the pics of it installed:

IMG_9200 (2).jpg

IMG_9201 (2).jpg

IMG_9214 (2).jpg

IMG_9203 (2).jpg

IMG_9204 (2).jpg

IMG_9215 (2).jpg
 
Just looking at the bottom of it with all those screws started to give me the heebie-jeebies...:shock:

Came out great!

"thumbsup"
 
Yeah man looks good. One of the better looking bed covers I’ve seen. Most seem to be way too thick and not look right.

Love the bumper stickers lol.
 
Oh that is cool as hell!!! Nice work!

Sent from my SM-S906U using Tapatalk

Thanks!"thumbsup"

Just looking at the bottom of it with all those screws started to give me the heebie-jeebies...:shock:

Came out great!

"thumbsup"
Yeah me too!:ror: Thanks durok!"thumbsup"

Yeah man looks good. One of the better looking bed covers I’ve seen. Most seem to be way too thick and not look right.

Love the bumper stickers lol.

Thanks SLN!"thumbsup"

Bumper stickers are a must these days!:twisted:
 
Update on the GK-Ecto. Finally got around to getting the interior installed. I ended up getting the STH (Spare Time Hobbies) Power Wagon 3D printed interior that GSpeed had on his website. It's made to fit the Pro-Line Power Wagon body perfectly.

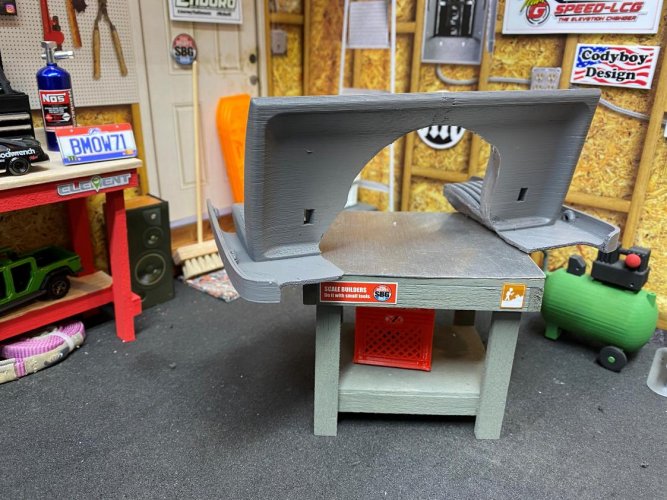
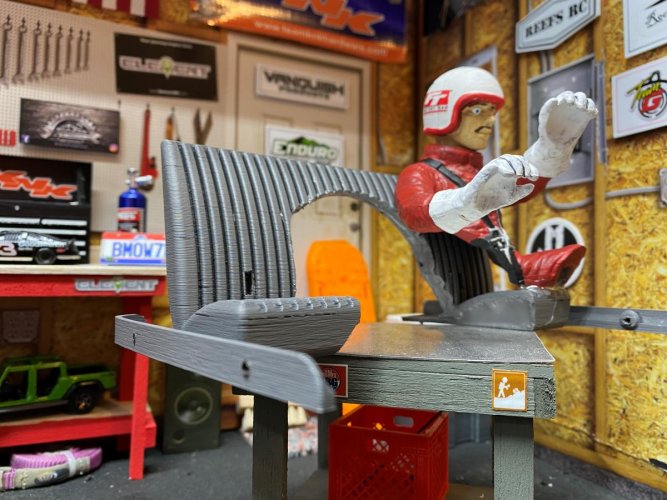
The dash was a direct bolt in, but the bench seat was a whole different story. Had to whittle, chop and hack it up to make it fit around the tranny, spur gear cover and motor.

Thru on some paint and clear coat to make it look pretty!

IMG_9193 (2).jpg

IMG_9194 (2).jpg

IMG_9195 (2).jpg

IMG_9196 (2).jpg

More pics on the way of it installed once I get them uploaded!
 
And here is the next batch of pics.

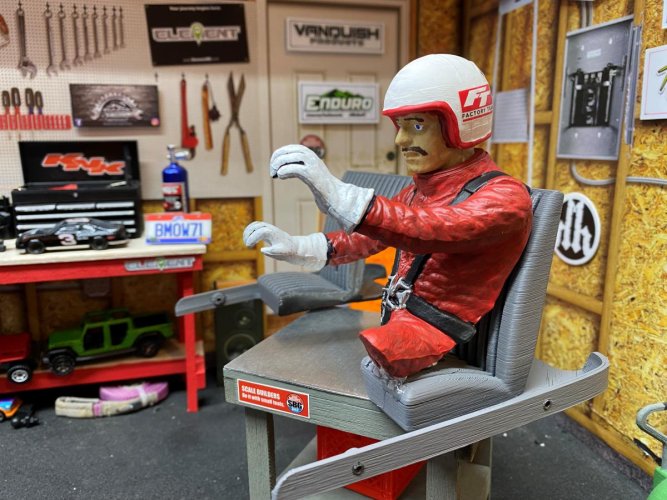
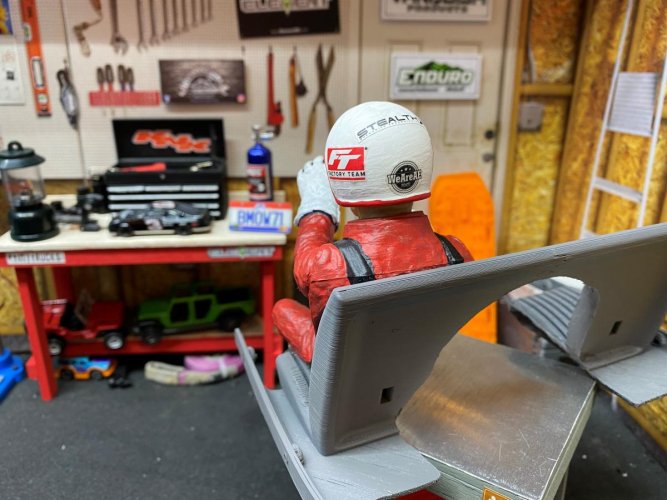
The driver may look like he was attacked by a massive Great White Shark, but he tells me he's never even been to the ocean!:ror: So, yeah, I had to chop much of his body so that he would fit around the trans and motor. I left a little extra room in between him and the motor in case there was too much heat build up.

I decided to go with a red suit so that he could be seen inside the dark and small cab of the PW. Found some random FT Factory Team decals that came with one of my Elements and attached them to his helmet. I was going to give him a set of goggles to wear, but my attempt to make a tiny pair didn't turn out so good. I may work on another set later.

IMG_9233(1) (2).jpg

IMG_9234 (2).jpg

IMG_9235 (2).jpg

IMG_9236 (2).jpg


These next pics show the interior installed and shows how the whittling and chopping turned out to make it all fit and clear the trans.

IMG_9237 (2).jpg

IMG_9242 (2).jpg

IMG_9247 (2).jpg

More of the final interior install pics coming soon!
 
That's is freaking awesome, shark attack or not. That's some series creativity and ingenuity !!!

Sent from my SM-S906U using Tapatalk
 
Back
Top