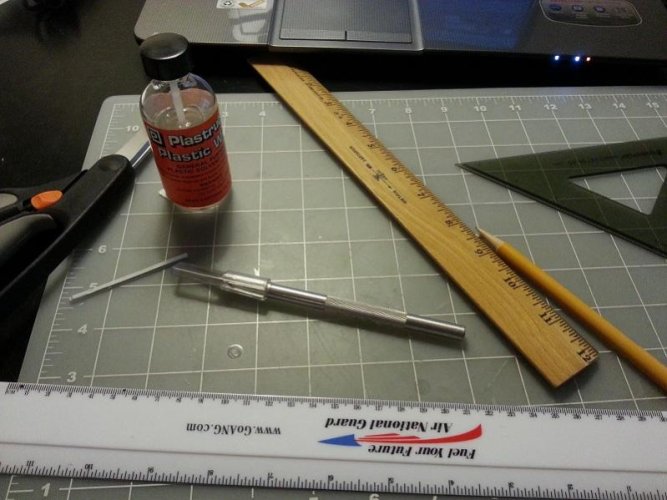
I got a pretty decent start tonight, it took me about 2 hours to get to this point lol.
Started with some fresh styrene...

image by ratrodfanbobcat, on Flickr
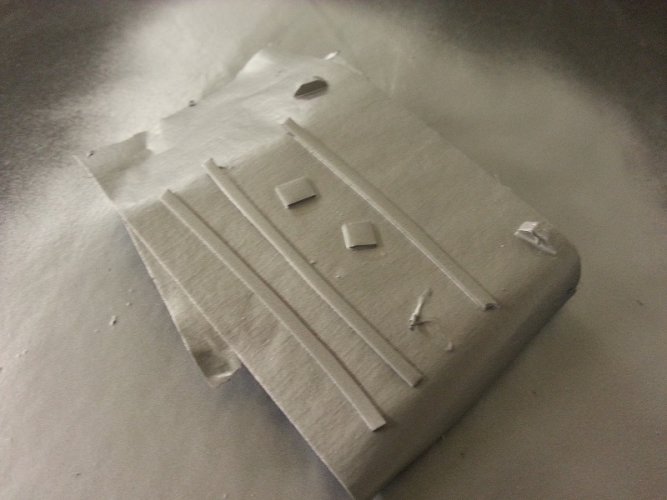
Drew some lines...

image by ratrodfanbobcat, on Flickr
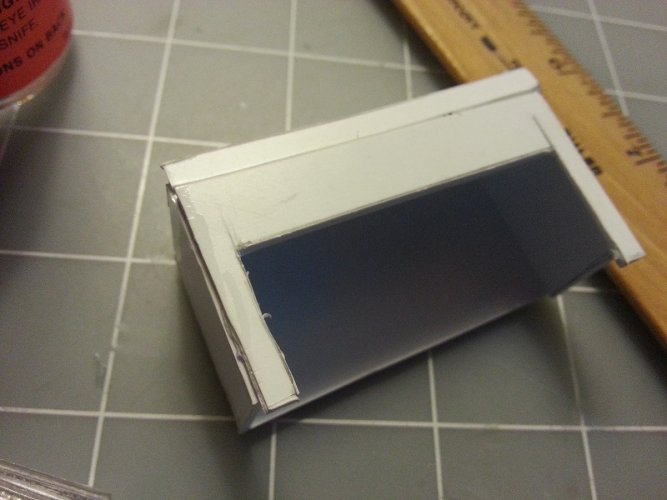
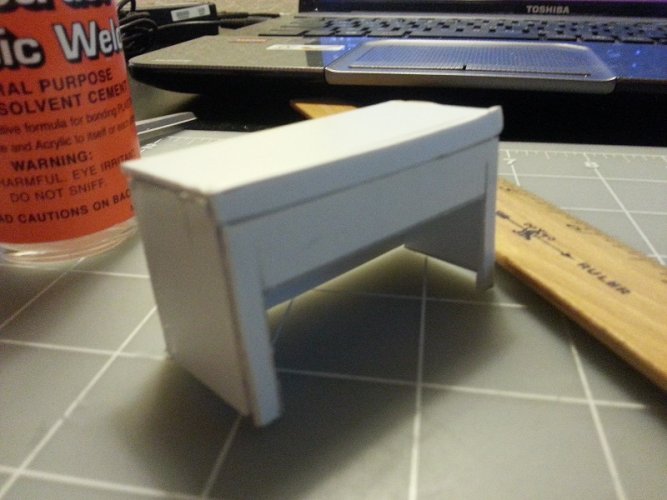
Started cutting...

image by ratrodfanbobcat, on Flickr
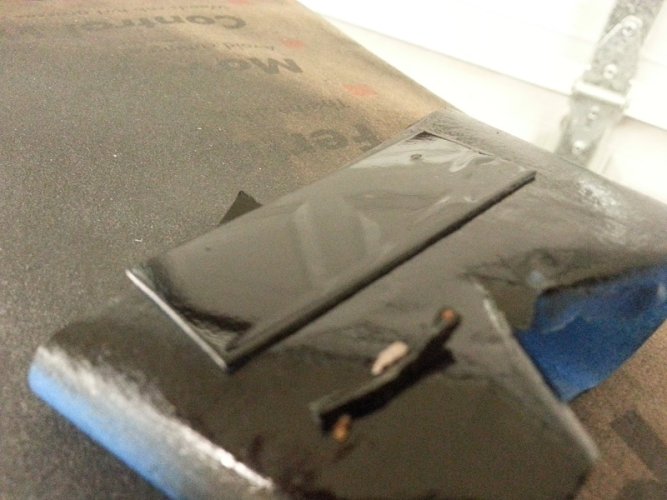
Then started gluing...

image by ratrodfanbobcat, on Flickr
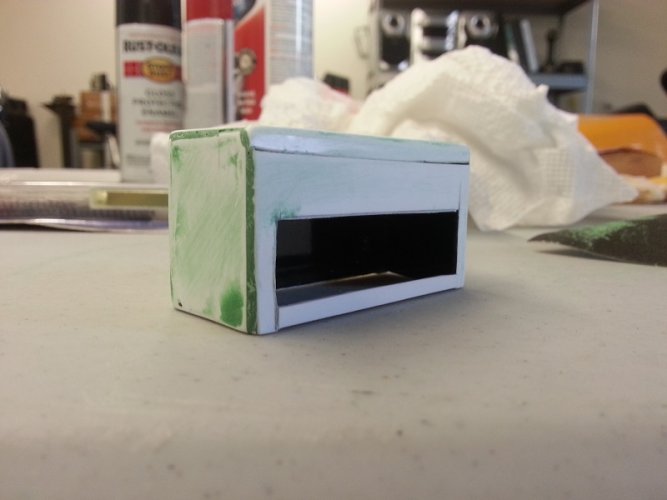
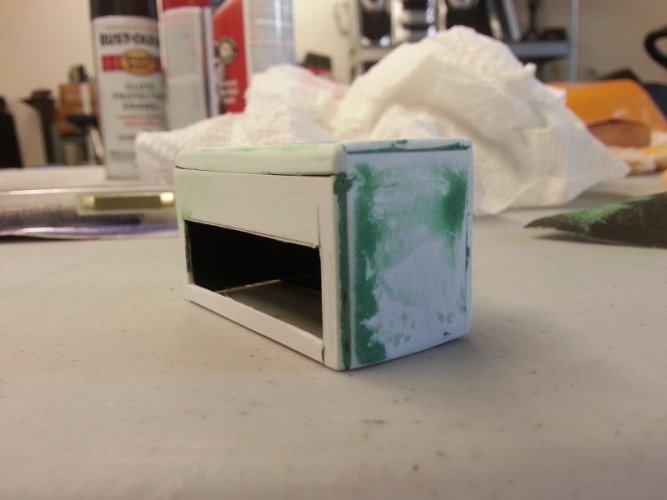
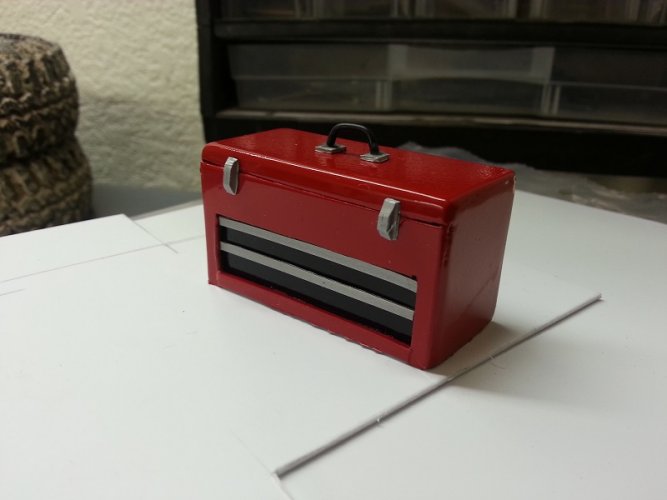
And that's where I'm at for the night, more tomorrow.
Started with some fresh styrene...
image by ratrodfanbobcat, on Flickr
Drew some lines...
image by ratrodfanbobcat, on Flickr
Started cutting...
image by ratrodfanbobcat, on Flickr
Then started gluing...
image by ratrodfanbobcat, on Flickr
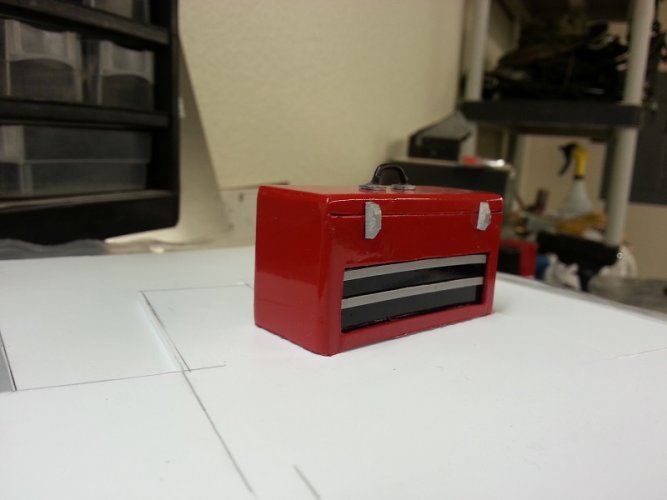
And that's where I'm at for the night, more tomorrow.