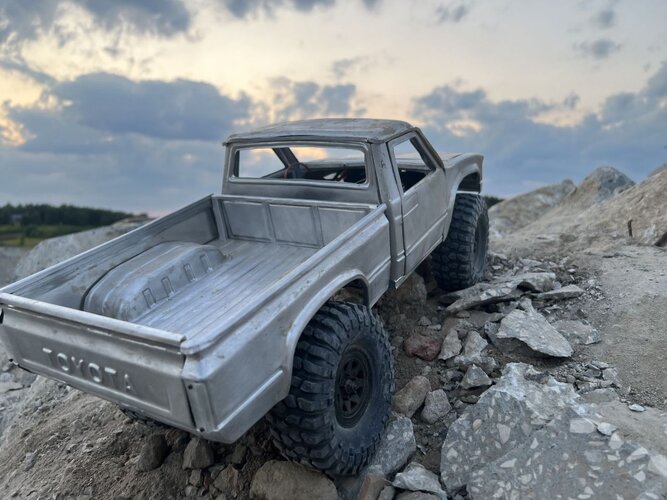
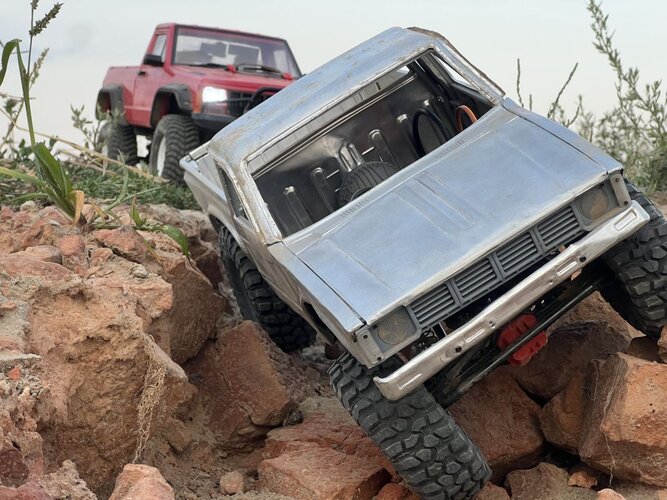
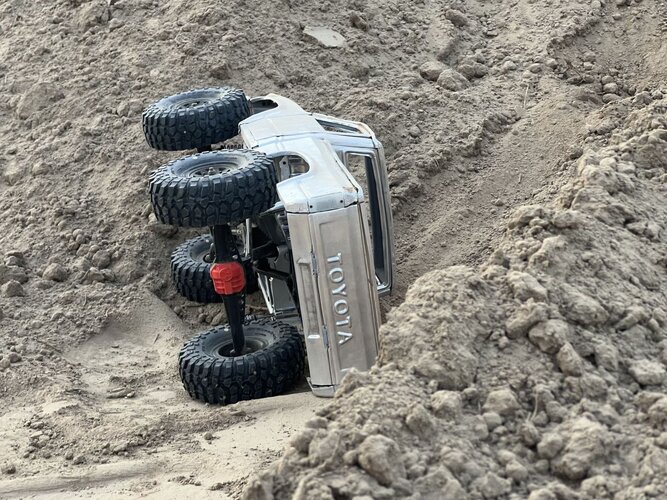
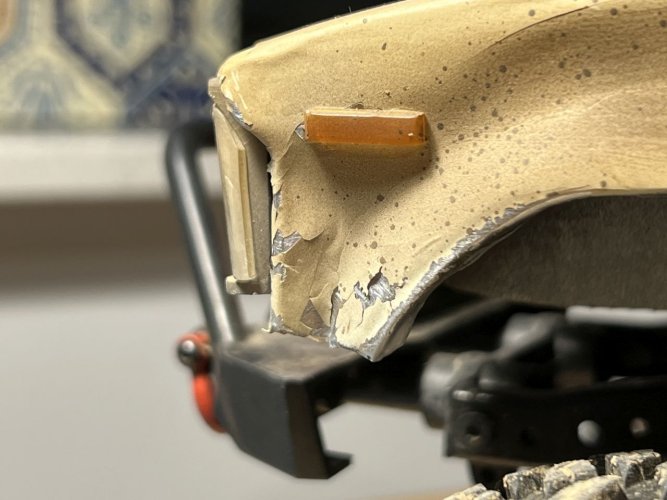
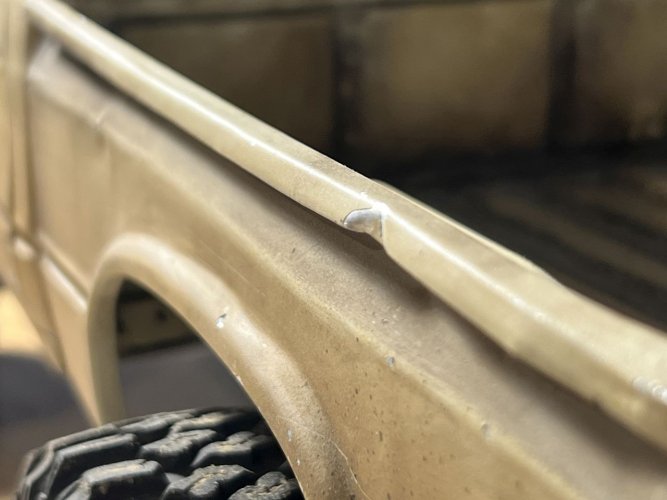
That is amazing! So awesome!

Thank you
Are these the bodies that were made, sold? by metalmasher or someone on here back in the day? or these your own creations?
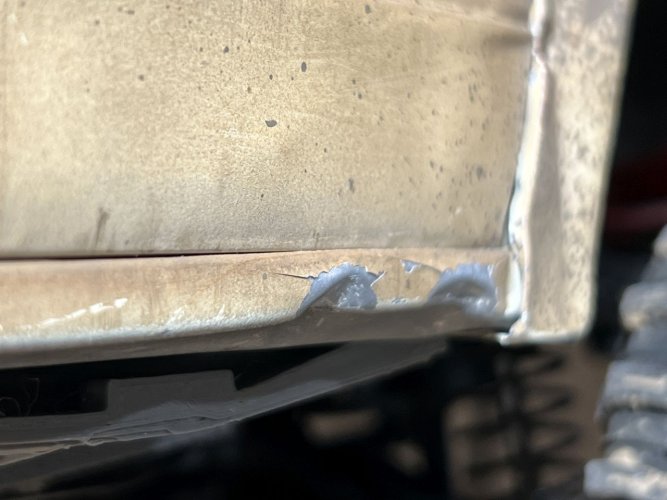
They do look cool with years of wear and "patina" per se.
More info on how the body is made, please. I may want to try this on one of my 1/6 scale "New Bright" vehicles. How thick is the material. Pm me pls
Bodies are 100% made by me. They will be available soon. Follow links from signature for details.
Desing and creation process:
At first I create 3d object of the car in 3d software. In my case it is Lightwave 3d, beacuse I know this software 20 years. I plan to move to SolidEdge. Next step is to design inner structure of A,B, C pillars that works as roll cage, to limit and control bends and dents of metal panels. For me it looks more natural if it is in shape of inner panels structure not as roll cage. At this point is also time to consider all mounting points for panels, removable parts and so on. Then I design molds for every metal panel, using created 3d body model. My experience says, that it is easier to make molds for panels in similiar way to real cars and not to try "invent wheel again". Now all that's left is to print all the molds (finish/smooth them) and structures. For embossing metal panels I use different tools:
- Urethane "hydroforming" methhod using 20T hydraulic press
- Prepared small hammers (Alu can be stretched and shrinked further by hammers than using wooden tools)
- Wooden alu foil tools
- A lot of different clips and clamps
- Some helpers, usually 3d printed, for specific panels
I started idea of making metal bodies for rc cars 10 years ago, but I gave up after few tries (look at first post for photos), because of lack of knowledge about sheet metal forming. I dropped this topic for few years and started to learn sheet metal forming on real cars, especially how to create replacing panels which look like original, using hand tools.
For 1:10 scale I use 0.2mm aluminium foil, for 1:6 I plan to use 0.3mm. Waiting for my first axial SCX6

