• Welcome to RCCrawler Forums.

    It looks like you're enjoying RCCrawler's Forums but haven't created an account yet. Why not take a minute to register for your own free account now? As a member you get free access to all of our forums and posts plus the ability to post your own messages, communicate directly with other members, and much more. Register now!

    Already a member? Login at the top of this page to stop seeing this message.

jebster's 6x6

I am sorry if it is mentioned somewhere in this build thread and I missed it, but I am curious what this beast weighs.
Very well done!

I was just thinking about the weight the other day. I'll put it on a scale some night this week. have to pull the bathroom scale out because i'm sure the kitchen scale I use for weighing my comp crawlers won't be able to handle it (max is 11lbs). if I had to guess i'm thinking around 12lbs.
 
Wow this rig is fat! Put it on the scale fully loaded (battery, snow plow, tire chains, etc) and it came it right at 17lbs!!! No wonder I'm having issues with the slipper not holding even in a light bind.
 
Wow this rig is fat! Put it on the scale fully loaded (battery, snow plow, tire chains, etc) and it came it right at 17lbs!!! No wonder I'm having issues with the slipper not holding even in a light bind.

That's a huge b**ch! I thought 12lbs sounded a little lite. She's a tank!
 
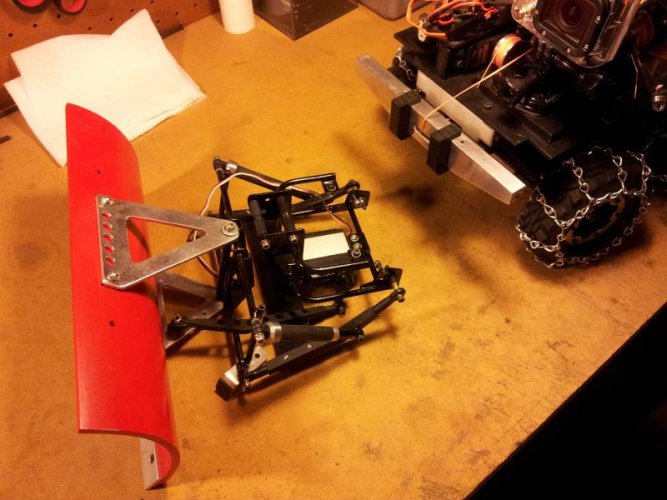
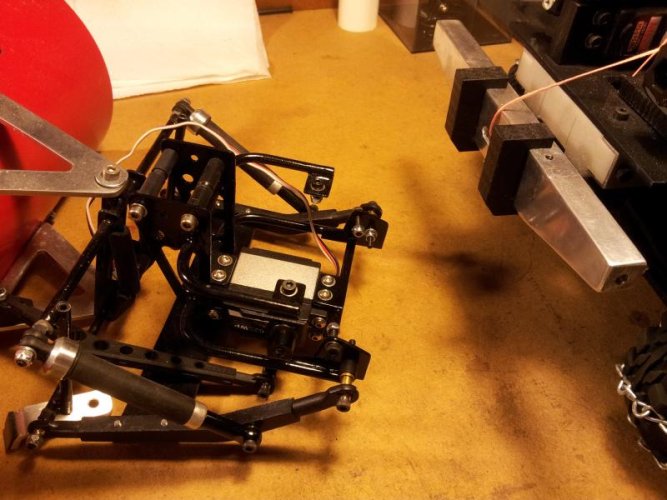
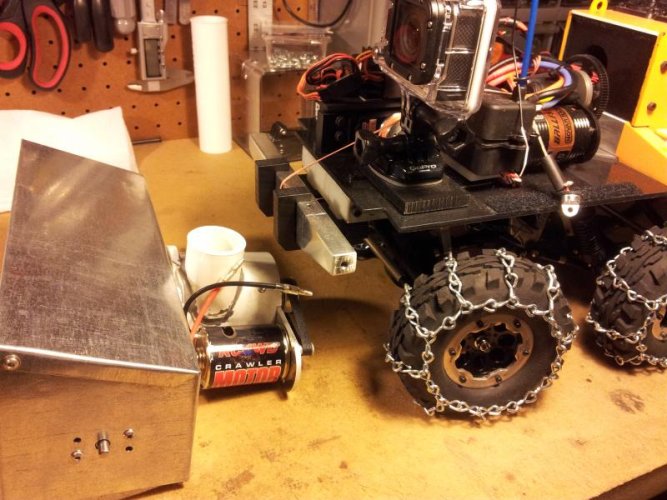
Have had fun with the plow but now I'm getting ready for the next winter accessory, a working snowblower. Pull a few bolts out, unplugged the servo and the entire plow assembly drops right off.

Now onto all the work to get the new attachment going. http://www.rccrawler.com/forum/scale-accessories/480288-jebsters-snowblower-attachmemt.html. i will be using the 4th channel that was used to angle the blow to control the snowblower. will also use the winch to raise and lower the snowblower just like i was with the plow, although i need a different mounting setup.
 

Attachments

  • 20140209_195405.jpg
    20140209_195405.jpg
    69.1 KB · Views: 686
  • 20140209_195413.jpg
    20140209_195413.jpg
    72.1 KB · Views: 682
  • 20140209_195510.jpg
    20140209_195510.jpg
    84.7 KB · Views: 667
Last edited:
What are you using for a the snow blower? Is it some kind of impeller?

Still a work in progress. It will have augers that will push the snow to the center where it will be forced into the impeller to be discharged. Pretty much the same as any 2-stage snowblower.
 
your a sick man! Very cool build!!!!

thanks man. this is a fun build for me.

i have pics in my snowblower build thread but here is what the almost complete project looks like.

273884d1393469702-20140225_194305.jpg
 
I I think you need more power on the blower and more radius on the blow pipe. :ror:

I think it is great, I've been showing some of my friends."thumbsup"

Thanks. I agree on both points. I will try upping the power. As for the discharge pipe size I don't know if I'll change the size. That would require a lot of rework. Maybe dryer snow and more power will be enough.

As for the blower I'm going to be pulling it off for the season. Got to get ready for spring trails!
 
This is amazing! Just caught up on the whole build thread. Very nice work

Thanks. This was one of my first and most fun custom builds. I still always think about other attachments. The latest idea would be a salt spreader trailer. Might be a new challenge!
 
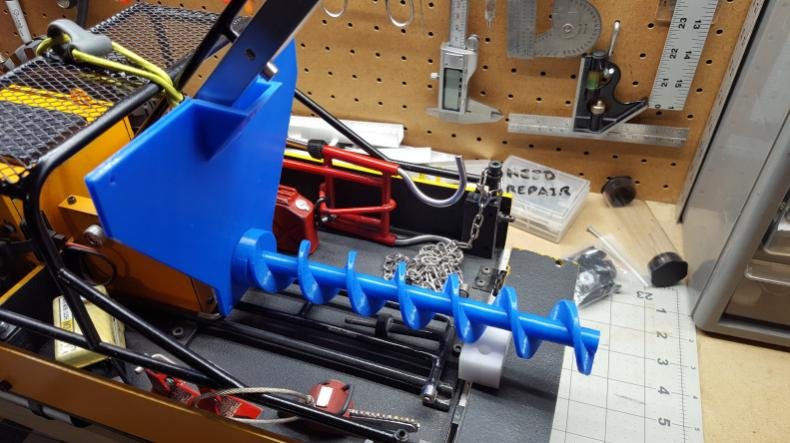
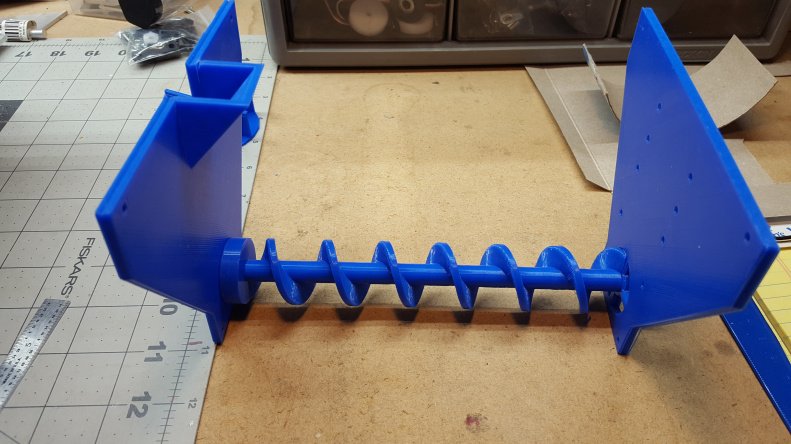
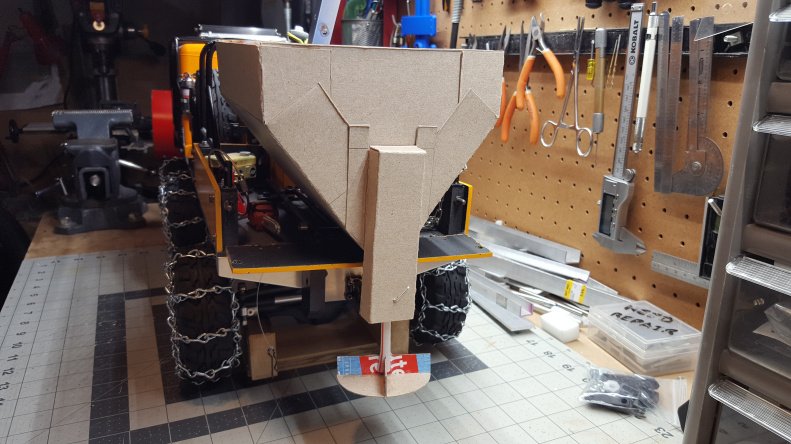
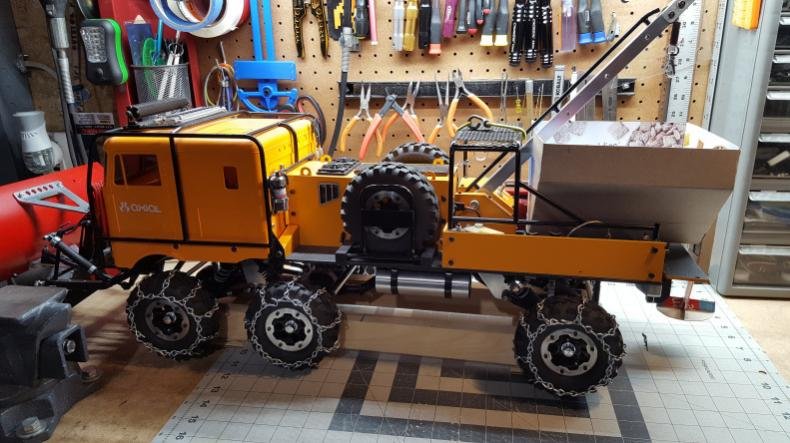
After thinking about it more I decided to tackle the salt spreader idea. I mocked up something that would sit in the bed. Has an auger to move the salt to the chute at the back where it will fall onto the spinner. It will need 2 channels, one to turn the auger on/off and the other to control the speed of the spinner.

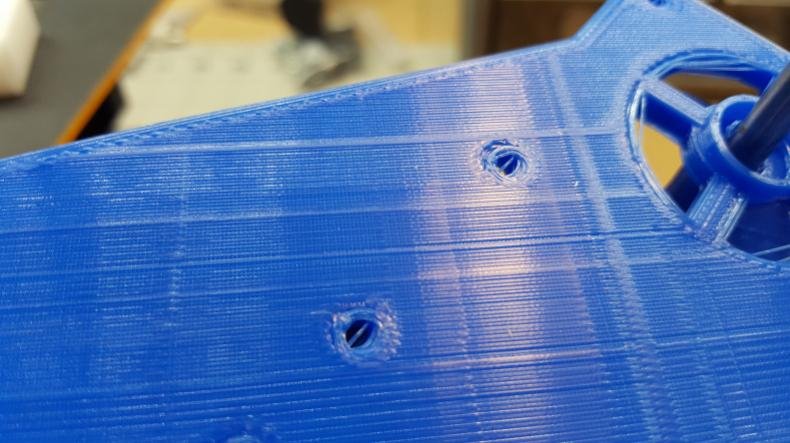
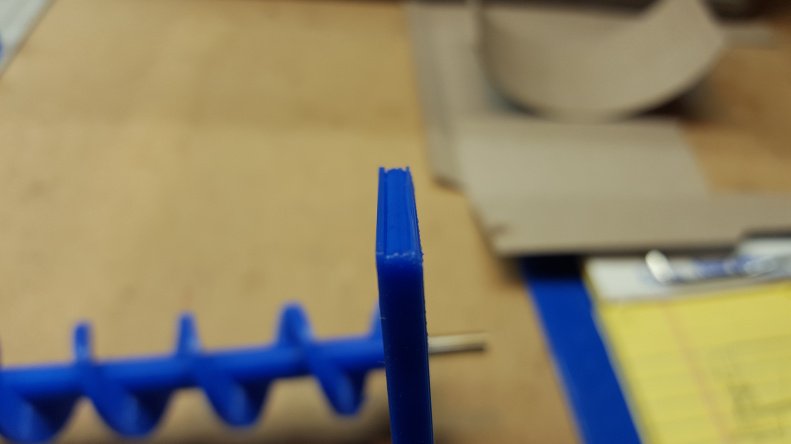
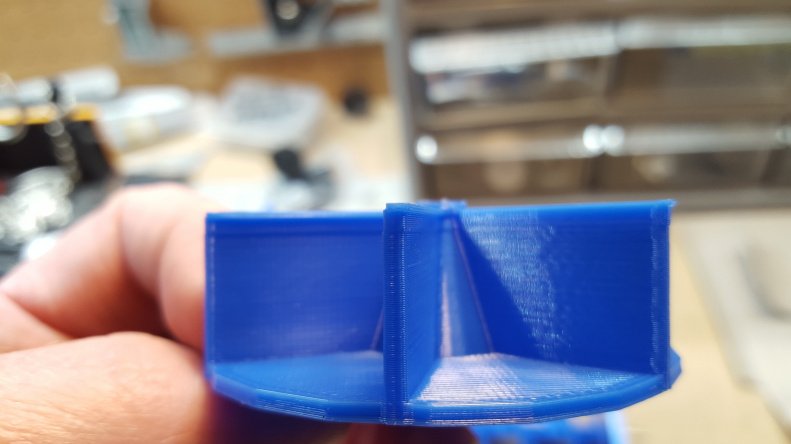
I decided this would be the first big 3d printed project I would attempt. Drafted up all the parts in tinkercad and started printing. The auger came out awesome but having a y-axis layer shift issue with the large flat prints. Need to get that fixed before I finalize anything.

Now for a fix pics, including ones that show my print issue. Any advice is welcome.
 

Attachments

  • IMG_20210228_172522.jpg
    IMG_20210228_172522.jpg
    55.1 KB · Views: 210
  • IMG_20210228_172500.jpg
    IMG_20210228_172500.jpg
    63.6 KB · Views: 214
  • IMG_20210228_172440.jpg
    IMG_20210228_172440.jpg
    64.3 KB · Views: 210
  • IMG_20210228_172422.jpg
    IMG_20210228_172422.jpg
    160.1 KB · Views: 214
  • IMG_20210228_172355.jpg
    IMG_20210228_172355.jpg
    175.2 KB · Views: 214
  • IMG_20210228_172337.jpg
    IMG_20210228_172337.jpg
    70.2 KB · Views: 216
  • IMG_20210228_172544.jpg
    IMG_20210228_172544.jpg
    98.1 KB · Views: 212
I love the use of Cardboard Aided Design! It's awesome scratch builders are still around. Hey ever print the HEMET?
 
I love the use of Cardboard Aided Design! It's awesome scratch builders are still around. Hey ever print the HEMET?

I love that. Cardboard Aided Design! It is my favorite way to mock things up because I'm a very visual builder.

As for the HEMTT I ended up fabricating the body by hand. At the time I didn't have a 3d printer large enough and I was very new to 3d printing. It came out fine although I could see it being better now that I'm getting 3d printer experience. http://www.rccrawler.com/forum/multi-axle-rigs/594176-jebsters-10x10-hemtt-rollback-hauler.html
 
Back
Top