• Welcome to RCCrawler Forums.

    It looks like you're enjoying RCCrawler's Forums but haven't created an account yet. Why not take a minute to register for your own free account now? As a member you get free access to all of our forums and posts plus the ability to post your own messages, communicate directly with other members, and much more. Register now!

    Already a member? Login at the top of this page to stop seeing this message.

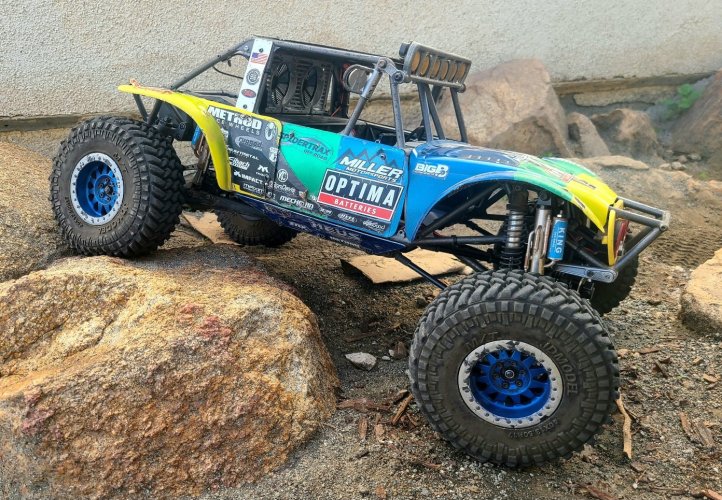
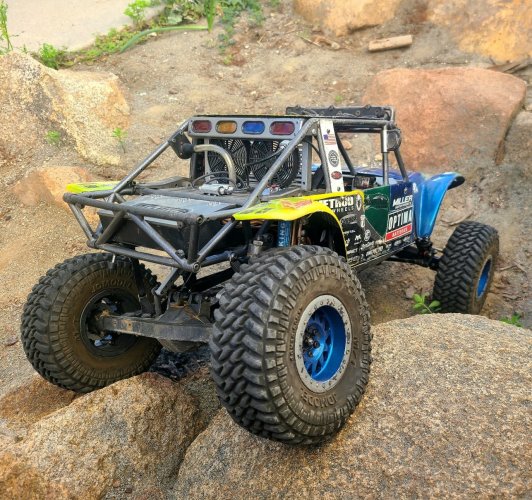
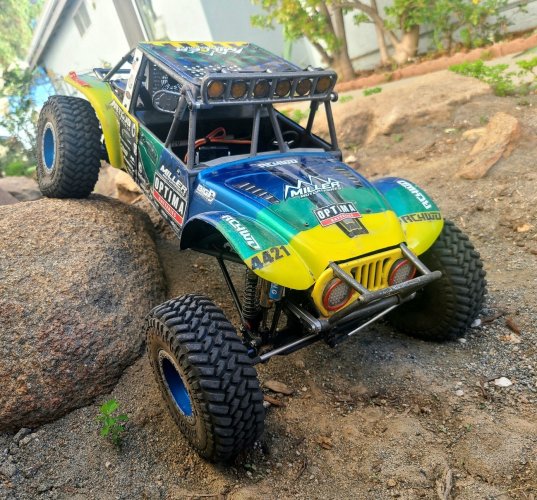
Fallen's RC4WD Miller Motorsports #4421

I'll never get over how cool that Bug body looks on there!

The new graphics and wheel color add some POP!

Hopefully since it's just the inset part of the wheel that's painted, it'll hold up just fine...
 
Cool truck! Still a poor iteration for it's designated purpose ...,....... Bummer that you're having all these issues with the axles! (Centered diamond ssd wraith axles!?!?!?!?!? "Just an idea")
 
Thanks! I'm glad several of you pushed me towards the bug body. These stickers draw attention to the different colors of paint.

I had actually planned to swap these to AR60 internals with SSD housings. But that was a $500 project. And parts for the AR60s are getting difficult to find. If I am going to swap axles, I'll probably use Ryft axles on this truck.

But the stock axle housings on this truck have actually done surprisingly well. The hardware used to hold the housings together needed to be replaced. And the differentials have had several problems. But I think I'm slowly sorting those problems out, one by one.
 
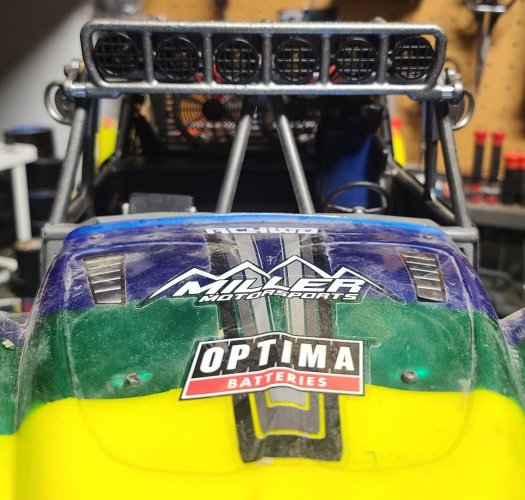
Finally added an upper front light bar. It's the same bar that's on my Bronco, AE's version of the RPM 6 bucket light bar. It comes with LEDs for $18. The buckets are a tad small, but I didn't want to do an LED bar. Mostly because Erik Miller's full size truck uses light buckets when he does run a front lightbar.

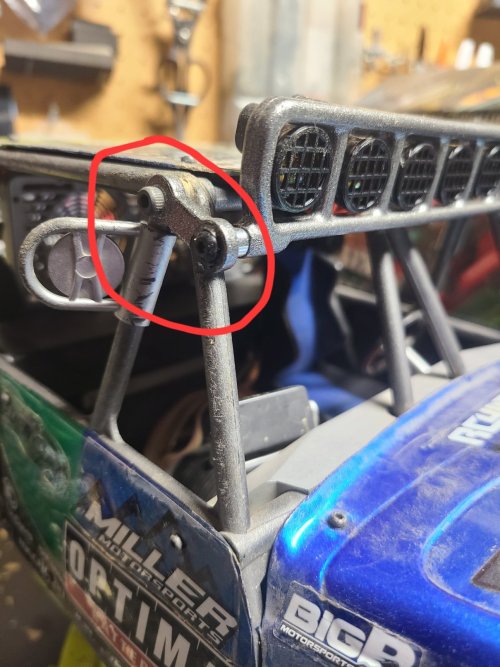
The bar is designed to mount to these ears, which mount to some lexan panel. I didn't want to roof mount this bar. I figured it would stick up too high, look corny and be more susceptible to damage.

20250117_193834.jpg

I used the backing plate for those ears to secure the lightbar to the roof bar / A pillar junction. That lowered the bar, which I'm generally about doing in life... I needed a small aluminum spacer to fill the gap left by the light bar. That spacer rests on the A pillar creating a hard stop for the lower travel limit of the lightbar.

20250117_193405.jpg

20250117_193419.jpg

20250117_193413.jpg

I painted the light lenses yellow with Tamiya yellow clear. Then I used Elmer's glue to secure the lenses / guards to the light buckets. Tip for building this lightbar: attach the buckets to the lightbar BEFORE gluing the lenses / guards in place.

20250117_193436.jpg

20250117_193447.jpg

20250116_215136.jpg

20250116_224134.jpg

My differentials have been holding the Silly Putty, so it seems my longer ring gear hardware is doing it's job. This truck is patiently waiting for my son to finish his Optic.

My son's Optic is likely to have a similar light bar, just the 4 bucket version.
 
I noticed that my suspension had returned to having lots of sticktion. And that can't be. A truck that looks scale must also have scale performance!

I had been using the stock shocks with no oil, and the LX shocks with 5WT oil.

The stock RC4WD shocks were filled with sludge. It was a metallic looking paste, almost like the piston was shaving the inside of the shock body.

20250130_235131.jpg

The LX shocks were also sticktiony. The pistons seemed to have grown and were dragging in the shock bodies. This is probably because my 5WT oil was full synthetic, and these shocks probably weren't made to use that.

I decided those stock shocks needed to go. RC4WD makes nice looking shocks, but I've never gotten a set to perform well. So where could I scrounge some 100mm shocks? An oddball size for 1:10 scale.

Then I remembered an oddball build: the straight axle, Axial SCX10.3 Bronco! It came with 100mm shocks which I had shortened to 90mm. Time to undo that change.

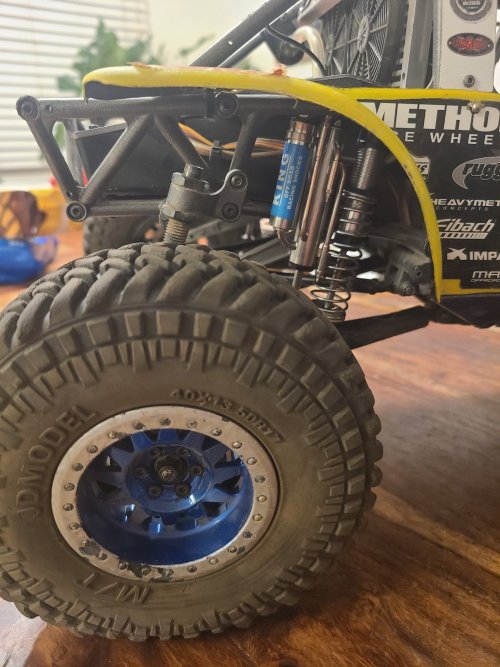
So I stole those from my Bronco and put some Vanquish S8E shocks onto that truck.

I filed down the pistons in the LX shocks and they're smooth again. And they're just for looks now, no oil in those anymore. Too complicated for me to tune those.

The front suspension is a 70mm extra firm (yellow) spring with 10WT oil. I might step that down to 7WT.
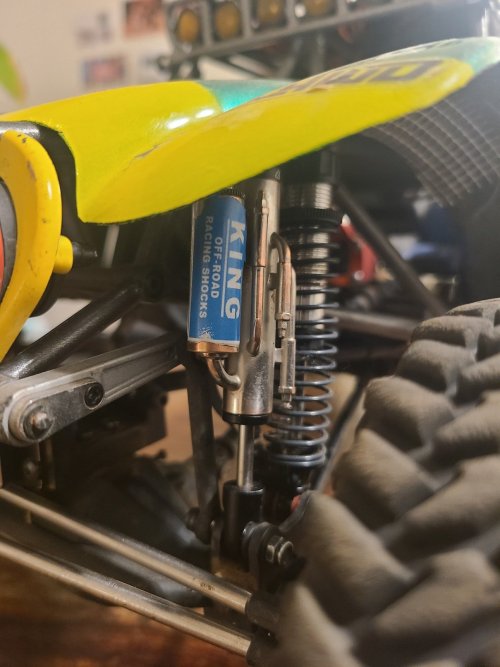
20250212_215119.jpg

The rear is an unknown spring. Since there's trailing arms back there, I needed a very firm spring. Fortunately I had these stainless steel springs around which barely do the trick. They maybe the stock Tamiya BBX rear springs? 20WT oil, which might need to go up to 25WT.
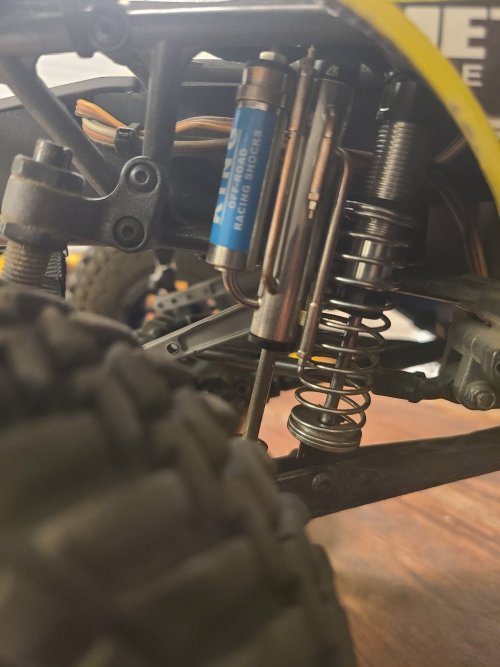
20250212_221003.jpg

The suspension is nice and smooth again. My spring rates aren't as ideal as the stock springs, but oh well. I'm glad to have a bit more RC4WD off of this truck.
 

Attachments

  • 20250212_220953.jpg
    20250212_220953.jpg
    328.7 KB · Views: 2
Can't say I've seen any of my shocks trying to eat themselves before. Also, those lx shocks do look amazing, I just can't bring myself to buy a set.
 
Thanks. The LX shocks were rather pricey. I remember paying around $150 for the complete set.

Given that price I'd reserve them for a really scale build. They really do look great.

But they're quite complex. And I don't think most RC cars can really benefit from independently tunable rebound & compression circuits.

That being said, they hold oil very well, keep dirt out and are pretty cool looking.
 
Back
Top