• Welcome to RCCrawler Forums.

    It looks like you're enjoying RCCrawler's Forums but haven't created an account yet. Why not take a minute to register for your own free account now? As a member you get free access to all of our forums and posts plus the ability to post your own messages, communicate directly with other members, and much more. Register now!

    Already a member? Login at the top of this page to stop seeing this message.

Axial SCX10ii Sand Scorcher Build 1st Crawler

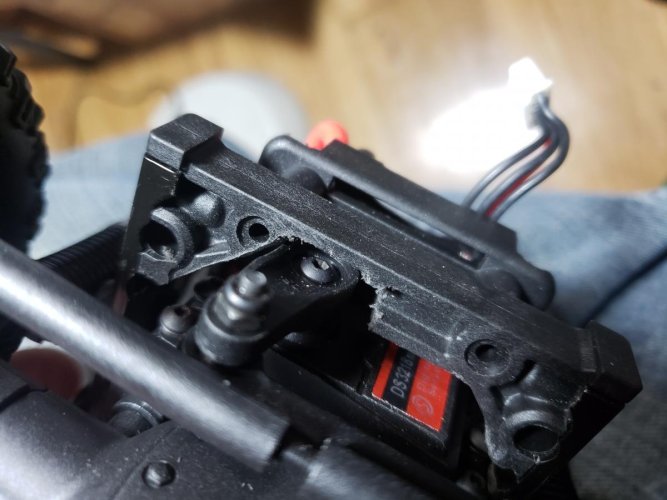
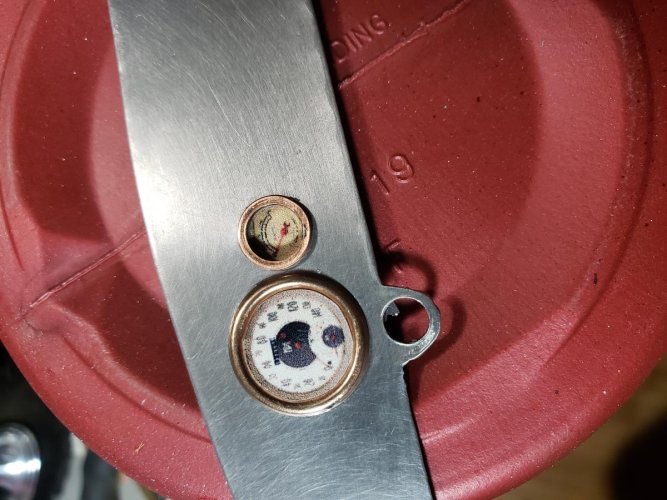
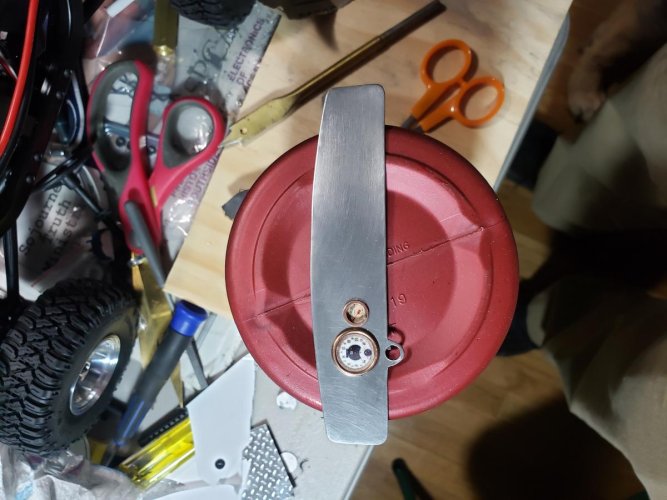
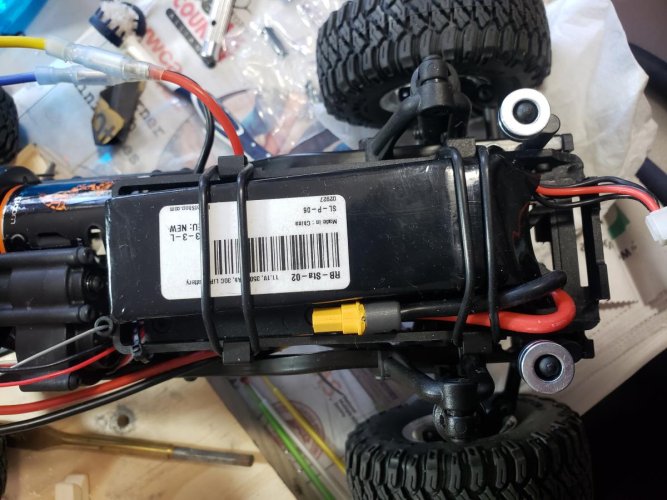
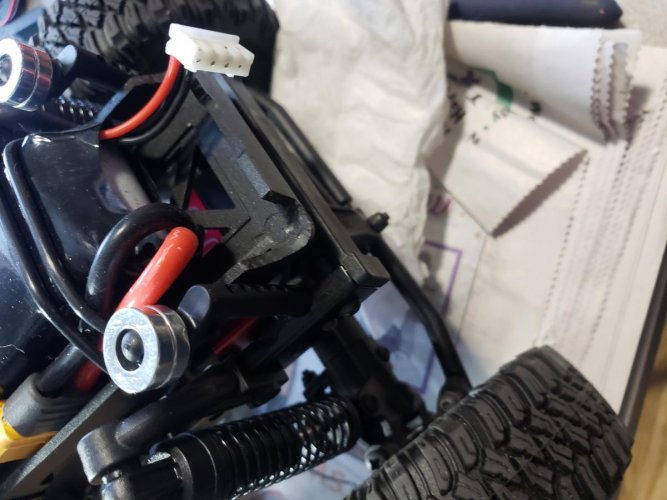
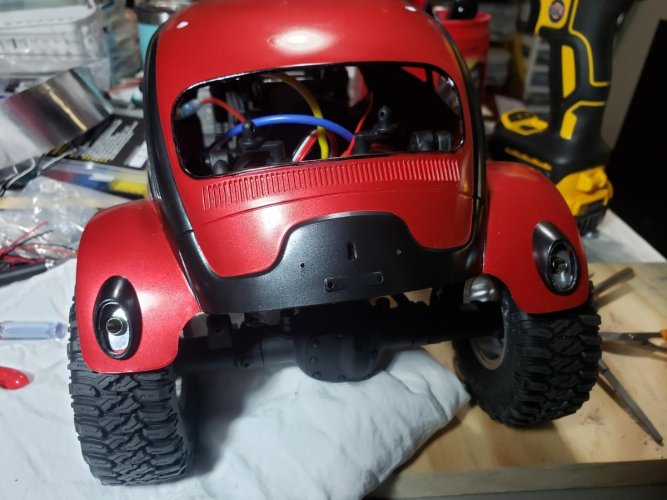
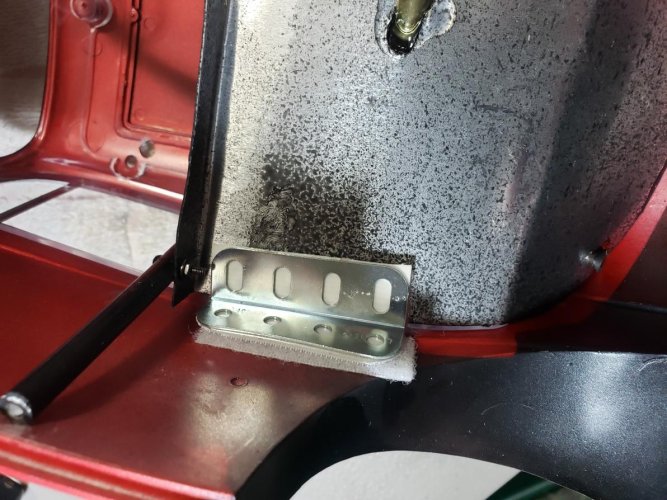
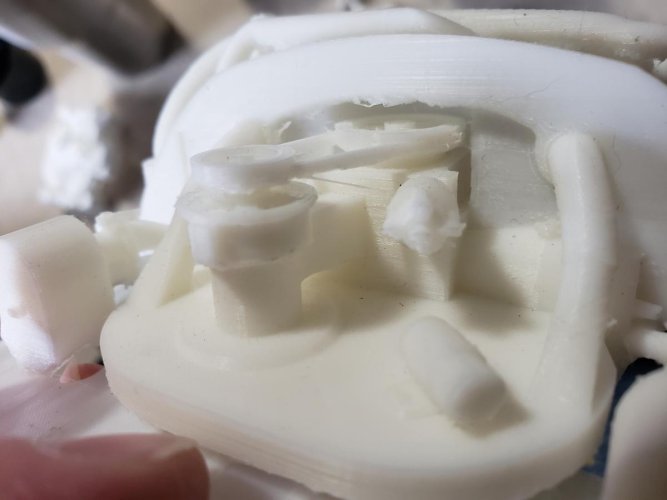
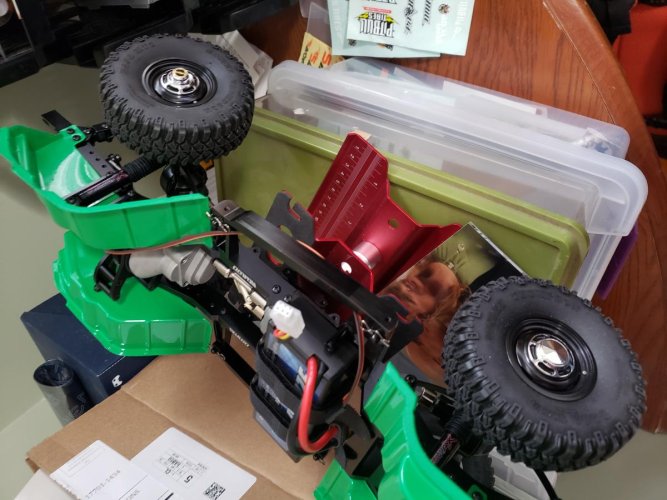
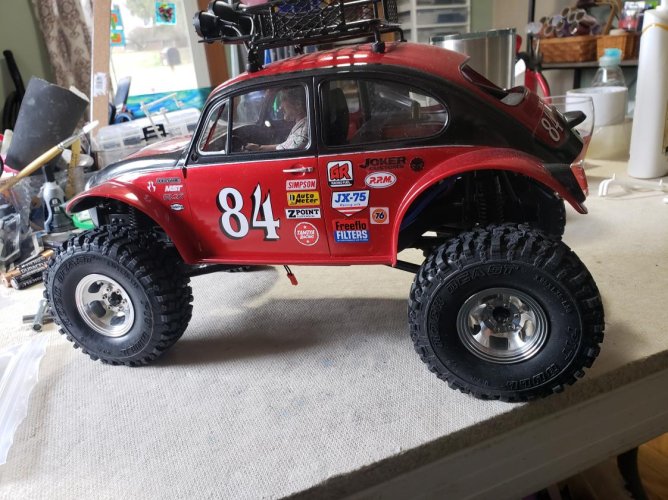
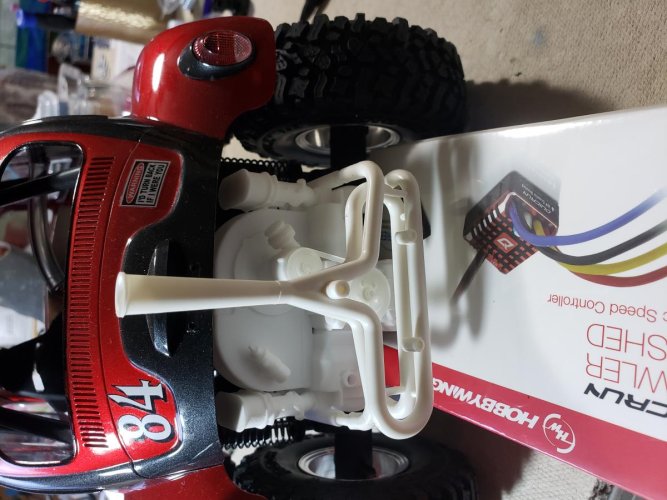
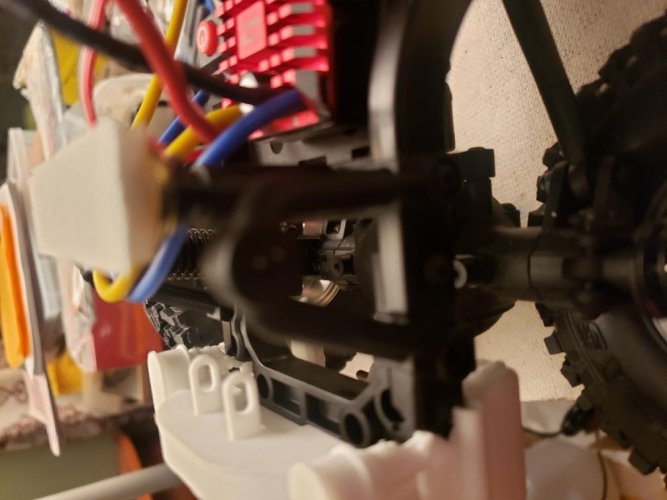
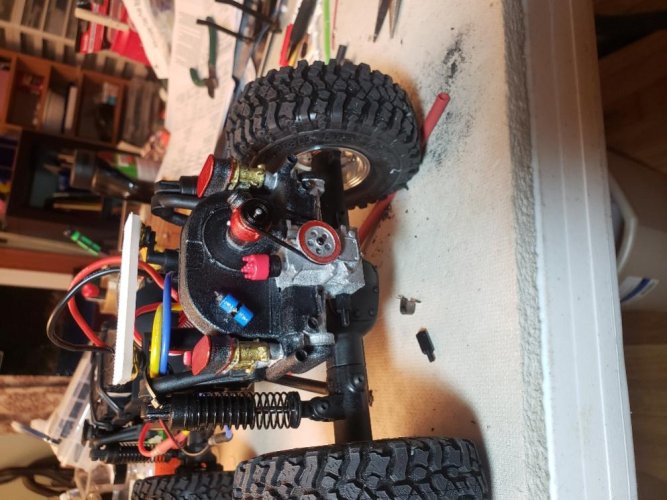
Hey thanks! For anyone thinking about building one of these, I found out that you can't just swap the front and rear links on the MST. The servo will not clear and it binds the front end up resulting in zero wheel travel. I had to cut the front mount up to clear the servo, still might need to cut a bit more but I'll see how it goes. The car sounds terrible right now so I need to check my pinion mesh. Waiting for paint to dry I made a simple old school aluminum dashboard.
 

Attachments

  • 20200105_172716.jpg
    20200105_172716.jpg
    123.8 KB · Views: 893
  • 20200105_212049.jpg
    20200105_212049.jpg
    101.3 KB · Views: 892
  • 20200106_210808.jpg
    20200106_210808.jpg
    163.5 KB · Views: 880
  • 20200106_210751.jpg
    20200106_210751.jpg
    113.1 KB · Views: 882
Finally got the body together and clear coated. I used some aluminum tape to back the taillights, I made sheet aluminum backers but the light holders barely cleared the taillight lenses so I put them together as seen below. Standard lipos did not fit and the shorty packs have wires that jut out from the pack so I am using a 3s 3500mah 30c pack that I had from a drone project. I also had to cut the battery tray to have room for the headlight mounts.
 

Attachments

  • 20200108_083732.jpg
    20200108_083732.jpg
    131.5 KB · Views: 820
  • 20200108_085337.jpg
    20200108_085337.jpg
    135.5 KB · Views: 814
  • 20200108_085319.jpg
    20200108_085319.jpg
    104.2 KB · Views: 808
  • 20200107_183820.jpg
    20200107_183820.jpg
    116.6 KB · Views: 824
Finally got the body together and clear coated. I used some aluminum tape to back the taillights, I made sheet aluminum backers but the light holders barely cleared the taillight lenses so I put them together as seen below. Standard lipos did not fit and the shorty packs have wires that jut out from the pack so I am using a 3s 3500mah 30c pack that I had from a drone project. I also had to cut the battery tray to have room for the headlight mounts.
Now the nose looks right...SUPER-COOL.

~ More peace, love, laughter & kindness would make the world a MUCH better place [emoji1690]
 
Getting close now, body mounts were killing me so I ditched the magnets and went with an industrial velcro system. Lights are in and working, built some boots to hide the threads that were showing in the roof rack using 3/16 heat shrink tubing. Need to figure out an engine for the back, my side mirrors, and get the decals and details on. I like the Boom Racing Patriot bumper for up front but they are sold out everywhere. I think I will need to cut the frame rails in the back for the engine but I need to find one I like first.
 

Attachments

  • 20200112_163311.jpg
    20200112_163311.jpg
    125.9 KB · Views: 755
  • 20200112_163413.jpg
    20200112_163413.jpg
    100.8 KB · Views: 773
  • 20200112_163346.jpg
    20200112_163346.jpg
    112.2 KB · Views: 765
  • 20200112_163239.jpg
    20200112_163239.jpg
    128.7 KB · Views: 776
  • 20200112_070209.jpg
    20200112_070209.jpg
    176.1 KB · Views: 1,099
  • 20200112_071804.jpg
    20200112_071804.jpg
    176.4 KB · Views: 775
  • 20200112_163257.jpg
    20200112_163257.jpg
    152 KB · Views: 805
Re: Sand Scorcher Build 1st Crawler

Oh man, that looks SWEEEEEEEET. I'm hecka jealous.

~ More peace, love, laughter & kindness would make the world a MUCH better place [emoji1690]
 
Re: Sand Scorcher Build 1st Crawler

That looks great! I wanna see some details on how the butyrate cage looks.


Sent from my iPhone using Tapatalk
 
I ended up just going with a roll bar. The dashboard sits almost right on top of the battery so I couldnt find a good place for the crossbar up front and the wiring for the lights took up the roof clearance for the top cross members. They make a kit to mount the battery low across the front but the Scorcher body is really narrow at that spot and I didnt want to use a smaller battery because I want to trail with the truck and get as much milage out of a battery as I can. I have some smaller tubing with the appropriate fittings that I will use when I build my actual Sand Scorcher kit but that one will be a shelf queen and I won't be as concerned with durability. The final straw in deciding to just go with the roll bar was weight. I think Im going to have issues with it being top heavy with the rack and lights combined with the smaller tires and narrow axles. I think I bit off more than I could chew with a full cage in my first build. I learned a lot though. Here is what I ended up with:
 

Attachments

  • 20191226_163124_resize_62.jpg
    20191226_163124_resize_62.jpg
    101.8 KB · Views: 673
  • 20191226_163150_resize_98.jpg
    20191226_163150_resize_98.jpg
    109.5 KB · Views: 666
Re: Sand Scorcher Build 1st Crawler

Too bad it didn’t fit but I have to agree with all the points you made now that I actually went rc rock crawling. Saving weight up top and not having to lug batteries around > looking cool lol.

With that said, the cage joints look great and I’m gonna eventually give it a try lol


Sent from my iPhone using Tapatalk
 
Had this on the back burner waiting for Shapeways to get here. I tried a budget motor from eBay but it was just too rough so I broke down and went through Knight Customs on Shapeways. You can see a huge difference in quality. I am working out how to get the motor mounted now and modifyling the Tamiya exhaust to fit. Upgrade the tires to a set of Pit Bull Rock Beasts, a bit larger and they fit at all four corners with full articulation. Also picked up a pair of mirrors at SW while I was at it. Last pic is what Ive been busy with in the meantime...
 

Attachments

  • 20200201_142911.jpg
    20200201_142911.jpg
    109.2 KB · Views: 615
  • 20200201_142924.jpg
    20200201_142924.jpg
    59.2 KB · Views: 629
  • 20200201_142959.jpg
    20200201_142959.jpg
    69.4 KB · Views: 624
  • 20200201_142948.jpg
    20200201_142948.jpg
    56.8 KB · Views: 606
  • 20200201_144528.jpg
    20200201_144528.jpg
    128.8 KB · Views: 619
  • 20200201_144410.jpg
    20200201_144410.jpg
    178.7 KB · Views: 865
  • 20200201_170916.jpg
    20200201_170916.jpg
    134 KB · Views: 615
  • 20200201_143033.jpg
    20200201_143033.jpg
    61.6 KB · Views: 612
Yes, plastic for now but I will probably pick up an aluminium one eventually. I think Im going to attach the motor to the cage and then mount the cage to the chassis. I cut so much off of the frame rails that there isnt much left to attach to. Your idea is fantastic but my motor is hollow and not very thick so I dont think it will work for me...
 

Attachments

  • 20200201_181325_resize_54.jpg
    20200201_181325_resize_54.jpg
    119.8 KB · Views: 610
Try gluing a solid block of styrene onto the back of the motor so you have something to attach the engine to. I used a couple of screws through the brass into the engine to keep mine in place.

Still not sure how I'm going to do the cage on mine either. I too have little frame left.
 
What glue would you use? Im afraid the glue might be too hot and melt or deform the engine. It really is thin, the area I have to glue to is about 2mm thick.
 
I found a solid way to mount the motor. I cut the chassis brace to fit inside the Shapeways engine, I will glue it in once I finish painting it.
 

Attachments

  • 20200203_204858_resize_83.jpg
    20200203_204858_resize_83.jpg
    47.9 KB · Views: 578
  • 20200203_204835_resize_20.jpg
    20200203_204835_resize_20.jpg
    64.2 KB · Views: 581
  • 20200203_203712_resize_57.jpg
    20200203_203712_resize_57.jpg
    67.8 KB · Views: 578
Not near Tossedman's level but Im ok with that. Just need to work out the plug wires now. Also, I picked up a two dollar "deluxe squirt gun" from China (I ordered it weeks ago and forgot about it).
 

Attachments

  • 20200205_193654_resize_11.jpg
    20200205_193654_resize_11.jpg
    111.5 KB · Views: 555
  • 20200205_174701_resize_43.jpg
    20200205_174701_resize_43.jpg
    92.6 KB · Views: 545
  • 20200205_174707_resize_88.jpg
    20200205_174707_resize_88.jpg
    119.4 KB · Views: 541
Back
Top