• Welcome to RCCrawler Forums.

    It looks like you're enjoying RCCrawler's Forums but haven't created an account yet. Why not take a minute to register for your own free account now? As a member you get free access to all of our forums and posts plus the ability to post your own messages, communicate directly with other members, and much more. Register now!

    Already a member? Login at the top of this page to stop seeing this message.

Axial SCX10ii Sand Scorcher Build 1st Crawler

clockwork

Rock Stacker
Joined
Dec 2, 2019
Messages
93
Location
Williamsport
Sand Scorcher Build 1st Crawler

First time building a crawler, haven't been into ground rc since the late 90's and things have changed since then...almost everything is RTR.

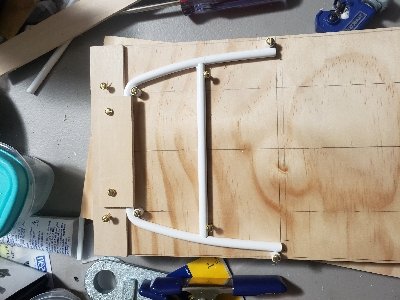
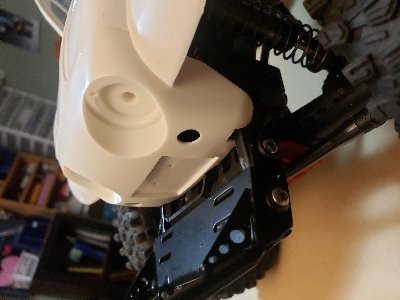
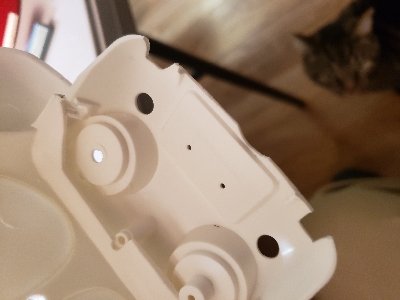
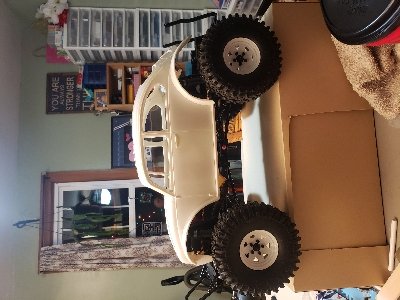
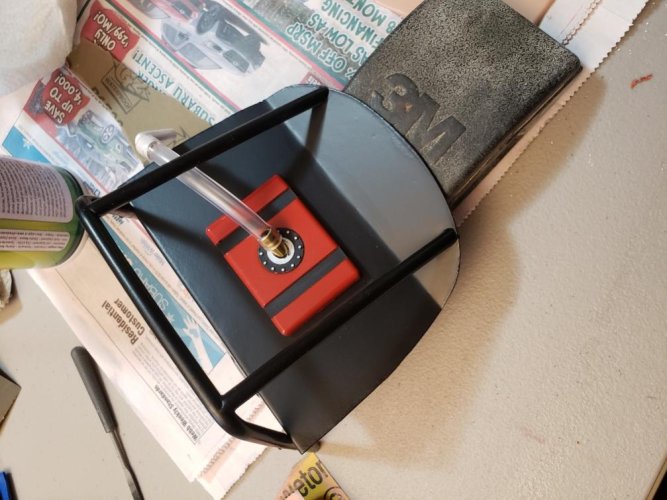
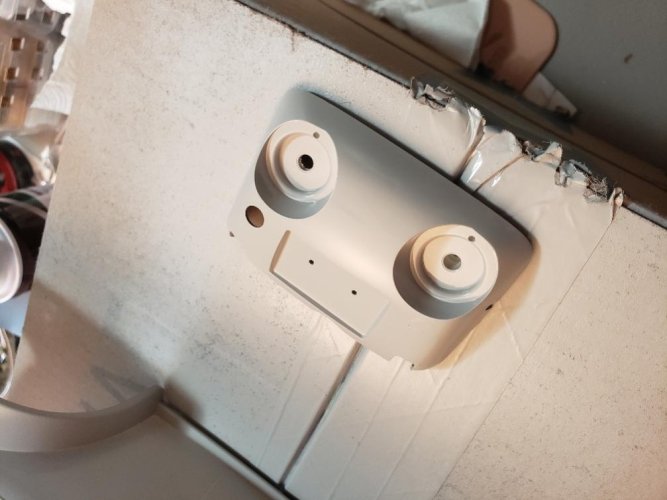
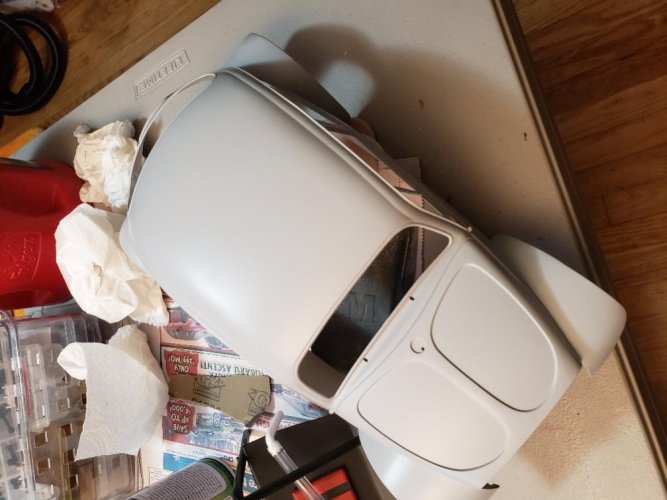
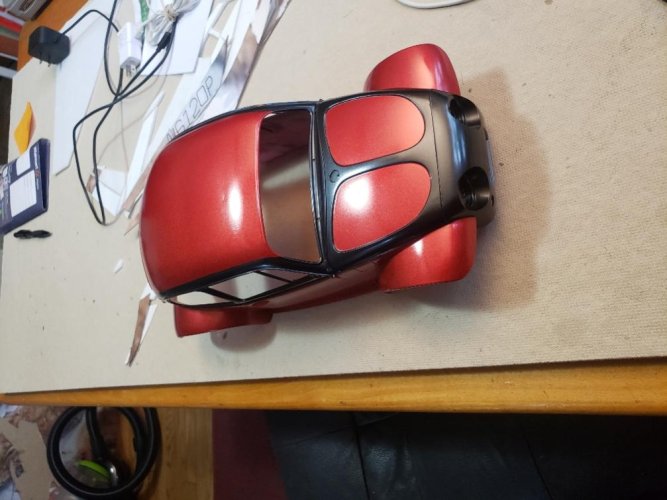
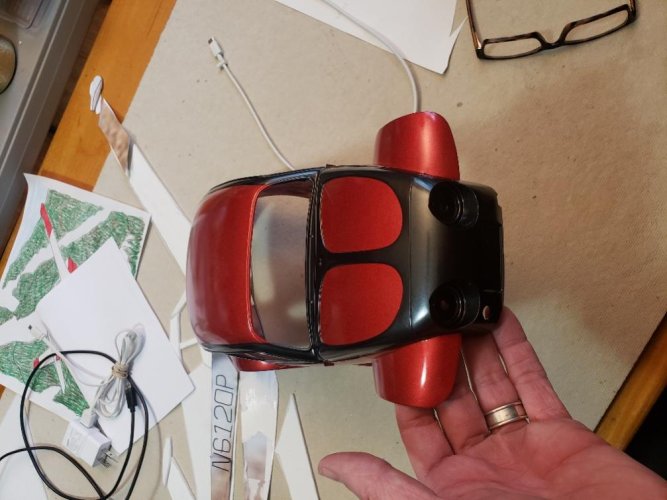
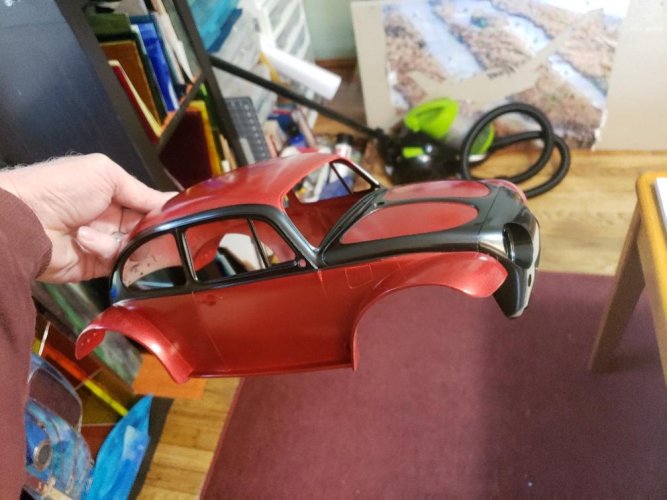
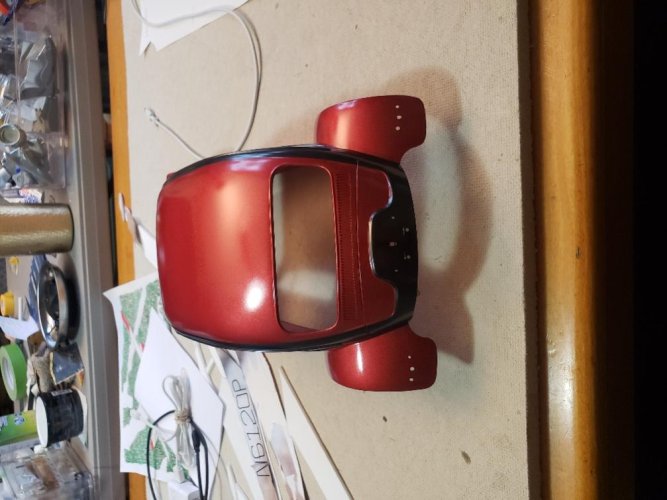
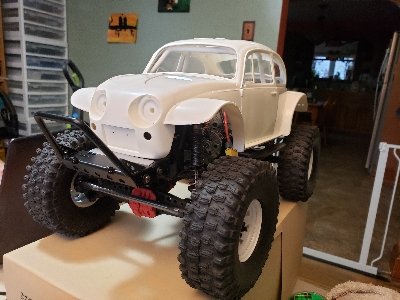
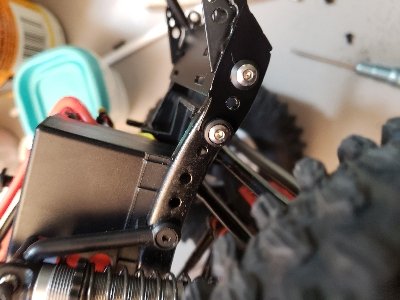
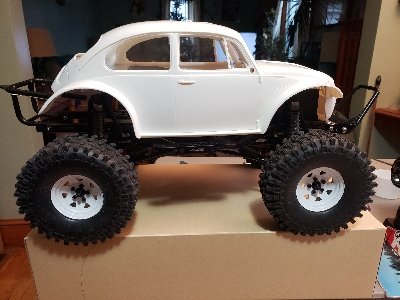
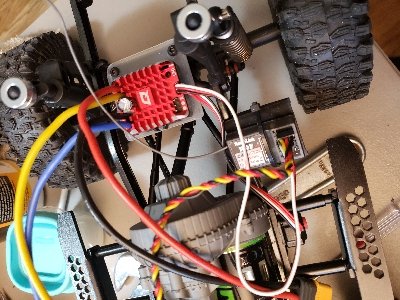
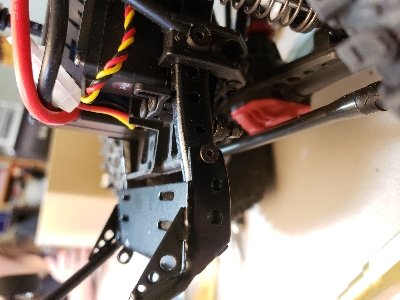
Axial SCX10ii builders kit with a Boomracing SWB kit, TRX shocks, 2010 Tamiya Sand Scorcher body, Hobbywing 1080 esc, Axial 27 turn motor, HiTec metal gear servo, using a Radiolink RC6gs radio...I have been reading a lot on these forums but this is my first post. Many thanks to the builders here that posted the build threads that helped me figure things out so far (everything works mechanically!). Any feedback or suggestions are welcome, I still need to get some funds together to finish but here is where I am so far.
 

Attachments

  • 20191214_135411_resize_72.jpg
    20191214_135411_resize_72.jpg
    103.1 KB · Views: 2,889
  • 20191214_134302_resize_43.jpg
    20191214_134302_resize_43.jpg
    93.8 KB · Views: 2,129
  • 20191214_134813_resize_22.jpg
    20191214_134813_resize_22.jpg
    103.1 KB · Views: 2,194
  • 20191214_123108_resize_58.jpg
    20191214_123108_resize_58.jpg
    127.3 KB · Views: 2,106
  • 20191214_123057_resize_85.jpg
    20191214_123057_resize_85.jpg
    94.8 KB · Views: 2,099
Last edited:
I see 'em, looks like a promising start!
 
I did not like the monster truck effect I was getting but the nose of the bug was resting on the chassis so without cutting it, I had to have the body higher than I wanted. I do not think that the SCX10 ii chassis is the best choice for the Scorcher body but Im going to make it work. I cut the front end and dropped the back as low as I can and still have clearance for the tires and I like it a lot better. Im using 1/4" butyrate tubing for the roll bars which is a little thick but the only hobby shop still in business within an hour drive is dedicated mainly to trains and they had it in stock. If you think our hobby is expensive, you should see what the train stuff costs! I made a little jig for the tubing, this project is going to take a while.
 

Attachments

  • 20191217_071002_resize_30.jpg
    20191217_071002_resize_30.jpg
    101.8 KB · Views: 1,940
  • 20191217_174436_resize_11.jpg
    20191217_174436_resize_11.jpg
    88.8 KB · Views: 1,957
  • 20191217_174616_resize_68.jpg
    20191217_174616_resize_68.jpg
    75.4 KB · Views: 1,981
  • 20191217_174554_resize_88.jpg
    20191217_174554_resize_88.jpg
    105.9 KB · Views: 2,030
Looking much better with the body sitting lower, plus it'll bring your CG down. I'd even try and go a bit lower, but it's looking good. I've kicked around doing a bug build for a while, but always seems like I've got other projects on the burner. Nice work!
 
Spent a lot of time watching SCORE Clas 5-1600 videos and I recommend the Scumbug videos that Hoonigans have on their Youtube channel just for fun. I did some work on the interior. I dont have the funds to go on a shopping spree at Shapeways so I am using stuff from the specialty hardware bin at Lowes to make my fuel cell and fuel filler. I was nervous drilling the window platic but everything went well. I have some adhesive metallic film that Im going to use on the rear windows, the SCORE bugs only usually have a front windshield and the rear window is where the fuel filler is mounted. I think Im going to do a Stanger Things (Netflix series) theme so I picked up a 7" figure of Hopper to use as my driver. I bought a pair of KYX hard plastic seats but Hopper was too fat for them so I boiled the seat for 10 minutes to soften the plastic a bit and then flattened it to fit in my vice. Results are posted below and thanks for putting up with my rambling.
 

Attachments

  • 20191223_090709_resize_52.jpg
    20191223_090709_resize_52.jpg
    63.1 KB · Views: 1,844
  • 20191223_090657_resize_91.jpg
    20191223_090657_resize_91.jpg
    52.1 KB · Views: 1,810
  • 20191222_193701_resize_6.jpg
    20191222_193701_resize_6.jpg
    80.6 KB · Views: 1,827
  • 20191223_090620_resize_52.jpg
    20191223_090620_resize_52.jpg
    62.9 KB · Views: 1,860
  • 20191223_090630_resize_26.jpg
    20191223_090630_resize_26.jpg
    54 KB · Views: 1,856
  • 20191223_084837_resize_74.jpg
    20191223_084837_resize_74.jpg
    62.7 KB · Views: 1,843
Got the holes filled in the body using the sprue dissolved in liquid cement filler and final filling with a tiny bit of spot putty. Filled in the turn signal in the nose because it is not visible behind the winch, the open one will be for winch wiring. Roll bar and fuel cell done. Hoping to paint tomorrow. Thanks for looking.
 

Attachments

  • 20191226_163124_resize_8.jpg
    20191226_163124_resize_8.jpg
    101.8 KB · Views: 1,727
  • 20191226_152126_resize_48.jpg
    20191226_152126_resize_48.jpg
    66.6 KB · Views: 1,741
  • 20191226_163247_resize_48.jpg
    20191226_163247_resize_48.jpg
    80.8 KB · Views: 1,747
  • 20191226_133901_resize_84.jpg
    20191226_133901_resize_84.jpg
    61.9 KB · Views: 1,750
Lol you “boiled the seats” so fat Hopper could fit in them!

How did the Plastruct cage work go? It looks really clean from what I can tell.


Sent from my iPhone using Tapatalk
 
The Plastruct was easy to use, I used TB-8 tubing which has a thick wall and bends and holds its shape really well. I have a lot of respect for the people who build with steel tubing, getting the 2 fishmouths right in plastic took me a while, making a whole cage from steel seems incredible. I am going to be building an actual Tamiya Sand Scorcher and I have TB-6 tubing with all the elbows and angle pieces for that one, Im just trying to get my modeling skills back in shape.
 
That’s awesome, I loved working with their products. I’m gonna check our the TB-8 and 6 tubing now.

And soldering is a challenge for me... forget metal work lol


Sent from my iPhone using Tapatalk
 
Paint! Tamiya TS paints, metallic red and metallic black, the Tamiya masking tape is pretty awesome. I will hit it with a few coats of gloss clear when it comes in.
 

Attachments

  • 20191227_115002_resize_51.jpg
    20191227_115002_resize_51.jpg
    85.1 KB · Views: 1,740
  • 20191227_115113_resize_10.jpg
    20191227_115113_resize_10.jpg
    85 KB · Views: 1,717
  • 20191227_115058_resize_56.jpg
    20191227_115058_resize_56.jpg
    87.6 KB · Views: 1,748
  • 20191227_115010_resize_16.jpg
    20191227_115010_resize_16.jpg
    82.8 KB · Views: 1,700
That’s awesome, I loved working with their products. I’m gonna check our the TB-8 and 6 tubing now.

And soldering is a challenge for me... forget metal work lol


Sent from my iPhone using Tapatalk

I used a small tube cutter from the plumbing section at Lowes to make super clean and accurate cuts in the TB-8.
Make sure you dont get the thinner, cheaper tube, it is like a McDonalds drinking straw...
 
Tube cutter = brilliant

With that paint scheme a good wet sand & polish on the clear is really gonna show the metallic red. Nice choice!


Sent from my iPhone using Tapatalk
 
Back
Top