• Welcome to RCCrawler Forums.

    It looks like you're enjoying RCCrawler's Forums but haven't created an account yet. Why not take a minute to register for your own free account now? As a member you get free access to all of our forums and posts plus the ability to post your own messages, communicate directly with other members, and much more. Register now!

    Already a member? Login at the top of this page to stop seeing this message.

Finally got me a Sport

58_Willys

Rock Crawler
Subscribed Member
Joined
Oct 17, 2009
Messages
961
Location
Upstate NY
I've been a Traxxas fan since the 80's. I have a few of the original trucks, like
the Blue Eagle and the LS, and a Hawk 2.

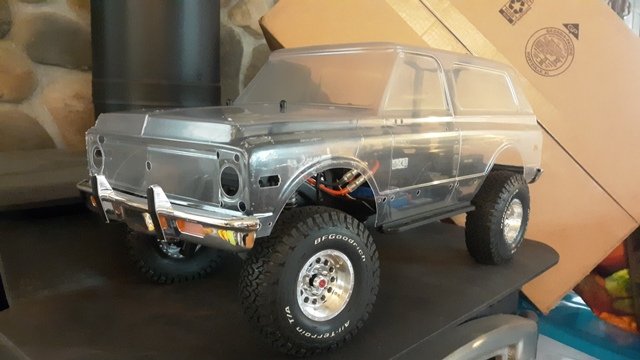
I bought the 72 Blazer clear body set when they first made them available separate from the chassis, with the intension of mounting it on a customized TF2. Recently, while browsing the Bay for some other things, I came across a TRX4 Sport shelf queen for a good price, and snatched it up. It came today and since I'm not a fan of the portals, I ordered the SSD Portal Delete kits and the taller body posts.

I started looking for color inspiration, and this is what I came up with...
just need to figure out the upper trim pieces.
maxresdefault.jpg


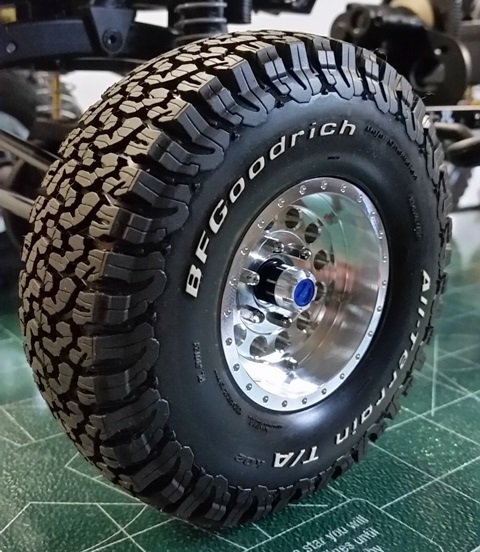
I have these already to go...
 

Attachments

  • BFG All-Terrain 2.jpg
    BFG All-Terrain 2.jpg
    131.3 KB · Views: 607
Be still my ever-loving decrepit old heart. That's the absolute best looking two-tone color option in existence. Congratulations on the new rig. Looking fwd to seeing how you do that body.
 
2 ways I'd do it,
Paint the green on the inside and white on the outside
or
Mask off the main white stripe inside, paint the inside green, unmask and paint the white.
When white is fully covered, finish off with another coat of green.
cut the outside mask around the top, remove just the top mask and then paint top.
Unmask rest of body.
Good to go.
 
Thanks guys...
I'm planning to use actual automotive paint for the green. I'll use PS-55 as a start then the automotive paint, then white for the stripe. The only unfortunate part is that there are post holes in the body. At least the green will subdue them a little.

Since I'm using the SSD Portal Delete kits, I just noticed this little note on RPP site for them..."This kit changes the direction the wheels spin". So, should I get a different motor or just reverse the wires on the motor. It's the original Traxxas 550 motor (reverse rotation...I'm guessing)? Not really sure if you can run one of these backwards. Any help with this would be appreciated.
 
Looking good so far. Hubs will be replaced with the blue ones and I'm just waiting for the Portal Delete kits.
 

Attachments

  • TRX Blazer1.jpg
    TRX Blazer1.jpg
    90.8 KB · Views: 546
  • TRX Blazer 2.jpg
    TRX Blazer 2.jpg
    92.6 KB · Views: 534
  • TRX Blazer 3.jpg
    TRX Blazer 3.jpg
    81.7 KB · Views: 542
Looking forward to seeing this! Love the classic color on the 1:1! I wish the cars and trucks of today had them cool colors of yesterday!

Great looking wheel and tire combo! It actually looks more real than the real one in the 1:1 pic!:shock:
 
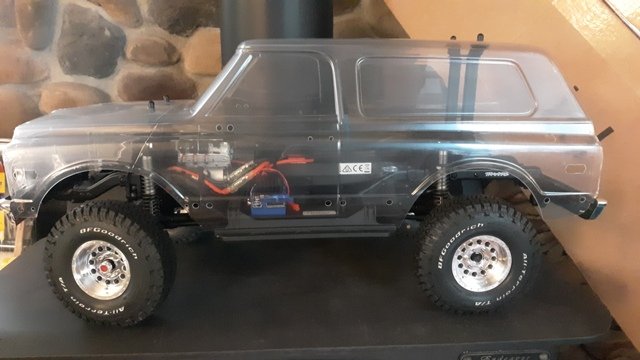
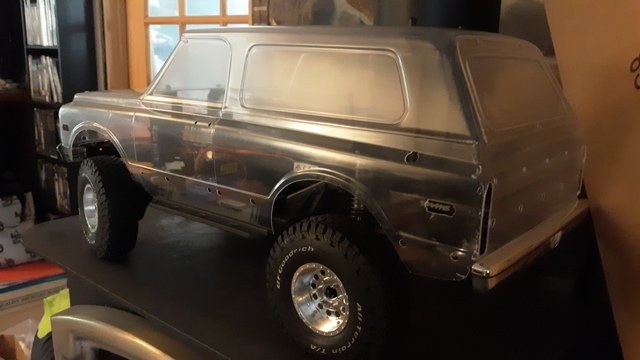
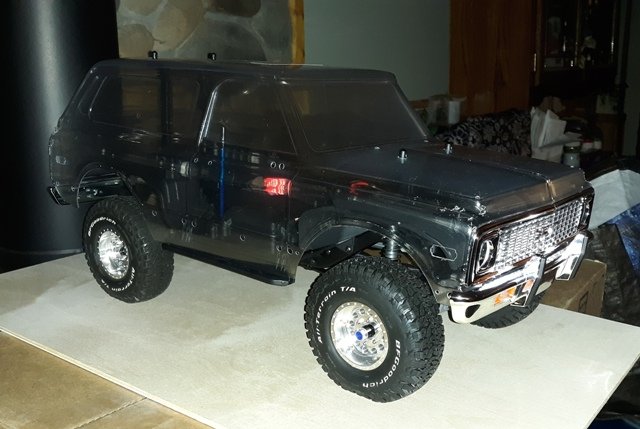
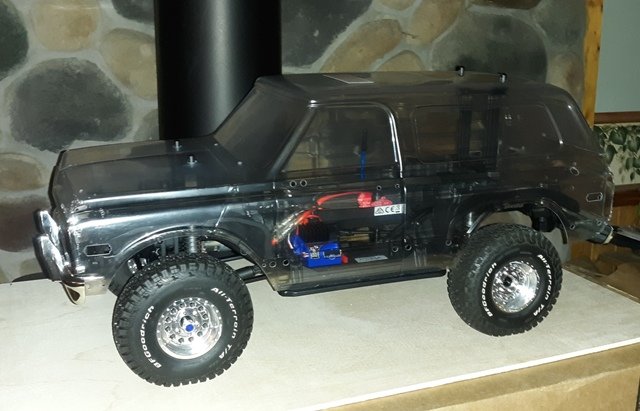
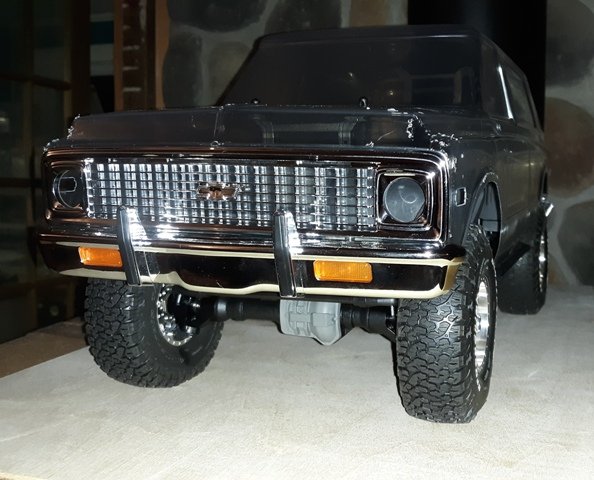
Parts came in yesterday and I put them in today. I added the inner fenders and blue hub nuts. Still gotta swap out the motor, but I wanted to get the work on the axles done first. I gotta say, I love the new stance and ride height. It doesn't have the ground clearance it used to have nor the width, but dang it looks good. The tire tuck is perfect and looks really scale, even unpainted.

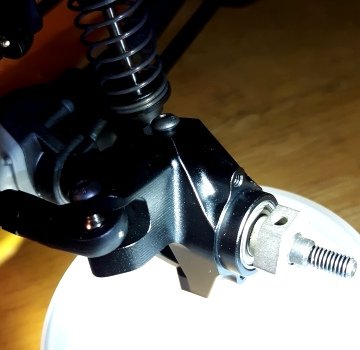
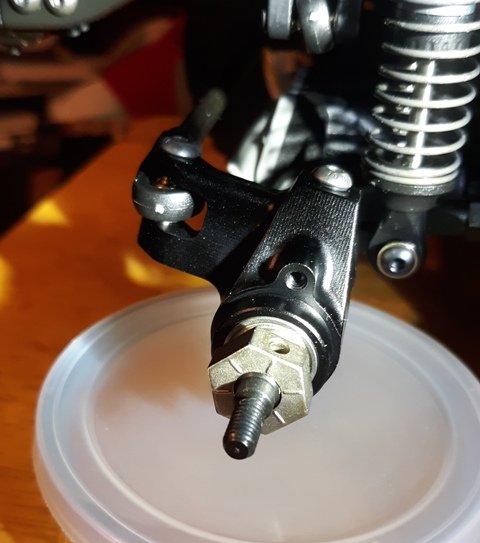
With the Portal Deletes installed, all is well, except for one minor issue...the C-Hubs look like they're missing a piece. It's not critical, but it seems there's a provision engineered into the C-Hubs for some kind of a bearing retainer end cap, that is secured by 2 screws. These were not included with the kit, so I'm not really sure if it was an oops on SSDs part, or they were omitted from the kit. The hex seems to hold the bearings in place anyway, but my OCD just won't be satisfied with it this way. Has anyone else had this issue or should I reach out to SSD to confirm the part was omitted from the kit?

Sorry for the crappy pics...
 

Attachments

  • TRX Blazer 6.jpg
    TRX Blazer 6.jpg
    113.5 KB · Views: 481
  • TRX Blazer 5.jpg
    TRX Blazer 5.jpg
    111.1 KB · Views: 481
  • TRX Blazer 4.jpg
    TRX Blazer 4.jpg
    128 KB · Views: 487
  • Chubs 2.jpg
    Chubs 2.jpg
    89.8 KB · Views: 495
  • Chubs 1.jpg
    Chubs 1.jpg
    47.7 KB · Views: 490
...

With the Portal Deletes installed, all is well, except for one minor issue...the C-Hubs look like they're missing a piece. It's not critical, but it seems there's a provision engineered into the C-Hubs for some kind of a bearing retainer end cap, that is secured by 2 screws. These were not included with the kit, so I'm not really sure if it was an oops on SSDs part, or they were omitted from the kit. The hex seems to hold the bearings in place anyway, but my OCD just won't be satisfied with it this way. Has anyone else had this issue or should I reach out to SSD to confirm the part was omitted from the kit?

Those holes are so you can mount these:

PARTS FOR TRX-4Brass Knuckle Weights for TRX4 Portal Delete

BRASS KNUCKLE WEIGHTS FOR TRX4 PORTAL DELETE

CNC machined solid brass

Colored black

Easy to install over 12mm hex

Fit inside 1.9 beadlock wheels

Fit SSD TRX4 portal delete aluminum knuckles

trx4%20knuckle%20weight%20main.jpg

trx4%20knuckle%20weight%202.jpg

trx4%20knuckle%20weight%203.jpg
 
Looks really good, and it’s cool to see how much the wheels were sucked in after the portal delete. Are those the Gearhead Krushers?

Can’t wait to see it painted!
 
Last edited:
Looks really good, and it’s cool to see how much the wheels were sucked in after the portal delete. Are those the Gearhead Krushers?

Can’t wait to see it painted!

I like the wheel tuck also.

Wheels are Gear Head's but they are the 1.9 12-Pack EZ-loc wheels.
GEA1014-2.jpg


I was planning to start the painting this week but it has been way too humid, which could have disastrous results. Maybe the weekend will be better.
 
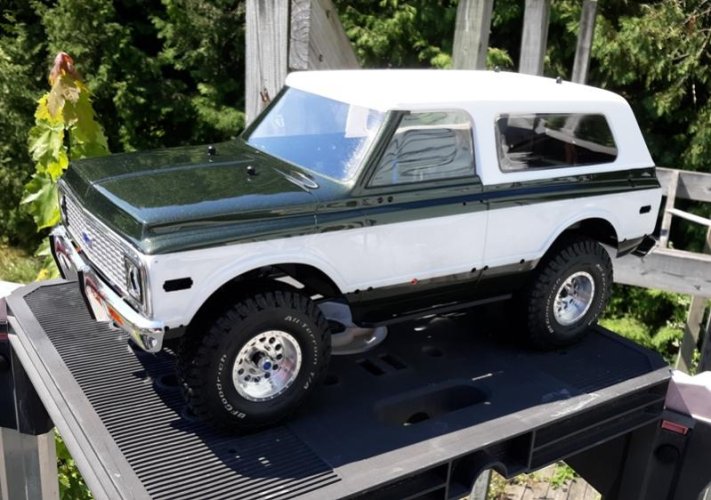
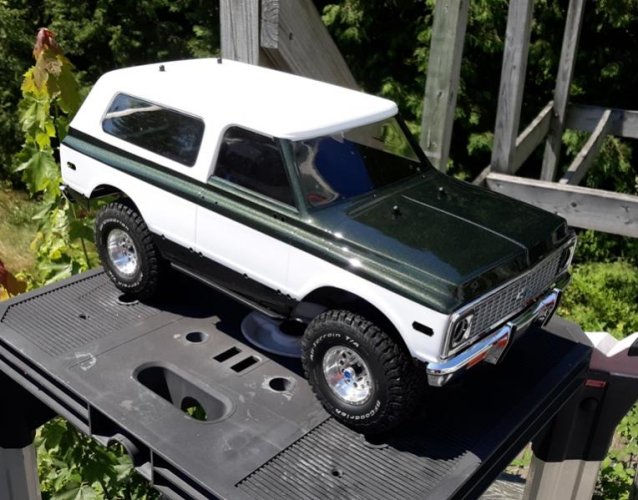
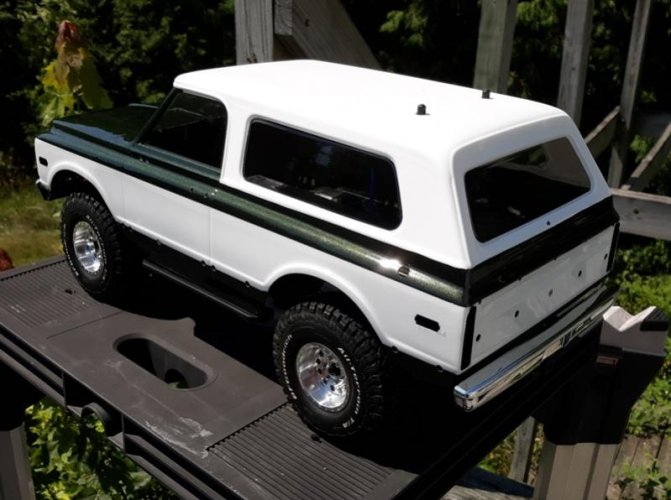
Paint is done...woo hoo! That was a beast to get painted, with multiple layers and maskings. I did manage to "texture" the roof on the outside and color matched the inside. Also detailed the grill with aluminum center, black trim head light bezels and clear blue acrylic paint in the emblem(much better than a sticker). On to the detailing and interior next. "thumbsup"
 

Attachments

  • TRX Blazer Painted 1.jpg
    TRX Blazer Painted 1.jpg
    80.2 KB · Views: 606
  • TRX Blazer Painted 2.jpg
    TRX Blazer Painted 2.jpg
    80 KB · Views: 390
  • TRX Blazer Painted 3.jpg
    TRX Blazer Painted 3.jpg
    63.5 KB · Views: 388
Sweet baby jeeberz, that's just lovely to look at!

My fave TRX-4 body, in a dynamite paint scheme..."thumbsup"
 
Stunning! That is gorgeous! It's gonna be hard to tell it's NOT a scale rig once the trim pieces are put on!

Excellent job so far!"thumbsup"
 
Wow this looks stunning!! Paint came out excellent! Once all the details are settled in, you can shoot some realistic shots of it and fool some people for sure.
 
Thanks everyone.

The color seems darker in these pics. Once all the details are added I'll try and see if I can get better pics showing the true color. It's a much richer green than these.
I'm also trying to figure out how to substitute black for the wood grain trim...just not my thing.
Gotta build a dash and some door panels also, to go with the interior.
So much to do...
 
I'm also trying to figure out how to substitute black for the wood grain trim...just not my thing.

Not sure if that body comes with the trim pieces also, but perhaps you can build them with some styrene and use a wood grain print to glue on it and clear over it for protection? I only bring this up because made my very first styrene piece recently, a rear wood floor for a 80 series Land Cruiser.
 
Not sure if that body comes with the trim pieces also, but perhaps you can build them with some styrene and use a wood grain print to glue on it and clear over it for protection? I only bring this up because made my very first styrene piece recently, a rear wood floor for a 80 series Land Cruiser.

I'm looking to change the wood grain to the black and use the trim pieces that came with the body. I can paint them or use some pin stripe. Just trying to decide which way to go.
 
Back
Top