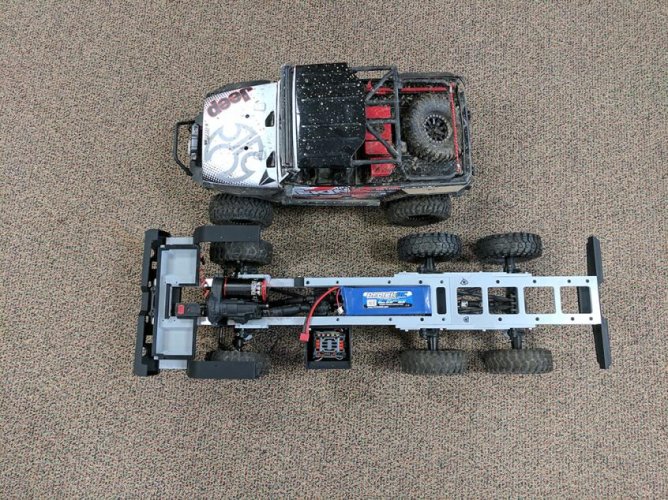
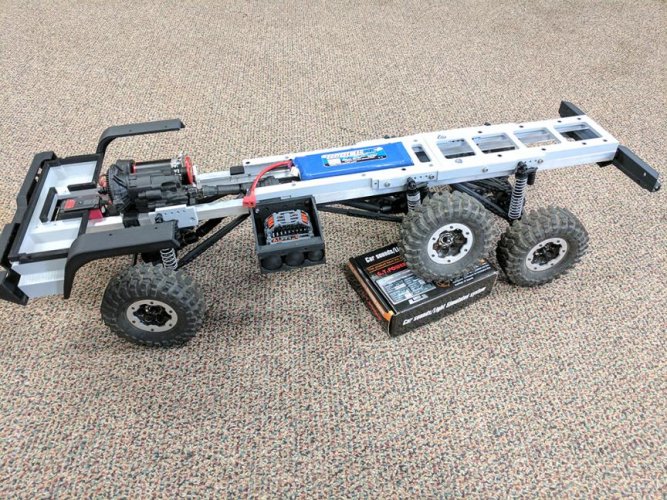
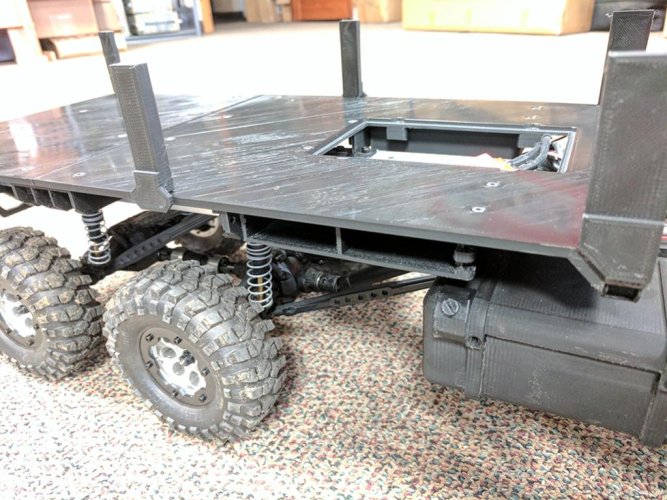
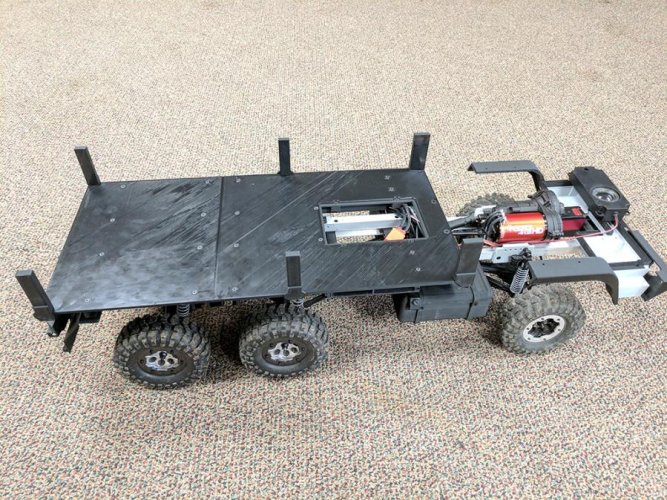
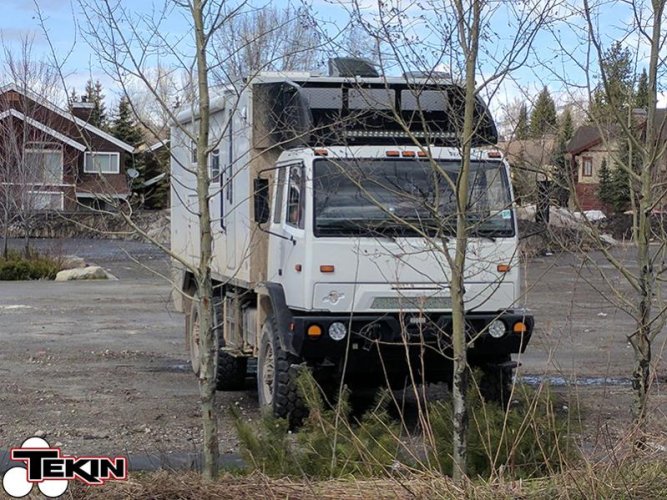
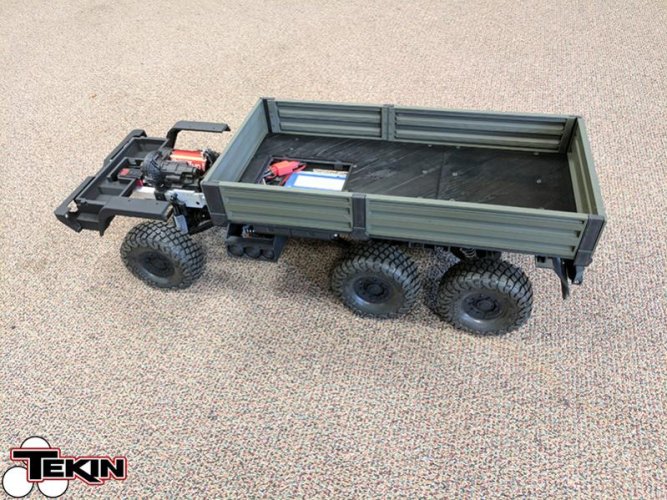
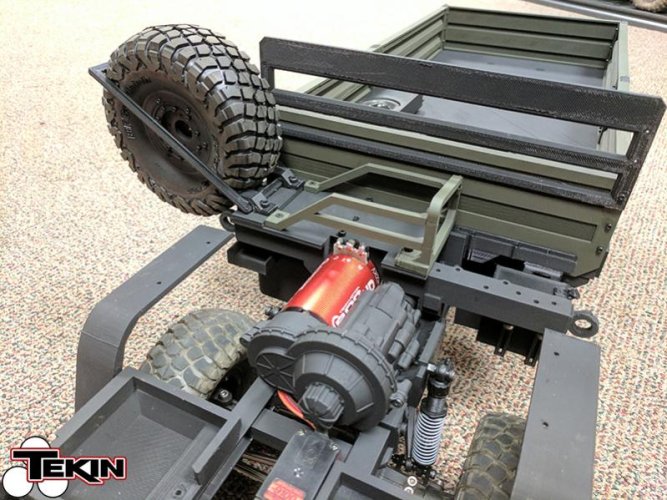
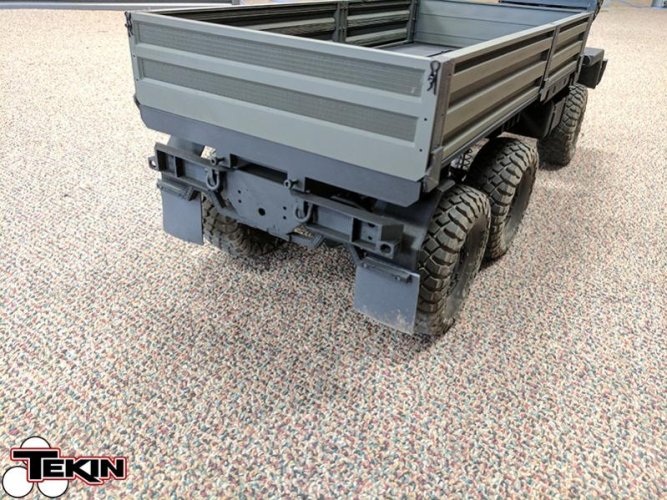
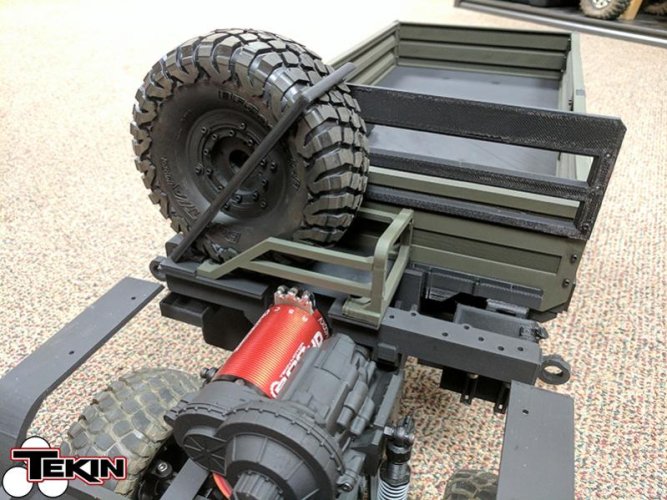
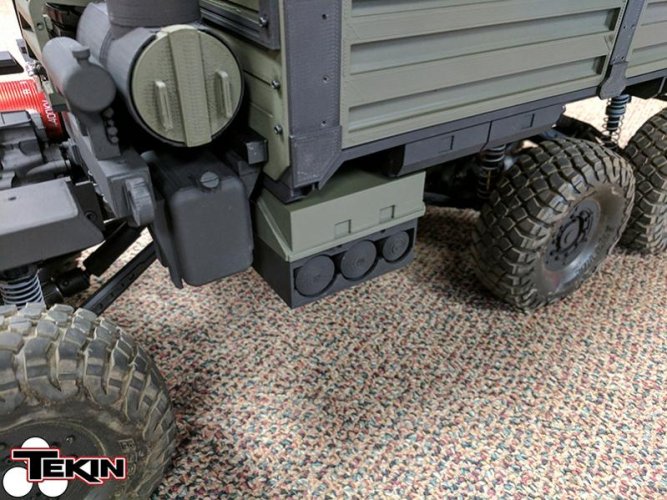
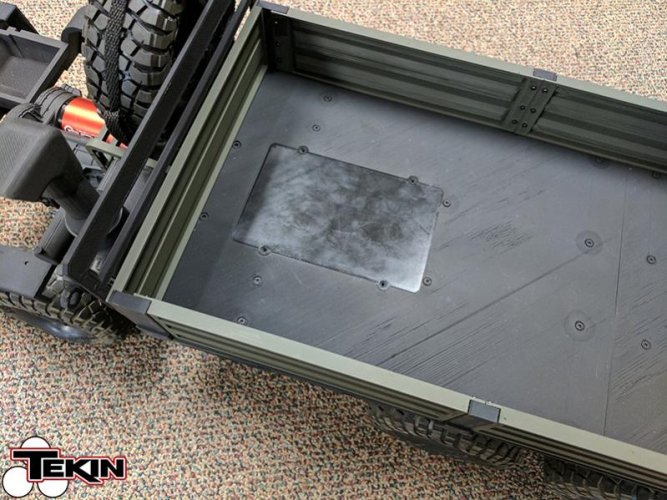
Truck is actually a M1083, we decided to add a cargo bed with sides.
This build has been on and off for the past couple of weeks, this week being the most progress so far. It's all spare parts other than what we print. I'll start from the beginning and will update this post with build specs as we progress!
Electronics:
Tekin RX4
Tekin ROC412 HD
Spektrum SR2000
G.T.Power sound/light system (yay diesel noises)
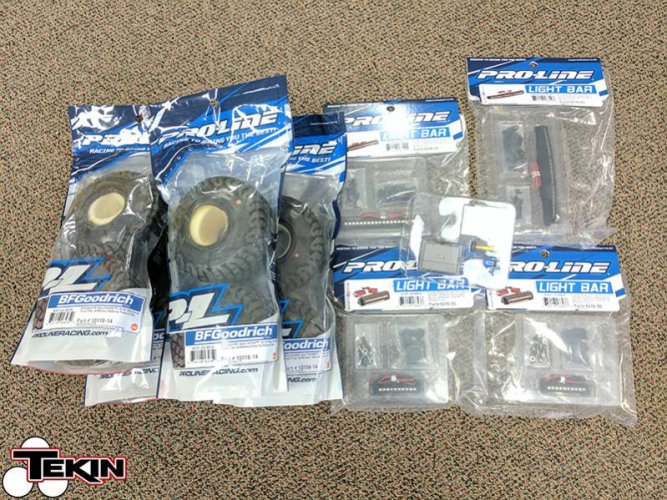
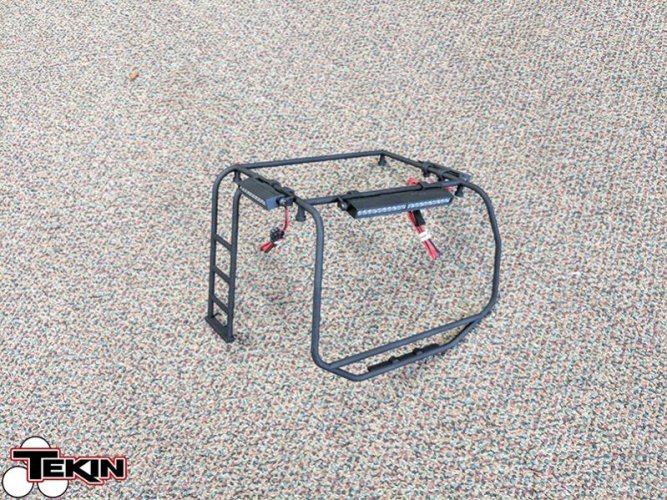
Lots of LEDs
2S LiPo
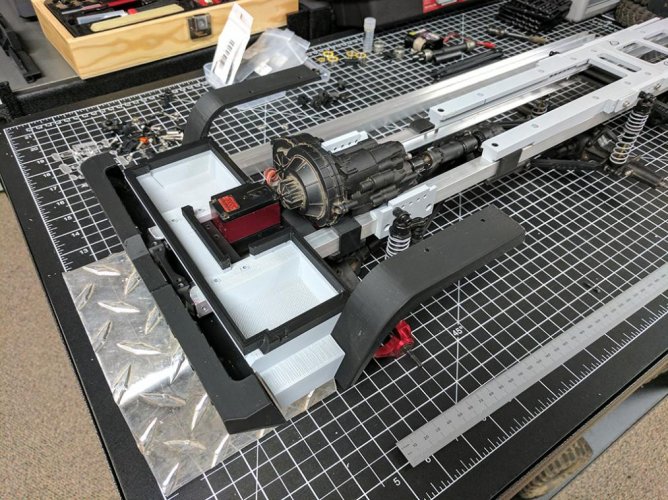
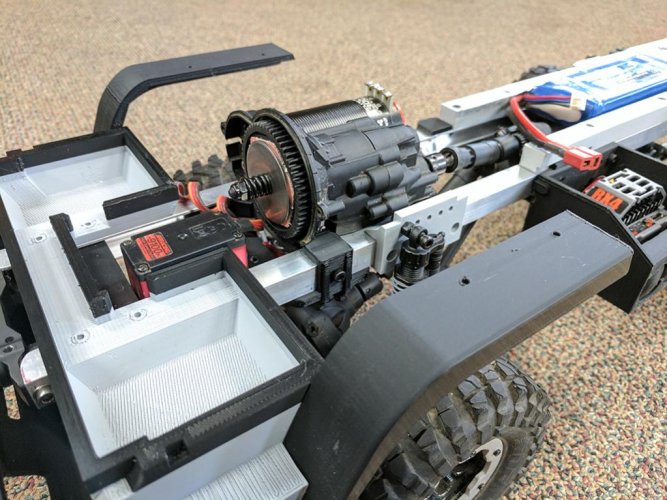
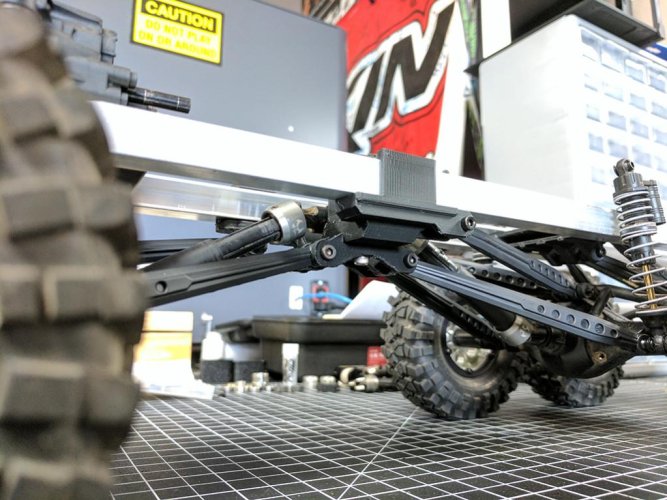
Chassis:
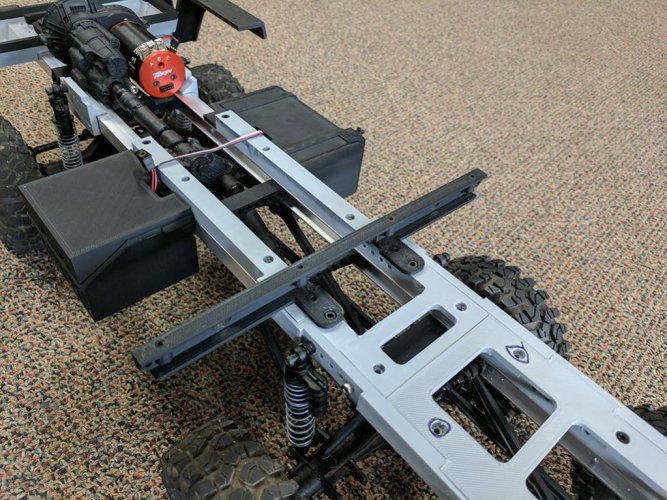
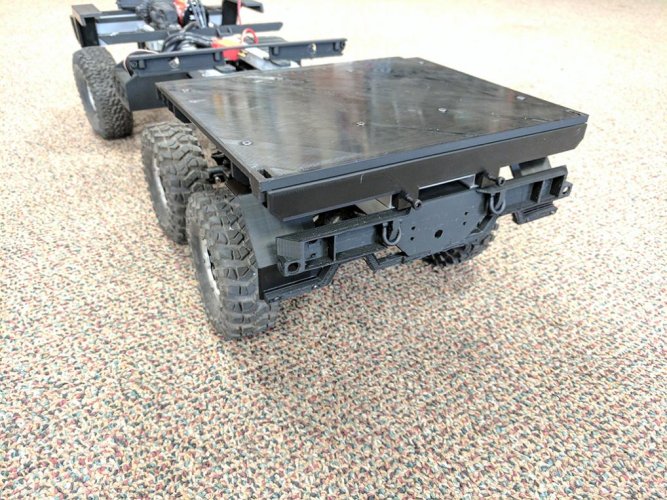
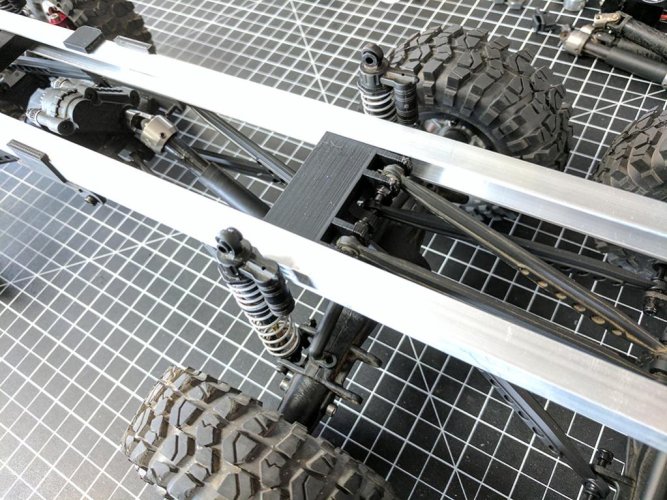
3/8" aluminum c-channel (plywood trim)
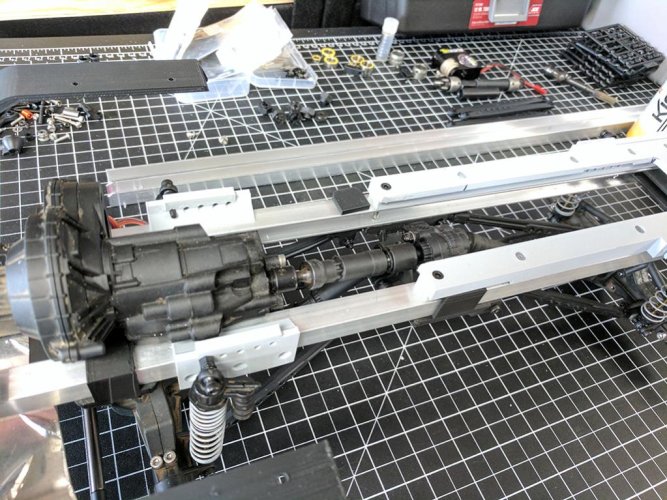
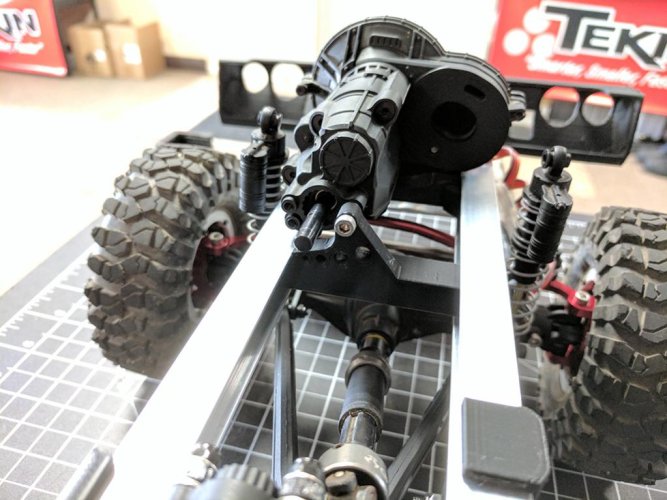
Axial SCX10-II split transmission
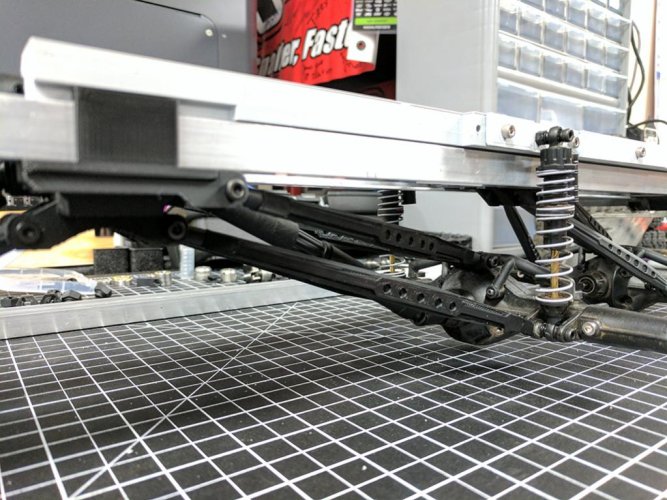
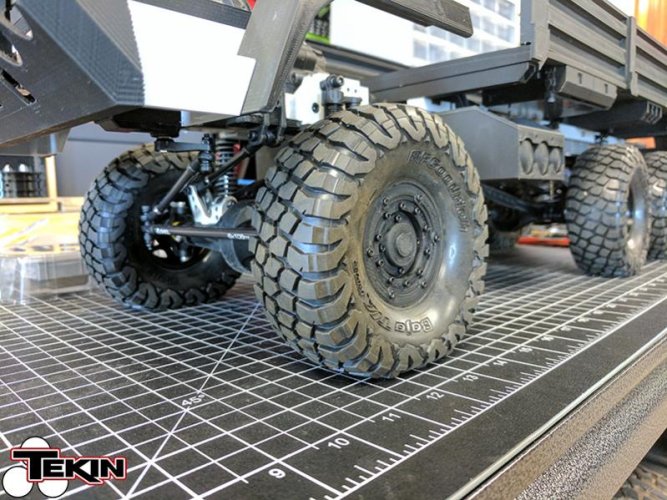
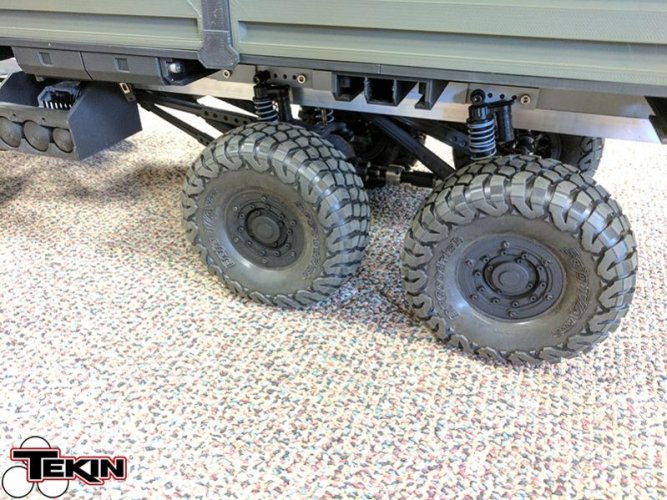
Axial SCX10 axles
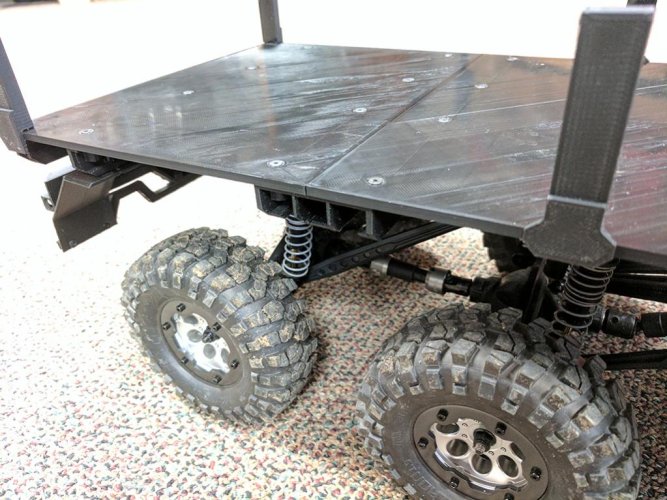
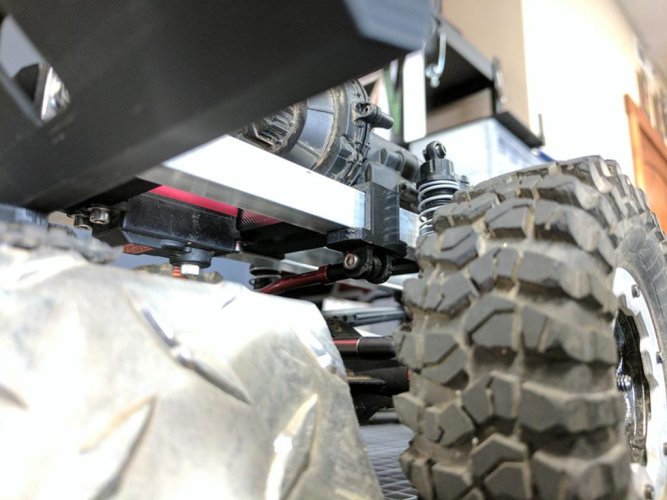
Axial SCX10 shocks, shortened about 10mm internally
Vanquish SCX10 bumper mount
Vanquish 3-link mount
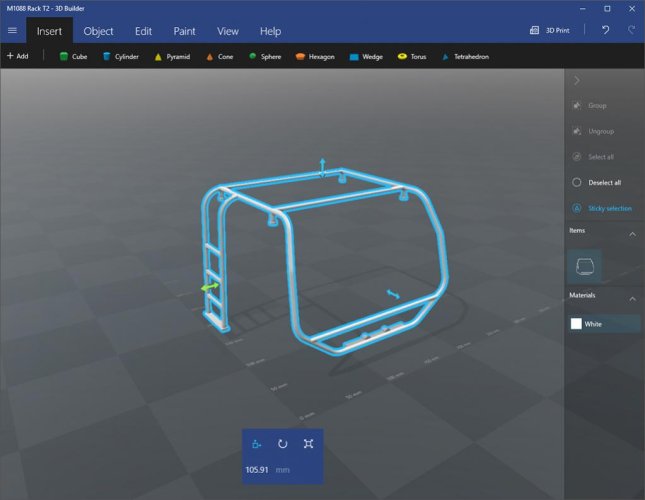
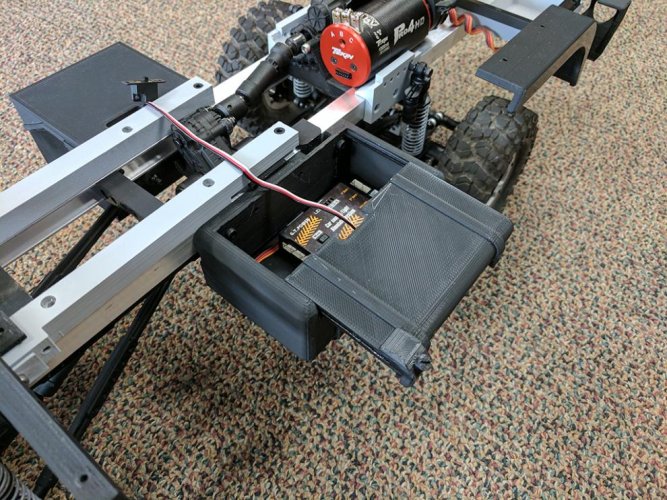
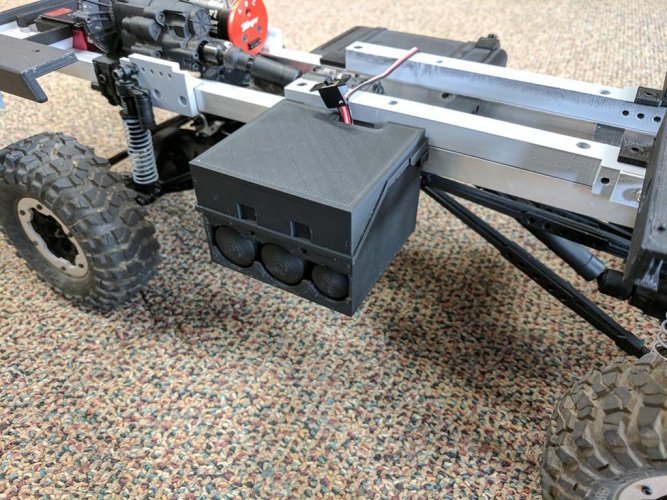
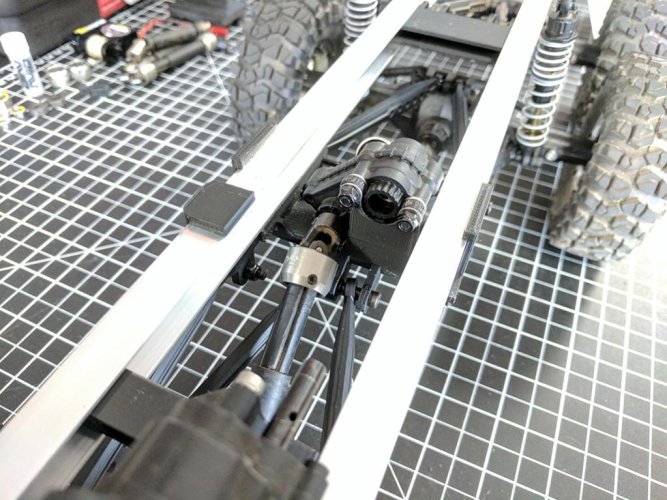
All the mounts are 3D printed in house, some going through a few revisions before we ended up happy. As of now, we have the transmission mounts, servo mounts, center transfer case/link mounts, front axle track bar mount and rear axle link mounts complete.
Body:
The M1088 cab and flatbed are in the final phases of design before we go to print. I don't have any pics of it yet, but it's going to be one bad adventure/recovery rig.
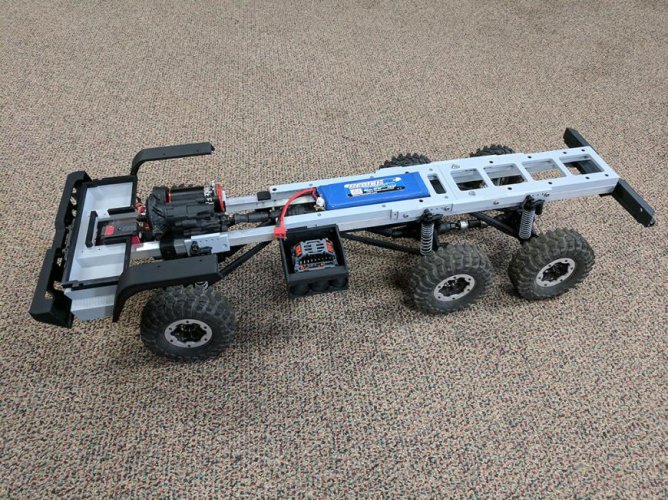
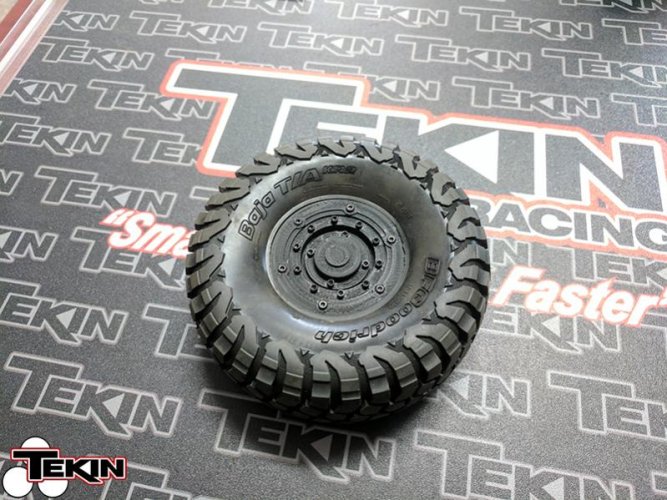
Wheels & Tires
PL Baja KR2s
Axial 8-hole beadlocks with custom lock rings/wheel covers
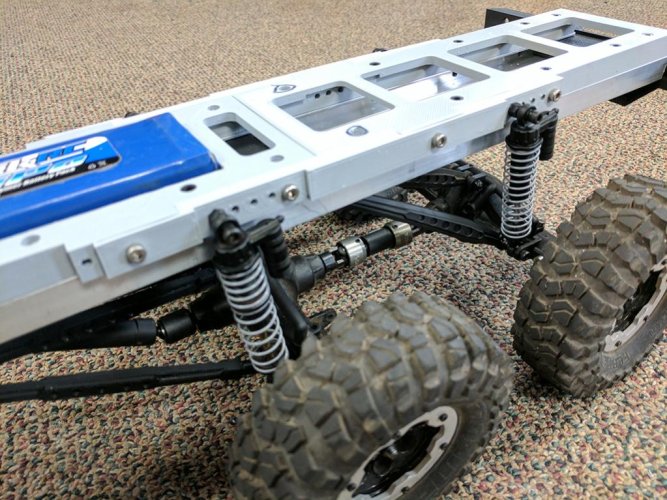
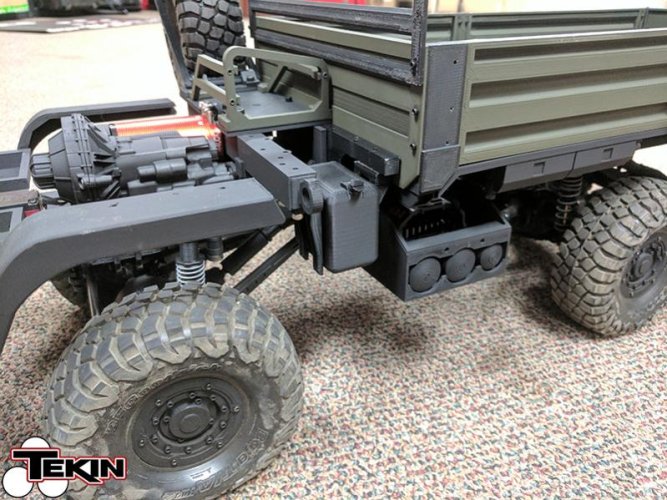
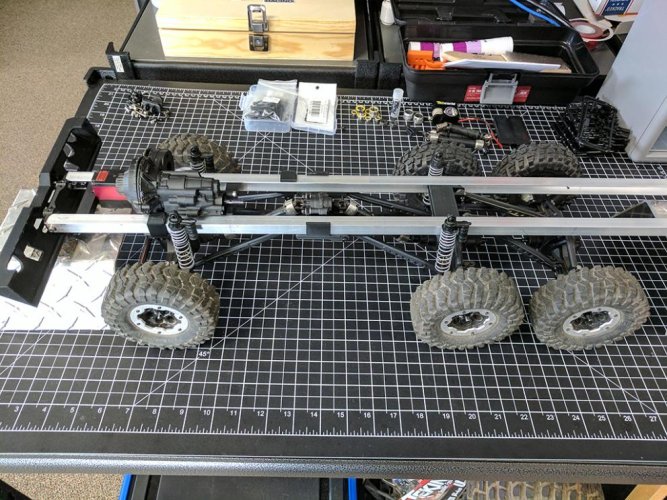
The chassis setup is easy to work with and all the parts either key into it or wrap around the outside like a clamp. This makes mock-up super easy and we can move everything around freely until we finalize positions and drill holes, but that won't happen until the cab and bed pieces are printed. Then I can get the upper shock mounts done up and finally have it sitting on its own.
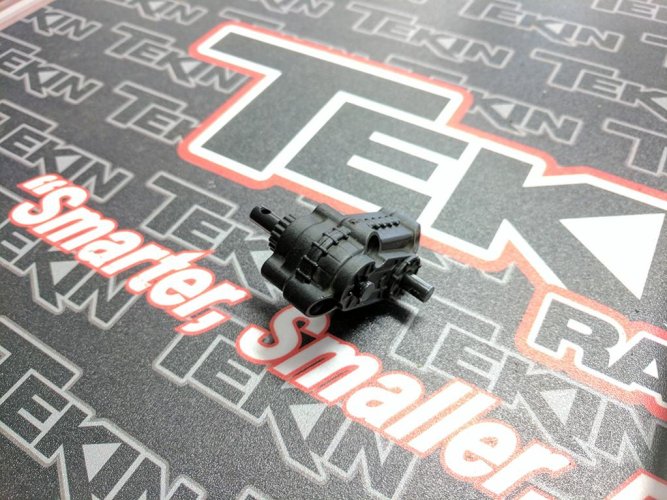
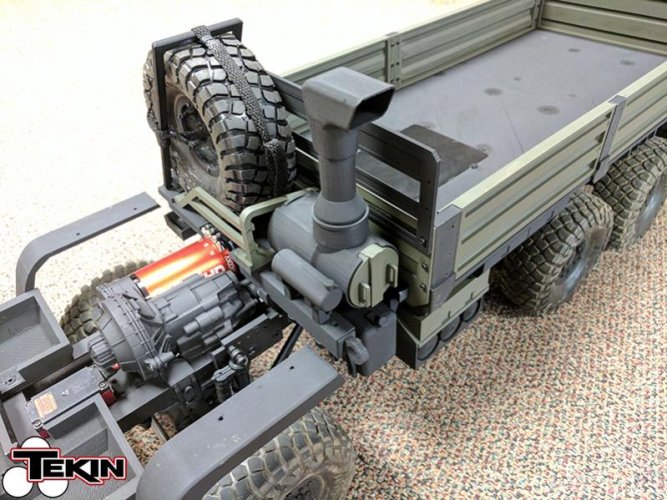
Couple things to finish up, first being the transfer case. It needs an output shaft, but I think I have a solution that will work pretty well involving a transmission lower shaft and some cutting. Once that is done, I can cut the drive shaft to connect them. After that the drive train will be finished and I can move onto the flat bed mounts, rear bumper and of course get the cab finished up. Lots more to do, but it's coming along!
This build has been on and off for the past couple of weeks, this week being the most progress so far. It's all spare parts other than what we print. I'll start from the beginning and will update this post with build specs as we progress!
Electronics:
Tekin RX4
Tekin ROC412 HD
Spektrum SR2000
G.T.Power sound/light system (yay diesel noises)
Lots of LEDs
2S LiPo
Chassis:
3/8" aluminum c-channel (plywood trim)
Axial SCX10-II split transmission
Axial SCX10 axles
Axial SCX10 shocks, shortened about 10mm internally
Vanquish SCX10 bumper mount
Vanquish 3-link mount
All the mounts are 3D printed in house, some going through a few revisions before we ended up happy. As of now, we have the transmission mounts, servo mounts, center transfer case/link mounts, front axle track bar mount and rear axle link mounts complete.
Body:
The M1088 cab and flatbed are in the final phases of design before we go to print. I don't have any pics of it yet, but it's going to be one bad adventure/recovery rig.
Wheels & Tires
PL Baja KR2s
Axial 8-hole beadlocks with custom lock rings/wheel covers
The chassis setup is easy to work with and all the parts either key into it or wrap around the outside like a clamp. This makes mock-up super easy and we can move everything around freely until we finalize positions and drill holes, but that won't happen until the cab and bed pieces are printed. Then I can get the upper shock mounts done up and finally have it sitting on its own.
Couple things to finish up, first being the transfer case. It needs an output shaft, but I think I have a solution that will work pretty well involving a transmission lower shaft and some cutting. Once that is done, I can cut the drive shaft to connect them. After that the drive train will be finished and I can move onto the flat bed mounts, rear bumper and of course get the cab finished up. Lots more to do, but it's coming along!
Attachments
Last edited: