fr8cture
I wanna be Dave
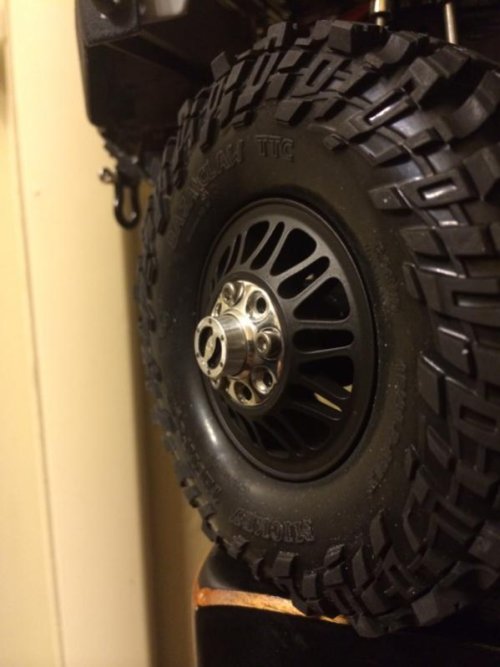
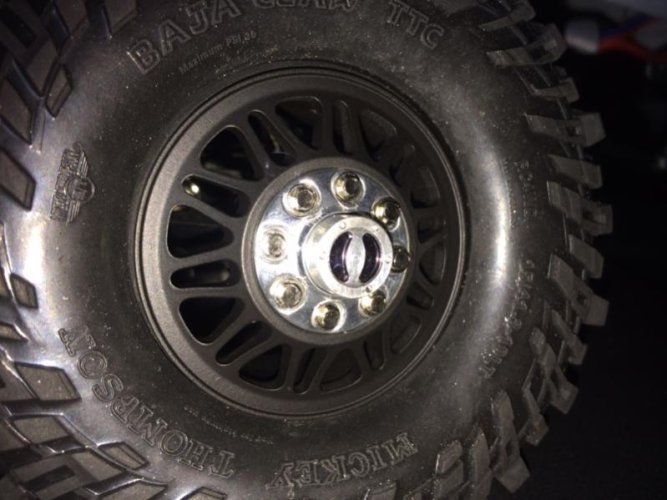
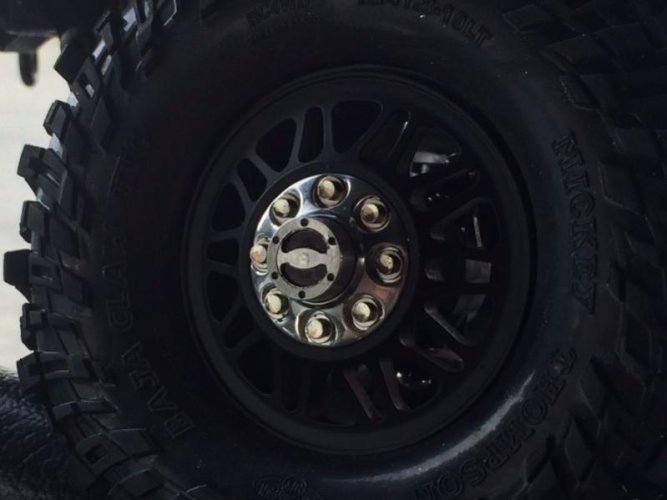
Thanks! I have to get the right size scale bolts for them. I thought I had them already but I can't find them if I do.
Locked up rc scale hardware is sweet! "thumbsup"
Thanks! I have to get the right size scale bolts for them. I thought I had them already but I can't find them if I do.
Locked up rc scale hardware is sweet! "thumbsup"


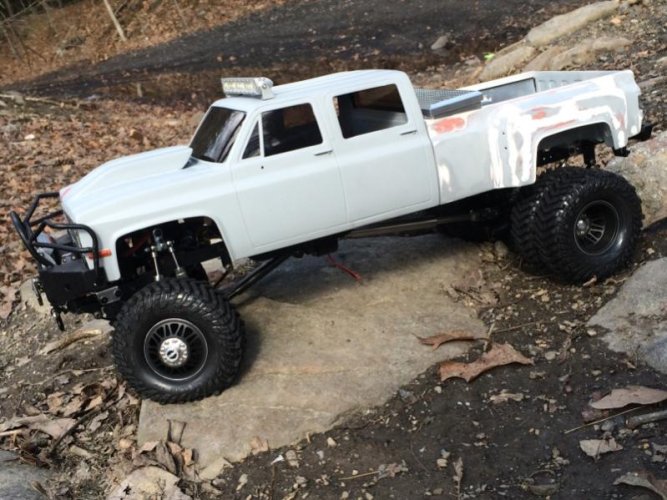
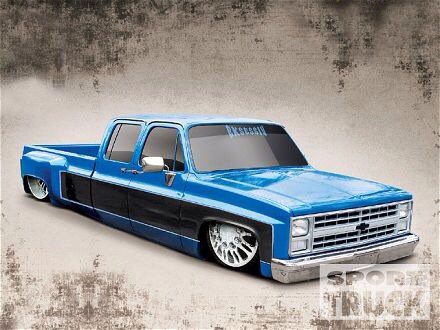
The wheels look great. I was planning to do the same thing to a set that I have just to be different. You beat me to the punch! At least I get to see how they look though. I had a set of beadlock rings powdercoated a while back and they were so heavily coated, they looked like they were dipped in tar. Total loss. The coating you had done is definitely the way to go to preserve the detail in the machining. "thumbsup"

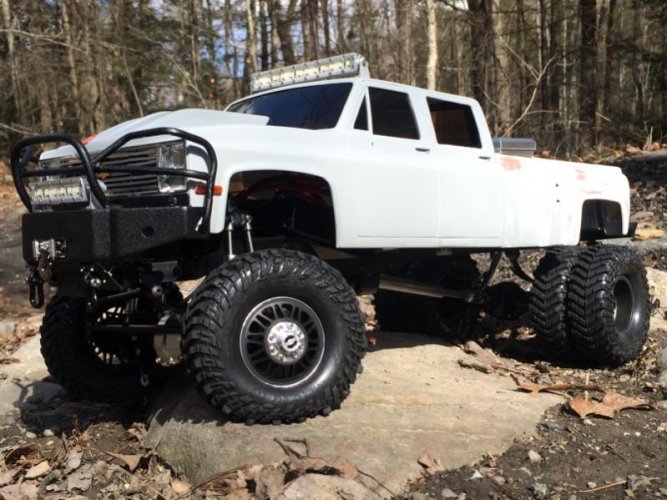
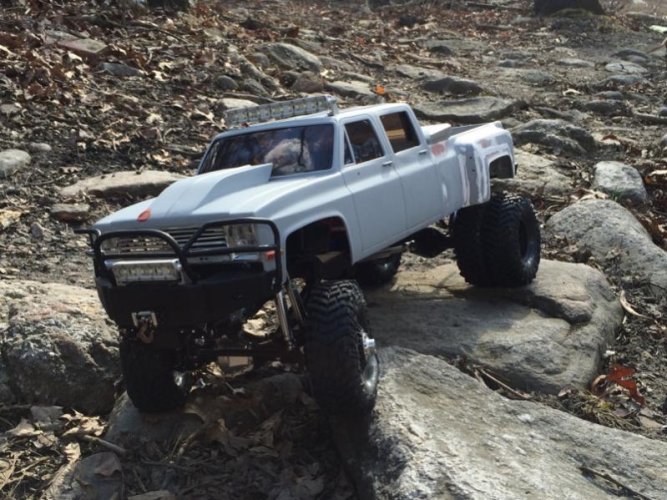
What a great job on the truck!!!
Sent from my HTC6435LVW using Tapatalk
You need to get some paint on this thing! "thumbsup"

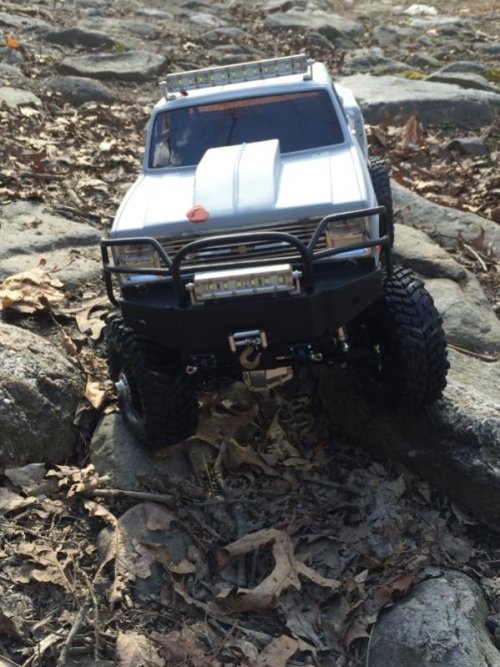
That was actually pretty easy! All I did was flip the pieces that I cut out around and glued them back in. I did have to put pieces on the top and bottom to close them in too. I don't want the light leaking out. When It gets painted, that part will be done too, then I'll line the buckets with chrome vinyl.Light buckets look great. Reminds me of the ones on the yota bodys.
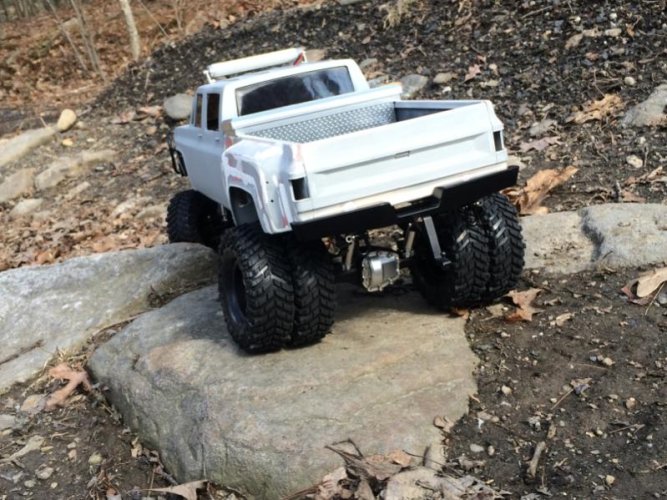
Nice ASS!8)
Really like this build"thumbsup", any plans on what color your going to use.