-
Welcome to RCCrawler Forums.
It looks like you're enjoying RCCrawler's Forums but haven't created an account yet. Why not take a minute to register for your own free account now? As a member you get free access to all of our forums and posts plus the ability to post your own messages, communicate directly with other members, and much more. Register now!
Already a member? Login at the top of this page to stop seeing this message.
You are using an out of date browser. It may not display this or other websites correctly.
You should upgrade or use an alternative browser.
You should upgrade or use an alternative browser.
Buxom Melons: Class 2 VW Beetle
- Thread starter johnnyh66
- Start date
-
- Tags
- beetle bug proline vw bug
johnnyh66
Scale Detail Engineering
Thanks.
I put 5.5 hrs in on it tonight... I'm feeling much better about the TTC.
I cut all new front links tonight, suspension and steering. It's all working correct now. I have lots of useable throw. I'm going to dial it back some with the Futuba epa.
The new radio is all set up. First time the 2 speed trans servo has been hooked up. The winch is working.
I made threaded rod sway bars, clocked the front axles and made an electronics mount... it's late, I can't think straight.
Tomorrow will be rear upper links/clocked axle. Body work and waterproofing. I have a hobby box and everything fits in it... except the Traxxas esc.
I'm going to try liquid gasket and a few ballons on the hobby box and a ballon over the esc for good mesure.
I'll get new pics in the morning. They gave us Friday off for Memorial Day! 4 day weekend!!!!
or should I say
3 late nights wrenching and 1 early morning comp.
Last edited:
hotwheels000
I wanna be Dave
Very Nice Dave,Cant believe I didnt see this before....VW FTWSliders still have a little work, but they're almost there.

Rear bumper/exhaust is basically done, just need to paint it.


johnnyh66
Scale Detail Engineering
Everything works!
The TTC got rained out but inbetween showers I did get some run time in the woods. I'm diggin the bug, it surprised me a few times. It handles high speed great! With the over/under gears it's a whole new truck. Most of the weight is up front now too, it did excellent in the woods climbing over reall big logs amd mud. I think I'm sticking with Jason's mount for now. I like the ground clearence.
Since the TTC was cancled, I didn't take the full packed cargo rack in with me, just the led electronics are up there and the shovel is not removable.
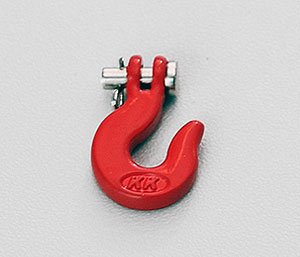
I lost my winch hook. It's been creeping like crazy. Everytime I use it I have to readjust the trim. It may have over tightend and snapped or got snagged om something. Next time I'll attach the next one to a bungi cord...
I stripped about 1/5 of the paint off. It's goingb to be a long process. I'm going to justg start on the next body.


The TTC got rained out but inbetween showers I did get some run time in the woods. I'm diggin the bug, it surprised me a few times. It handles high speed great! With the over/under gears it's a whole new truck. Most of the weight is up front now too, it did excellent in the woods climbing over reall big logs amd mud. I think I'm sticking with Jason's mount for now. I like the ground clearence.
Since the TTC was cancled, I didn't take the full packed cargo rack in with me, just the led electronics are up there and the shovel is not removable.
I lost my winch hook. It's been creeping like crazy. Everytime I use it I have to readjust the trim. It may have over tightend and snapped or got snagged om something. Next time I'll attach the next one to a bungi cord...
I stripped about 1/5 of the paint off. It's goingb to be a long process. I'm going to justg start on the next body.
Last edited:
johnnyh66
Scale Detail Engineering
Electronics tray

Water proofed servo and electronics.
Servo has di-electric grease and rubber tape.
The rest have rubber tape and multiple balloons.
ESC is on it's own.
I like the solid rod sway bars.


Water proofed servo and electronics.
Servo has di-electric grease and rubber tape.
The rest have rubber tape and multiple balloons.
ESC is on it's own.
I like the solid rod sway bars.
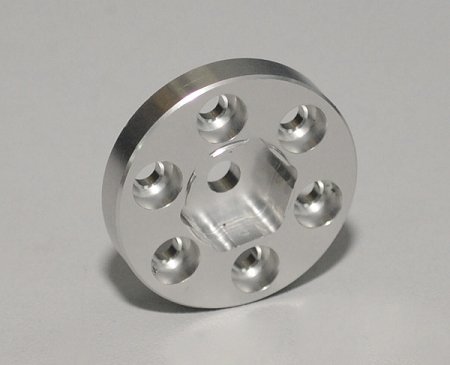
johnnyh66
Scale Detail Engineering

johnnyh66
Scale Detail Engineering
johnnyh66
Scale Detail Engineering
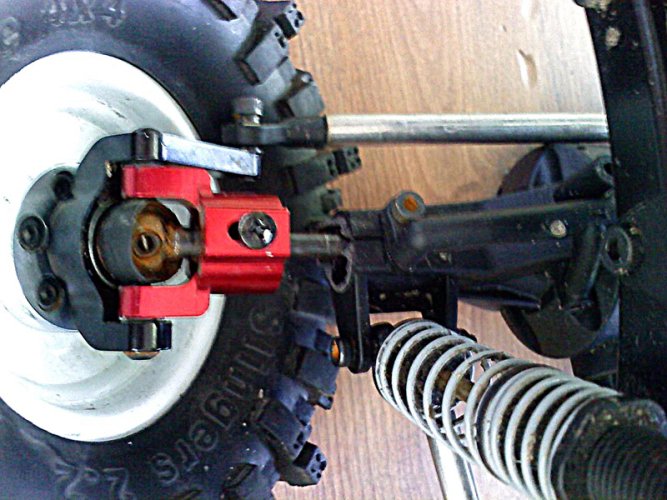
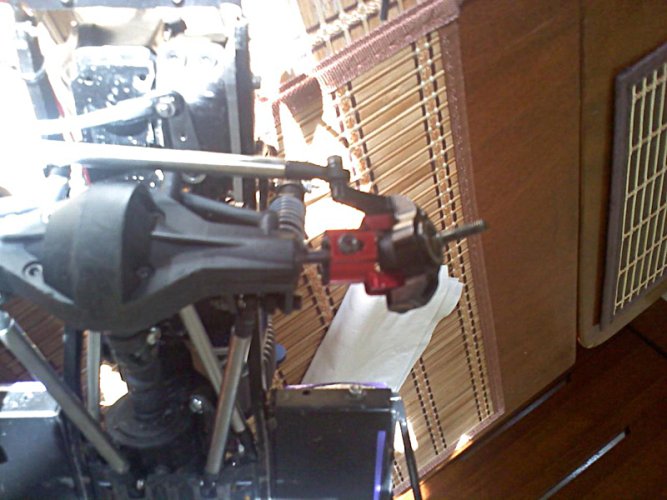
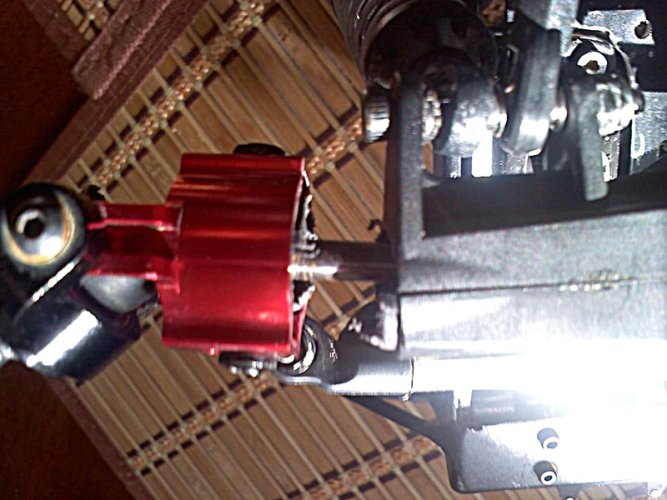
Crawlhog is the MAN!
He hooked me up with a new axle housing and the fastest shipping ever... for free!
A thousand thanks my good sir "thumbsup"
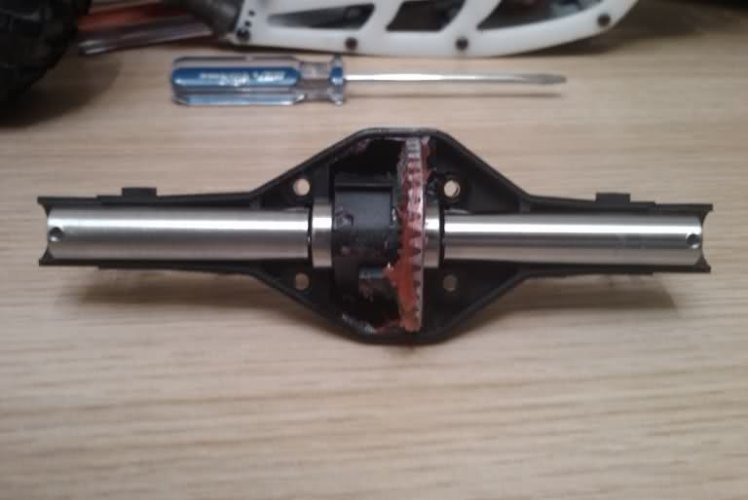
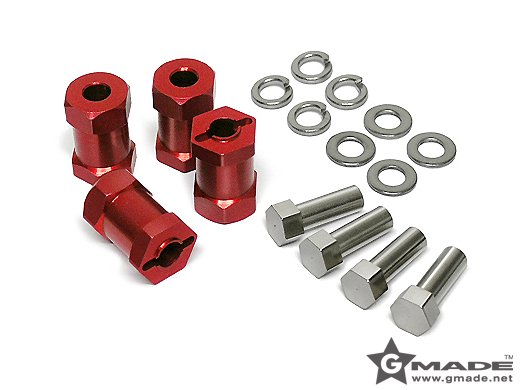
old and new

I think I damaged the larger bearing when the axle snapped.
It's sort of sticking. But it'll run for the time being.
Once again, I just want to try and make it through next weekends (the 11th) event.
I've started cutting extra Maxx Shafts and Yolks, Drilling Revo Rod Ends and I'm going to cut a few more links.
I also put in an order with Heyok... My name is John, I'm a junkie and I need help.
He hooked me up with a new axle housing and the fastest shipping ever... for free!
A thousand thanks my good sir "thumbsup"
old and new
I think I damaged the larger bearing when the axle snapped.
It's sort of sticking. But it'll run for the time being.
Once again, I just want to try and make it through next weekends (the 11th) event.
I've started cutting extra Maxx Shafts and Yolks, Drilling Revo Rod Ends and I'm going to cut a few more links.
I also put in an order with Heyok... My name is John, I'm a junkie and I need help.
Mud Puppy
Rock Crawler
Loving the bug. "thumbsup"
Personally I'd ditch the tire on the nose though. It's so large that the rig would be undrivable if it was 1:1, so IMHO it takes away from the scale appearance.
Personally I'd ditch the tire on the nose though. It's so large that the rig would be undrivable if it was 1:1, so IMHO it takes away from the scale appearance.
johnnyh66
Scale Detail Engineering
:lmao:
That's what my daughter said! She's currently learning to drive and has developed the annoying habit of pointing out every "error" I make... but she also says "Race him Dad race him!"
I put it on there for the scale points for last weeks TTC.
That's what my daughter said! She's currently learning to drive and has developed the annoying habit of pointing out every "error" I make... but she also says "Race him Dad race him!"
I put it on there for the scale points for last weeks TTC.
@tw!ll
RCC Addict
Damn John! It sure is good you baby that thing:lmao:
johnnyh66
Scale Detail Engineering
Damn John! It sure is good you baby that thing:lmao:
I've actually considered building 2!
I may swap out the motor to a 35/45t... once the Wraith come's out!
Of course, then I'll have to contract you to redo everything at 1:8

johnnyh66
Scale Detail Engineering
johnnyh66
Scale Detail Engineering
I tied for 2nd and drove away "thumbsup"
The SCX10 is one bad bug! It performed better than I drove.

Mud Pit


Tank Trap


Hill Climb


Sled Pull

Rubicon

I had a blast today!

The SCX10 is one bad bug! It performed better than I drove.
Mud Pit
Tank Trap
Hill Climb
Sled Pull
Rubicon
I had a blast today!
Last edited:
Big Daddy
RCC Addict
Great job, great rig. Diggin the spare on the hood and the roof rack. Got some good action pics.
Anybody know what that Jeep body is? Modified Unlimited maybe?
Anybody know what that Jeep body is? Modified Unlimited maybe?
johnnyh66
Scale Detail Engineering
Testing out the Bulldog winch. It's stock but has Heyok's winch controler.
I'm guessing the rig weighs at least 8 lbs, maybe more: 2 x 4000mah 3s lipos, summit trans, vxl system, gunner beef tubes, steel lower & aluminum upper tube over 8/32 all thread, metal 4 link truss's, metal bumpers and sliders... She's a big girl, but I love her ;-)
So, I was worried that the weight would kill the winch... I decided it needed a little mechanicle advantage and bought 2 Rogue Elements snatch blocks and a R2J pull pal. They work wonders! So if the RC4WD Bulldog winch is rated at 4.4 lbs max I figgured I needed at least 2 snatch blocks/3 lengths of rope (13.2 lbs max) to lift my truck w/o overworking the winch.
In the video you can see that I tested it with just the winch and also winch with a little throtle. I'm guessing the first one is 55 degrees and the second is... 80 degrees?
Sorry for the bad angle and lighting. I wasn't actually planning on showing this video but I thought it might be useful for someone.
Video:
http://youtu.be/yEkuKS8aoMw
http://youtu.be/xgilqQNOn0k
Last edited:
johnnyh66
Scale Detail Engineering
Great job, great rig. Diggin the spare on the hood and the roof rack. Got some good action pics.
Anybody know what that Jeep body is? Modified Unlimited maybe?
Thanks!
I'm not sure what it started as but yes, lot's of styrene work has been done to it. It's neillarson's and I did hear him say it took a few months to do the body... it looks even better in person.
federally
Quarry Creeper
Really sweet build. I like the truck a lot, don't have anything of value to add on the mechanics but I do about the paint.
Always paint your darkest color first. If you are going to paint some of the body black definitely do that first. The orange sprayed over the black won't make it look any different, however the black sprayed over the back of the orange wil make it look different.
Then always back the paint with a backer (backing white, silver or black) before you do anythin like window tinting. Also to protect the paint and modify the way it looks. From the outside. You choose which backer you use based on what look you want your colors to have, however from the sounds of it you're using a specialty paint that requires a black backer to achieve the desired look. Do not put any color between your orange and the backer, the suggestions to use silver are wrong. If the can says use black backer to achieve the advertised look putting a different backer between will screw that up. Also make sure your paint drys completely between coats to prevent bleeding! Do not spray the backing if your paint is still wet or you'll really mess it up. Also make sure you back it with backing black and not just black paint. The backing paint is different, it covers well and goes on thick you'll notice the difference between it and the regular paint once you start spraying it.
So paint your black
paint your orange
back it all with black
tint your windows
then your finished.
Edit: You can use a blow dryer on the paint between coats to dry it faster. Really helps if you're impatient like me.
Last edited:
johnnyh66
Scale Detail Engineering
Hey federally, thanks for the tips!
I need to get back on the body but there always seems to be some mechanical issue that needs attention first.
After last weeks TTC, I got home and washed the rig.
I sprayed a little WD40 here and there and wiped it all off.
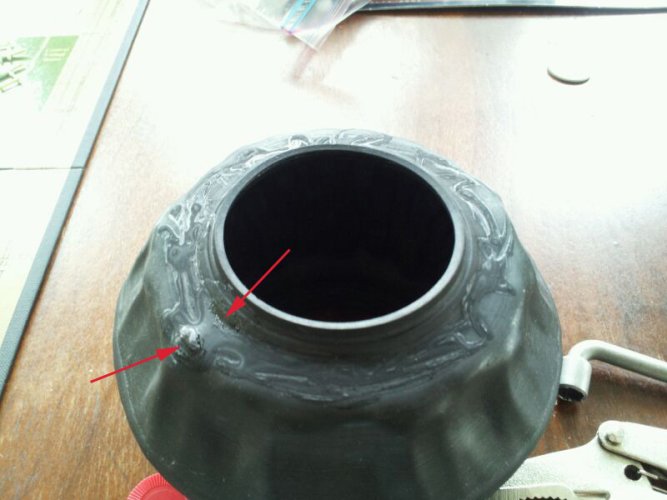
2 days latter I had a completely flat front tire and a slow leak in the other front tire.
After looking closely at the "holes" I think the weight of the rig pinched holes in the side walls and then the WD40, even though wiped off, softened up the sidewalls enough for the holes to really become a problem.
I've been trying to find a set of used Mud Slingers but that didn't work out in time for this weekends run so...
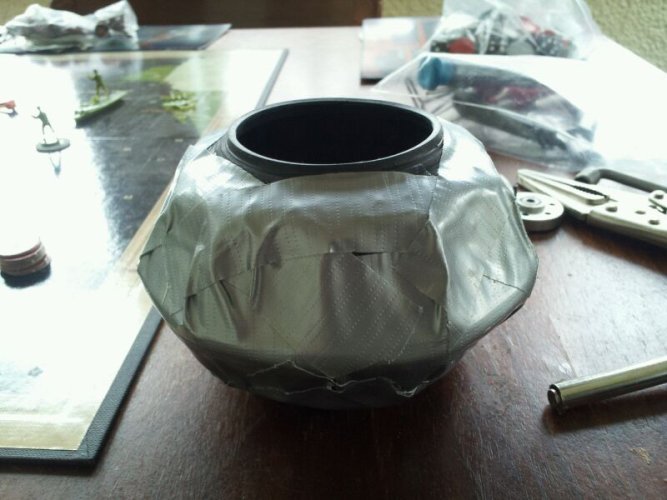
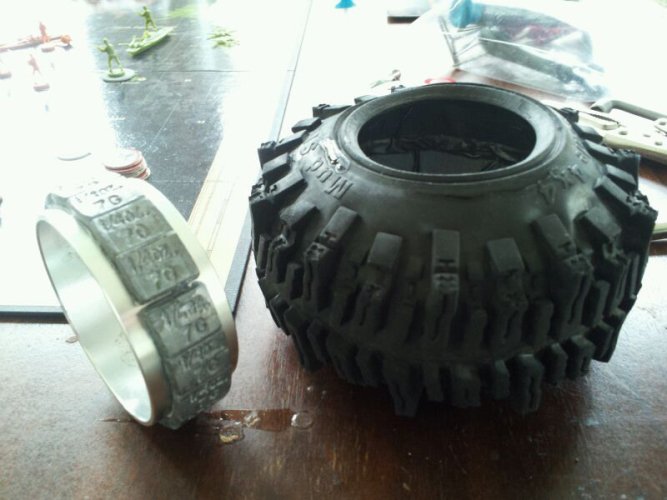
I flipped the tires inside out and used CA glue to patch the tires.
Then for good measure, I put a crisscross line of glue across the side walls.
Then I strapped the tires like normal (speed guys do this to keep the tires from ballooning). And I added duct tape to the sidewalls for some extra strength. The put glue on the outside too. They went back on the beadlocks with no problems.
They held up through this weekends abuse but now I have a slow leak in one of the rears... time to get the duct tape back out!
You can see the original holes. They got pinched pretty bad in the Rubicon last week but held up on the rocks this week"thumbsup"
I need to get back on the body but there always seems to be some mechanical issue that needs attention first.
After last weeks TTC, I got home and washed the rig.
I sprayed a little WD40 here and there and wiped it all off.
2 days latter I had a completely flat front tire and a slow leak in the other front tire.
After looking closely at the "holes" I think the weight of the rig pinched holes in the side walls and then the WD40, even though wiped off, softened up the sidewalls enough for the holes to really become a problem.
I've been trying to find a set of used Mud Slingers but that didn't work out in time for this weekends run so...
I flipped the tires inside out and used CA glue to patch the tires.
Then for good measure, I put a crisscross line of glue across the side walls.
Then I strapped the tires like normal (speed guys do this to keep the tires from ballooning). And I added duct tape to the sidewalls for some extra strength. The put glue on the outside too. They went back on the beadlocks with no problems.
They held up through this weekends abuse but now I have a slow leak in one of the rears... time to get the duct tape back out!
You can see the original holes. They got pinched pretty bad in the Rubicon last week but held up on the rocks this week"thumbsup"
Attachments
Similar threads
- Replies
- 0
- Views
- 837