• Welcome to RCCrawler Forums.

    It looks like you're enjoying RCCrawler's Forums but haven't created an account yet. Why not take a minute to register for your own free account now? As a member you get free access to all of our forums and posts plus the ability to post your own messages, communicate directly with other members, and much more. Register now!

    Already a member? Login at the top of this page to stop seeing this message.

before and after clocking pics

laxjj14

Quarry Creeper
Joined
Jun 26, 2007
Messages
332
Location
Concord nh
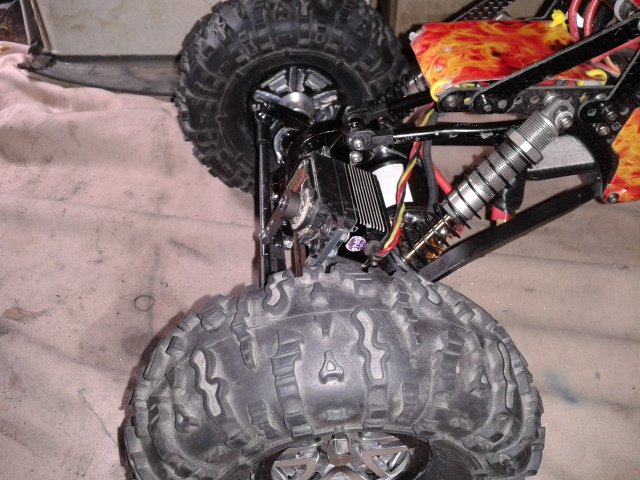
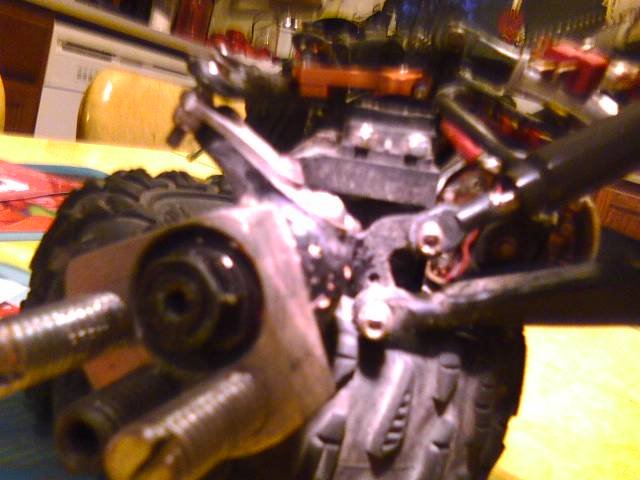
I am looking to see before and after pics of clocked axles just want to see the difference. i have a clocking jig from creeperbob and havent had much time to use it. i am wondering if i am gonna have to change the link lengths and anything else? Thanks for the help!
 
You will need to lengthen you upper inks, the lowers should be close enough to stay the same,

I am not sure how much the clocking jig moves the case, as far as how much you will need to lengthen your uppers.
 
Search with clocked tubes or clocking jig in the search catagory, that will pull you several different threads to get views from.;-)

"Bully Pro's" in the search box you'll get the beginning of all things "clocked"."thumbsup"
 
So when using the jig should the new holes be in front or behind the original holes. i know i shouldn't have this hard of a time using it but i dont want to mess up and have to redrill holes and possibly weaken the tubes. i should only be clocking the front tubes right? thanks for the help
 
You want to clock it, so that the steering (tierod) is up higher, not lower. Also, you don't need to clock the rear axle. "thumbsup"
 
Last edited:
Well. You should already know what the before looks like if yoju are running bullys already. Here is a pic of what it looks like after. I got my creeperbob jig in the mail today and went right to work. You will need to either lenghten your front upper links or if your chassis will allow you can move them to where they need to be to clock the gear case forward. Don't know about anyone else but I flipped the link/shock mounts ujpside down. This will make more sense when yours is apart in front of you. Good luck. If you have any ore questions just ask.
 

Attachments

  • 2012-07-27 18.55.09.jpg
    2012-07-27 18.55.09.jpg
    172.5 KB · Views: 367
Don't worry about drilling extra holes and weakening them. I think you gave me an Idea of were to loose more weight. They are very tough. After clocking them you will need to turn your lower link mounts on the axle upside down to get everything to work well.
 

Attachments

  • clocklinkmount.jpg
    clocklinkmount.jpg
    50.2 KB · Views: 366
Well I clocked the front tubes to find out I can't use the steering setup I had before. I was thinking I wasn't going to be able to but hoping I could at the same time. Now it time to figure out what I should do. If I don't flip over the link mounts I could still if I find a longer servo horn it might still work
 
Last edited:
I tried bending some steering links to work with the servo mount I had and couldn't get full throw then I tried making my own Servo mount and bending a steering link and I still wasn't working right. Looking for suggestions on what servo mounts people are using on their clocked bully's. I don't have many tools to make stuff other than files a drill a tube bender some cutting blades. My dremel burnt out so I'm gonna have to get a new one sometime. I'm looking for a decent tap and die set to try my hand at making my own links since I ruined the three that I tried to bend. Ive been looking around my local hardware for some rod to use but not finding any thing I like. Suggestions would be much appreciated! :mrgreen:
 
Back
Top