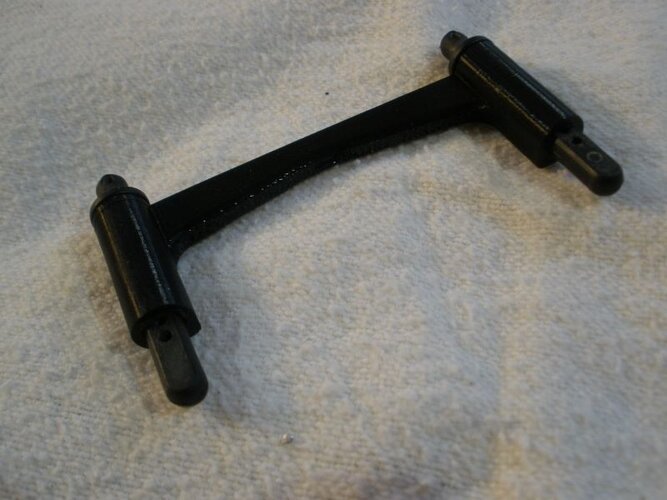
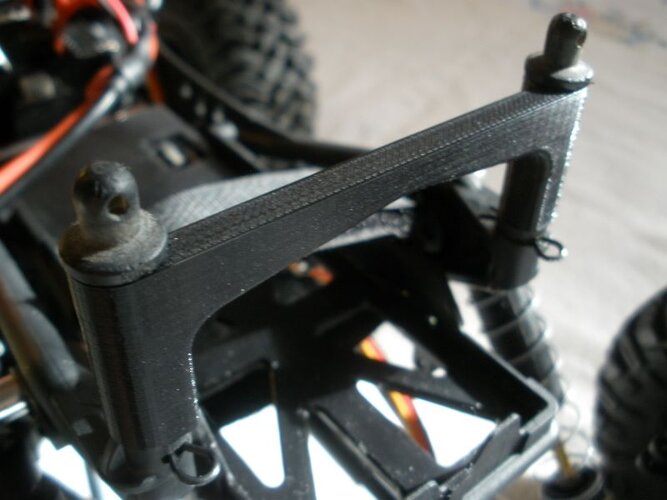
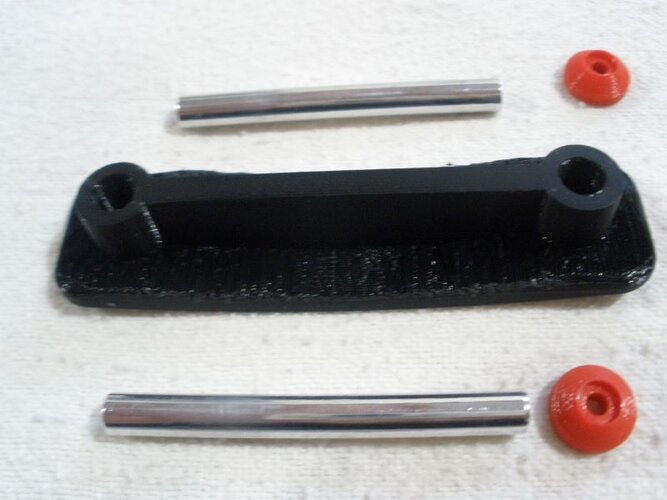
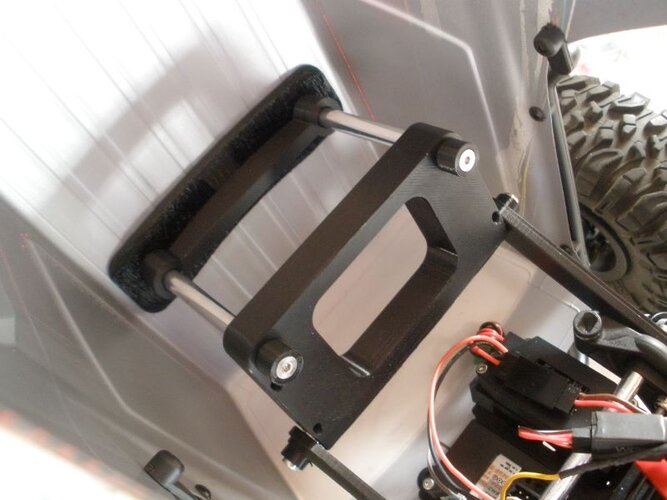
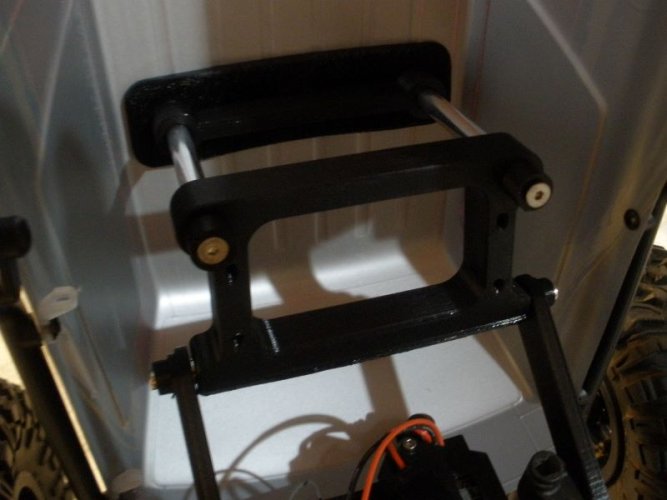
Machined a servo mounting bracket and 3D printed a spacer to go between the servo bracket and the axle.
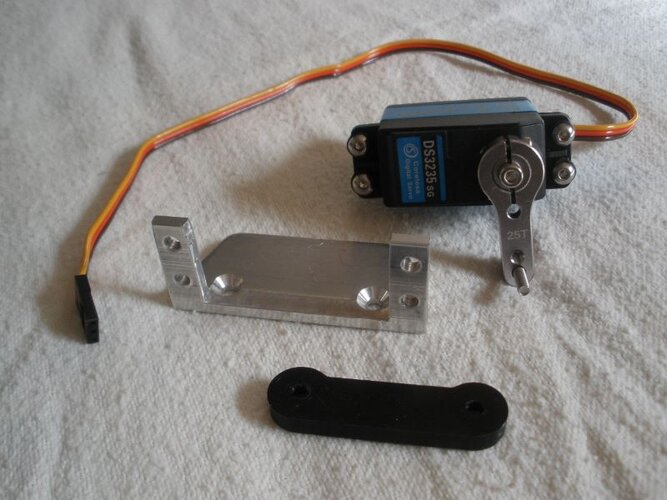
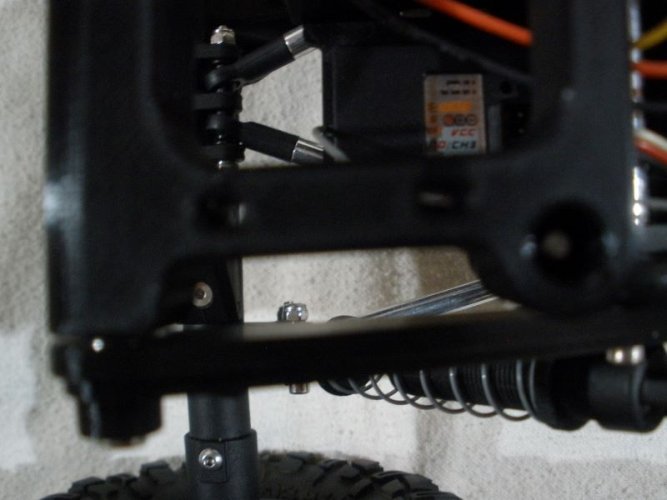
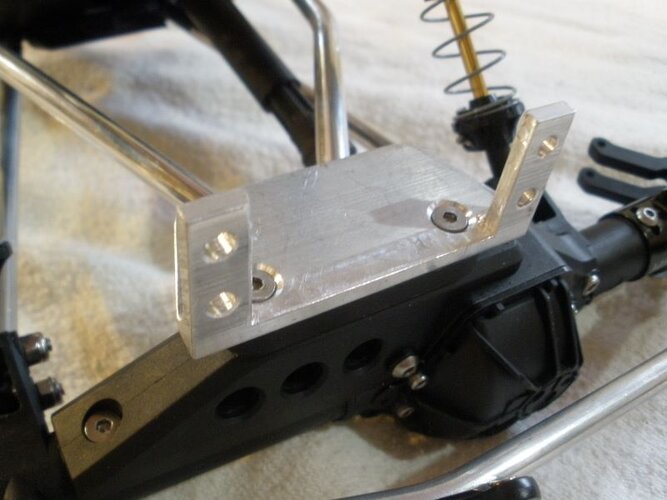
Not too difficult to machine the bracket. It is 1" x 1" x 1/8" thick aluminum angle. Milled out the center for the servo to fit in and drilled some holes. The 3D printed spacer is 0.200" thick to raise the servo up enough that the servo horn doesn't hit the drag link. The spacer has a relief on the bottom so it sits on the axle, not on the raised posts the servo bracket usually mounts to. I like doing it this way because it creates a nice solid platform for the bracket to bolt to.
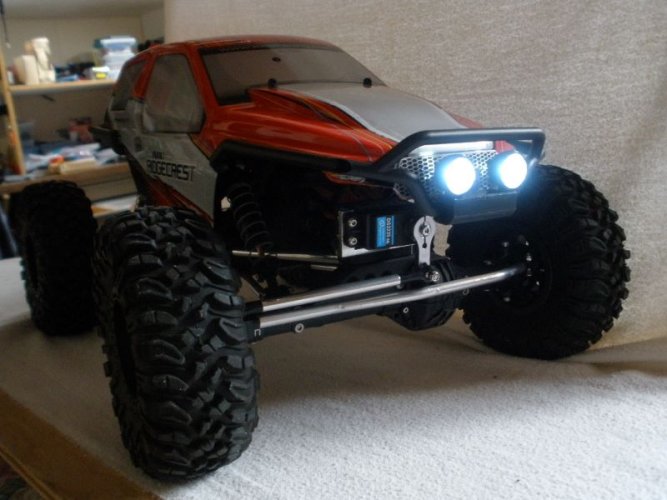
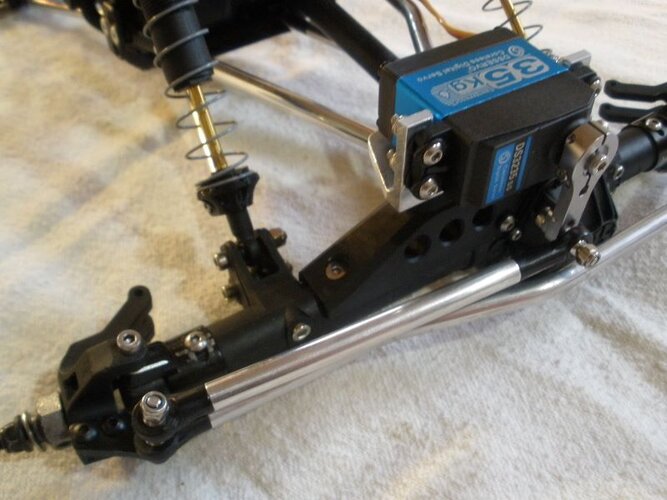
Servo mounted and steering link attached to the servo horn.
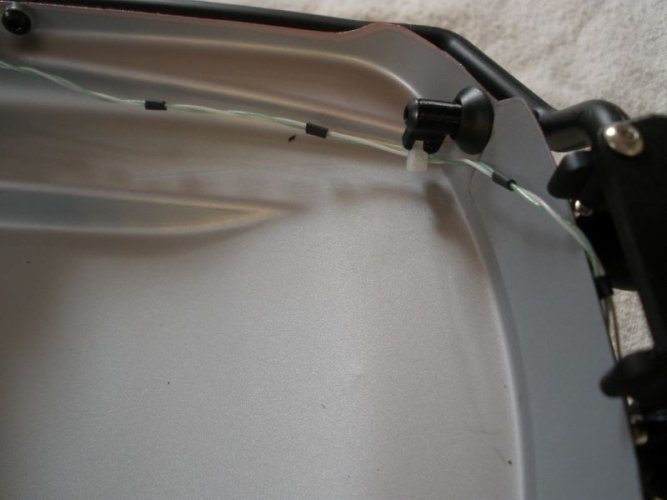
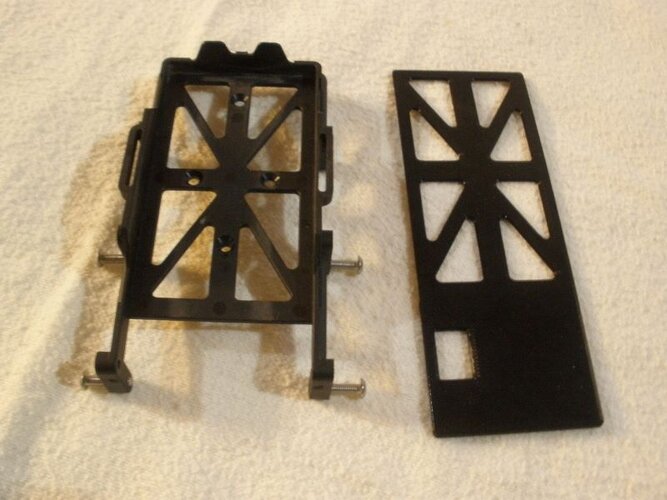
I noticed before I tore this all apart the battery tray is just slightly lower than one spot on the transmission so I 3D printed a 0.043" thick spacer to raise the battery enough to clear. I used a little glue to mate the spacer to the battery tray and clamped the two (2) together for overnight. The tray will get bolted to the chassis tomorrow.

Not too difficult to machine the bracket. It is 1" x 1" x 1/8" thick aluminum angle. Milled out the center for the servo to fit in and drilled some holes. The 3D printed spacer is 0.200" thick to raise the servo up enough that the servo horn doesn't hit the drag link. The spacer has a relief on the bottom so it sits on the axle, not on the raised posts the servo bracket usually mounts to. I like doing it this way because it creates a nice solid platform for the bracket to bolt to.

Servo mounted and steering link attached to the servo horn.

I noticed before I tore this all apart the battery tray is just slightly lower than one spot on the transmission so I 3D printed a 0.043" thick spacer to raise the battery enough to clear. I used a little glue to mate the spacer to the battery tray and clamped the two (2) together for overnight. The tray will get bolted to the chassis tomorrow.


