ecoli
I wanna be Dave
Just finished this off and thought I'd share. This is probably overkill for a lot of people, but if you really really want a bombproof Axial tranny, here's what to do. I said "Axial" in quotes as most of the parts on this tranny are now aftermarket parts.
Let's get started, parts:
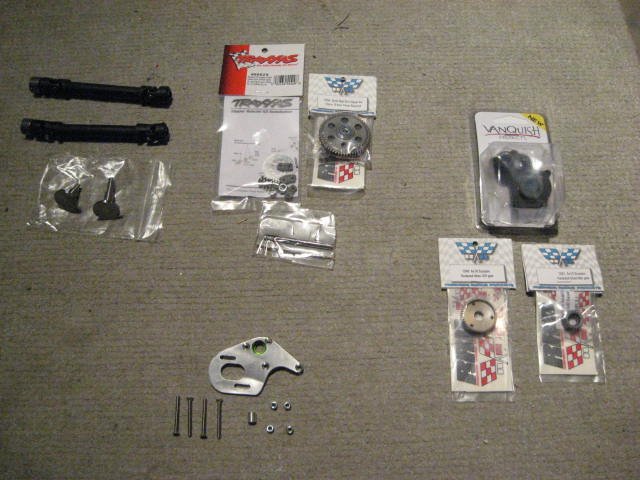
Billet Works Design FOFF motor plate (FOFF Motor Plate)

Vanquish Products Axial aluminum case (VP Axial AX-10 Alum Trans Housing)
Robinson Racing diff gear and idler gear (Robinson Racing Products - Products and Pricing for Axial AX10 SCORPION)

Robinson Racing GEN3 Slash 4x4 slipper unit (Robinson Racing Products - Products and Pricing for TRAXXAS SLASH)
Traxxas Slash slipper rebuild kit (Traxxas part 5552X)
Super Shafty Axial top shaft (Axial Top Shaft)
Crawler Innovations Maxx drive shaft upgrade kit (C.I. Maxx Drive Shaft Upgrade Kit)
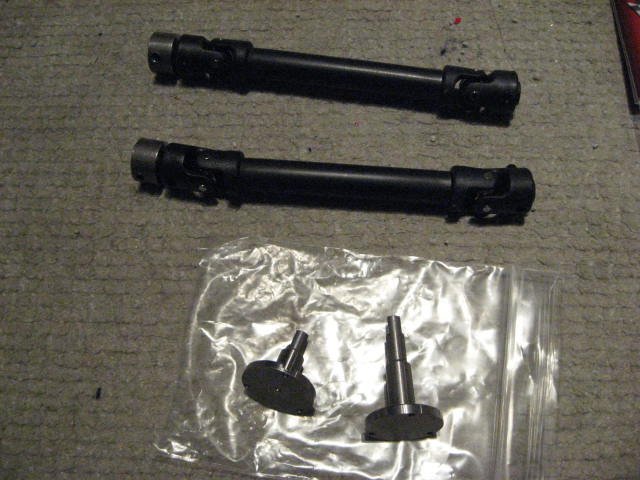
The first thing to do is to open up the stock tranny, and replace the idler and diff gears with the RR gears, replace the stock outputs with the CI outputs and replace the stock top gear shaft with the Super Shafty output shaft (including replacing the stock cross pin with the small hardened pin included with the upgraded output shaft). Grease up with a quality lube like Team3Six rocklube gear grease (Scale Store - team3sixRC) and close it up.
I didn't bother taking pics of the above steps because, well, if you can't do these simple replacements, you're in the wrong hobby :ror:
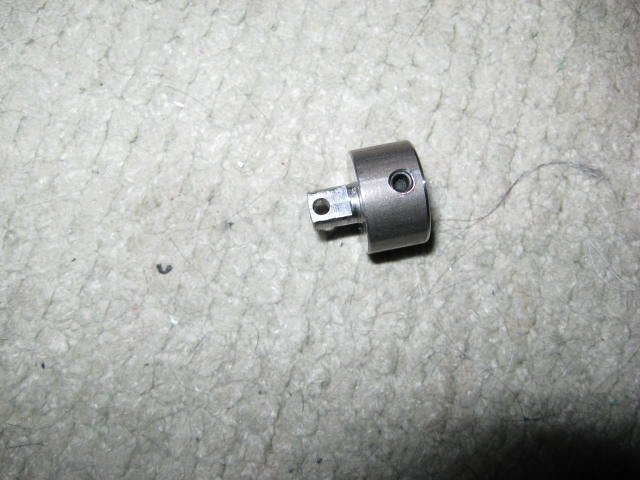
What I did find was when putting the output shafts in the case, they were a little too tight. Found this was a result of the anodizing in the case, the tolerances are that tight. I just chucked up the outputs in my drill, spun it and took off a little bit of the lip the bearing seats on in the output with a file.
Next, bolt up the BWD FOFF plate to the case. Again, I had to do a little filing on the case and the motor plate to get the transmission spacer to fit. Not complaining, just noting that everything put together is extremely tight, which is a good thing!
You can see in this pic you also add in the larger hardened cross pin to the Super Shafty output shaft.

Next is to mount the RR slipper which comes in 4 parts.
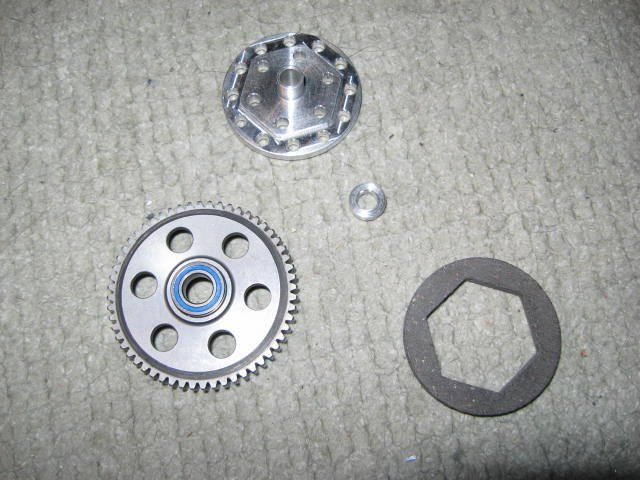
First is the slipper base.

Then the slipper pad.

And finally the spur gear and bearing and outer spacer for the spring to rest on.
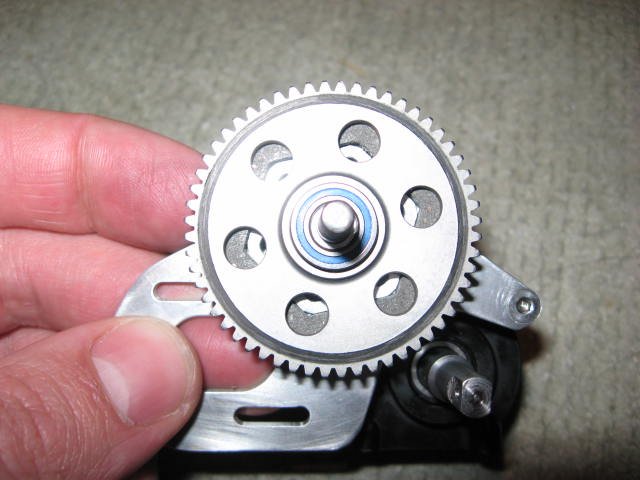
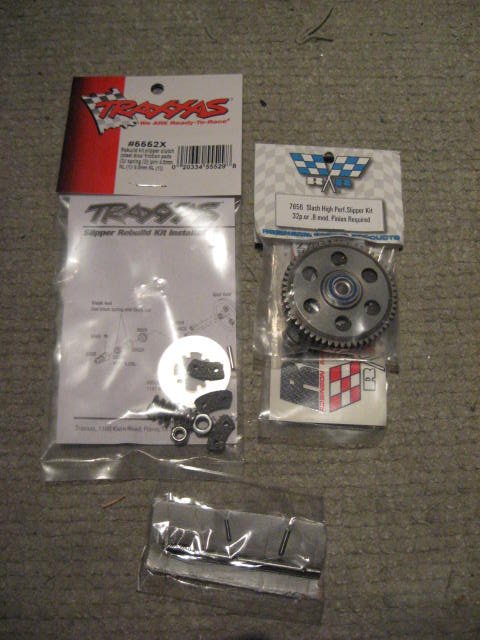
Next is to open the Traxxas slipper rebuild kit. Everything on the left it unneeded parts. You only need the larger spring and locknut.
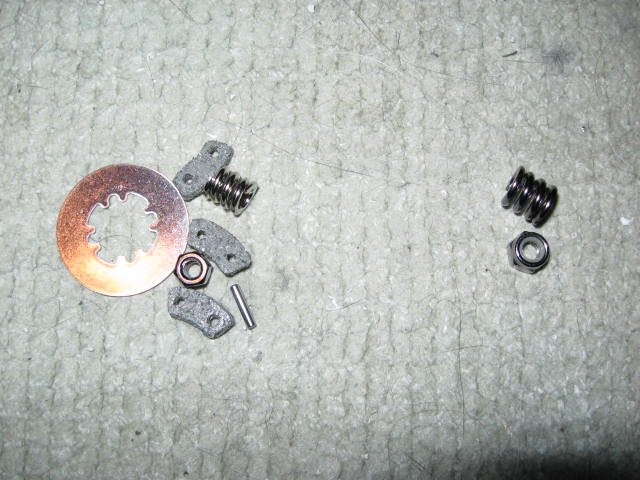
Spring on.
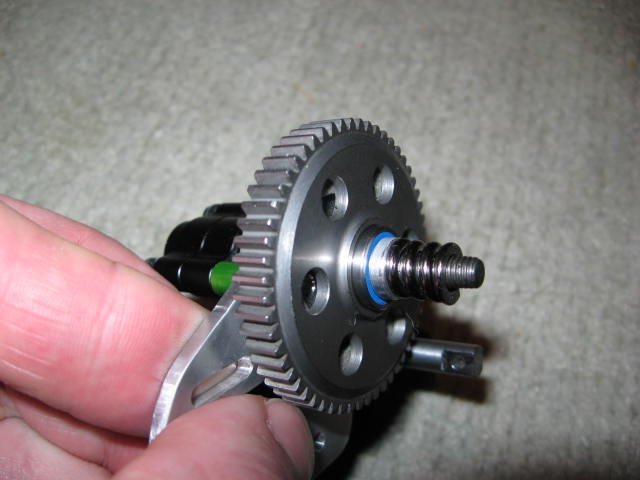
You'll need an 8mm driver for the nut.
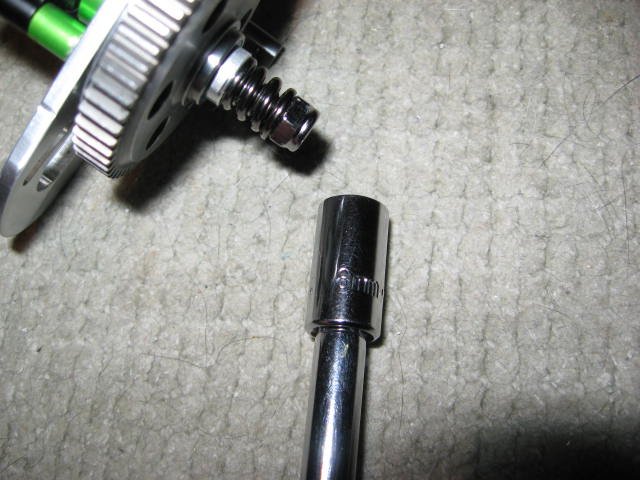
Done.

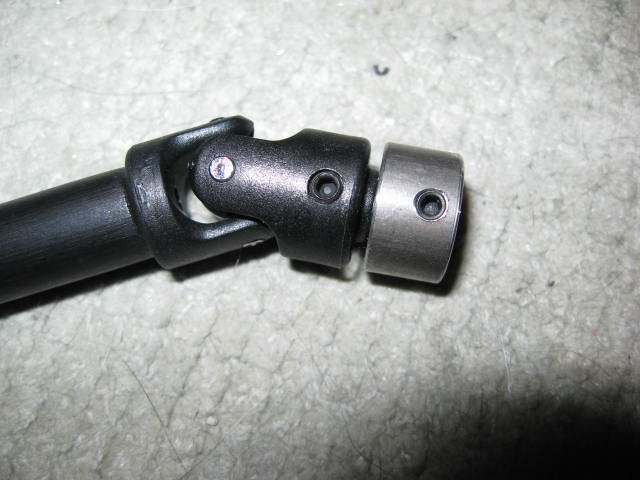
Finally, attach the Maxx driveshafts. Again, tolerances are quite tight, so you may have to play with the yokes and outputs a bit to get them to slide on.
Completed product.

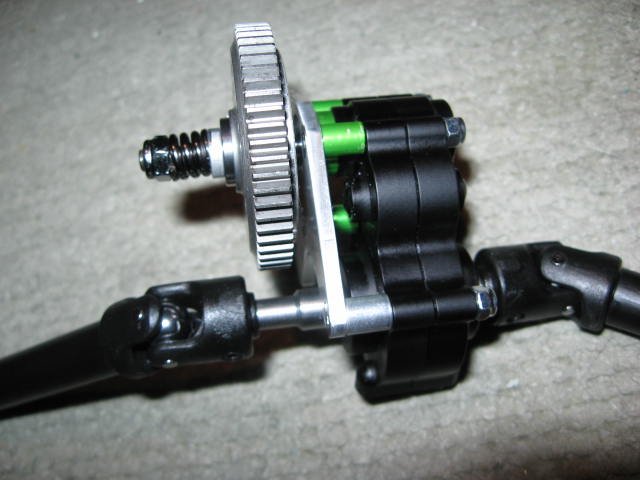
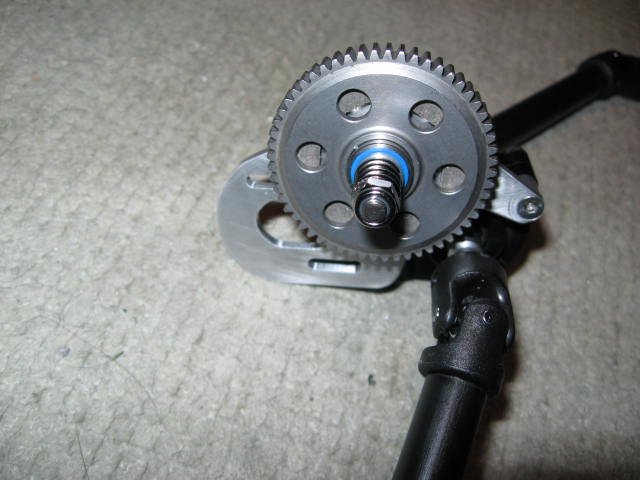
Add your preferred motor and pinion. The RR spur takes 32p pinions (for standard 1/8" 540 motor output shafts) or 0.8mod pinions (for standard 5mm brushless motor output shafts).
Keep in mind that the above involved working with a number of different products from a number of different manufacturers all machined to high tolerance specifications. When you mix and match parts like this, some light modification like I needed to do should be expected. The end product though is well worth the little bit of effort this requires "thumbsup"
Let's get started, parts:

Billet Works Design FOFF motor plate (FOFF Motor Plate)

Vanquish Products Axial aluminum case (VP Axial AX-10 Alum Trans Housing)
Robinson Racing diff gear and idler gear (Robinson Racing Products - Products and Pricing for Axial AX10 SCORPION)

Robinson Racing GEN3 Slash 4x4 slipper unit (Robinson Racing Products - Products and Pricing for TRAXXAS SLASH)
Traxxas Slash slipper rebuild kit (Traxxas part 5552X)
Super Shafty Axial top shaft (Axial Top Shaft)

Crawler Innovations Maxx drive shaft upgrade kit (C.I. Maxx Drive Shaft Upgrade Kit)

The first thing to do is to open up the stock tranny, and replace the idler and diff gears with the RR gears, replace the stock outputs with the CI outputs and replace the stock top gear shaft with the Super Shafty output shaft (including replacing the stock cross pin with the small hardened pin included with the upgraded output shaft). Grease up with a quality lube like Team3Six rocklube gear grease (Scale Store - team3sixRC) and close it up.
I didn't bother taking pics of the above steps because, well, if you can't do these simple replacements, you're in the wrong hobby :ror:
What I did find was when putting the output shafts in the case, they were a little too tight. Found this was a result of the anodizing in the case, the tolerances are that tight. I just chucked up the outputs in my drill, spun it and took off a little bit of the lip the bearing seats on in the output with a file.
Next, bolt up the BWD FOFF plate to the case. Again, I had to do a little filing on the case and the motor plate to get the transmission spacer to fit. Not complaining, just noting that everything put together is extremely tight, which is a good thing!
You can see in this pic you also add in the larger hardened cross pin to the Super Shafty output shaft.

Next is to mount the RR slipper which comes in 4 parts.

First is the slipper base.

Then the slipper pad.

And finally the spur gear and bearing and outer spacer for the spring to rest on.

Next is to open the Traxxas slipper rebuild kit. Everything on the left it unneeded parts. You only need the larger spring and locknut.

Spring on.

You'll need an 8mm driver for the nut.

Done.

Finally, attach the Maxx driveshafts. Again, tolerances are quite tight, so you may have to play with the yokes and outputs a bit to get them to slide on.
Completed product.


Add your preferred motor and pinion. The RR spur takes 32p pinions (for standard 1/8" 540 motor output shafts) or 0.8mod pinions (for standard 5mm brushless motor output shafts).
Keep in mind that the above involved working with a number of different products from a number of different manufacturers all machined to high tolerance specifications. When you mix and match parts like this, some light modification like I needed to do should be expected. The end product though is well worth the little bit of effort this requires "thumbsup"

