Topher Builds
I wanna be Dave
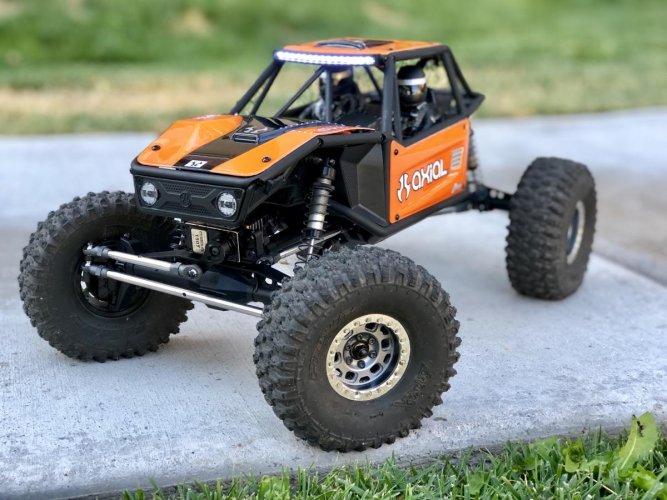
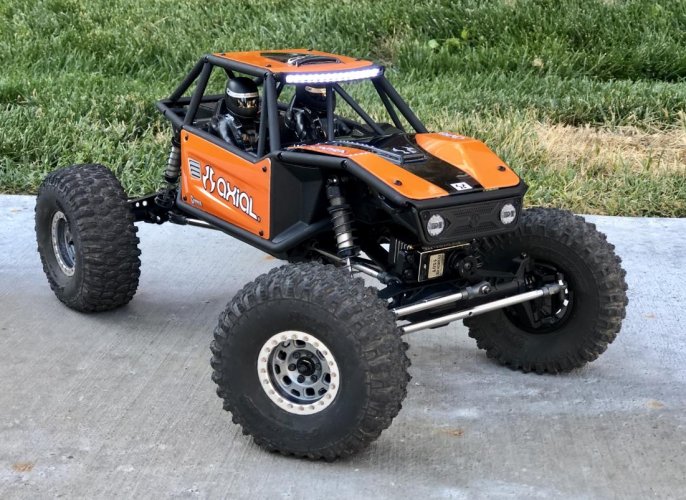
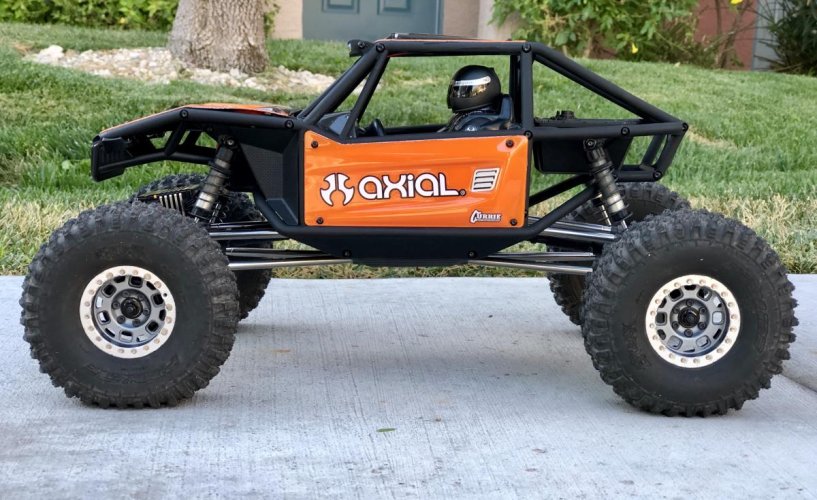
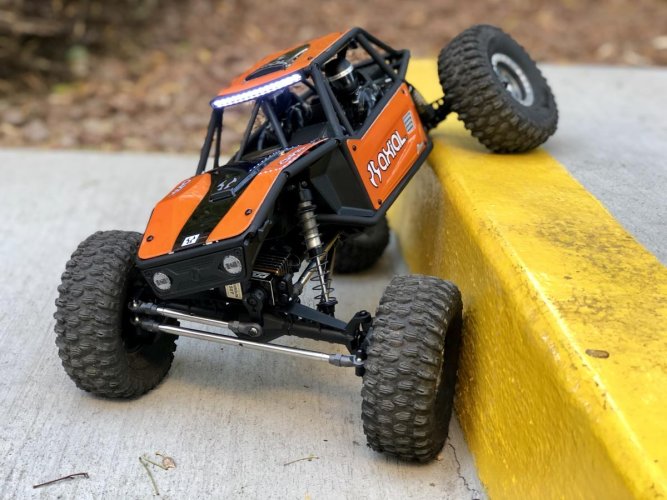
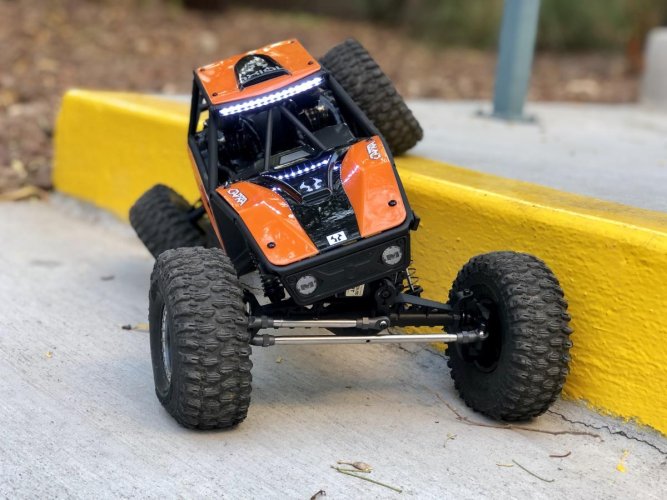
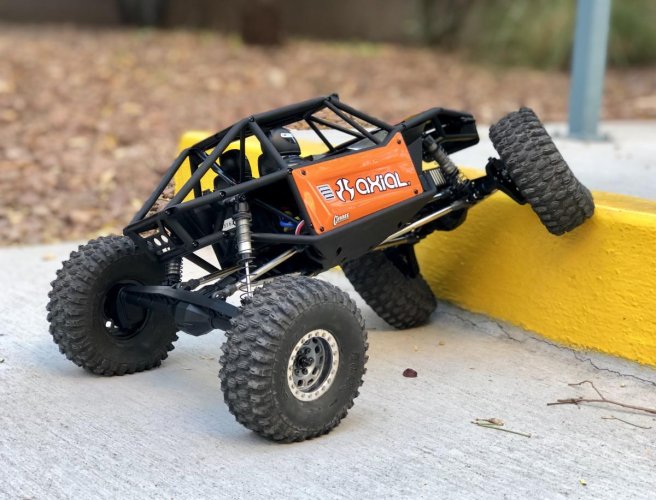
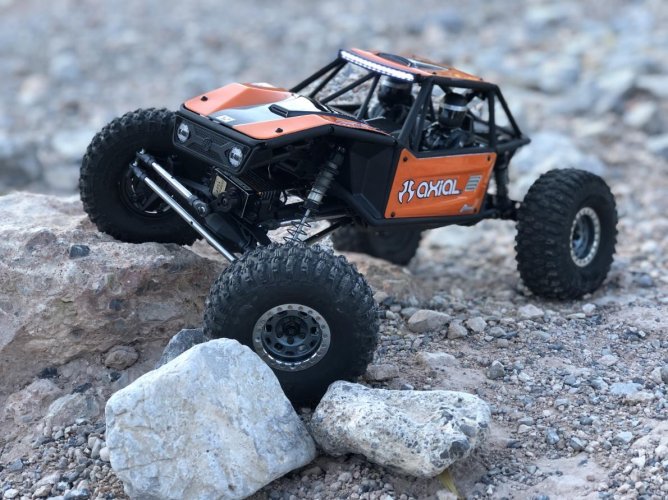
Time to get this build thread going. Originally, I was going to wait before grabbing a Capra. After seeing videos, and reading more about the updated materials and the design of the rig, I decided to back burner another project (sorry GC4) and go for the Capra.
As we're all aware now, there are a few obstacles with this first batch of instructions. Some of them are pretty simple to figure out, while others take a little head scratching and disregard for the instructions. Issues I encountered are below.
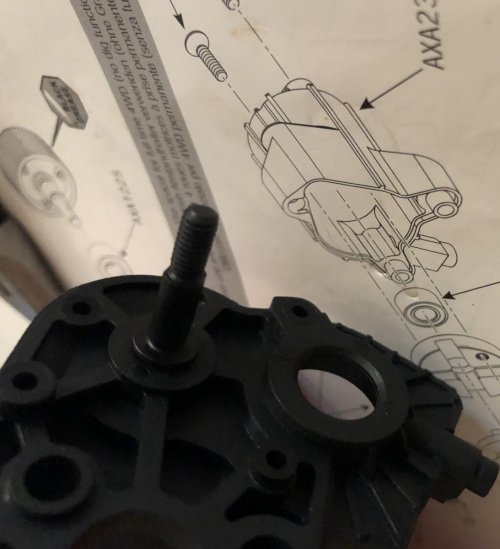
1. The rear axle no-bearing bearing-retainer slot. There's a recess in the rear axle where the shaft comes out of the housing, which perfectly fits a bearing however no bearing is intended to go there. If you install a bearing, you'll be unable to button up the portal box. Directions are accurate here, intuition can lead you astray.
2. In this first run, the hardware is not a 1:1 scale in the manual. Make sure you measure twice when picking out your hardware and links.
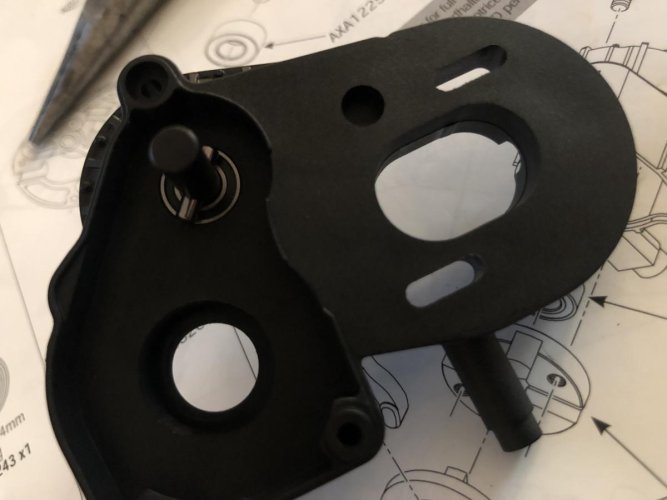
3. The instructions are misleading for the top shaft of the transmission. The diagram appears as though the shaft should be inserted from what would be the inner part of the transmission. However it should be inserted from the outter part, and seated into a bearing. Then the pin goes on, then the gear, then another bearing. First 3 Pics below.
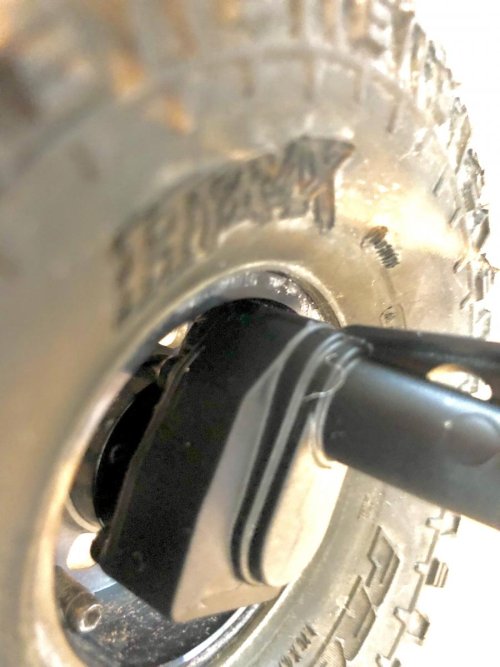
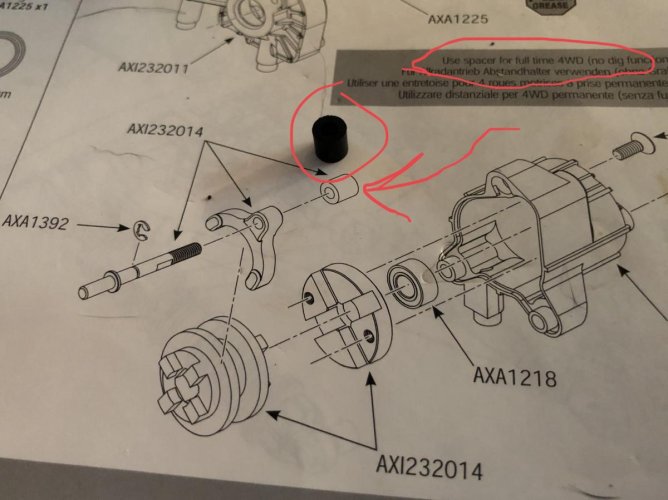
4. When assembling the Dig, the manual advises to use a spacer for full time 4WD, however it does not clearly identify the spacer. Pic below to circle the plastic spacer.
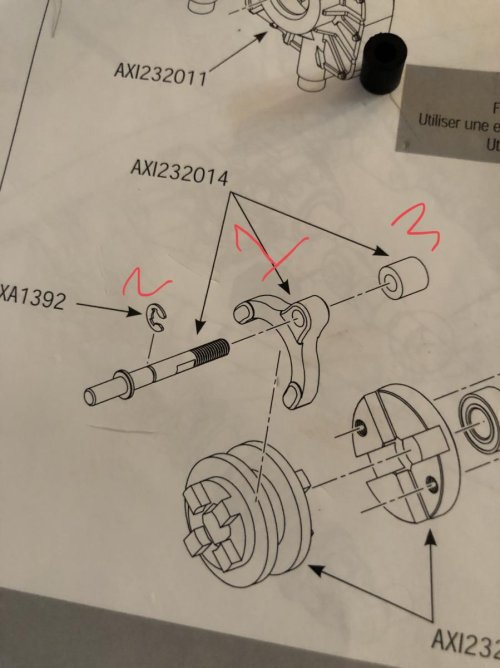
4A. The order of the Dig components is not clear in the guide, the horseshoe piece goes on first, then the clip, then the spacer (if applicable). Pic below.
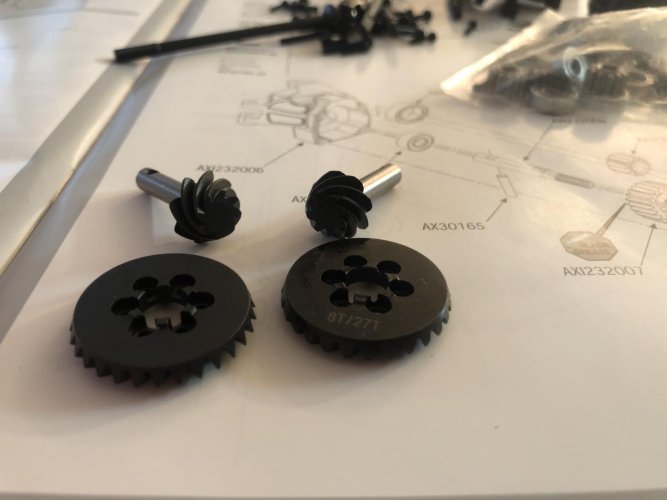
5. I picked up the SSD AR44 overdrive gear set with the intention on using it in the front axle of the Capra. It was not the best fit, I ended up having to use the stock pinion gear to get a mesh where the truck would roll freely. I'm not sure this is going to be viable long term but want to try it out on the rocks before going back to the stock gears. I'm unsure if this fitment issue is unique to the SSD gear, and may swap either the boom racing or the HR gears in down the road to see if there's a better fit.
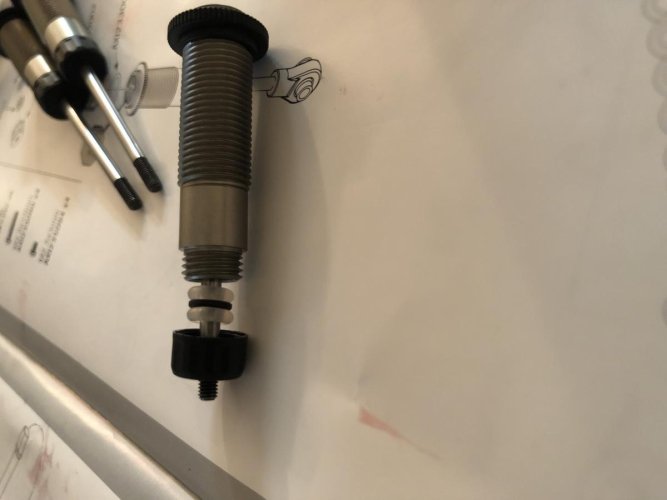
6. Some of the shock internals had a little bit of parts tree plastic left over, had to clean those up before building the shocks fully.
Okay, that's it for obstacles. Now for overall build impressions.
- Materials feel much better than the previous axial offerings. The links and rod ends are the stand outs. The plastics feel better in hand, but those need to survive in the wild to be a success. Shocks also feel very good, smooth action and no issues with the install. Two O rings in the lower cap seal and one larger O ring up top. I’m using the soft springs and a 20wt losi shock oil.
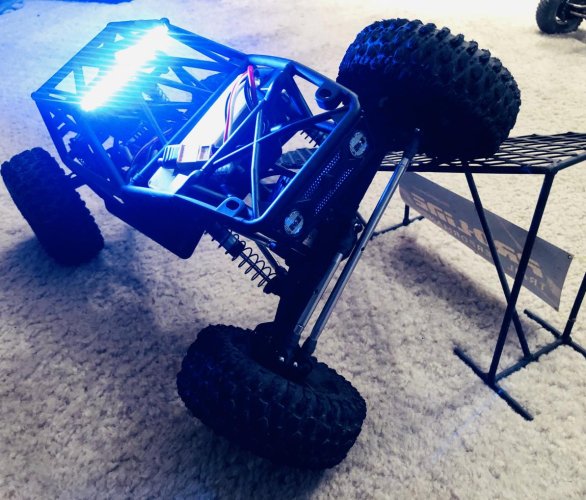
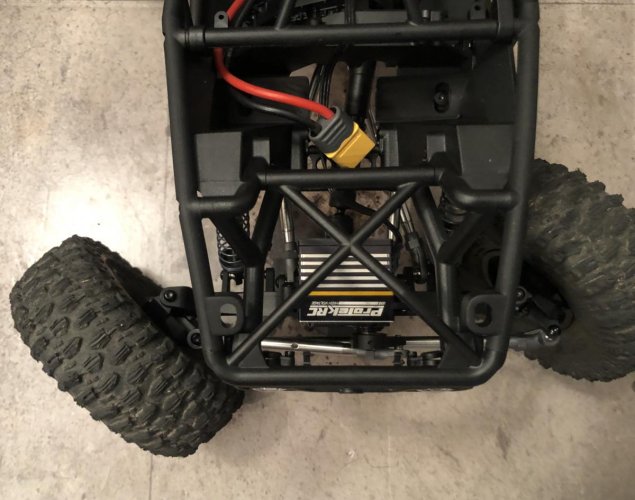
- The cage was a lot wrenching to put together, probably the least fun piece. Seems sturdy enough out of the box.
- The dig wasn't too hard to set up, took me a bit to get the end points adjusted accordingly but once it was set everything works smoothly.
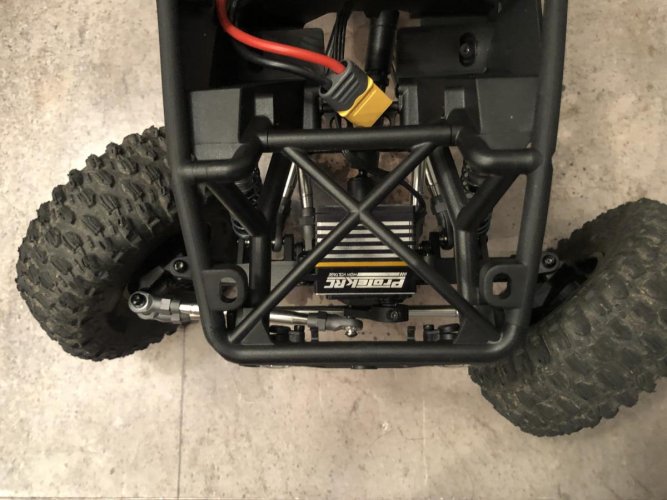
- Needed servo extensions for both the micro servo and the steering servo to reach the receiver box in back. A little worried about the waterproof aspect, or lack thereof, for this receiver box, but I don't plan on getting this truck wet so not a huge deal. Unless I missed it, there were not gaskets for the lid of the box, nor the area where the wires feed in.
- Steering seems pretty good out of the box!
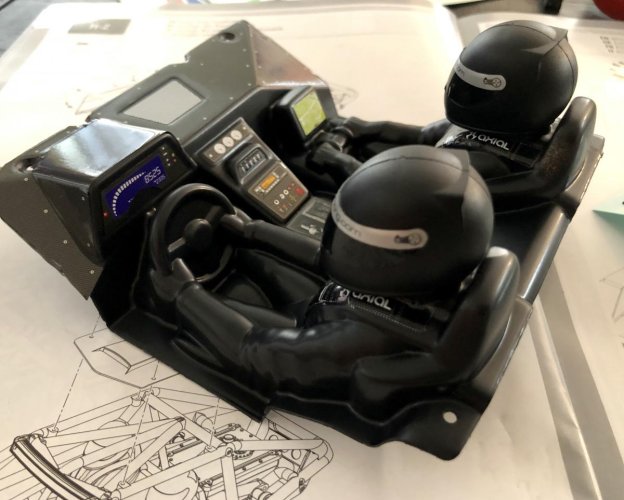
- Interior lexan feels nice and sturdy, haven't gotten around to paint yet, more on that later.
- Start to finish it took me about 9 hours, with setting up electronics, and some breaks in between. Fairly straight forward build overall.
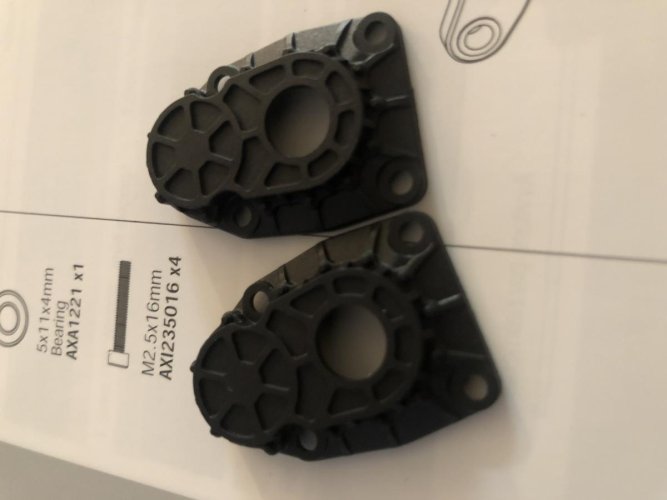
- My biggest worry about anything mechanical is the portal box covers, there just isn't much plastic around the 4 screws that mount the cover. Will see how it holds up.
That's about it for now. Hoping to slap some paint on it today and have some hands on wheel experience to share later this week. "thumbsup"
Attachments
-
 74D1845D-8223-46CD-82CE-20DE7665FDD4.jpg65.9 KB · Views: 4,847
 -
 0EDB7929-3D8B-4E4F-8256-CB88454777AA.jpg94.9 KB · Views: 5,158
 -
 A6F58D76-BF72-46BD-8EF1-19D119B83AD6.jpg77.3 KB · Views: 4,922
 -
 A94606A4-C9B5-419D-8260-B48A9CDCAE09.jpg97.5 KB · Views: 4,826
 -
 B29A9663-3DDB-4EAF-8FDE-25A9941B565A.jpg79.6 KB · Views: 4,748
 -
 D40A54B8-834F-4EEE-9531-B700CC103C12.jpg60.3 KB · Views: 4,684
 -
 56B4B708-0927-45C3-9D89-B298AB11EFE9.jpg53.2 KB · Views: 4,681
 -
 D826287D-D4EC-480B-AEDD-784C9BCAF8F8.jpg64.2 KB · Views: 4,680
 -
 C878745D-5176-4DB7-A40B-CCBB8580C2AD.jpg176.3 KB · Views: 4,673
 -
 1554CBD2-0E9C-40EF-926C-ABA5F56E2F6B.jpg117.2 KB · Views: 4,648
 -
 168AE0AD-CD2B-4A6A-8498-962BD72CD909.jpg116.7 KB · Views: 4,928
 -
 403C20FD-DDFA-4483-B012-FADC59C55F99.jpg52.8 KB · Views: 4,647
Last edited:

