• Welcome to RCCrawler Forums.

    It looks like you're enjoying RCCrawler's Forums but haven't created an account yet. Why not take a minute to register for your own free account now? As a member you get free access to all of our forums and posts plus the ability to post your own messages, communicate directly with other members, and much more. Register now!

    Already a member? Login at the top of this page to stop seeing this message.

RC4WD's NEW TF2 LWB by 1BadDollHouseJerpBuilder

what a sweet build man.......awesome just awesome.

Do you have to worry about heat issues being that the motor is in the engine? i was thinking of doing something like that too but started thinking that the motor would get to hot being inside a 3d model engine.
 
Had to try out these new Boom Racing stock style yota wheels, as much as I love my gold center ENKs I really do feel like these fit the theme of the truck.

E03A1C6F-5821-4FAA-B30A-60F1171E26FF_zpsucosxtyk.jpg


97B639D1-3D8C-4A83-AC8D-B7F97EAA93BF_zpsumgrucrb.jpg


Also got the dash and rear view mirror in

9E070283-307F-4279-89AC-F7CE8A25C8FF_zpsust1grti.jpg
 
Those may look good as base model dog dish capped wheels for the blazer body might have to pick up a set they look excellent on the yota
 
Sometimes driving toy trucks is more then building them...sometimes... I really need to get in gear and finish the interior and engine bay. I was pleasantly surprised as to how well my steering set up actually worked out, so that made me happy

IMG_3158_zpsa18o9hpp.jpg


DEC was running a joint anti jeep flexing task force with the Suffolk Parks Rangers...nabbed some jeep kid flexing

IMG_3156_zpsypdzftkq.jpg


BBBBBuuuusted
IMG_3157_zps3pcm1unu.jpg


IMG_3159_zpswobcccdf.jpg


because cwarler
IMG_3160_zpseltacthm.jpg


IMG_3162_zpsyajfkn6s.jpg


IMG_3137_zps7i6apube.jpg
 
Back to work on this thing rig, this is one of 2 trucks I plan on bringing to the Ultimate Scale Truck Expo this up coming new year.

When I started on the interior for this, there was no interior kit available. I had done a nice 3D printed RHD dash from Shapeways but now RC4WD has a really nice kit. I didnt want to take my dash out as I already heavily modified it with a working steering wheel and lighted gauges so I instead hacked up the RC4WD one to work with it.

Naturally just painting the interior wasnt going to work, so I busted out the flocking for a more realistic appearance. That coupled with some Testors model paint and the details popped pretty good.

Once I finish up the interior its back to the engine bay for brake lines, fuel lines, washer jug, battery, clutch master, and whatever else I feel is necessary to complete the look.
 

Attachments

  • 111417 064.jpg
    111417 064.jpg
    60.9 KB · Views: 873
  • 111417 091.jpg
    111417 091.jpg
    67.3 KB · Views: 887
  • 111417 090.JPG
    111417 090.JPG
    166.8 KB · Views: 854
  • 111417 076.JPG
    111417 076.JPG
    121.7 KB · Views: 833
  • 111417 077.JPG
    111417 077.JPG
    153.7 KB · Views: 906
  • 111417 078.JPG
    111417 078.JPG
    144.5 KB · Views: 848
Real trucks have U bolts that hold the springs to the axles, trying to keep it as realistic as possible

Adds to scaleness for sure and seems they should help prevent TF2 leaves from bending/breaking at the axle mounting holes. Stock style dish wheels fit the part and you're way into scale territory, very nice! "thumbsup"
 
Love this build. Great attention to detail.
Loved your reference photos for the engine bay and was wondering if you’re going to keep it clean, or if you’re going to weather / rust it up a bit in the future?
 
Adds to scaleness for sure and seems they should help prevent TF2 leaves from bending/breaking at the axle mounting holes. Stock style dish wheels fit the part and you're way into scale territory, very nice! "thumbsup"

Thanks, yeah the Ubolts in more ways then one for sure.

Impressive...

Thanks

Love this build. Great attention to detail.
Loved your reference photos for the engine bay and was wondering if you’re going to keep it clean, or if you’re going to weather / rust it up a bit in the future?

One thing I have learned over the years is that sometimes less is more...this is especially true with weathering. I do plan on some light weathering and rust but I dont plan to go crazy because the idea of the truck is that it came from a place where it wouldnt have rusted and gone to shit until landing here in NY and being used in the crappy salt filled climate here.
 
Small update, had some time when I got home from work to make the clutch master cylinder. Its constructed of 10 pieces of styrene total. If you look closely you can see how I properly detail it to the casting of the cylinder on the 1:1 with the correct angles, roundness, and flat spots.
 

Attachments

  • IMG_0429.JPG
    IMG_0429.JPG
    75.7 KB · Views: 770
  • IMG_0427.JPG
    IMG_0427.JPG
    158.9 KB · Views: 1,057
  • DRGK1044.JPG
    DRGK1044.JPG
    159.7 KB · Views: 788
  • IMG_0422.JPG
    IMG_0422.JPG
    116.2 KB · Views: 820
  • IMG_0420.JPG
    IMG_0420.JPG
    98 KB · Views: 774
  • IMG_0419.JPG
    IMG_0419.JPG
    101.6 KB · Views: 771
Last edited:
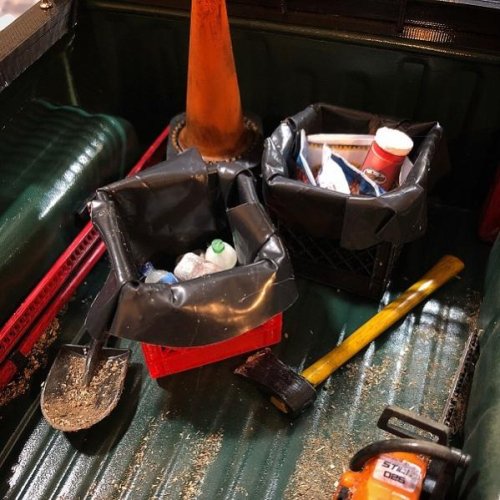
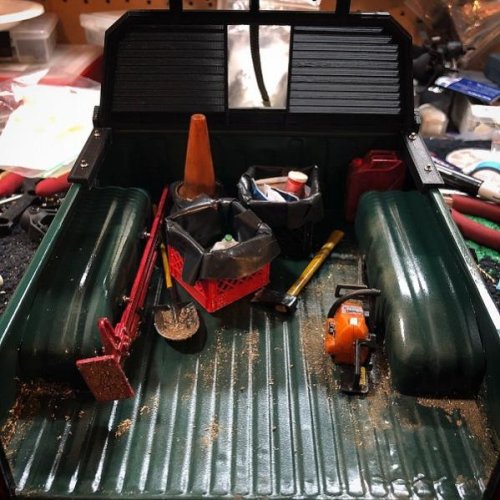
So I got to work on the truck a lot on Saturday and yesterday. Things started off with some 3D printed milk crates line with real black garbage bags. I filled them with some scale garbage, and because NYS is into recycling, I separated it appropriately.

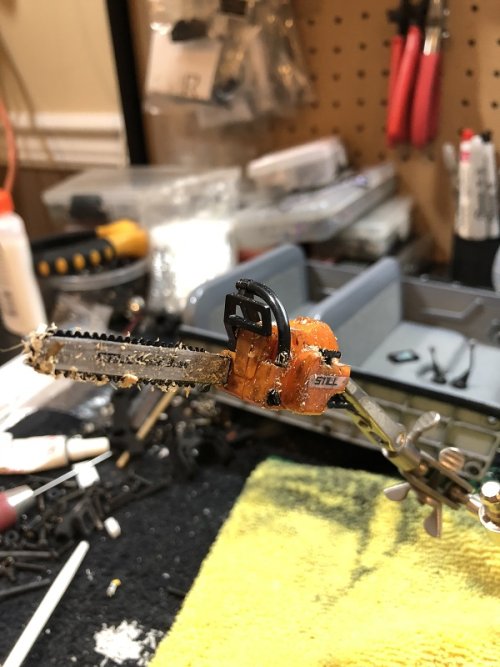
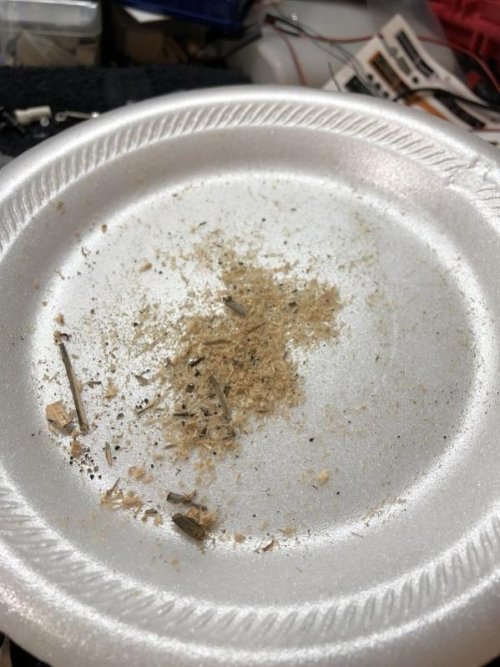
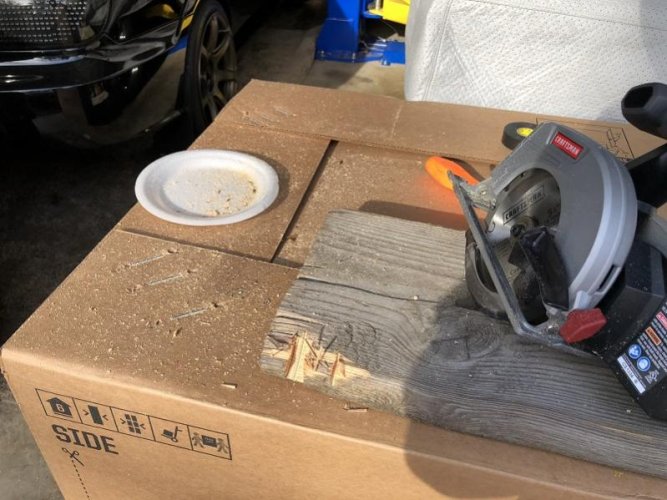
I am not a fan of when people put 86 scale items in the bed of their trucks, however in the spirit of this build, and knowing what these guys are tasked to do often I felt it needed some accessories to go with theme. The new STILL chain saw from RC4WD is rather awesome, but was way to new looking and knowing how civil servants are I felt the need to make it look used and abused. I tried some black wash from a model detailing kit I bought some time ago but its so "thin" that is literally runs right off what you paint it on SOOO I opted to make my own using some tamiya clear and mixing some testors black into it. I then went out into the garage, got my circular saw and made up some saw dust which I sprinkled onto the freshly black washed chainsaw.

I black washed the Pro-Line racing scale items such as the high lift, axe, and shovel and added some wear to them as well, then hit them with a coating of dirt.

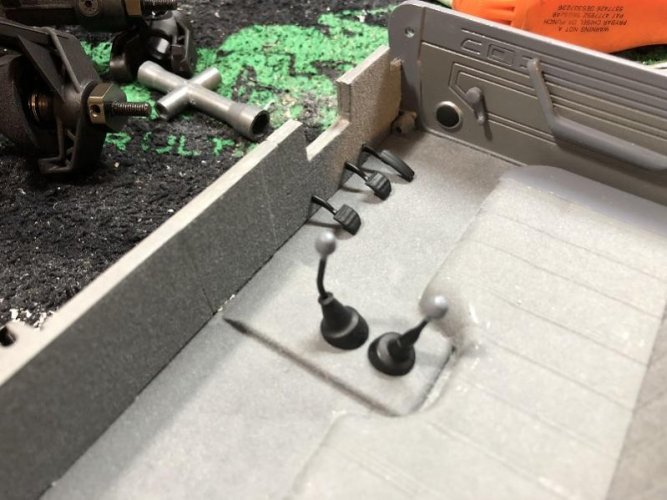
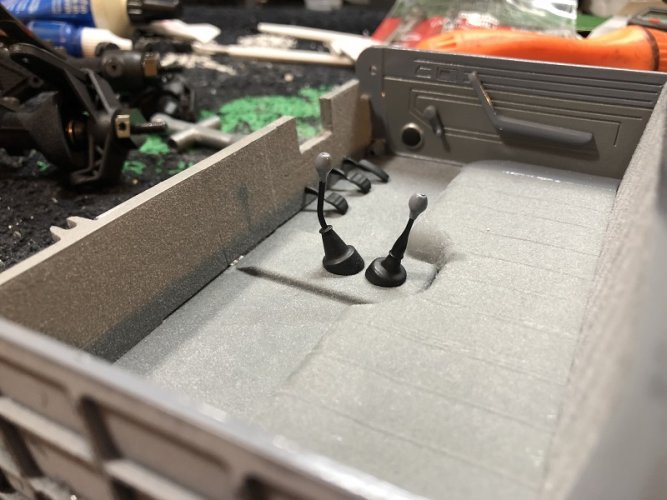
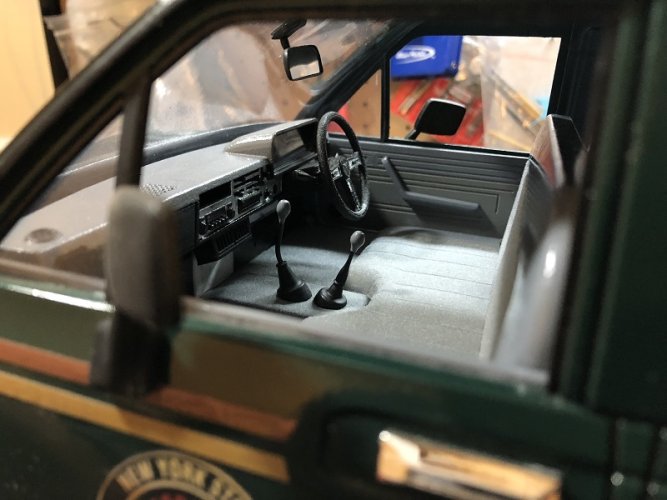
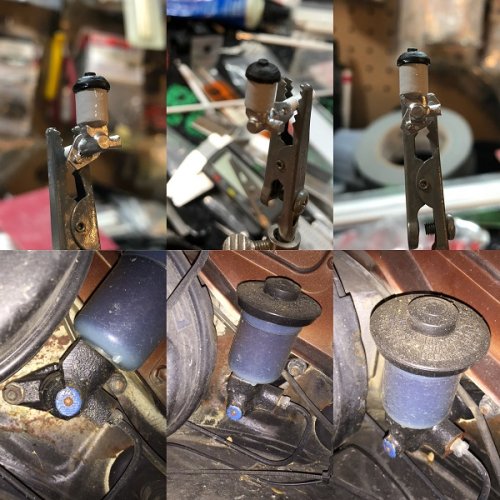
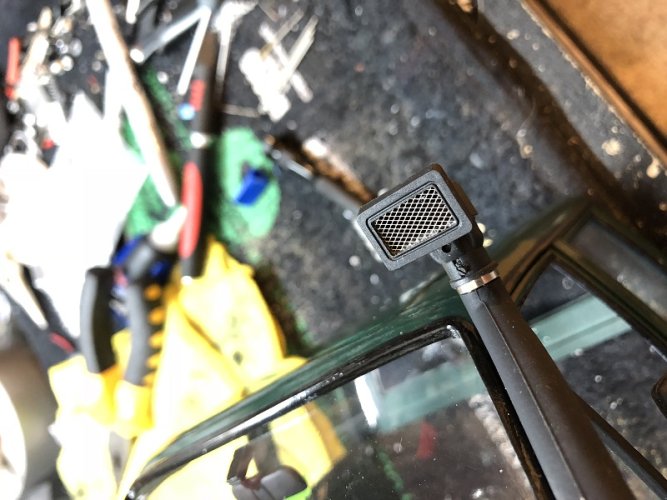
While things were drying in the bed, I tackled some additional interior details, I added an Exclusive RC battery jump box...because old Tiyote and doing good deeds for fellow NYers. I then made a box....out of a box...but you know smaller... so I could house some items I felt necessary. Some aqua, bug spray, garbage bags, first aid kit, and because NE problems some good Ol Wd40. Up front I tossed my iphone 8+ in an otterbox on the seat, I later on also added a perp beater...I mean maglite flash light, as well but forgot to take pics. Youll also noticed an RC4WD safari snorkel, and Exclusive RC pine air freshener which is probably one of the worst scents but you know parks truck. The snorkel ended up with a different top, but again I am bad pictures so more on that later.

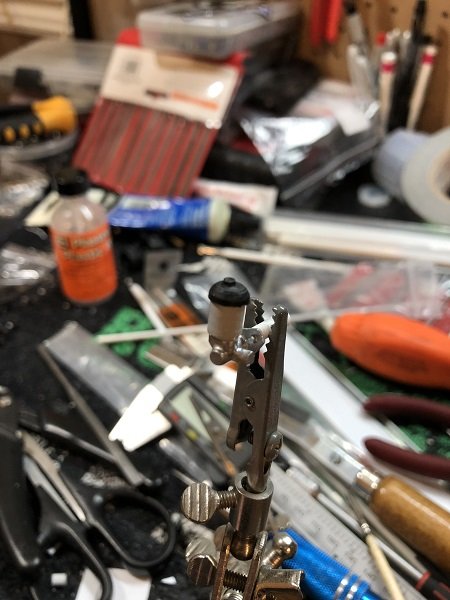
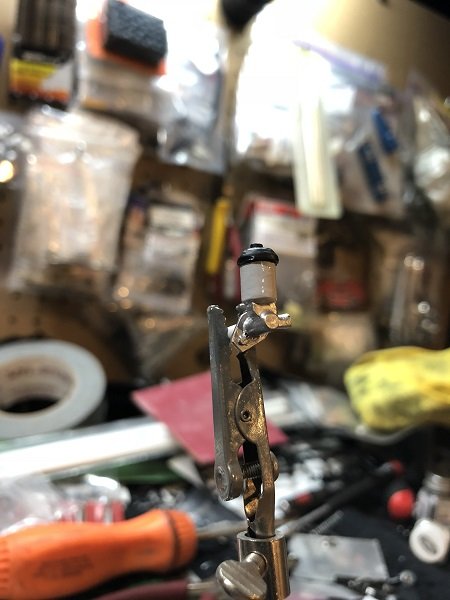
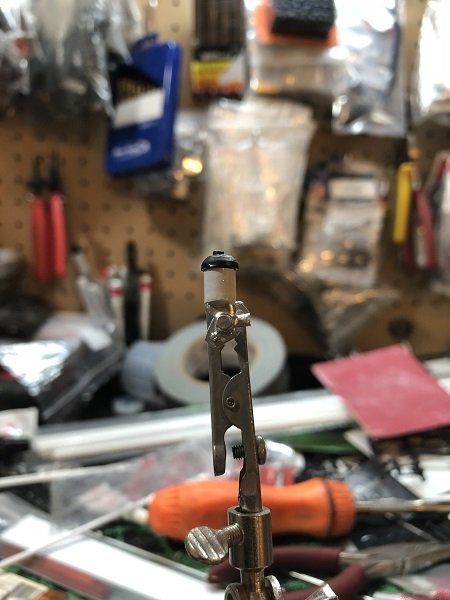
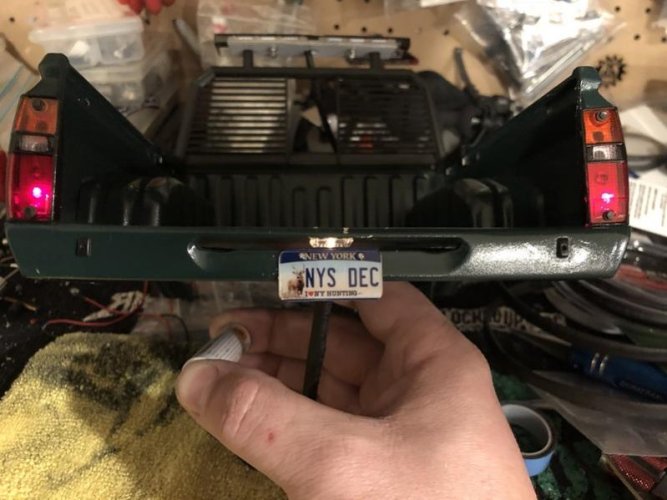
Some of the more boring and time consuming stuff would be all the light wiring, thanks to a fellow SBG members build thread I ordered incandescent style LED head lights. For Brake lights I am using smaller 3mm and I am currently ordered a HeyOk brake controller from Rpp. The rest of the lighting I am using my old incandescent "rice" lights which I feel give an accurate and proper glow and will serve for tail lamps, front driving lamps, and all side marker lamps. Because I am trying to rock all all the details, I made a license plate light as well, a detail often over looked.

I am hoping to work on it some more tonight after work, USTE is approaching fast and I need to win at toy truck building
 

Attachments

  • 12517 231.jpg
    12517 231.jpg
    67.1 KB · Views: 701
  • 12517 229.jpg
    12517 229.jpg
    70.2 KB · Views: 710
  • 12517 226.jpg
    12517 226.jpg
    122.6 KB · Views: 704
  • 12517 224.jpg
    12517 224.jpg
    103 KB · Views: 720
  • 12517 222.jpg
    12517 222.jpg
    58.9 KB · Views: 740
  • 12517 203.JPG
    12517 203.JPG
    168.5 KB · Views: 729
  • 12517 202.jpg
    12517 202.jpg
    74.2 KB · Views: 716
  • 12517 201.jpg
    12517 201.jpg
    79.5 KB · Views: 724
Got the brakes lines started in the engine bay. I used a reference pic I saved from a RHD 4 door truck that was on ebay. Why Toyota routed the brake lines the way they did I don't know but I replicated they crappy routing.

Here is a pic of the different snorkel top. I dont know what rubber RC4WD used on the snorkel but there wasnt a glue in my arsenal that would allow me to glue the vent to their top without instantly popping off so I used this plastic one from an ebay snorkel I had grabbed some time back. I was concerned with the top popping off so I dug into my stash of scale hardware from Stefan @ scaleoffroad from back in the day. Drilled and sent it in with a dab of CA on it, hopefully itll work.
 

Attachments

  • engine bay.jpg
    engine bay.jpg
    157.6 KB · Views: 700
  • brake master 2.jpg
    brake master 2.jpg
    89.2 KB · Views: 693
  • snorkel.jpg
    snorkel.jpg
    164.6 KB · Views: 665
Back
Top