Picked up a hbx devastator for about 70 bucks. It wasn't what I wanted but I didn't want the cost more - of what I wanted.. besides I figured I'd be destroying all the engineering of what I got so start micro seemed sensible.
This is my first thread here hopefully I'll get my images on ok.
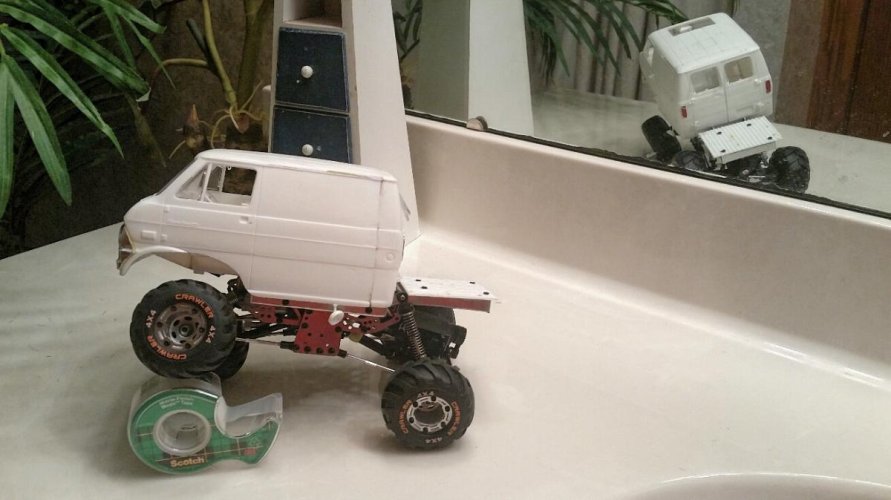
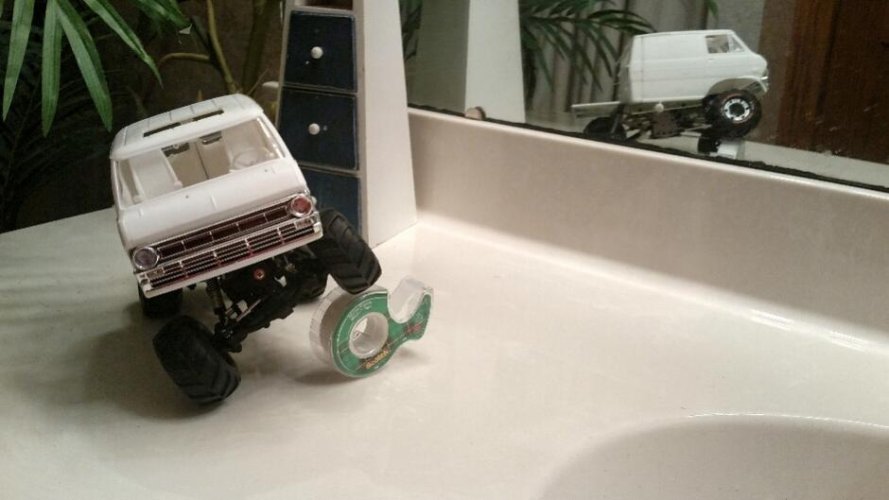
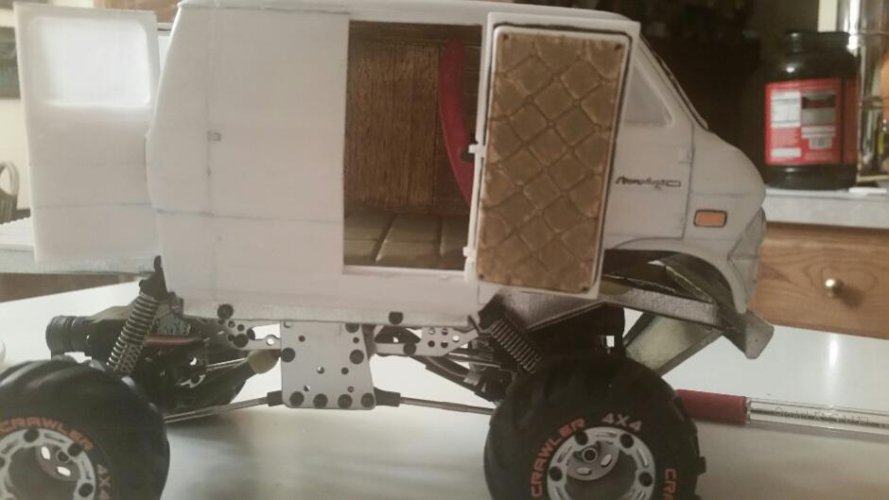
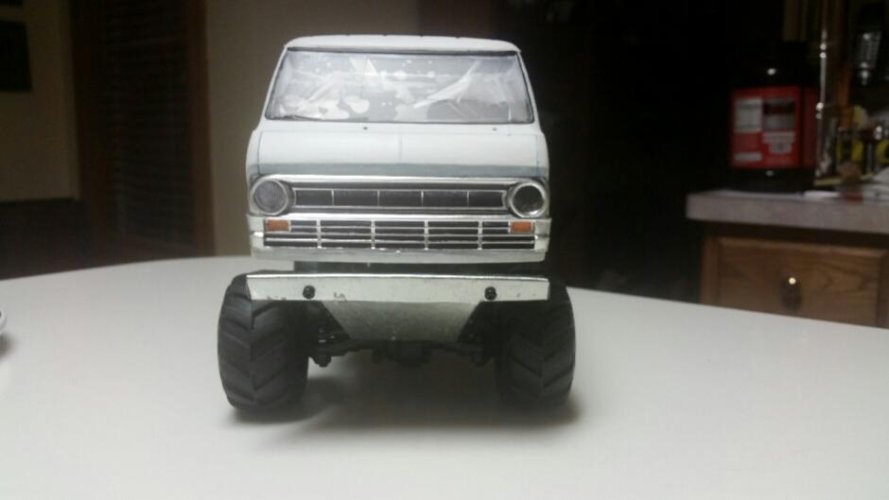
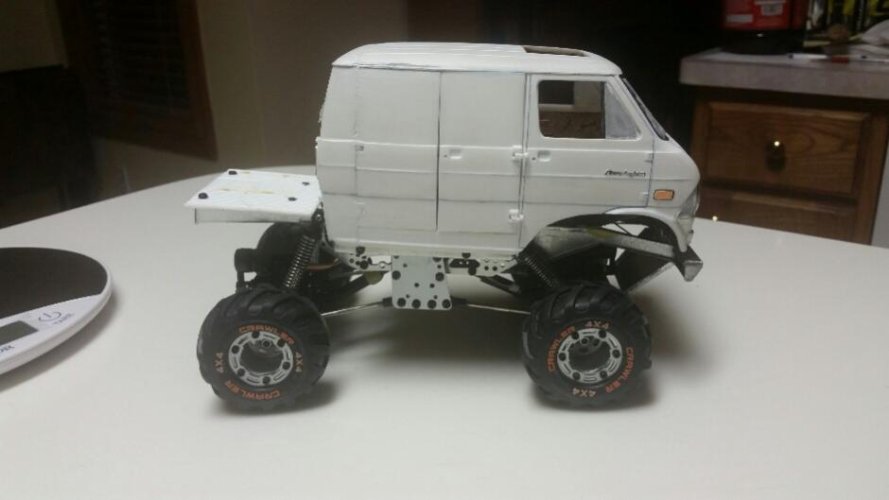
Ok so my build is going to be a one off "scale" moding a 1/20 highjacker model and my poor poor hbx.
So far:
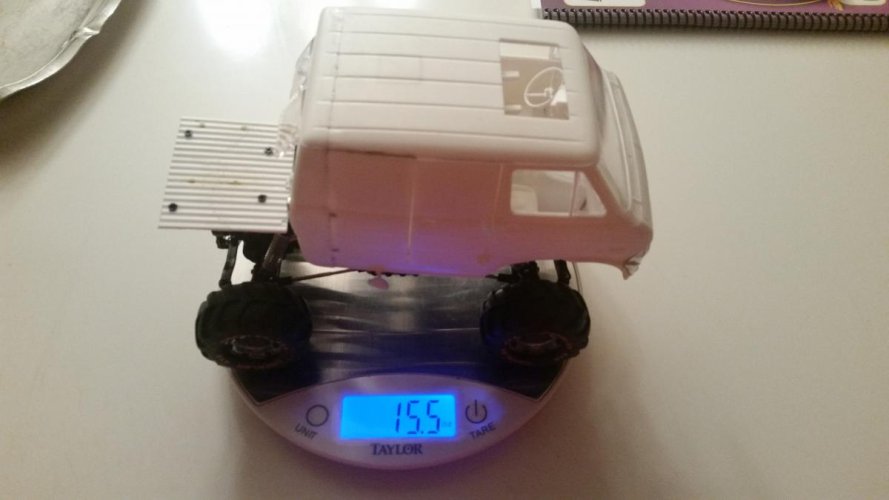
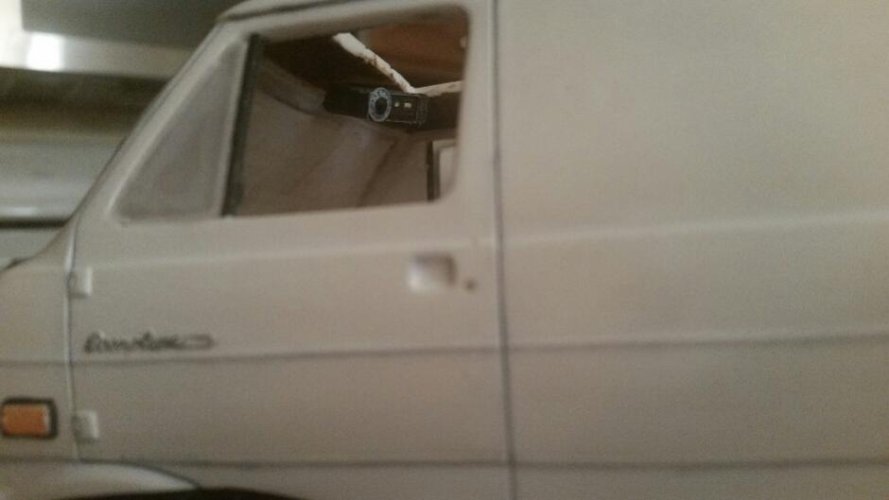
1) 90% body work.
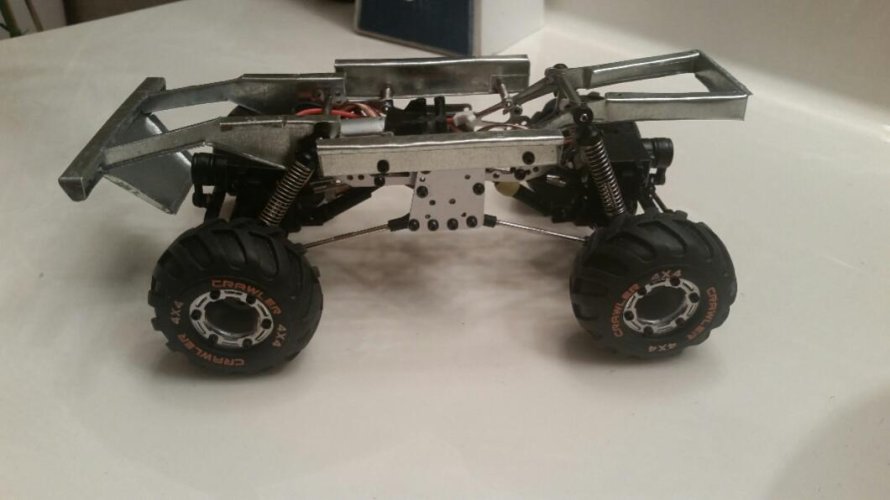
2) stock chassis & rec/esc housing trimmed.
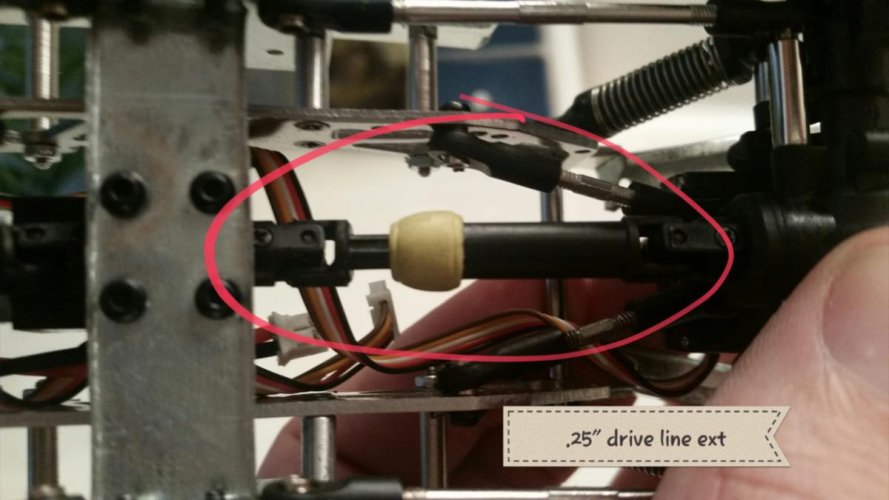
3) rear driveline lengthend a quarter inch.
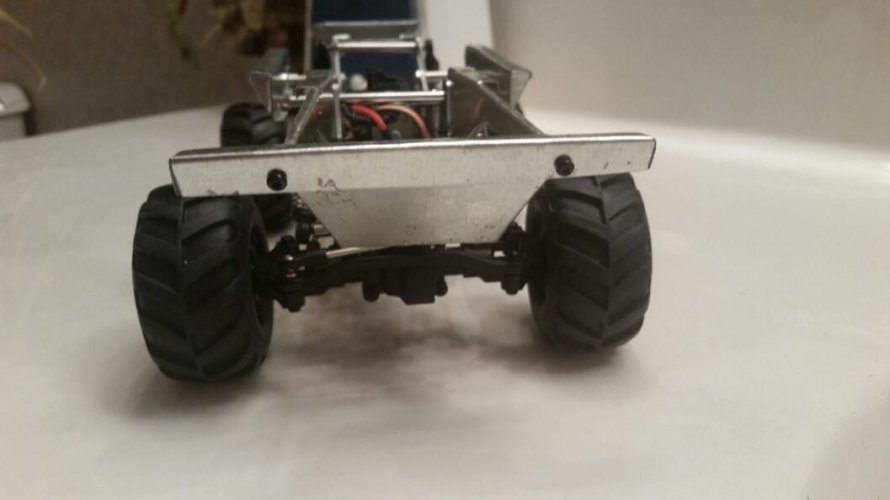
4) custom rear chassis extension fabricated.
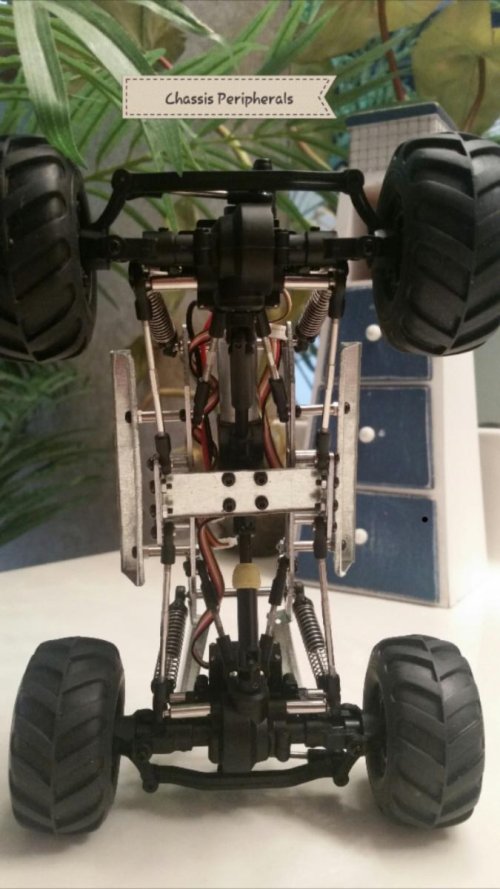
5) peripheral chassis extension fabricated.
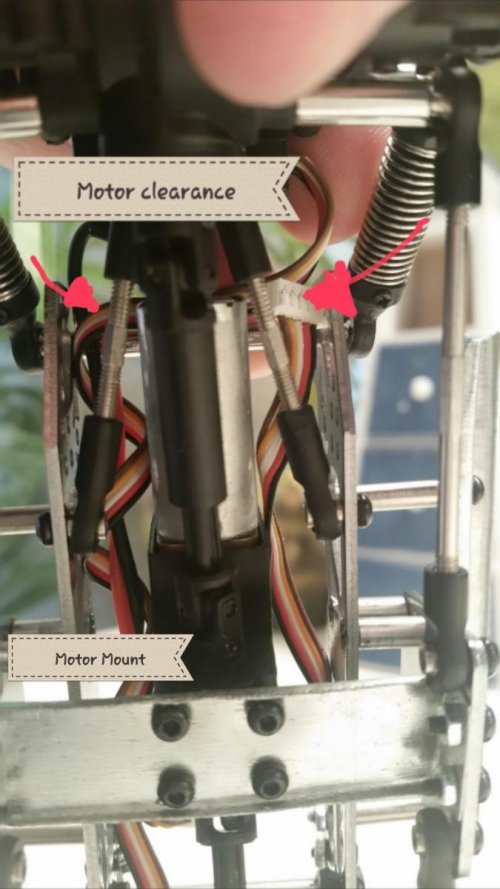
6) motor repositioned with fabricated motor mount.
Coming soon:
I- front chassis extension and front end skid.
II-10% remaining bodywork.
III- internal full roll cage.
IV- external partial cage/bimini top.
V- paint and pilot.
I'll associate pictures numerically to the two lists
This is my first thread here hopefully I'll get my images on ok.
Ok so my build is going to be a one off "scale" moding a 1/20 highjacker model and my poor poor hbx.
So far:
1) 90% body work.
2) stock chassis & rec/esc housing trimmed.
3) rear driveline lengthend a quarter inch.
4) custom rear chassis extension fabricated.
5) peripheral chassis extension fabricated.
6) motor repositioned with fabricated motor mount.
Coming soon:
I- front chassis extension and front end skid.
II-10% remaining bodywork.
III- internal full roll cage.
IV- external partial cage/bimini top.
V- paint and pilot.
I'll associate pictures numerically to the two lists