• Welcome to RCCrawler Forums.

    It looks like you're enjoying RCCrawler's Forums but haven't created an account yet. Why not take a minute to register for your own free account now? As a member you get free access to all of our forums and posts plus the ability to post your own messages, communicate directly with other members, and much more. Register now!

    Already a member? Login at the top of this page to stop seeing this message.
Very, very, close. "thumbsup" Actually it'll be adding 6 cells. I was thinking of it as 2nd gear, but nitrous boost works too. Mebbe I should order aother Wild Willy driver tree and get a nitrous bottle.

However, adding cells isn't all it'll do. ;-)

Oh tell me more.:lol:
 
Grizz? Grizz? Where is all the new pictures and cool updates buddy??:lol::lol::lol:


Sorry I didn't call you this weekend, We had one of those non-stop weekends!
LMK If I can call you when your working.
 
dash work is amazing.......when does it stop?"thumbsup"
Thanks DJ. "thumbsup"
Grizz? Grizz? Where is all the new pictures and cool updates buddy??:lol::lol::lol:


Sorry I didn't call you this weekend, We had one of those non-stop weekends!
LMK If I can call you when your working.
Well, I've been working on this thing like it was the only thing in my life, up until we went on vacation a couple weeks ago.

This weekend I finally finished the chassis, body mounts and all. I was going to take pics but then I had to help with the kids homework. My daughter had knee surgery last Thursday so I've been having to help out around the house.
I should be able to get some pics tonight.

You can call me at work but I'm fixin to get busy until about 4:00 today. We can talk then.
 
I will be just starting my day at work... Maybe I'll call your cell when I go to break.... Around 5:00 sound good?
 
So, I've got a crapload of work into Guido at this point. Pretty much every spare moment I have had for the last two months have been spent on him. I even skipped a few of my relatives b-day parties.

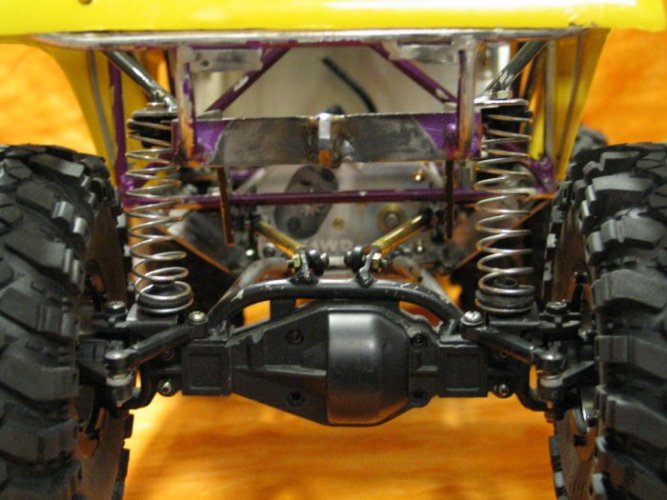
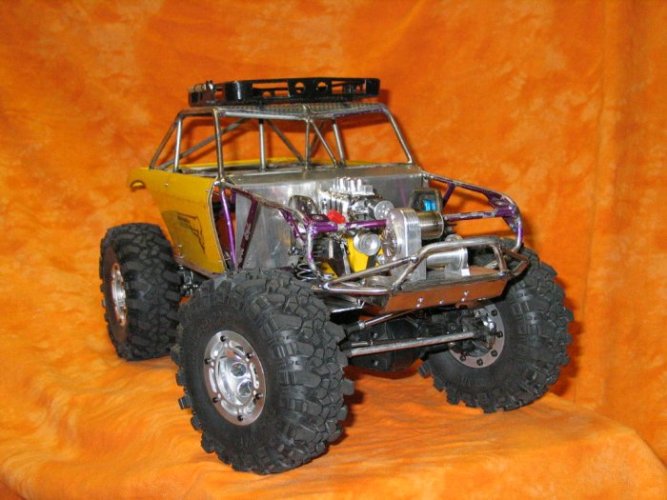
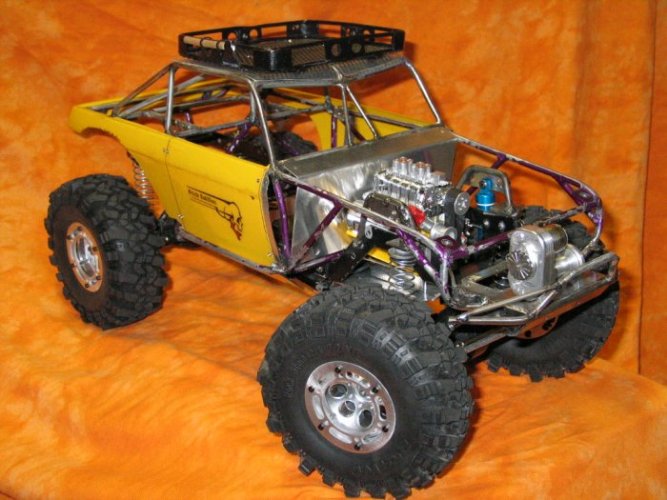
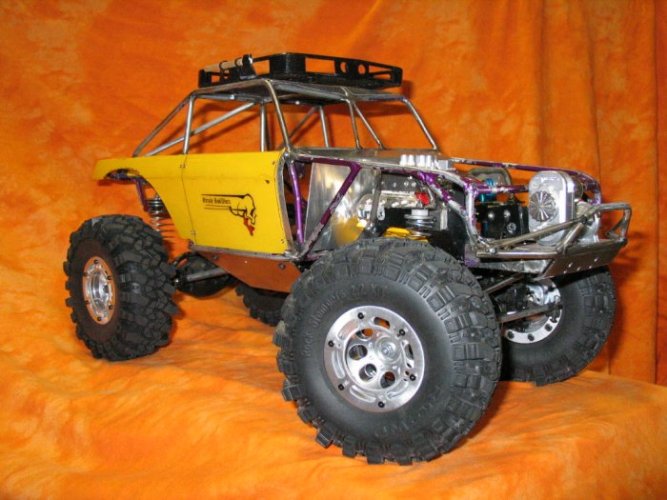
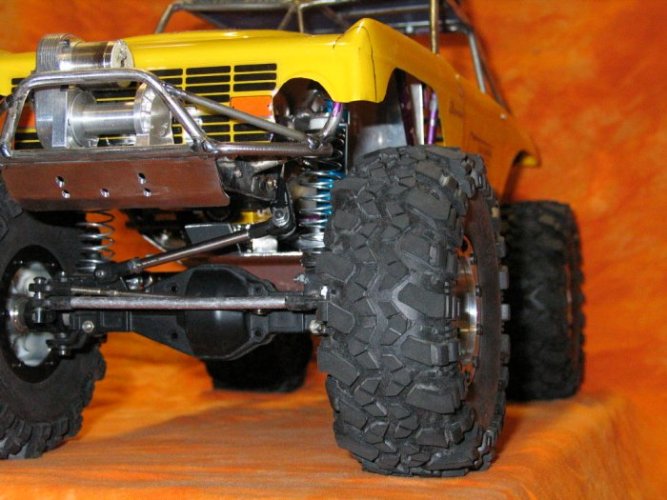
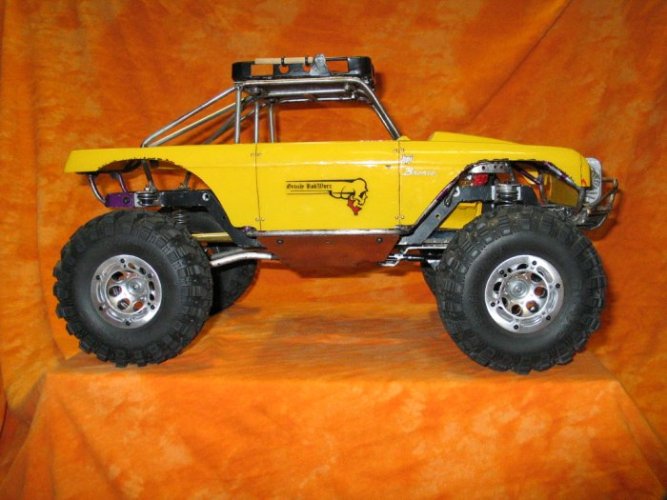
First off I had to do something about the steering, with the new tires steering was horrible. The radius arms were mounted on the outside of the frame rails and directly to the side of the frame. In order to get more steering I made some radius arm mounting brackets to drop the mount down and allow me to put the mount under the frame rail rather than on the side. This also makes thinks look more scale as well as leveling out the arm for less axle steer under articulation.

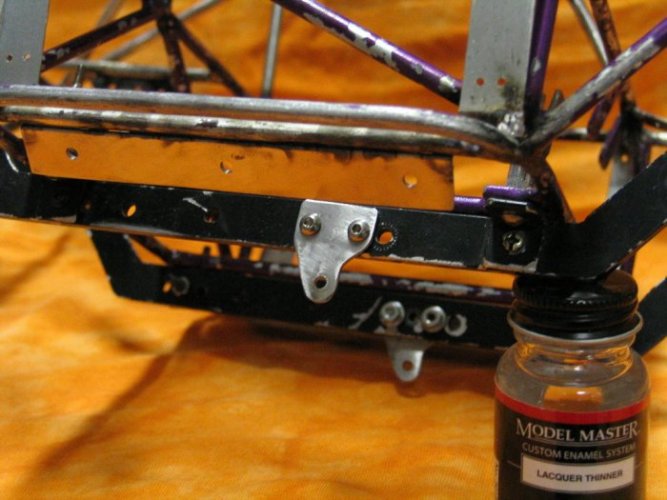
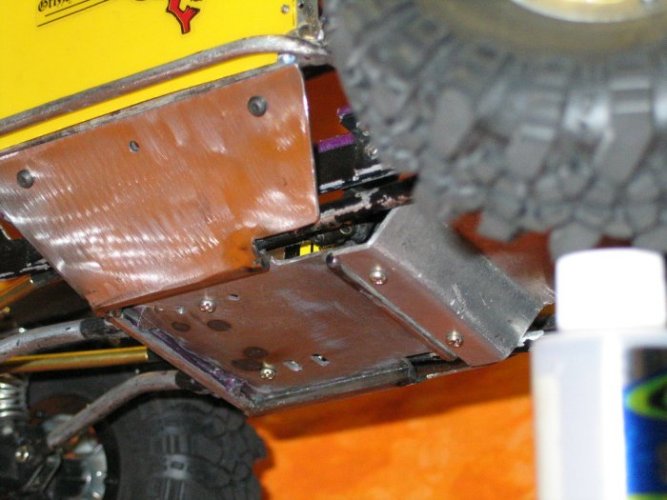
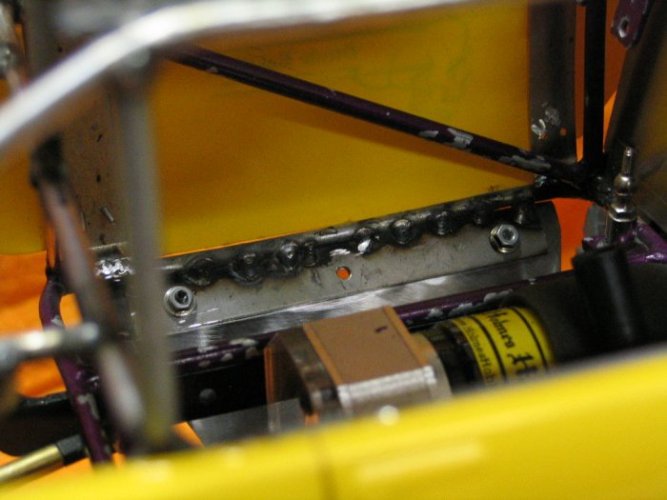
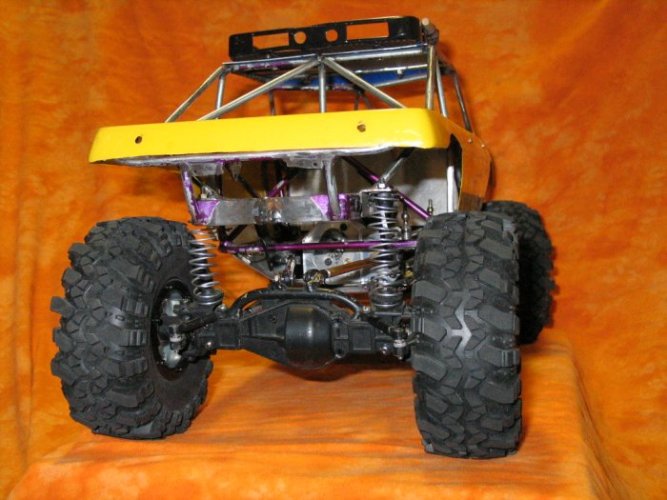
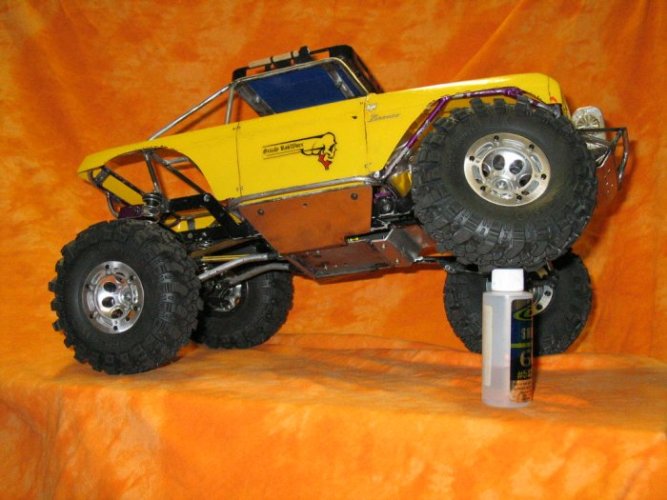
Dropping the radius arm mounts caused interference with the belly pan and skid, so I had to cut the whole belly pan off and build a new one. While I was at it I made it removable. This way I can work on the motor or transmission without having to remove the whole interior. I can just drop the skid. The boatsides bolt to tabs welded to the tube.

I had to clearance the pan so that the suspension could droop. I'll need to fill in the bottom of the skidplate with something.

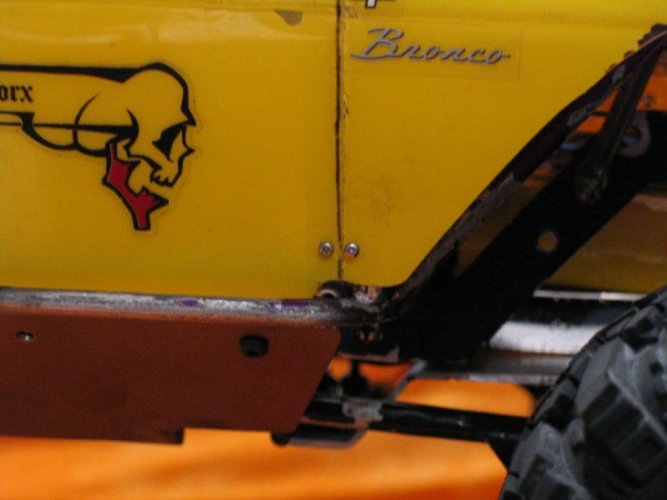
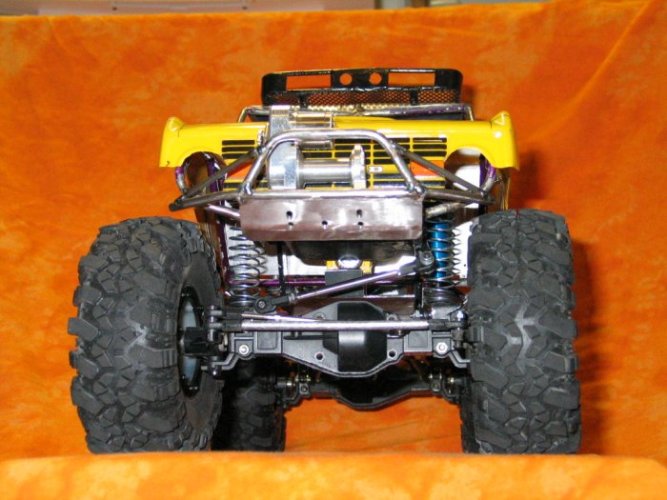
I added a rear tow point to the frame for pulling out the unfortunate ones. :lol: :p

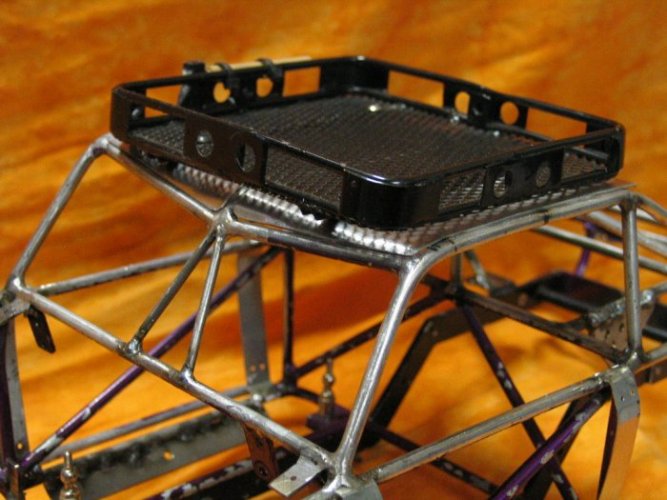
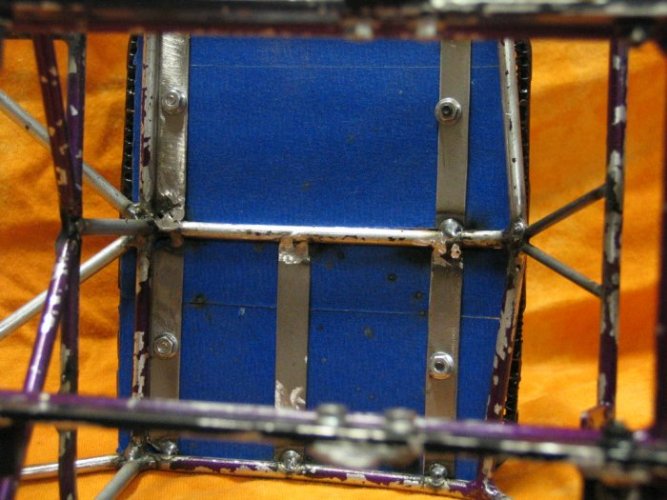
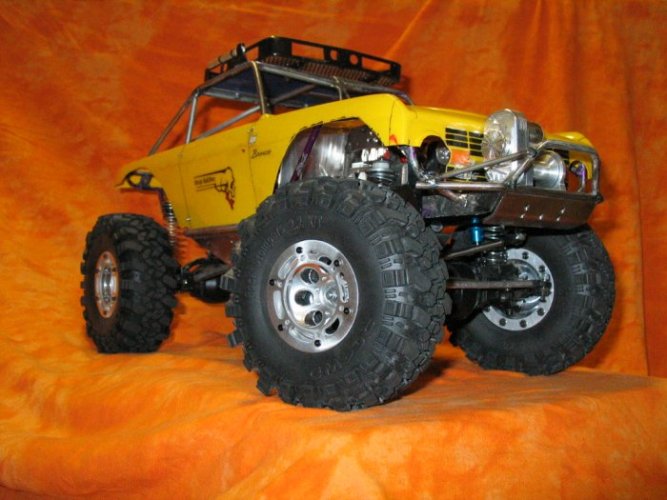
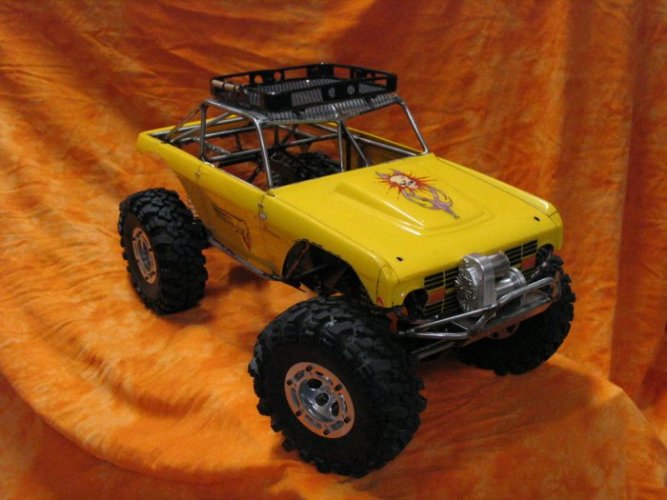
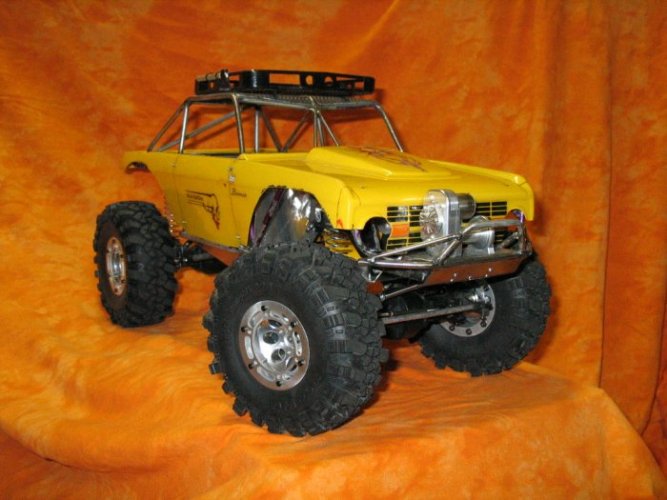
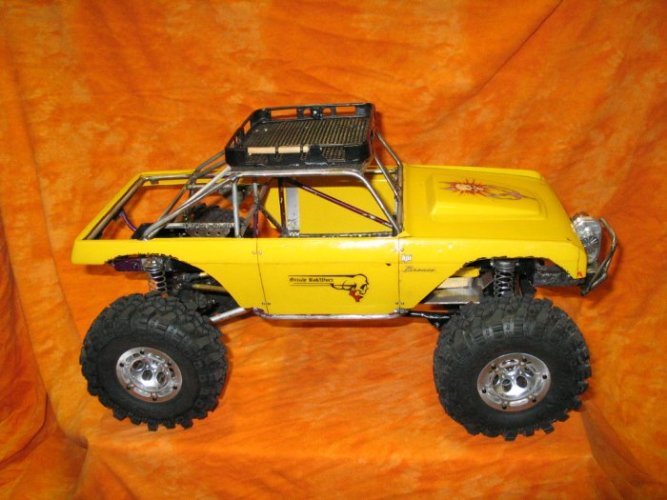
I added braces to the top of the cage to mount the roof rack and for the aluminum roof panels. I still need to add one more. :roll:

The roof panels are made from 0.020" thick aluminum and the roof rack is from Montana Scale Designs. The same rack that was on it before.

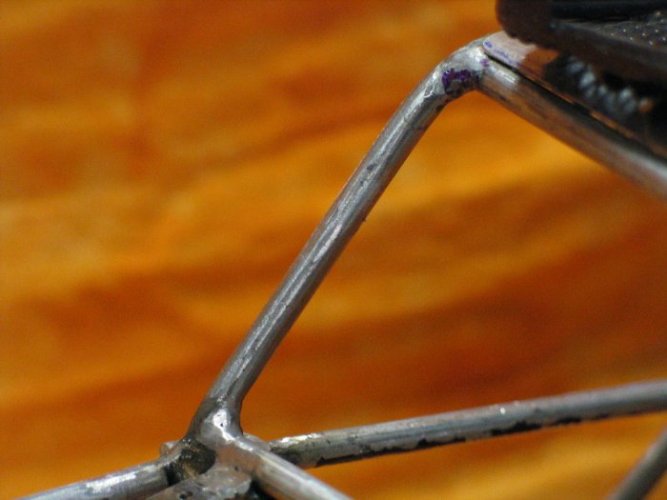
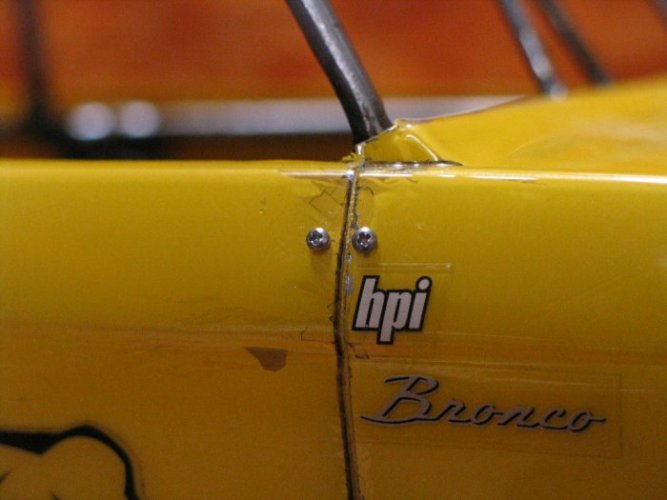
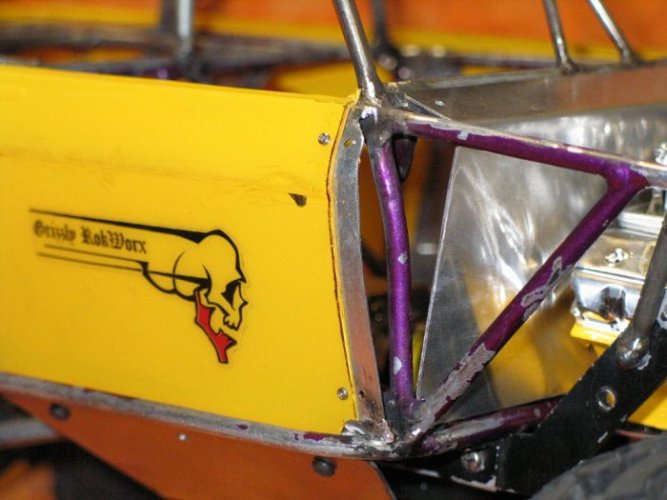
I smoothed out the joints from where I had to add material to the cage.

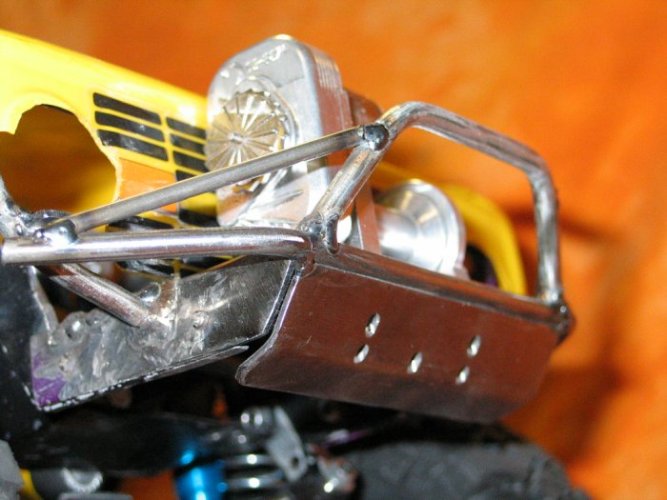
I got most of the front bumper done. I still need to add a plate for the fairlead though. Maybe I'll add so light tabs. I also made new headlight mounting tabs so that they fit better.

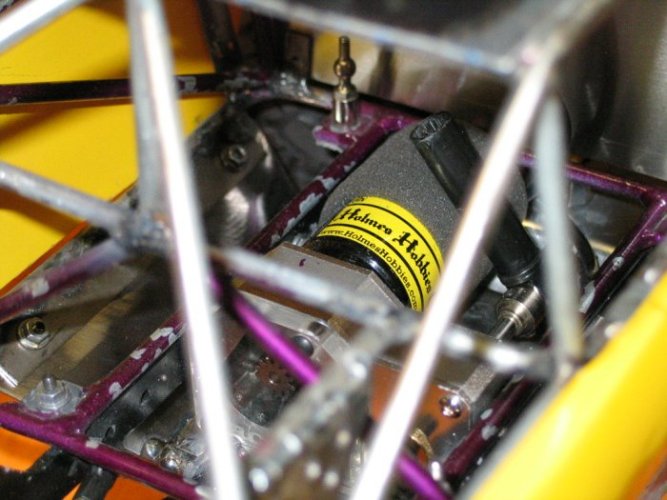
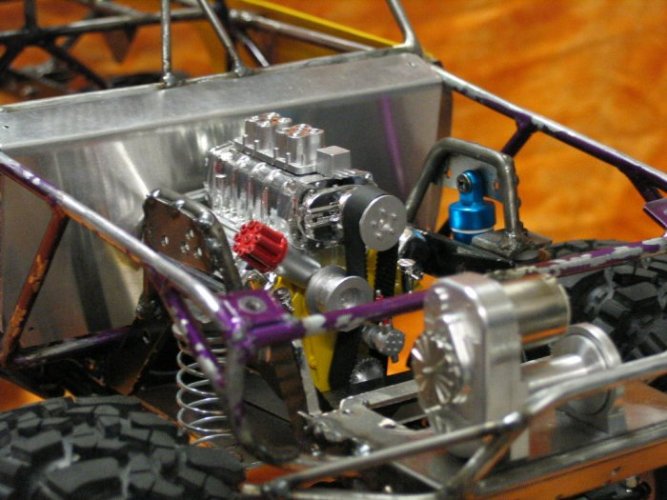
The R2 tranny and Holmes Hobbies 10T Cobalt Puller fit just perfect in there. "thumbsup"
 

Attachments

  • 292_9217_R.jpg
    292_9217_R.jpg
    69.2 KB · Views: 1,852
  • 292_9243_R.jpg
    292_9243_R.jpg
    71.7 KB · Views: 1,813
  • 292_9230_R.jpg
    292_9230_R.jpg
    66.4 KB · Views: 1,952
  • 292_9223_R.jpg
    292_9223_R.jpg
    47.2 KB · Views: 1,797
  • 292_9220_R.jpg
    292_9220_R.jpg
    75.7 KB · Views: 1,846
  • 292_9219_R.jpg
    292_9219_R.jpg
    77.4 KB · Views: 1,834
  • 292_9252_R.jpg
    292_9252_R.jpg
    75.8 KB · Views: 1,826
  • 292_9283_R.jpg
    292_9283_R.jpg
    65.1 KB · Views: 1,857
  • 292_9228_R.jpg
    292_9228_R.jpg
    55.9 KB · Views: 1,828
Griz that is just plain nice"thumbsup". I'm excited to see it finished. Keep up the great work. Your hard work is paying off. That is one thing nice about a rebuild, you get to make it better and you already have the satisfaction and knowledge from the first time so you know what needs to improve. Good stuff, nice update.
 
The last thing I've done is the body mounts. I thought of skimping on them because I am just about tired of making little brackets for this thing; but I thought it would be a crime to put this much work into Guido and Velcro the body on. :lol:

So I built some mounting points out of 26Ga steel. If you think welding brakeline is a pain, try welding this stuff. It would have been much better to braze them on but I don't have the tools to do it nor the time to learn it right now. So I Mig'ed them on.

There is a mounting point at each end of the door panels with 4 0-80 screws per mount. There is also a mount in the rear corner but it is not drilled yet. I think the results were worth the work and I'm glad I decided to to it. It looks really scale. "thumbsup"
 

Attachments

  • 292_9238_R.jpg
    292_9238_R.jpg
    50 KB · Views: 1,779
  • 292_9240_R.jpg
    292_9240_R.jpg
    55.2 KB · Views: 1,830
  • 292_9239_R.jpg
    292_9239_R.jpg
    46.7 KB · Views: 1,801
Griz that is just plain nice"thumbsup". I'm excited to see it finished. Keep up the great work. Your hard work is paying off. That is one thing nice about a rebuild, you get to make it better and you already have the satisfaction and knowledge from the first time so you know what needs to improve. Good stuff, nice update.
Thanks Nova, I appreciate it. "thumbsup" There were lots of things I didn't get to the first time and I'm feeling much better about getting them done this time.
 
BRILLIANT!
But I have to wonder why you dont have straight axle adapters in the back?
Not in the mode to read so type big!:lol:
 
Damn Griz, you and Guido are pulling out all the stops for scale nats this year:shock:, nice friggin' work!"thumbsup"
 
Oh.........did someone say scale? How's removable panels for scale. :twisted: "thumbsup"


I also finished the motor skidplate and firewall.

Best bring your A game to Montana guys, cuz I'm comin with both barrels blazin'. :twisted:
8)
 

Attachments

  • 292_9279_R.jpg
    292_9279_R.jpg
    75.6 KB · Views: 1,798
  • 292_9277_R.jpg
    292_9277_R.jpg
    77 KB · Views: 1,806
  • 292_9274_R.jpg
    292_9274_R.jpg
    84.6 KB · Views: 1,817
  • 292_9273_R.jpg
    292_9273_R.jpg
    65.3 KB · Views: 1,803
  • 292_9269_R.jpg
    292_9269_R.jpg
    80.6 KB · Views: 1,820
  • 292_9263_R.jpg
    292_9263_R.jpg
    74.3 KB · Views: 1,824
BRILLIANT!
But I have to wonder why you dont have straight axle adapters in the back?
Not in the mode to read so type big!:lol:
Guido will have rear lockouts if necessary, but something much better may make it to my door in time. We'll have to see. ;-)
:lol:
Damn Griz, you and Guido are pulling out all the stops for scale nats this year:shock:, nice friggin' work!"thumbsup"
Thank you Ben, we are going for broke here. If we don't win the concourse again this year.....it won't be for lack of trying. :lol:
 
Pfffft, I'm glad I sold the R3, I would have been embarrassed having to compete against Guido!:oops:

Looks absolutely fantastic!"thumbsup"

This event is going to be insane w/ quality builds!:twisted:
 
Here's some last random shots before the tear down.
Everthing's coming apart so I can cut some new frame rails and shoot some paint. Hope you enjoy.
 

Attachments

  • 292_9262_R.jpg
    292_9262_R.jpg
    73.9 KB · Views: 1,997
  • 292_9259_R.jpg
    292_9259_R.jpg
    71.2 KB · Views: 2,024
  • 292_9257_R.jpg
    292_9257_R.jpg
    70 KB · Views: 2,035
  • 292_9256_R.jpg
    292_9256_R.jpg
    78.8 KB · Views: 2,042
  • 292_9255_R.jpg
    292_9255_R.jpg
    75.4 KB · Views: 2,894
  • 292_9247_R.jpg
    292_9247_R.jpg
    73.1 KB · Views: 2,045
  • 292_9244_R.jpg
    292_9244_R.jpg
    77.5 KB · Views: 2,016
  • 292_9236_R.jpg
    292_9236_R.jpg
    74.5 KB · Views: 2,090
  • 292_9233_R.jpg
    292_9233_R.jpg
    72.9 KB · Views: 2,060
  • 292_9289_R.jpg
    292_9289_R.jpg
    73.2 KB · Views: 2,005
Back
Top