DadCanyoufix?
Rock Crawler
Hello all. Would like to say that it is nice to post a thread even when it is likely everyone is posting about the same models. We all do it a little bit differently, sometimes that inspires creativity, other times, it inspires a parts list that we hide in our minds and delete all proof of.
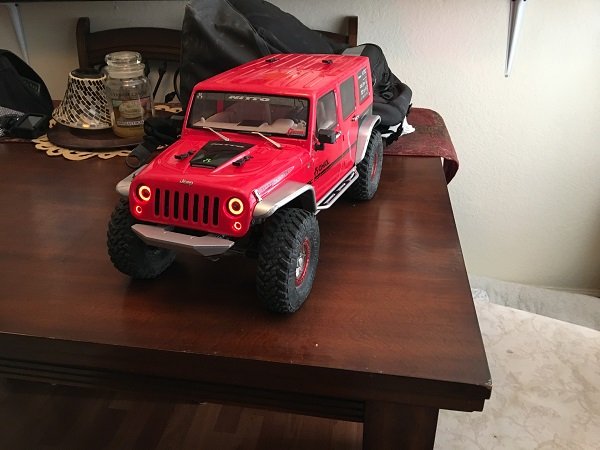
The New Rubicon RTR, wow, did Axial do a great job with an out of the box RTR. If you are in the market for a rig that can pretty much hit the trails on 3s right out of the box and actually last more than a couple runs without having to replace parts, I personally think this is the RTR for you. I on the other hand, have never bought a Jeep, or an RTR and just immediately ordered a parts list before I even set hands on it. I knew what I wanted, got more than that and loved every minute of it. Here we go.
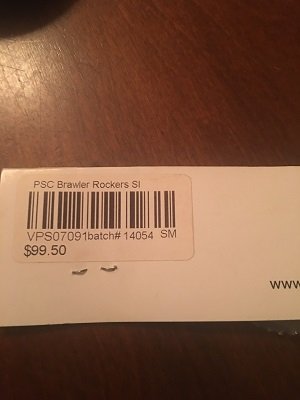
I Pre-ordered the Jeep and had most of the parts in hand long before slicing the factory seal on the box. I started with an interior, servo, and shocks. After seeing videos and pics from the cool kids that get their stuff way before the rest of us (still trying to find a way into that group...) I decided I wanted my JK to pop, to look a little aesthetically different than the direction the main stream was headed, black and red. While black and red look great together, I thought, let's mix it up. So, we went silver/aluminum and red. I ordered flares from RC4WD, clear or silver brawlers from VP, had some Axial 8 holes laying around, and eventually got super lucky with a deal on a set of parts I had never had the budget to buy before. I also ordered rings and hardware from LURC. Love the new RTR steering angle!
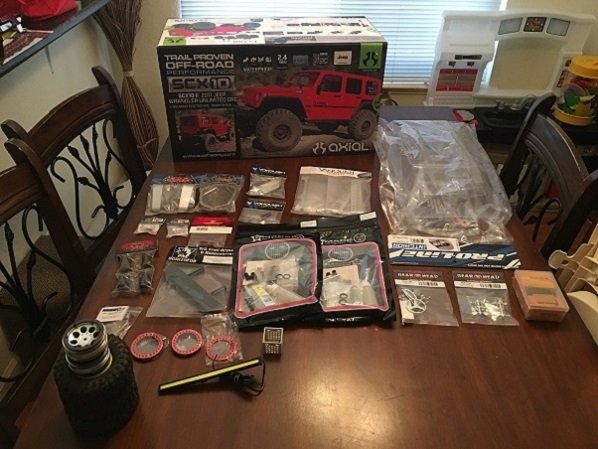
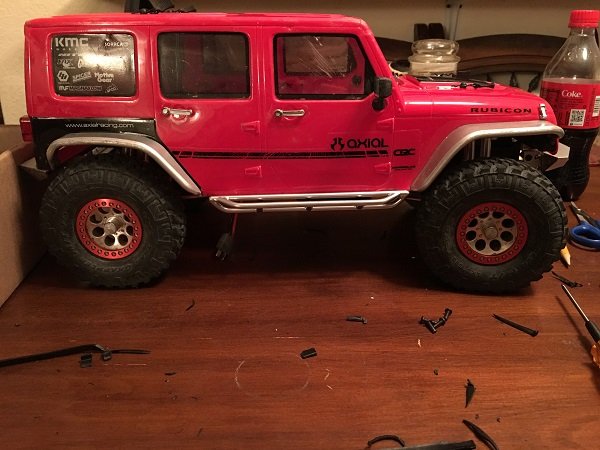
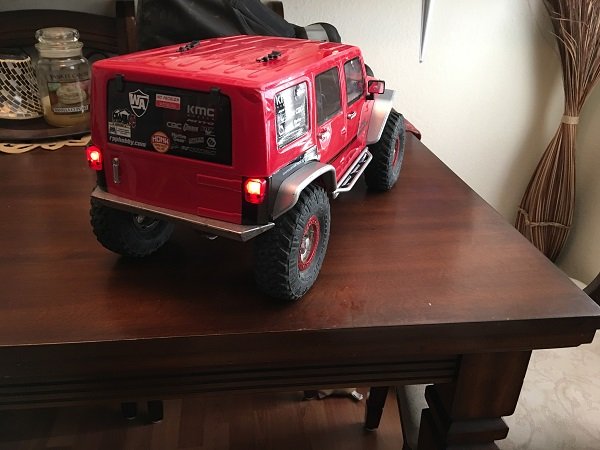
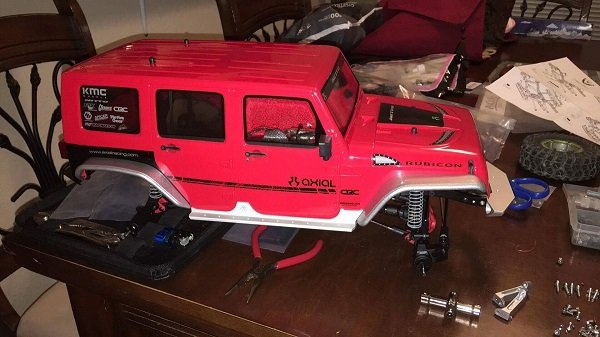
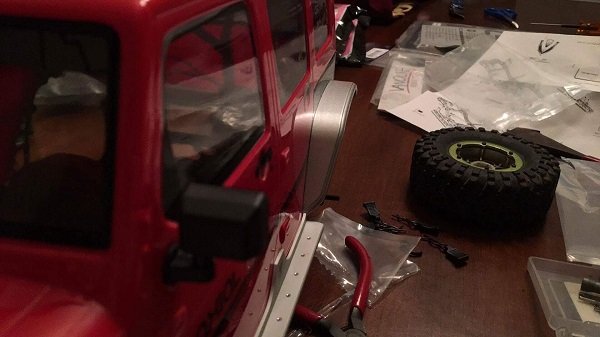
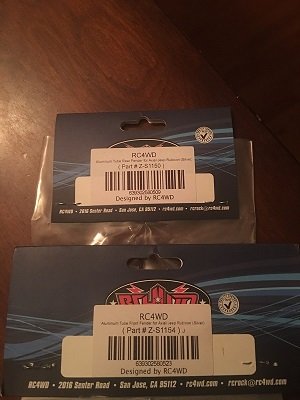
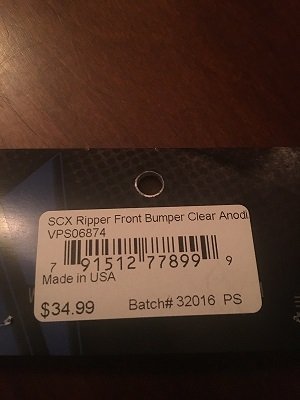
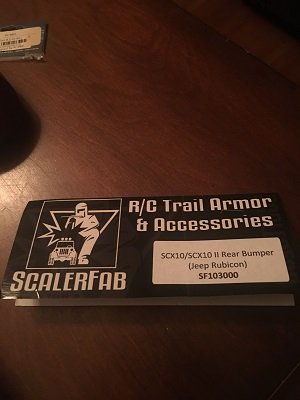
Lets start with the flares. They don't match up. The new CRC flares have a slightly tighter bolt pattern. This required some holes to be enlarged or repositioned slightly to relieve the body. They eventually found their home though. The bumpers and brawlers fit right up, the Ripper bumper had to be raised later. PIC Heavy WARNING.
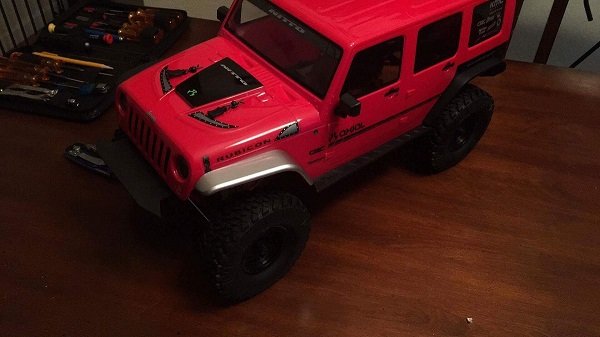
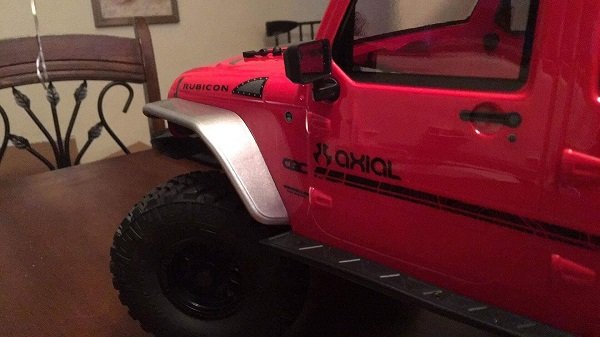
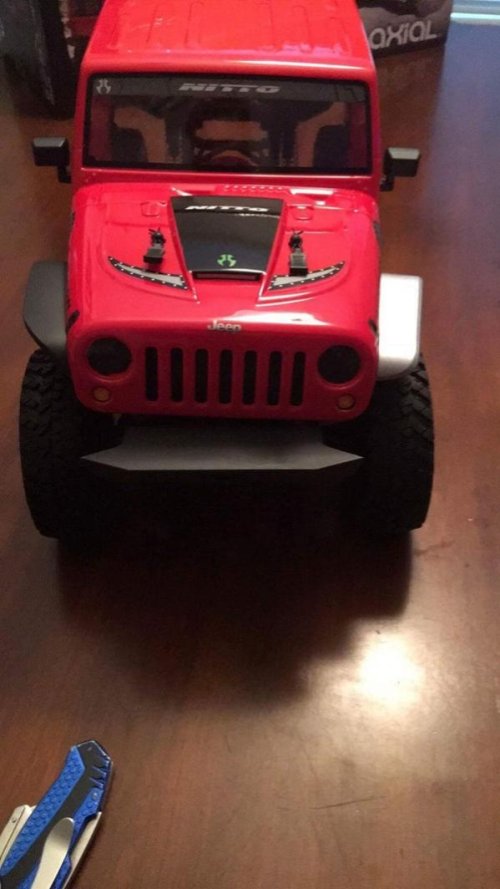
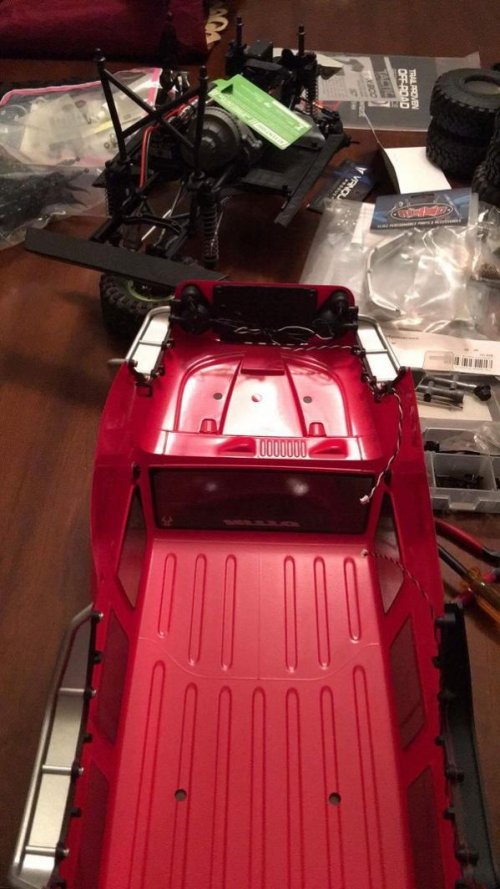

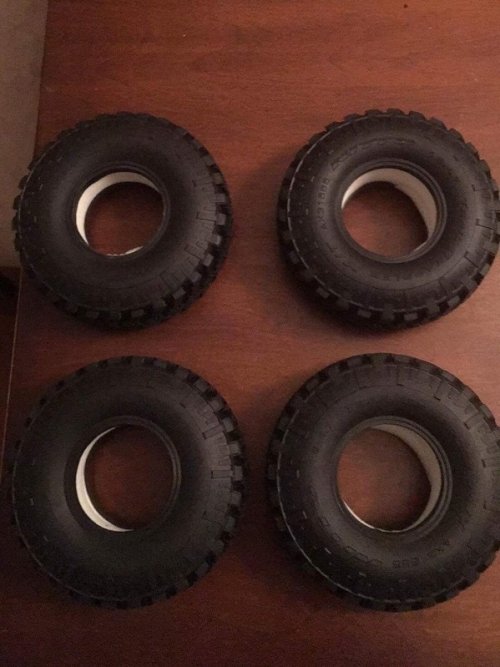
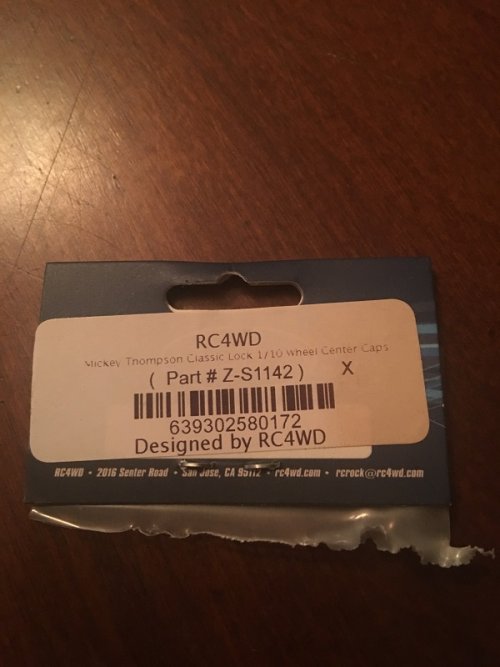
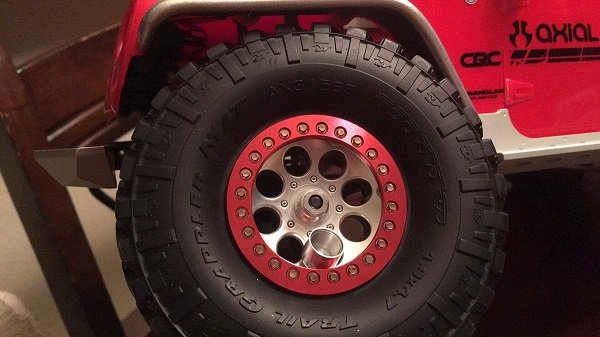
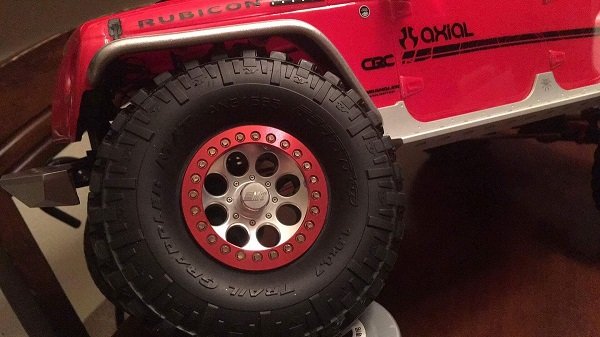
Next was Wheels and Tires. The stock tires feel and look great. I know these are supposed to be RTR compound, but I thought with some wear, they will bite just as hard as my old RC4WD Claws, and they do pretty well in my area. The foams are a huge improvement for a stock RTR foam. Very impressed, so much so they will be staying in the tires. I really like the RC4WD M/T wheel nuts with screw on caps. Afraid of them spinning off, but we shall see.
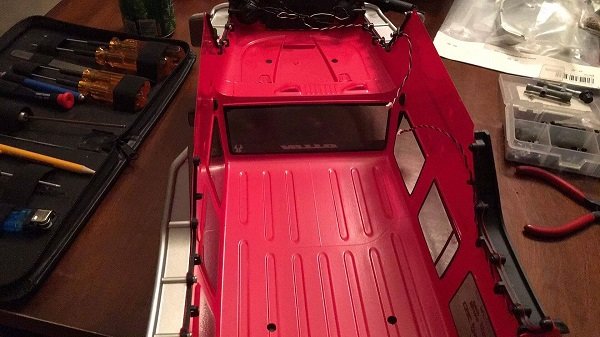
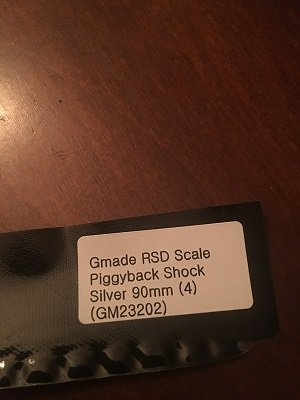
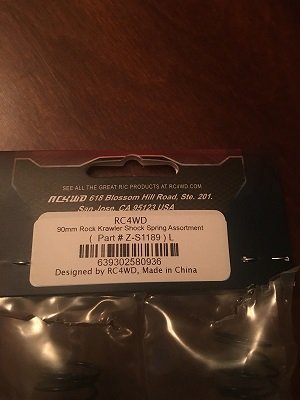
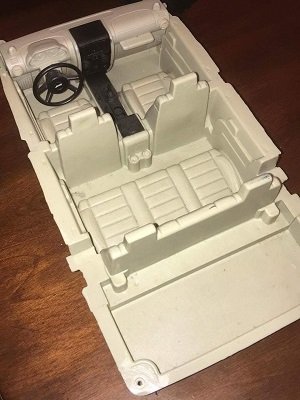
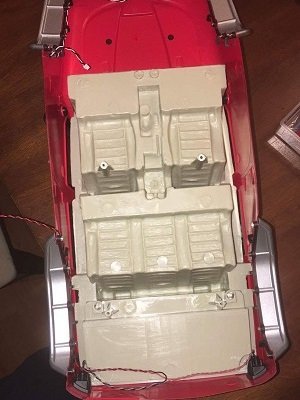
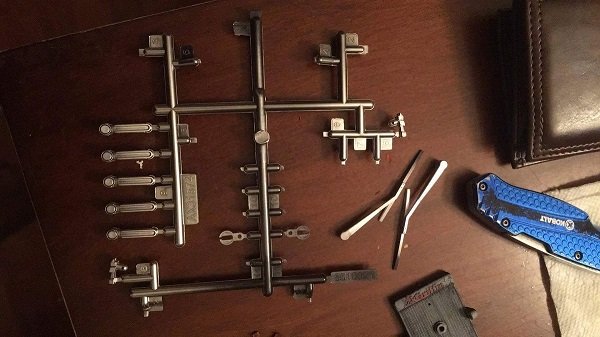
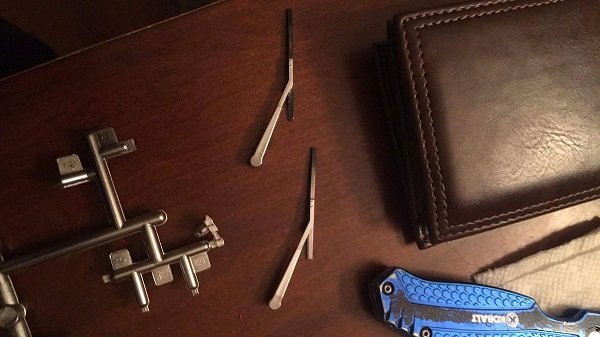
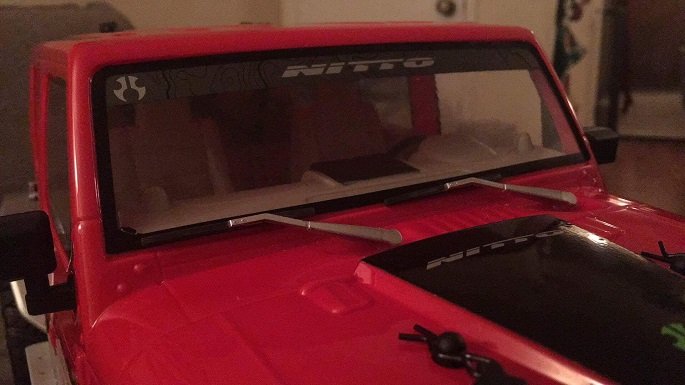
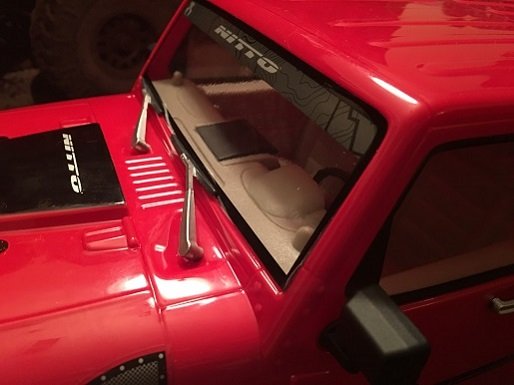
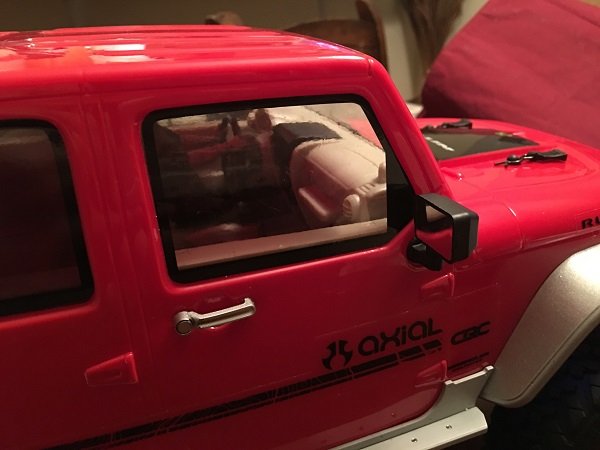
Interior, parts tree details and shocks. Not much to show with the shocks. At some point I will add an internal spring under the piston and might switch to 35wt oil from the 22.5wt Losi oil I used to fill them originally. I want to play with the functional piggy back first. if I can keep the front soft and just tighten up the rear a little bit, it may be okay. The interior is from an old New Bright JK. It fits the body perfectly. I did have to trim it to fit the trans, and the rear body posts run right through the seat, but I will cover up the scars with scale items and maybe some passengers. This build is for performance and fun. Not trying to fit any rules, or maximize points here, just trying to have fun and see what becomes of it. The side of the interior fits the windows great, has notches already in it for clearing the mirrors and sits right on top of the tail light fixtures. With the spare tire in the back, the interior is sandwiched nicely when the body is put on. I do plan on using an old 2012 JK roll cage eventually, but I have a fair amount of paint work to do before I start fitting it to this interior. The details from Axial are great. I look forward to finishing up the paint and details I have planned on other parts of the body, but the door handles, hood latches and windshield wipers are wonderful and I really applaud Axial for including them with a RTR. Bravo! Pic Heavy WARNING again.

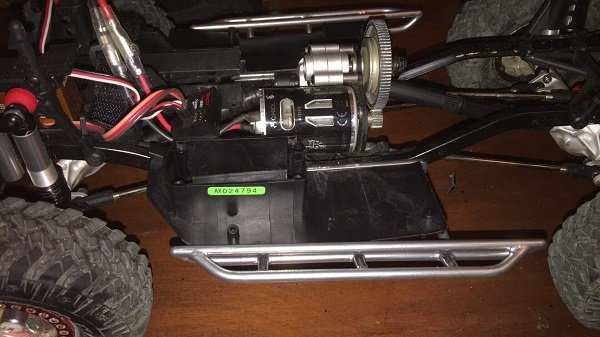
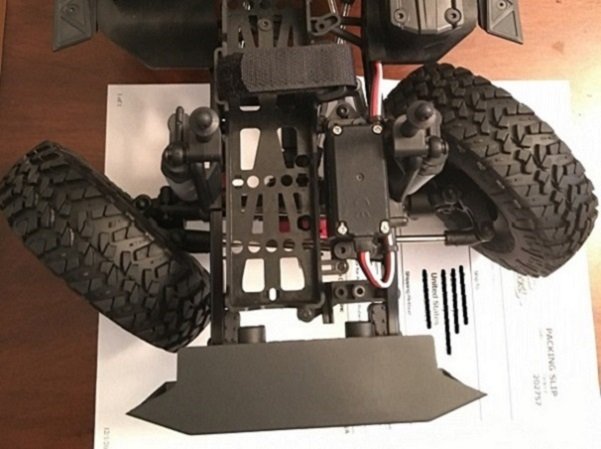
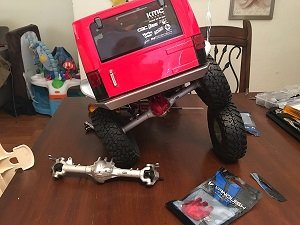
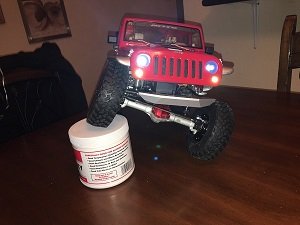
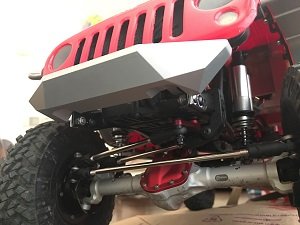
Now, for the parts I have yet to use because of budget. I know many have used these and will continue to do so. I can see why! I got these Curries complete, but used for less than the price of the housings new. I have always wanted a set, and now I have a spare set of AR44's to throw on another build. The Curries came with Samix Knuckles and weights. I was unsure if I would be keeping them until they arrived. They seem to be of decent quality, so I will run them until they die, if that ever happens. With the weight of this build ( I know it is far from what some reach, but still heavy for my build style), the knuckles will get their fair share of abuse on the mountains. There is also a picture showing the small plates I made to raise the Ripper bumper to reduce the gap. I plan on putting a winch in, so that should help break up what gap is left. I took the build out front and played around with approaching and riding a curb that varies in height, from as low as 4" to as tall as 7-8" in some spots. I use this curb to see where the tipping point of a build is. If the rig cant make it up the curb beyond the paved patio portion or walk the curb with the front tire on the curb around the curve by my truck, I have work to do. Thankfully, the Jeep passed.
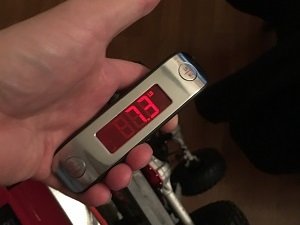
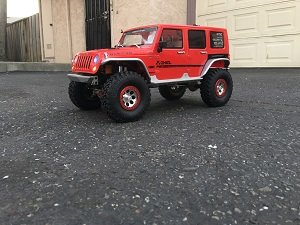
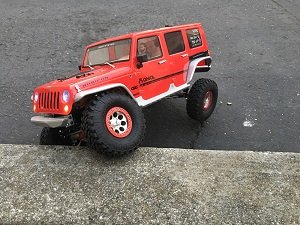
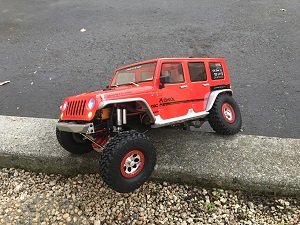
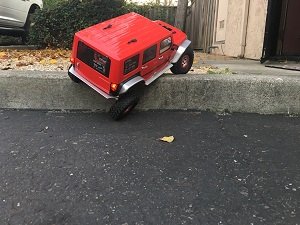
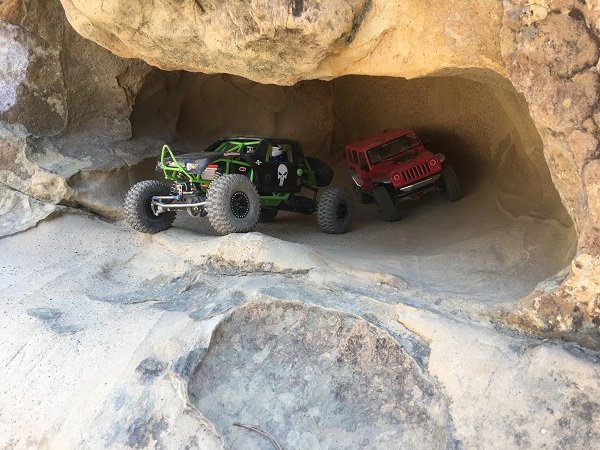
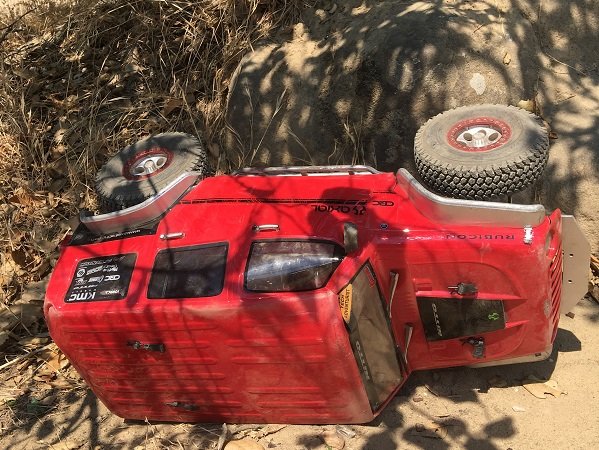
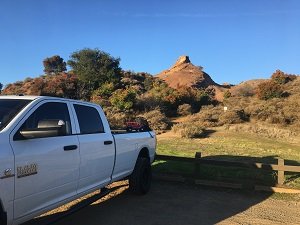
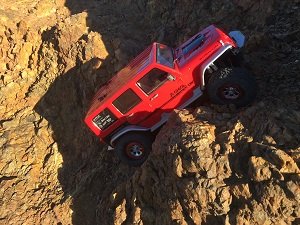
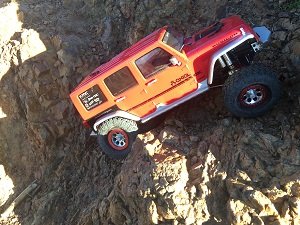
It was then time to take the jeep to the park about 5 min from the house. A great place to test a rig before heading to Mt. Diablo. Here I can test roll and tip points and make adjustments with little risk. Mt. Diablo is not so forgiving. There are definitely spots you can loose a rig up here, but it will likely be found either as a pile of parts or maimed. In some places at Diablo, well, happy hunting. I think the Jeep did very well. I would like to fiddle with the suspension a little more before venturing out to Diablo again, until then, Coyote will have to do, and I can practice shooting with my Go Pro. Here is a short edited video of my trial run.
https://youtu.be/w--6P0gHXgM
Thank you for reading and looking.


The New Rubicon RTR, wow, did Axial do a great job with an out of the box RTR. If you are in the market for a rig that can pretty much hit the trails on 3s right out of the box and actually last more than a couple runs without having to replace parts, I personally think this is the RTR for you. I on the other hand, have never bought a Jeep, or an RTR and just immediately ordered a parts list before I even set hands on it. I knew what I wanted, got more than that and loved every minute of it. Here we go.
I Pre-ordered the Jeep and had most of the parts in hand long before slicing the factory seal on the box. I started with an interior, servo, and shocks. After seeing videos and pics from the cool kids that get their stuff way before the rest of us (still trying to find a way into that group...) I decided I wanted my JK to pop, to look a little aesthetically different than the direction the main stream was headed, black and red. While black and red look great together, I thought, let's mix it up. So, we went silver/aluminum and red. I ordered flares from RC4WD, clear or silver brawlers from VP, had some Axial 8 holes laying around, and eventually got super lucky with a deal on a set of parts I had never had the budget to buy before. I also ordered rings and hardware from LURC. Love the new RTR steering angle!


Lets start with the flares. They don't match up. The new CRC flares have a slightly tighter bolt pattern. This required some holes to be enlarged or repositioned slightly to relieve the body. They eventually found their home though. The bumpers and brawlers fit right up, the Ripper bumper had to be raised later. PIC Heavy WARNING.


Next was Wheels and Tires. The stock tires feel and look great. I know these are supposed to be RTR compound, but I thought with some wear, they will bite just as hard as my old RC4WD Claws, and they do pretty well in my area. The foams are a huge improvement for a stock RTR foam. Very impressed, so much so they will be staying in the tires. I really like the RC4WD M/T wheel nuts with screw on caps. Afraid of them spinning off, but we shall see.


Interior, parts tree details and shocks. Not much to show with the shocks. At some point I will add an internal spring under the piston and might switch to 35wt oil from the 22.5wt Losi oil I used to fill them originally. I want to play with the functional piggy back first. if I can keep the front soft and just tighten up the rear a little bit, it may be okay. The interior is from an old New Bright JK. It fits the body perfectly. I did have to trim it to fit the trans, and the rear body posts run right through the seat, but I will cover up the scars with scale items and maybe some passengers. This build is for performance and fun. Not trying to fit any rules, or maximize points here, just trying to have fun and see what becomes of it. The side of the interior fits the windows great, has notches already in it for clearing the mirrors and sits right on top of the tail light fixtures. With the spare tire in the back, the interior is sandwiched nicely when the body is put on. I do plan on using an old 2012 JK roll cage eventually, but I have a fair amount of paint work to do before I start fitting it to this interior. The details from Axial are great. I look forward to finishing up the paint and details I have planned on other parts of the body, but the door handles, hood latches and windshield wipers are wonderful and I really applaud Axial for including them with a RTR. Bravo! Pic Heavy WARNING again.


Now, for the parts I have yet to use because of budget. I know many have used these and will continue to do so. I can see why! I got these Curries complete, but used for less than the price of the housings new. I have always wanted a set, and now I have a spare set of AR44's to throw on another build. The Curries came with Samix Knuckles and weights. I was unsure if I would be keeping them until they arrived. They seem to be of decent quality, so I will run them until they die, if that ever happens. With the weight of this build ( I know it is far from what some reach, but still heavy for my build style), the knuckles will get their fair share of abuse on the mountains. There is also a picture showing the small plates I made to raise the Ripper bumper to reduce the gap. I plan on putting a winch in, so that should help break up what gap is left. I took the build out front and played around with approaching and riding a curb that varies in height, from as low as 4" to as tall as 7-8" in some spots. I use this curb to see where the tipping point of a build is. If the rig cant make it up the curb beyond the paved patio portion or walk the curb with the front tire on the curb around the curve by my truck, I have work to do. Thankfully, the Jeep passed.


It was then time to take the jeep to the park about 5 min from the house. A great place to test a rig before heading to Mt. Diablo. Here I can test roll and tip points and make adjustments with little risk. Mt. Diablo is not so forgiving. There are definitely spots you can loose a rig up here, but it will likely be found either as a pile of parts or maimed. In some places at Diablo, well, happy hunting. I think the Jeep did very well. I would like to fiddle with the suspension a little more before venturing out to Diablo again, until then, Coyote will have to do, and I can practice shooting with my Go Pro. Here is a short edited video of my trial run.
https://youtu.be/w--6P0gHXgM
Thank you for reading and looking.


Last edited:


