The Paddy Channel
Newbie
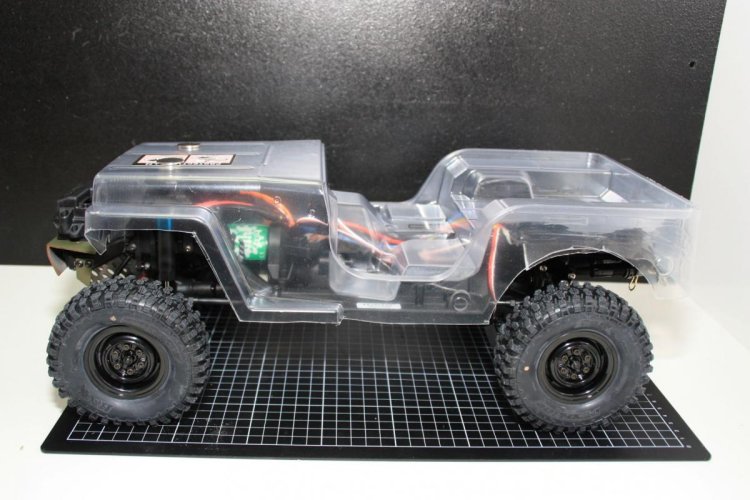
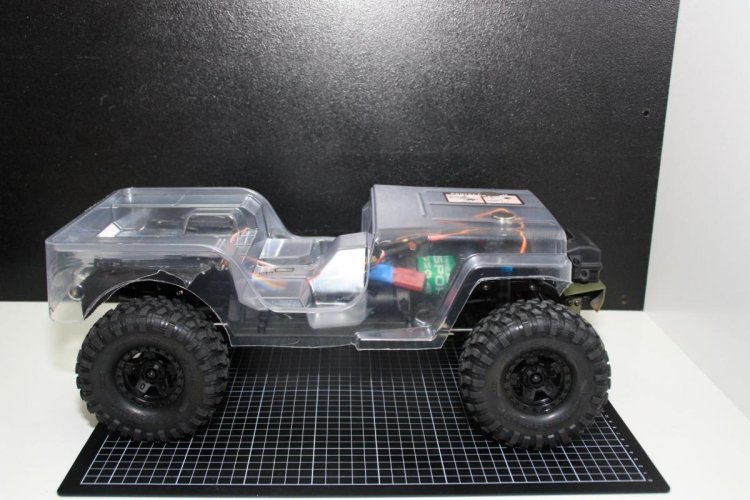
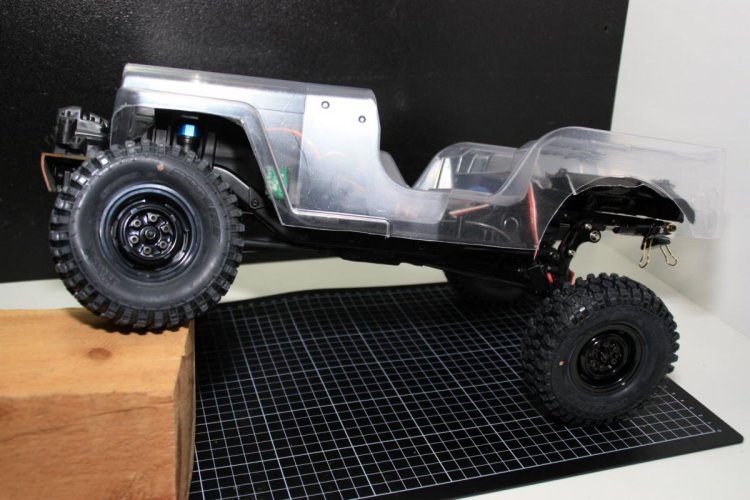
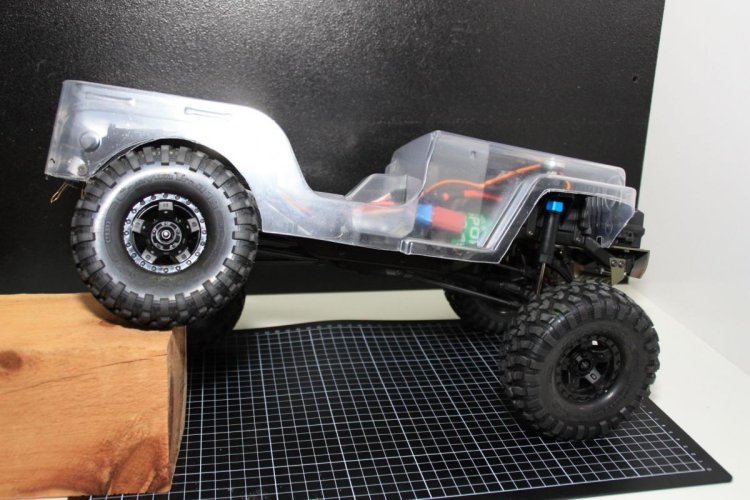
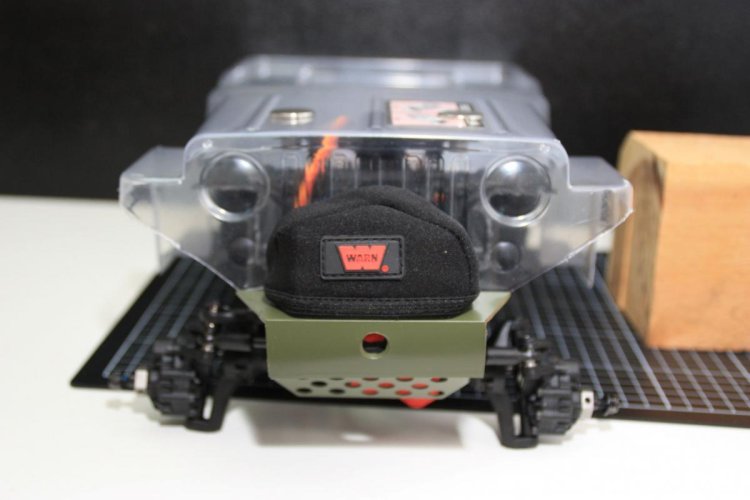
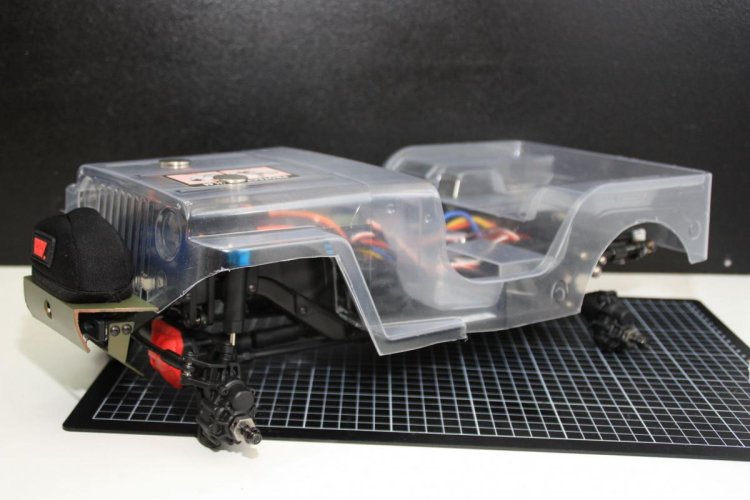
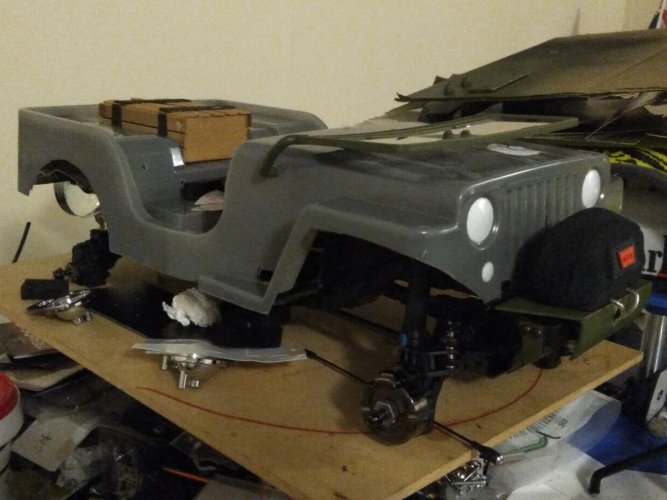
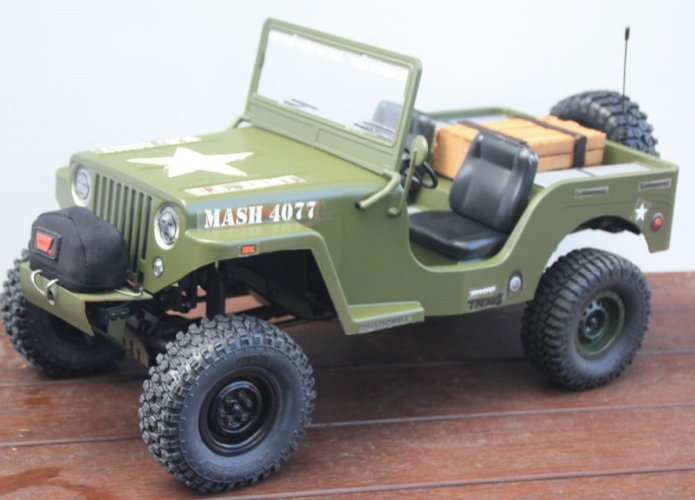
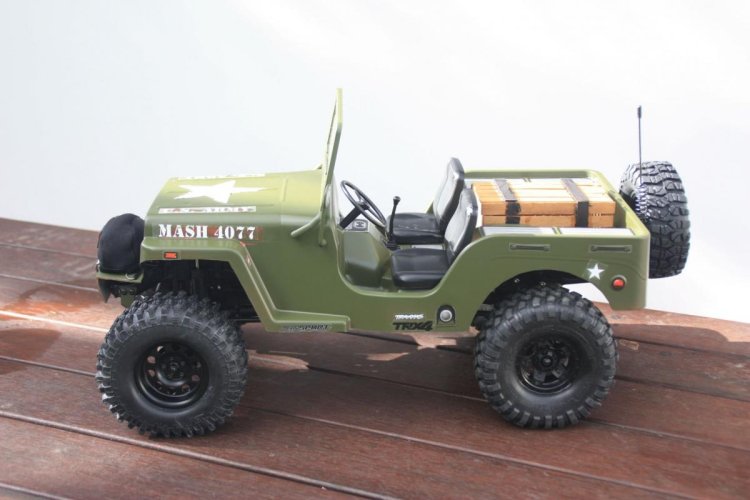
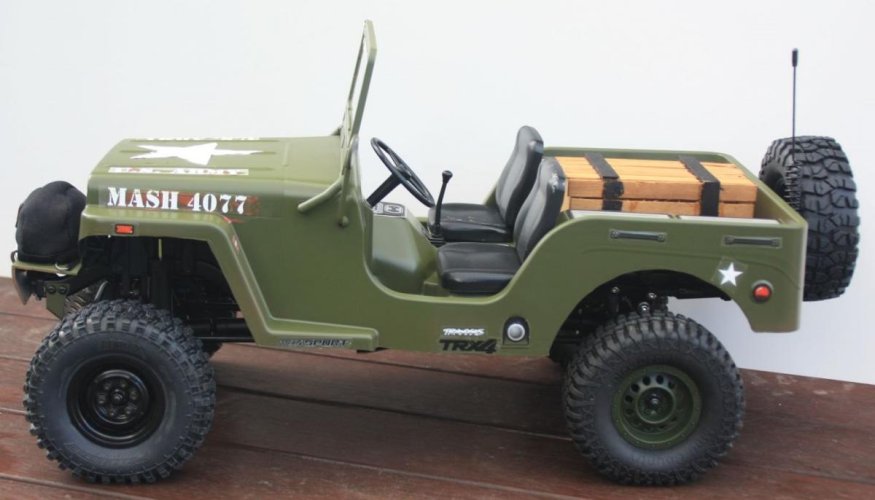
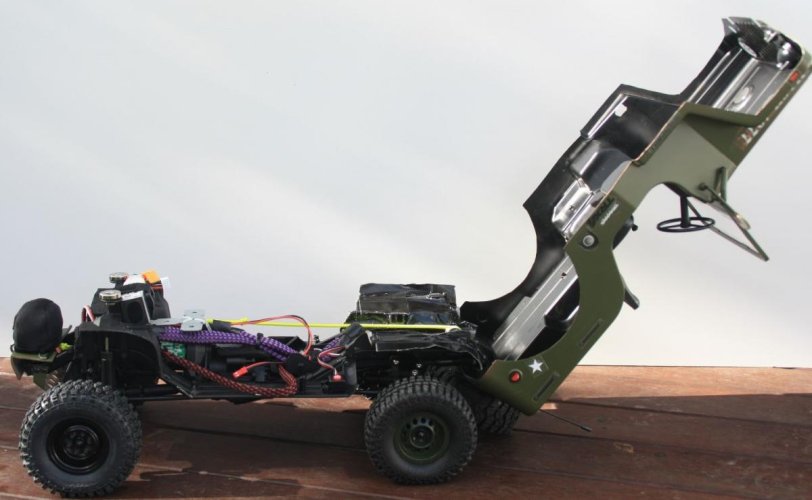
The Plan to fit a Gmade Sawback body to a TRX4 sport
I started with a standard TRX4 RTR and shortened it into a 300mm wheelbase; this was done by swapping out the rear links with 4 front links and re-using the ball ends. The shock towers are swapped around [left moves to the right side etc] there is also a brace that needs to be moved.
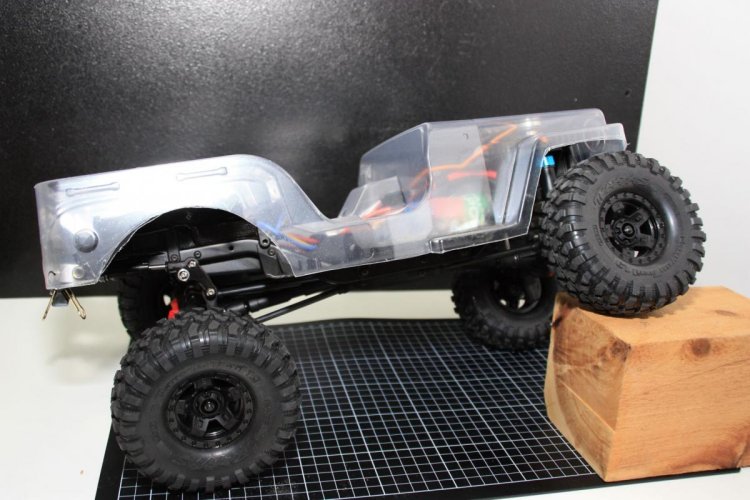
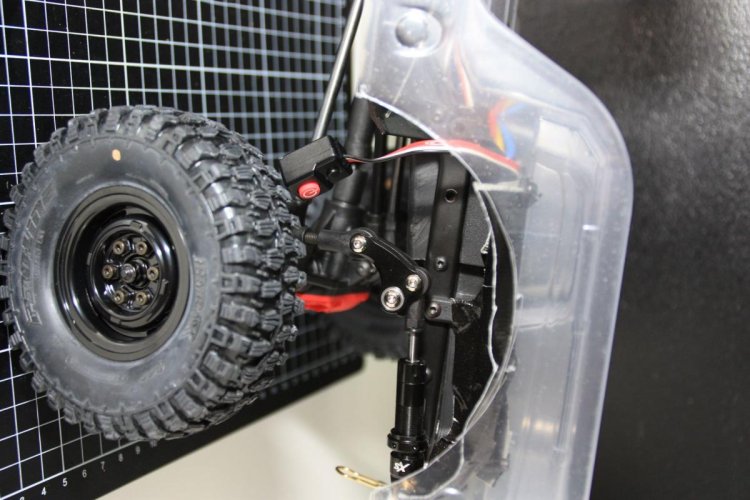
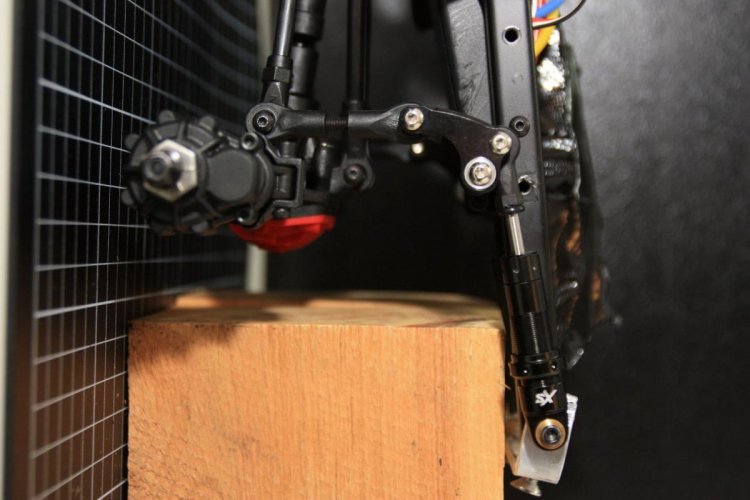
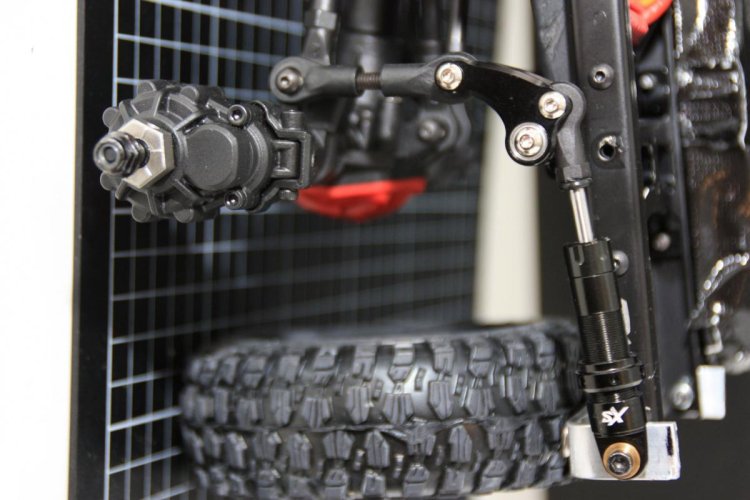
I opted to install some longer shocks, 85 – 120mm over the standard ones and removed the springs, this will give me the extra height over the standard shock, plus I get the longer travel with the articulation. I also added some small springs to the inside of the shock where the oil goes doing this helps with not having such a thud. I have needed to install the servo mount used in the lift kit as these shocks are similar length to the “lift kit” ones and lengthened the front upper suspension link to reach the axel.
I have added the narrow fenders to the chassis as well
You will need to shorten the rear drive shaft to match the front.
Parts used
TRA 8243 [2 sets] - Traxxas TRX-4 Steel 5x100 Front Upper/Lower Suspension Link 2Pcs
TRA 8250 - Traxxas TRX-4 Front & Rear Center Drive Shaft - for the shorter shaft
TRA 8080 - Traxxas TRX-4 Narrow Front & Rear Fender Inner Set 4Pcs
TRA 8141 - Traxxas TRX-4 Long Arm Lift Kit Steering Servo Mount –
TRA 8247x - Traxxas TRX-4 Metal Steering Servo Horn
Body
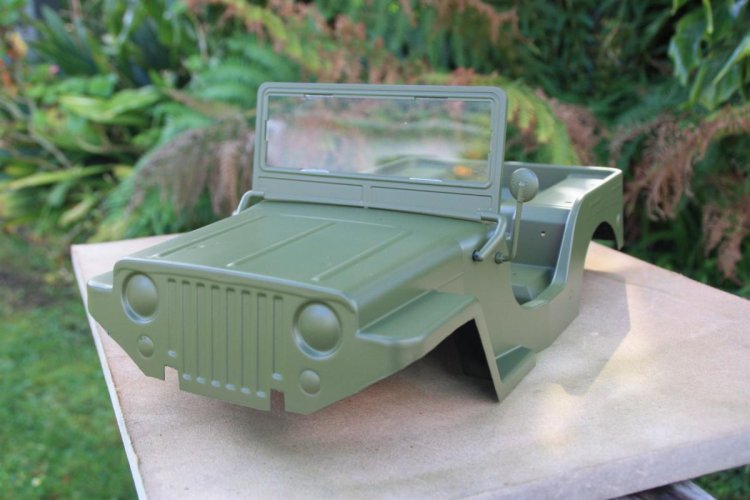
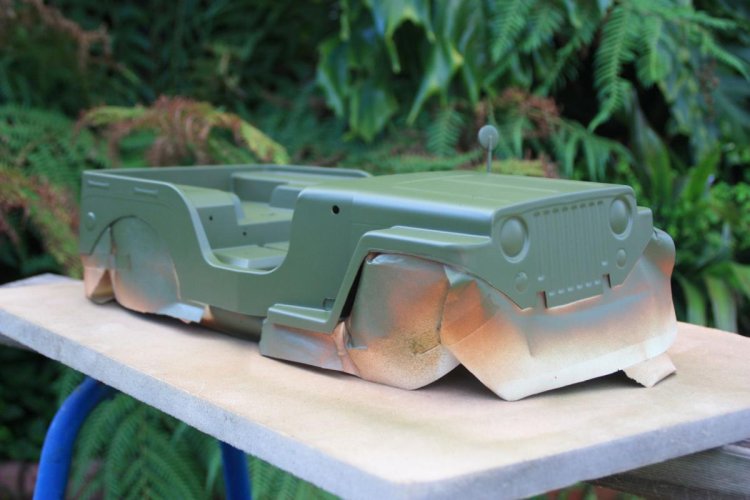
The Gmade Sawback, Jeep Willy style body in an army green and decal layout to compliment. I might go back to the standard shocks with the Sawback body
Electronics
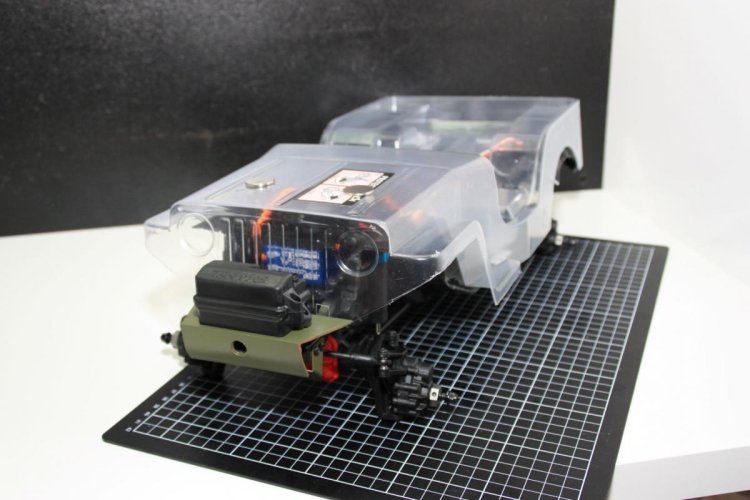
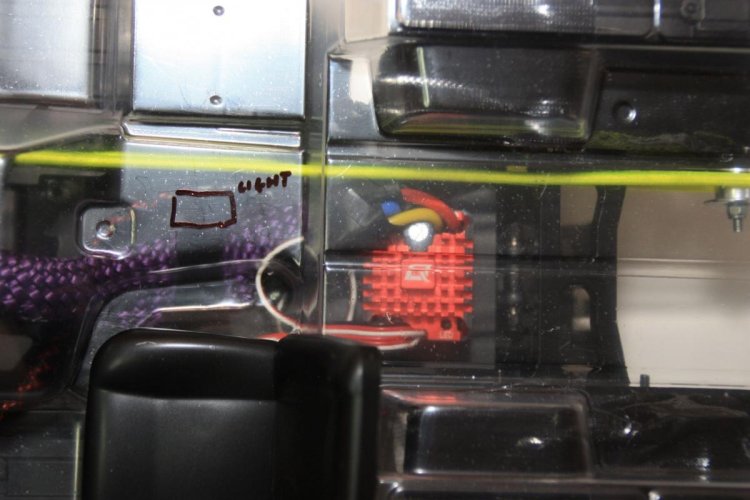
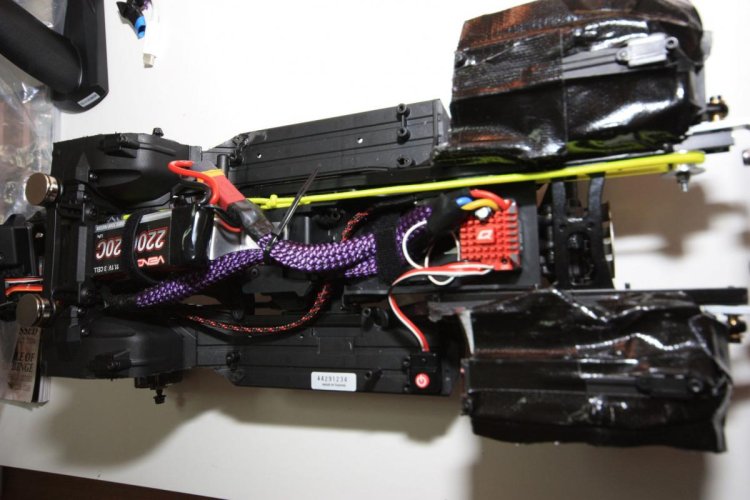
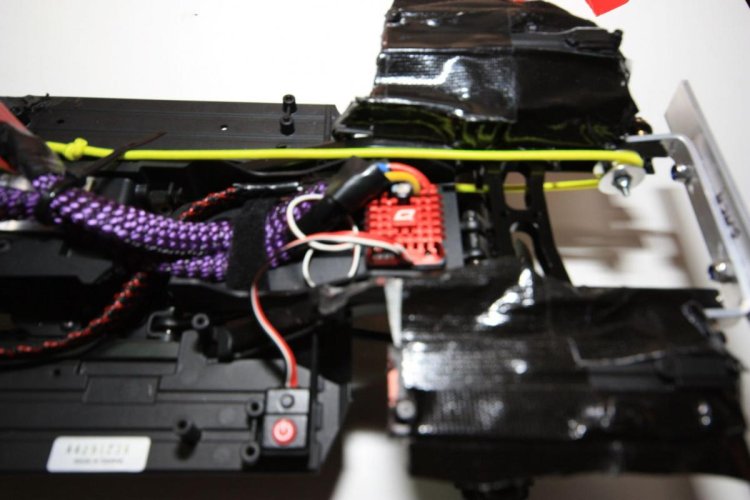
I have stripped out the esc and steering servo and replacing them with the hobbywing 1080 esc and using a 35kg servo from EBay. The receiver box has been moved to the front where you can put the battery between the wheel wells
The battery tray will be swapped out for the bow house low profile one to fit better under the body and will also have the ESC located in the front part with a smaller battery to fit behind it.
The motor will be swapped to a 45t 550 size Holmes Hobby motor with a 15 tooth pinion and changing to the 45 tooth spur.
Parts
Hobbywing QuicRun Waterproof 1080 Brushed Crawling ESC
35KG Large Torque Waterproof Digital Steering Servo
BWH-BTX-0060J - BowHouse RC TRX-4 Molded Low CG Battery Tray ]
VNR 1577 - Venom Power 3S Soft Pack 20C LiPo Battery w/UNI 2.0 Connector (11.1V/2100mAh)
Wheels
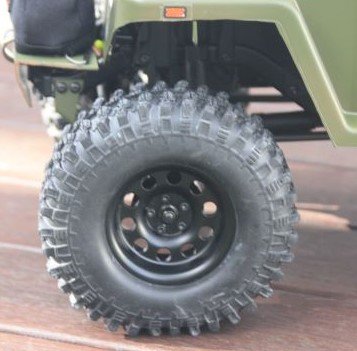
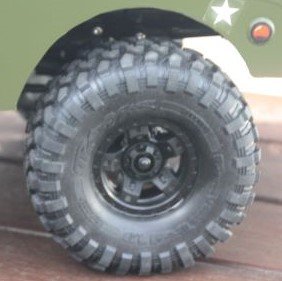
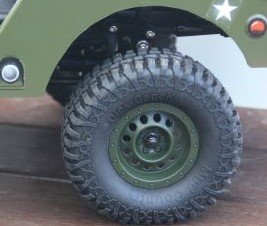
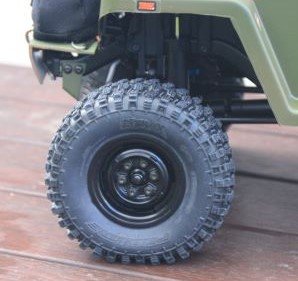
I will either stay with the standard TRX4 set or look for a smaller class 1 tyer - hyrax
Trx4 Sawback update,
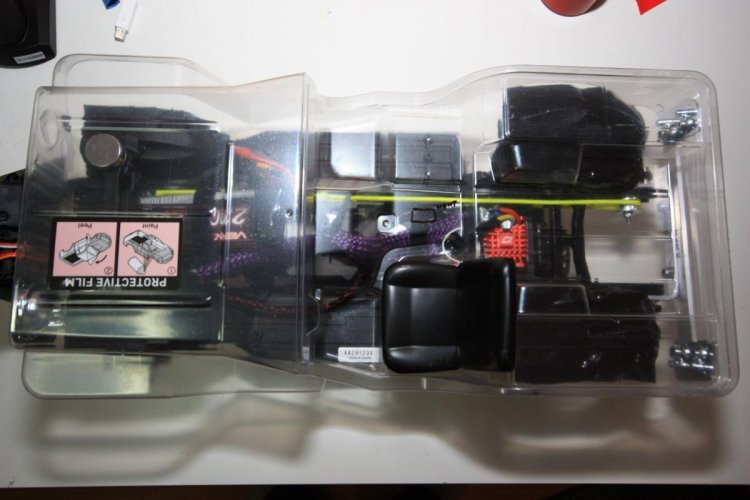
I have placed the body on and worked through the rear shock issue by changing the rear shocks to a cantilever system and this has worked out well. I also received my class 1 wheels – 100mm high creating a new problem, with the shorter wheels the body looks to high from the top of the wheel to the wheel arch of the body. Hopefully swapping these out the longer shocks for shorter shocks [70-98 from 85-120] will fix this. The battery tray had to be trimmed and lowered for the body to sit better.
The fenders and the side skid plates will all be getting a chop to fit. Then I can start working out the placement of the esc and the wiring path. In the next stage I’m hoping to install the motor [Holmes Hobby 550 45t] with a 15t pinion and change the spur to the 45 tooth

