• Welcome to RCCrawler Forums.

    It looks like you're enjoying RCCrawler's Forums but haven't created an account yet. Why not take a minute to register for your own free account now? As a member you get free access to all of our forums and posts plus the ability to post your own messages, communicate directly with other members, and much more. Register now!

    Already a member? Login at the top of this page to stop seeing this message.

Roo builds a TRX-4 (with dad's commentary along the way)

new2rocks

I wanna be Dave
Joined
Apr 2, 2014
Messages
2,254
Location
North Carolina
I was very excited to find out that Traxxas was releasing a kit version of the TRX-4. We've had a lot of fun with the TRX-4 since it was released, and I'm a kit guy through and through. I picked up the kit at my favorite LHS a couple of days ago, but before I could get started, Roo beat me to the punch... :shock:
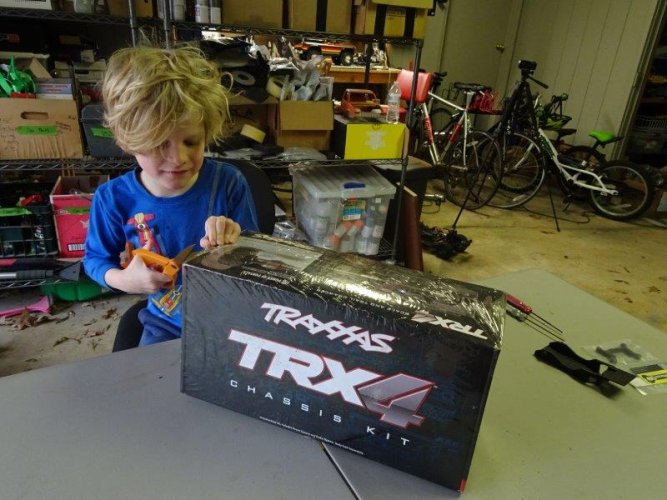
DSC00139.jpg

I guess this one will be his, and I'll have to live vicariously. :???:

Roo did an unboxing that's kinda fun:
https://www.facebook.com/BowHouseRC/videos/2010278995914018/

Here are a few initial observations about the kit. The first thing that you notice when opening the box is that the kit is extremely well organized. All of the parts for each major component group are included in the same bag:
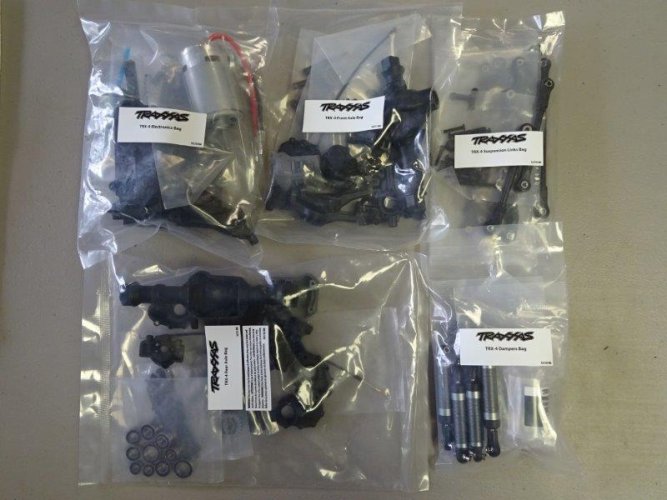
DSC00151.jpg

So no more fumbling through multiple bags just to find all the parts that you need for the tranny, or the axles, or...you get the picture. Axial, Horizon, RC4WD and others should take notice!

The instructions are also very clear and, much to Roo's delight, printed in COLOR!
DSC00148.jpg

Traxxas has preassembled a handful of components like the links and shocks, which saves time without cheapening the build experience. We like that, too.

The kit does not include a body, which isn't such a bad thing given that so many people put their own bodies on anyway. BUT, the kit uses the shock mounts integrated into the inner fenders as on the new Bronco RTR version, which means that you'll probably have some fender trimming to do (or replace the inner fenders with traditional shock towers) if you plan to use something other than the Traxxas Bronco body. It's not a big issue, but it's definitely something to keep in mind.

Some people are going to complain about the kit including all of the stock RTR electronics:
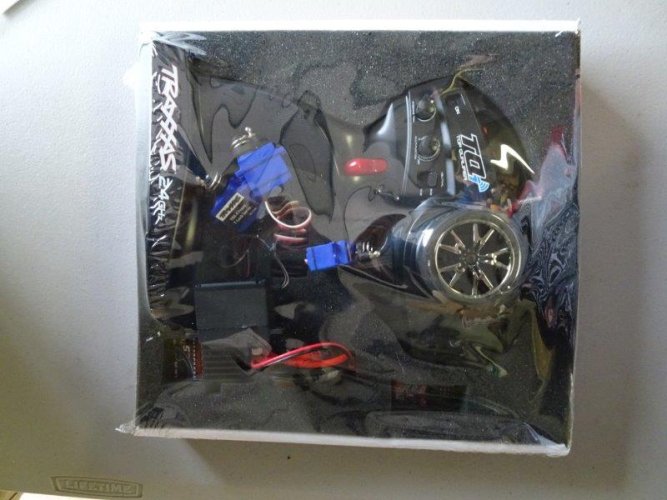
DSC00144.jpg

Although these aren't top shelf components, everything but the steering servo works pretty well in the RTR versions. And in light of the added complexity of the remote locking diffs, it makes complete sense that Traxxas would want to start kit builders off with a complete solution that works right out of the box.

I'll be updating this with Roo's progress and my observations as we go, so stay tuned... "thumbsup"
 
Last edited:
As testament to what a great job Traxxas has done with the instructions and the packaging, Roo has already finished assembling the tranny and most of the rear axle in just a few hours of bench time since yesterday:

DSC00157.jpg

DSC00163.jpg

DSC00165.jpg

And believe it or not, he's made it that far without having to ask for help. So I guess that means the remote locking diffs aren't too complicated after all... :mrgreen:

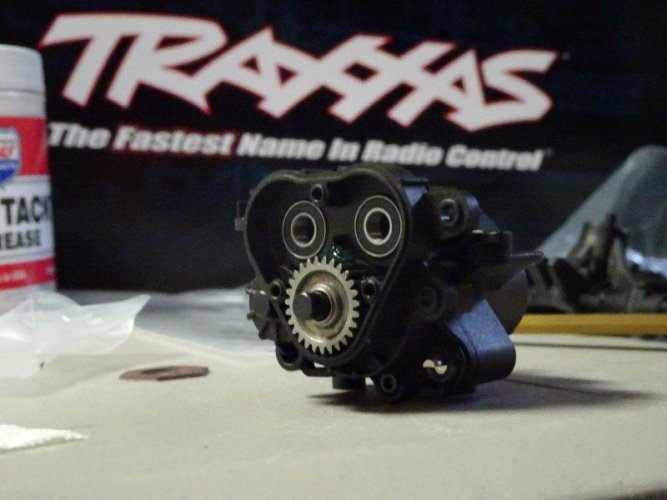
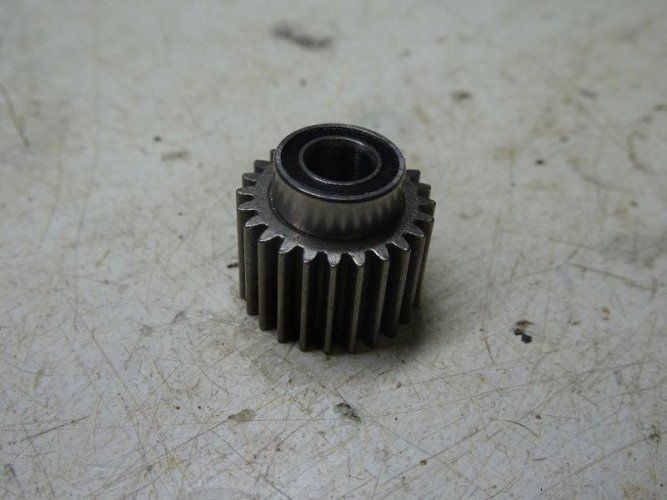
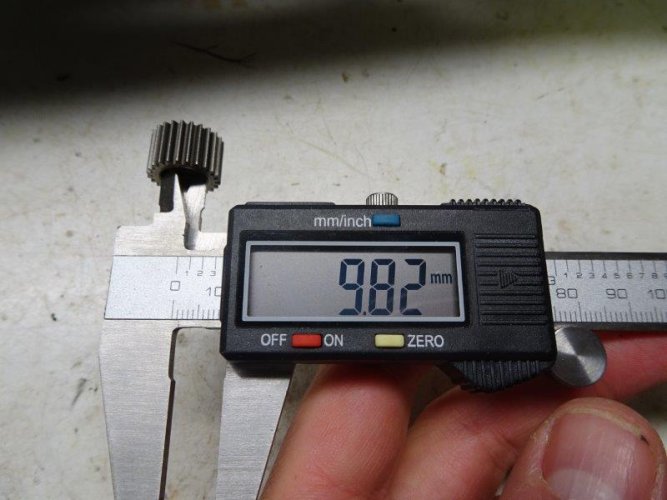
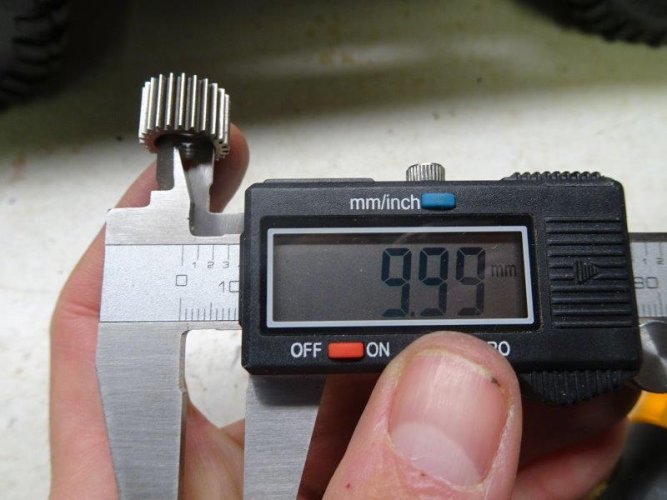
The only real hiccup so far was a 24T output gear whose bearing seat was too tight for the bearing:

DSC00153.jpg

DSC00154.jpg

Rather than wait for a replacement, a few minutes with the Dremel was enough to get him back on track:

DSC00155.jpg

If that's the only QC issue we have, I'll be impressed given that this example obviously came from the first production run. "thumbsup"

Oh...and Roo thinks the micro servos are really "cute." I tend to agree, at least until they break (which they have a tendency to do)... :ror:
 
The past couple of weeks have been a bit hectic between house guests, business trips, non-business trips (the kids got deported to Miami this weekend so the boss and I could get away). Through all of that craziness, every time I walked through the garage, I saw signs of more progress. Let's get caught up on.

First thing I noticed was a completed tranny:
DSC00163.jpg

Followed by a partially assembled rear axle:
DSC00165.jpg

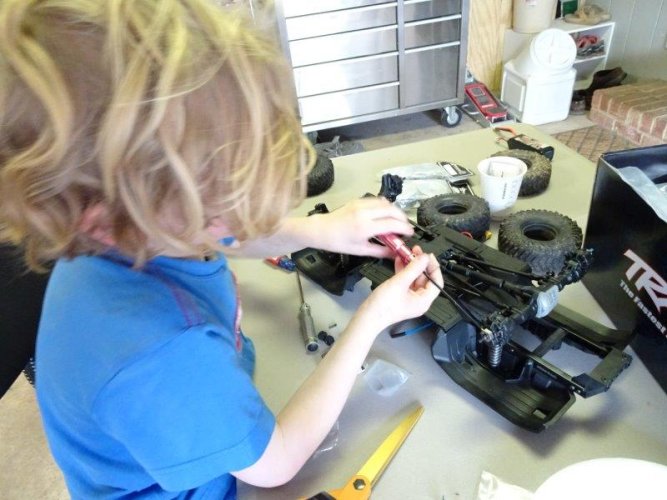
It was as though there was a little elf in the garage building away when nobody was looking and then hiding whenever I got home. But every once in a while, I'd spot that little elf in action:
DSC00172.jpg

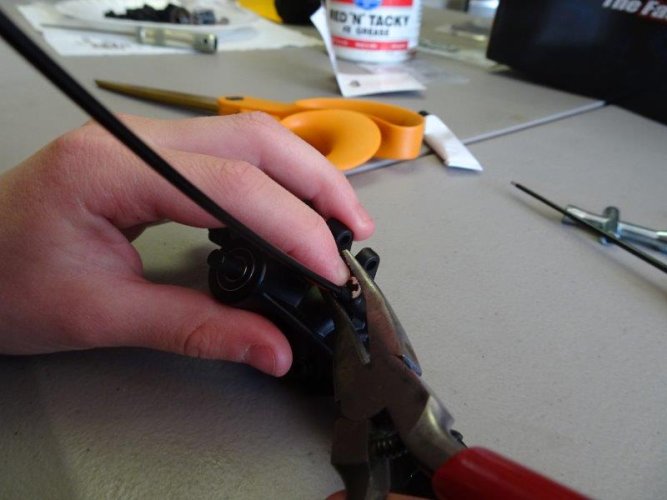
Believe it or not, the only part he's needed my help on was the pesky little e-clip that secures the diff locker cable to the housing:
DSC00171.jpg

It even took me a couple (okay, maybe more than a couple) of tries to get that little bugger on there. Roo thinks the e-clips ate jumping beans for lunch. It's a good working hypothesis... :ror:

He was cruising along so well that I had to ask (insist, in fact) that he let me build the front axle so I could see first-hand how it all goes together.

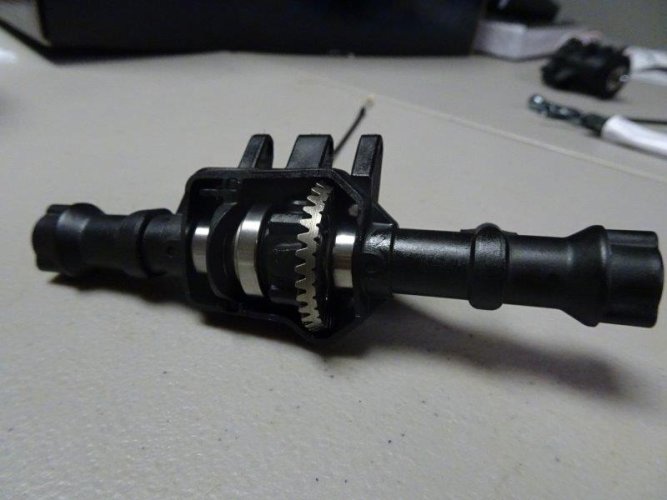
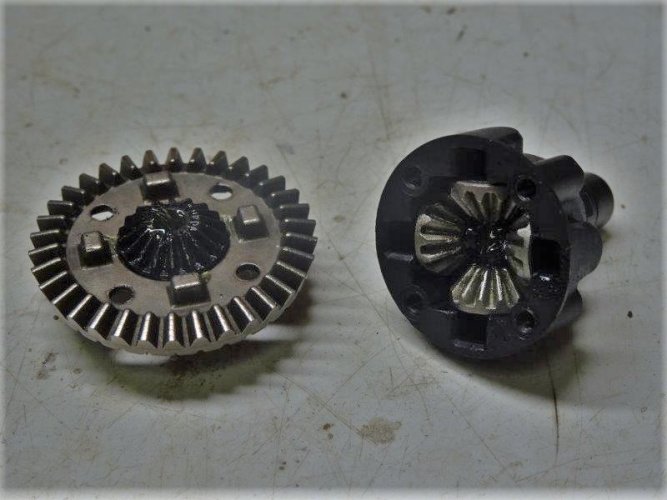
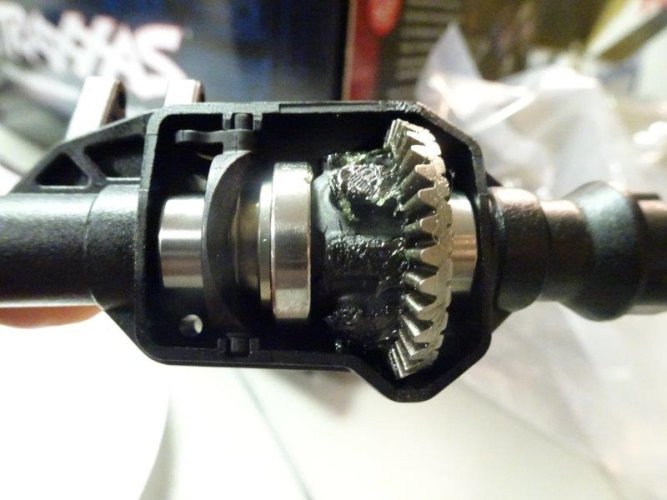
The diff internals are pretty standard fare for an open diff:
DSC00177.jpg

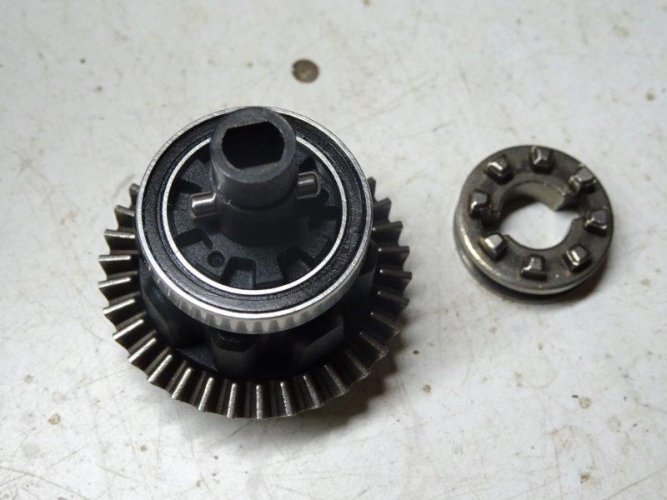
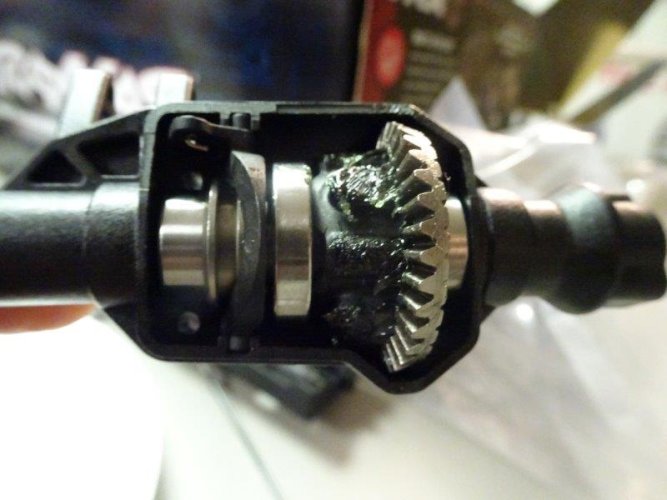
The real magic happens outside the diff housing where the locking slider can engage with the teeth in the housing to lock the diff:
DSC00181.jpg

Here are a couple of shots showing how the locker slider works inside the housing. Unlocked:
DSC00192.jpg

Locked:
DSC00193.jpg

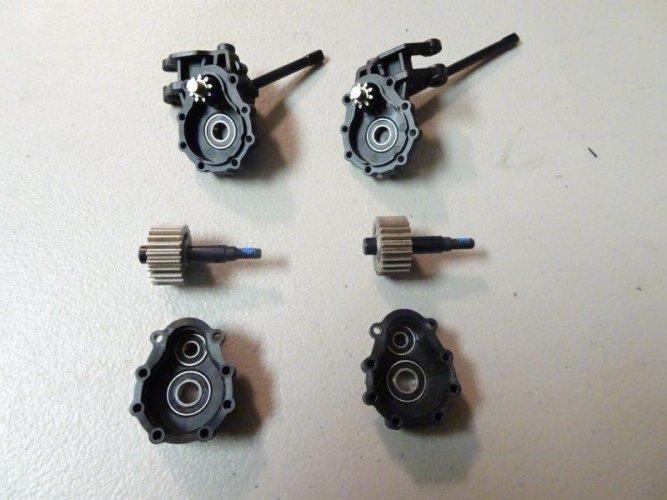
Here are the rest of the parts needed to build the front axle:
DSC00182.jpg

It all goes together very easily (save for that one pesky e-clip, lol), and the instructions are excellent. Here are a few more pix from the assembly:
DSC00194.jpg

Portals before final assembly:
DSC00199.jpg

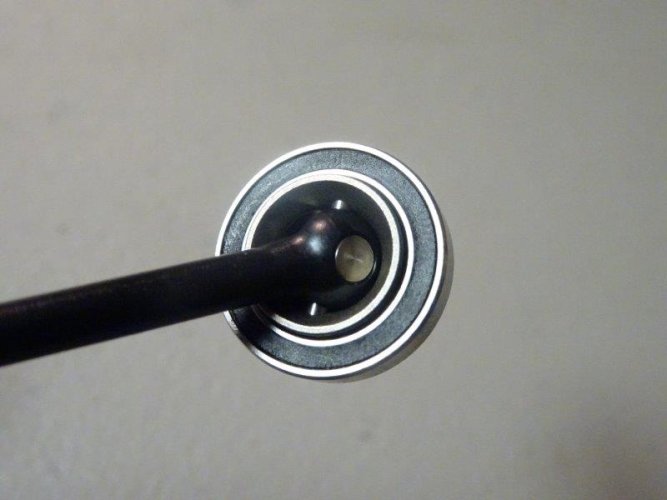
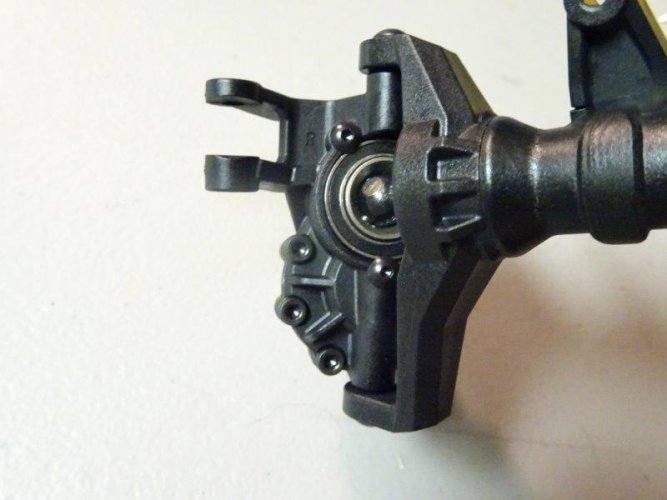
Note the beefy CVD and large portal input bearing:
DSC00196.jpg

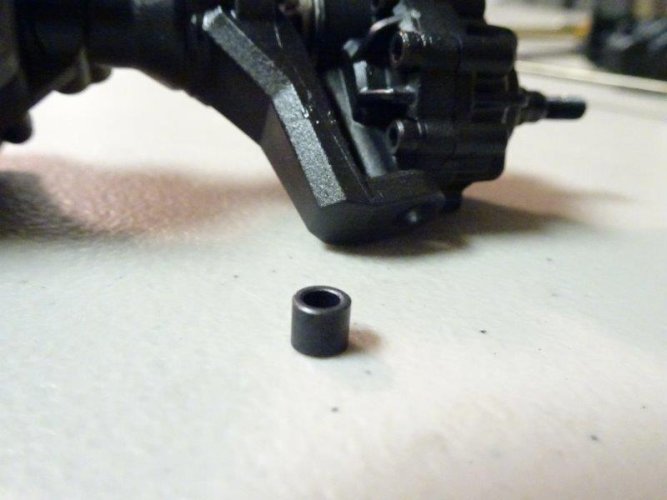
Traxxas uses spacers instead of flanges for the kingpins...
DSC00200.jpg

...which means spacers can be put in place after lining up the knuckles over the c-hubs, and no more flanges trying to jump ship while you try to get it all together. Hip hip hooray!

Once the portals are installed, you can remove the outer portal cover for service without having to take the knuckle off:
DSC00206.jpg

That's a nice touch, Traxxas.


After assembling the front axle, I must say that I am no longer hesitant about the complexity of the TRX-4 axles. The parts all seem to be well thought out and well engineered, materials seem plenty strong, and everything fits together very well. Even if something were to break, it should be pretty easy to diagnose and fix. It's more than worth it to be able to lock and unlock diffs on the fly.

More to come...
 
Bet he is having a blast putting this kit together, keep us updated on his progress "thumbsup"

Has there been a decision on what body will be on this yet ?
 
Bet he is having a blast putting this kit together, keep us updated on his progress "thumbsup"

Has there been a decision on what body will be on this yet ?

Roo is having a blast, and he's made much progress since the last update. Let's get caught up, starting with this scene from the bench:
DSC00208.jpg

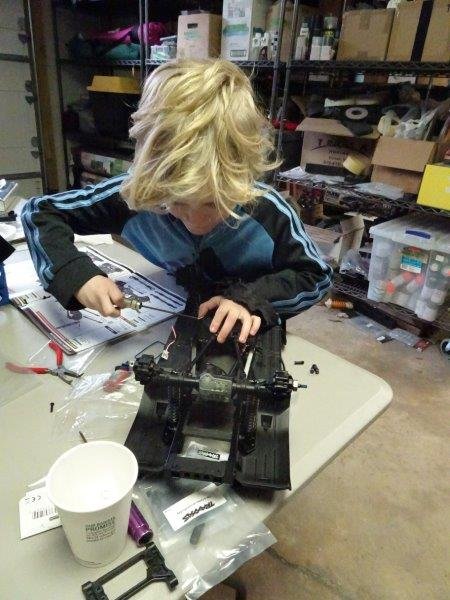
What's so special about it? As soon as I saw it, I knew exactly what happened. It was time to install the BowHouse bits (steering servo mount, battery tray and rear chassis brace), and Roo knows that the M3 holes should be cleaned out with a 3/32 drill bit. He knew that the 3/32 bit was in the big drill and that the big drill wasn't on the list of approved tools for him to use. So he tried to see if he could get the bit to fit in the cordless driver. When he realized it wouldn't fit, he decided to try starting the screws without pre-drilling, and he was able to get it to work.

It didn't take long for him to get the axles on:
DSC00210.jpg

DSC00368.jpg

We decided to try a couple of new bits on this one, starting with the SSD's TRX-4 specific servo horn (which maintains the proper spacing for the drag link):
DSC00216.jpg

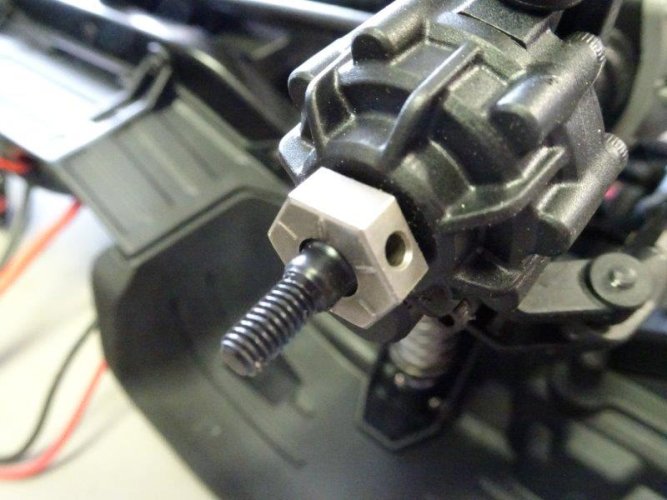
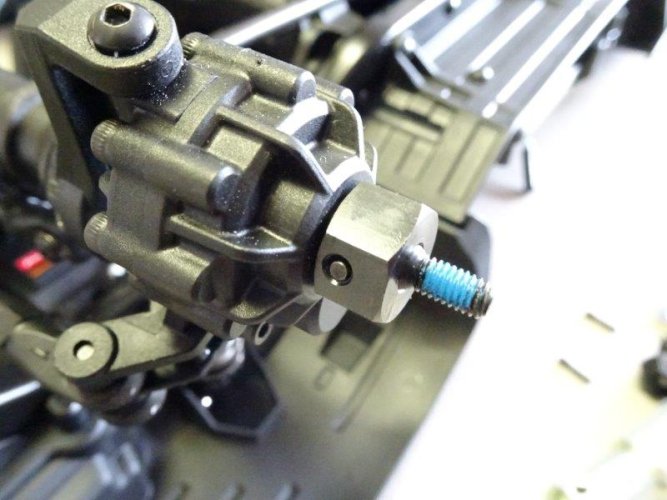
Nice piece at a terrific price. Well done, SSD. We also went with RC4WD's TRX-4 hex hubs, which cover the 6mm section of the stub and allow you to run any normal wheel on the TRX-4 without drilling. Here's the Traxxas hub:
DSC00370.jpg

And the RC4WD hub:
DSC00371.jpg

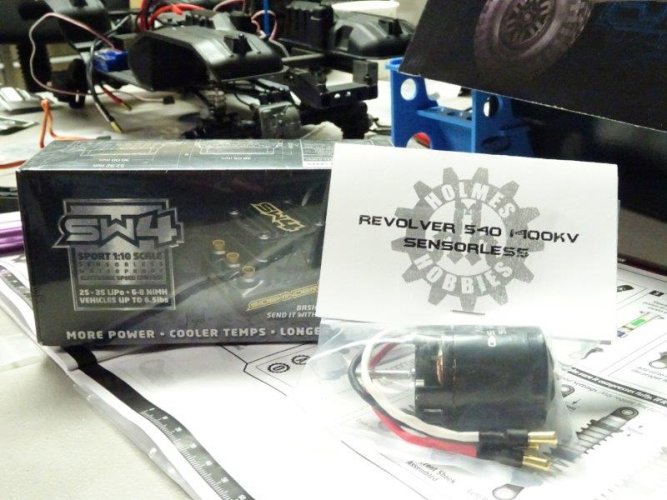
Much better. For power, I gave Roo the choice between a Holmes Hobbies Puller Pro Stubby 2200 (one of my favorite motors) and the HH Revolver 1400 kV (sensorless version) paired with a Sidewinder 4:
DSC00239.jpg

As soon as he discovered that the Revolver's entire case spins when it runs, his choice was made. More on that in a bit. For wheels, Roo chose the GMade SR-03 in semigloss silver:
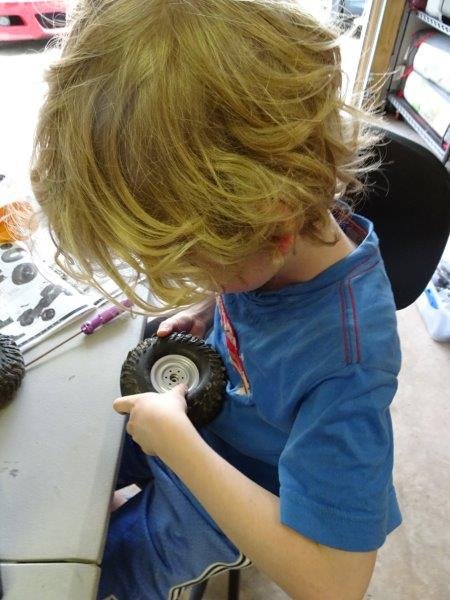
DSC00373.jpg

DSC00375.jpg

These were a nice reminder of why I've always loved GMade wheels - nice weight to offset top-heavy trucks, super easy to mount with just about any tire, and long starter screws included in the package. And these now come with scale bolts. Bonus!

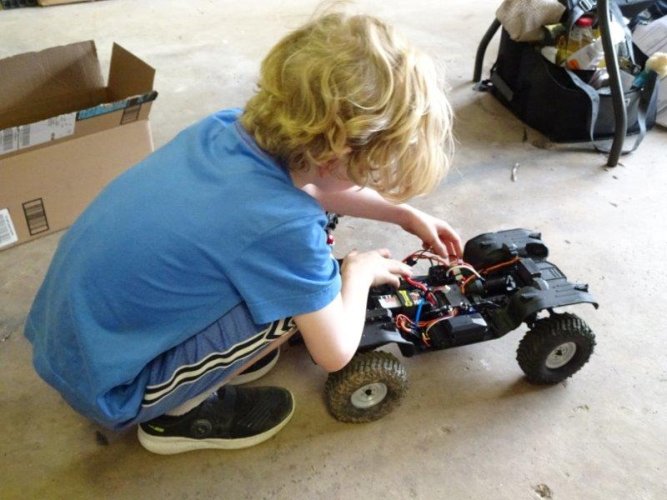
A few more finishing touches, and it was time to take her out for a spin:
DSC00376.jpg

DSC00378.jpg

DSC00380.jpg

<iframe src="https://www.facebook.com/plugins/video.php?href=https%3A%2F%2Fwww.facebook.com%2FBowHouseRC%2Fvideos%2F2026855127589738%2F&show_text=0&width=560" width="560" height="315" style="border:none;overflow:hidden" scrolling="no" frameborder="0" allowTransparency="true" allowFullScreen="true"></iframe>
https://www.facebook.com/BowHouseRC/...6855127589738/

The verdict on the powertrain is good so far. Very smooth, gobs of torque, and Roo likes that it sounds like a jet engine on startup. I'm looking forward to seeing how it does with the weight of a body added.

Speaking of body, at this point, ScoJac was wondering what body we're planning to run on this. The wheels were a hint. Here's another: doppelkabine. Nick, aka partner in BowHouse and Helios crime, will be printing the body based on one he did for himself a while back. I'm hoping he'll have time to make the necessary modifications to the design and get it printed before the RC4WD Uwharrie #tinytrucks Challenge in a month.

Parting thoughts...I think I could get used to these 100% outsourced trucks, and Roo's loving his latest build. Win win. "thumbsup"
 
Last edited:
Back
Top