new2rocks
I wanna be Dave
Okay...so according to the interwebs, that was never an actual quote in any of the original books by Sir Arthur Conan Doyle. I couldn’t be sure seeing as how I haven't read them all, or any of them, really. But Sherlock did use the word “elementary” on multiple occasions, so in honor of the great detective, let’s allow his actual quotes to guide this exploration of the new Element Enduro from Associated.
"Never trust to general impressions, my boy, but concentrate yourself upon details."
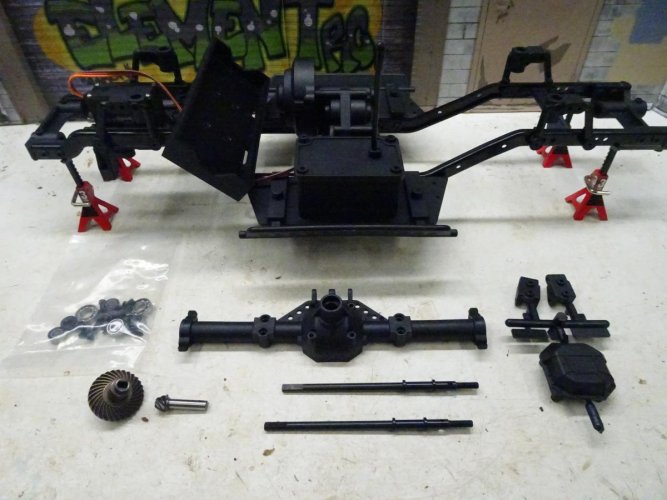
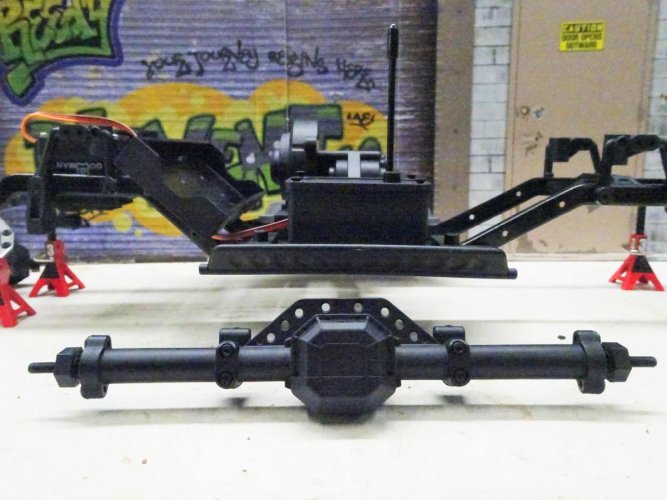
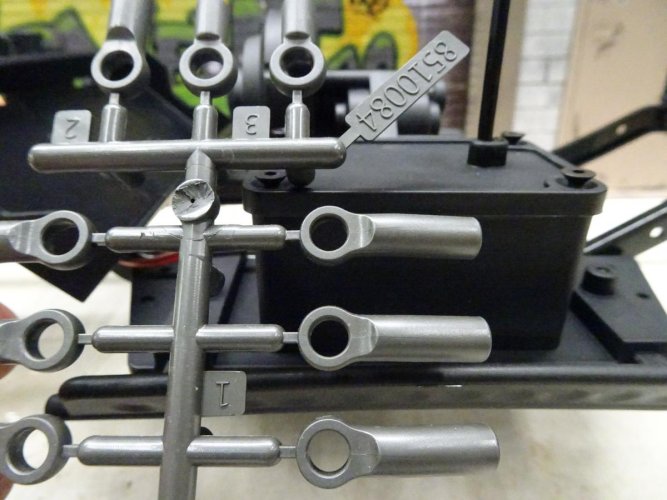
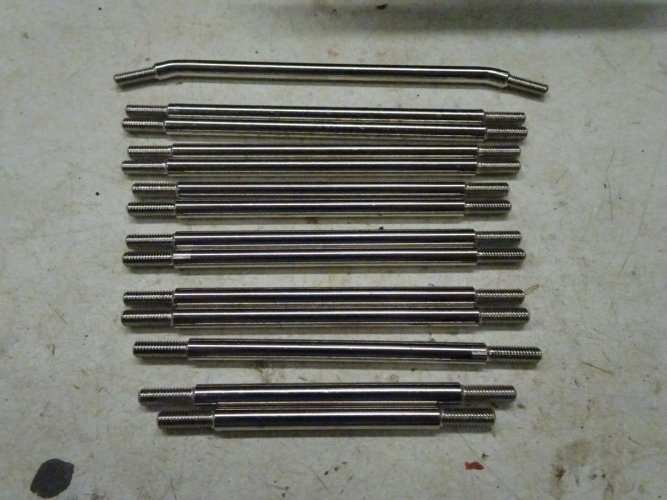
I would give you my general impression (interesting truck for the price, some things I like, some things I don't), but you now know not to trust those. I can handle details, though. Let's start with some basics. The Enduro is available in both kit and RTR forms, the former having been released just a few weeks after the latter. I chose the kit version of the Element because, well, kit, and also because it has some upgraded parts. Specifically, the kit version includes machined steel tranny gears (sintered metal in the RTR), all the gears needed to support 2 different OD ratios or no overdrive, rear link options to support 3 different wheelbases (11.8", 12.0" and 12.3"), and an optional top shaft for the transmission that allows you to flip it around so the spur cover faces forward.
"There is nothing new under the sun. It has all been done before.”
The Enduro includes interesting remixes of a few concepts that others have used. Let’s start with the box:
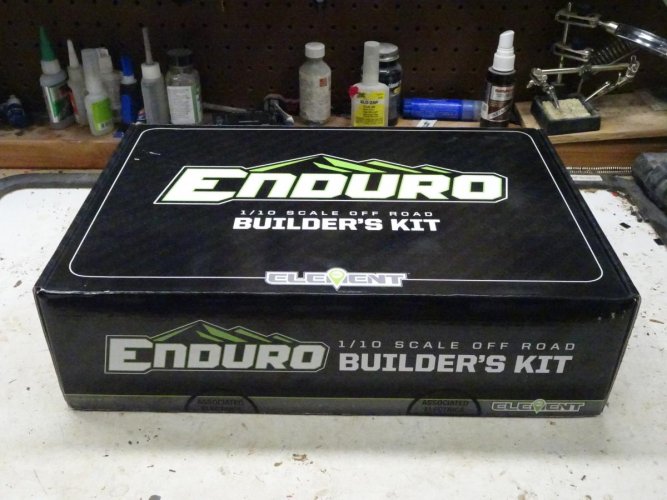
Seems simple enough, right? Not exactly. Because there's a nice little surprise inside:
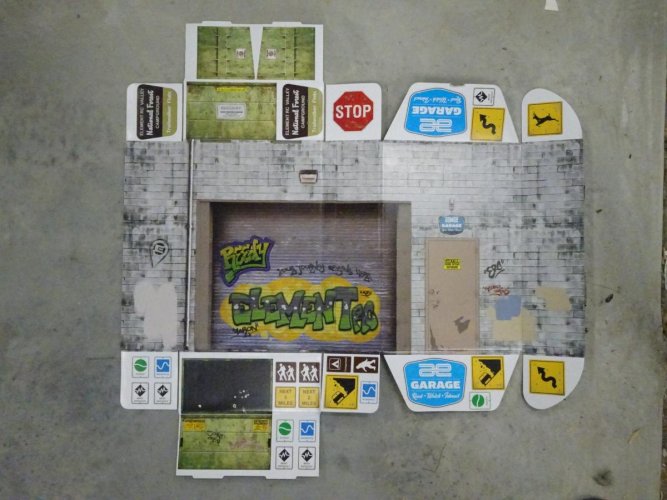
That's right...the inside of the box is a combination of scale garage scene (at least the outside of one) and scale signs. The RTR box has the inside of the scale garage...maybe I need one of those next. Curmudgeonly Sherlock might say that this is nothing new, seeing as how VanOrd Customs (perhaps others as well) have been selling a scale garage backdrop for some time now. But credit to Associated/Element for being the first to put a scale garage inside the box of a tiny truck. Not only that, it looks pretty awesome, I must say:

"You know my method. It is founded upon the observation of trifles."
Trifle #1: Associated has included a 1:1 layout of all of the different hardware pieces on a fold-out flap inside the front cover of the manual:
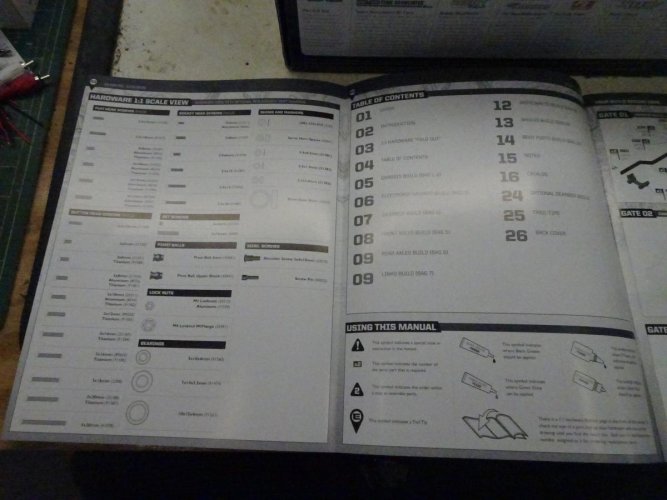
At first, I thought this was a great idea. But as I got further into the build, I came to find that flap bulky (it takes up 1/2 again as much space as the manual opened to just 2 pages). I prefer the approach taken by Axial/Traxxas/Vanquish of simply showing 1:1 images of the hardware needed on each page for the steps on that page.
Trifle #2: The technical writing team came up with the clever idea of referring to steps as Gates instead of steps. It's a neat idea, but re-starting the gate numbering with each new component just makes the whole numbering thing kind of confusing:
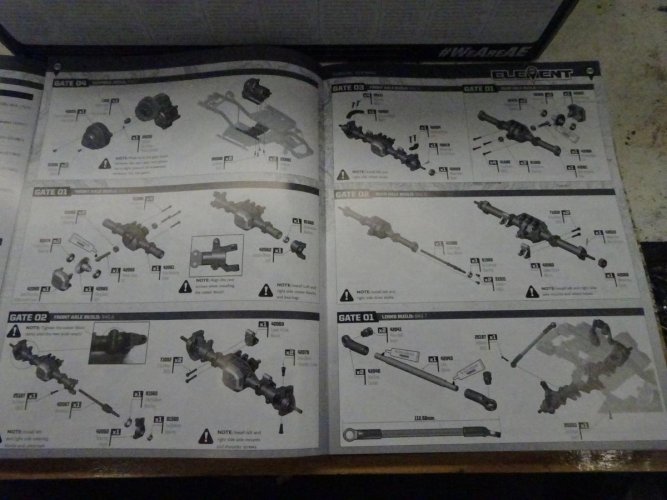
Suggestion for next time: keep the clever "Gate" terminology but start at 1 and keep going until finished. ;-)
Trifle #3: The part numbers shown in the instructions do not match any numbers found on the parts trees:
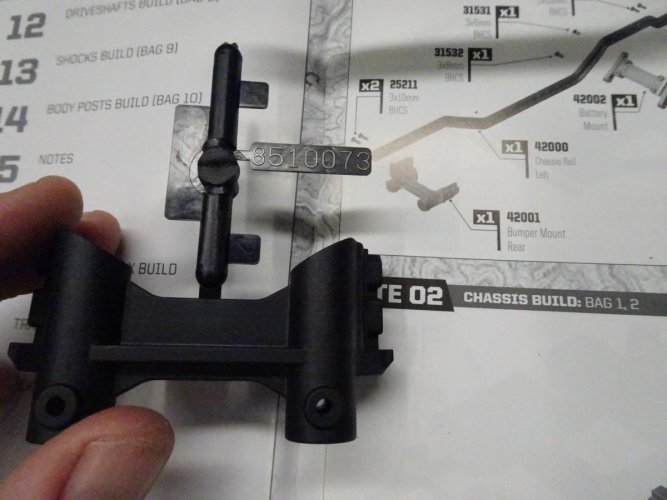
That basically means you have to pick parts based on shape/size instead of numbers. It's not a deal-breaker (the only place it got a bit tricky was with shock towers, and those have small letters molded into the inside to indicate F vs R and L vs R). But it also wouldn't have been too difficult to get the numbers to match.
Trifle #4: The first 7 pages of the instructions lack lines and arrows showing where screws are to be inserted. There is at least one place (attaching the skid to the chassis rails) where those would have been helpful:
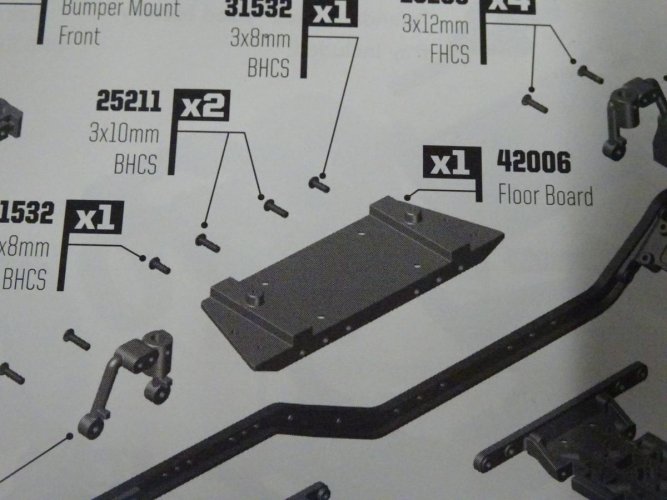
The screws in that picture should go into the outer 2 of the 3 holes on either end of the skid, leaving the middle 2 holes for the upper link mounts. Fortunately, it's not too hard to figure things out, and the manual drafters remembered to add the lines beginning at page 8.
"It has long been an axiom of mine that the little things are infinitely the most important."
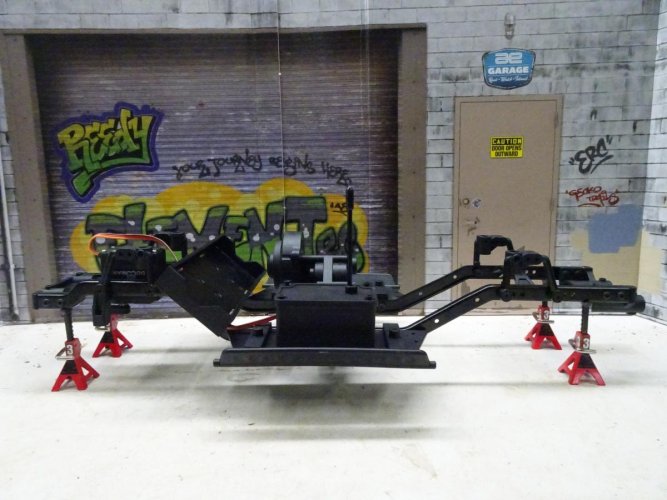
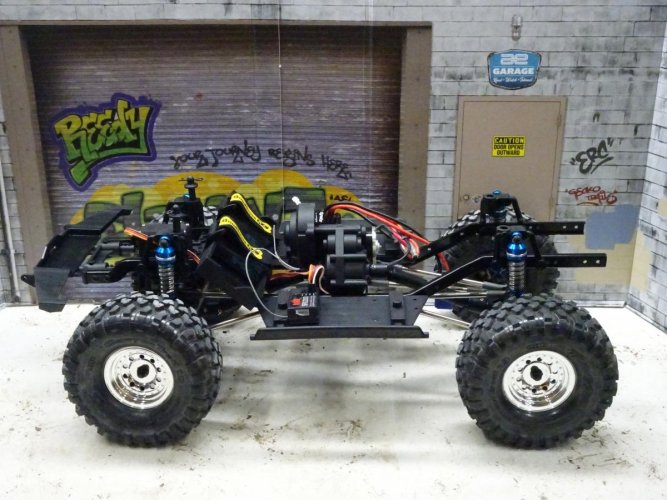
Quibbles with the instructions aside, the chassis goes together quite nicely. Here's a look at the assembled chassis:
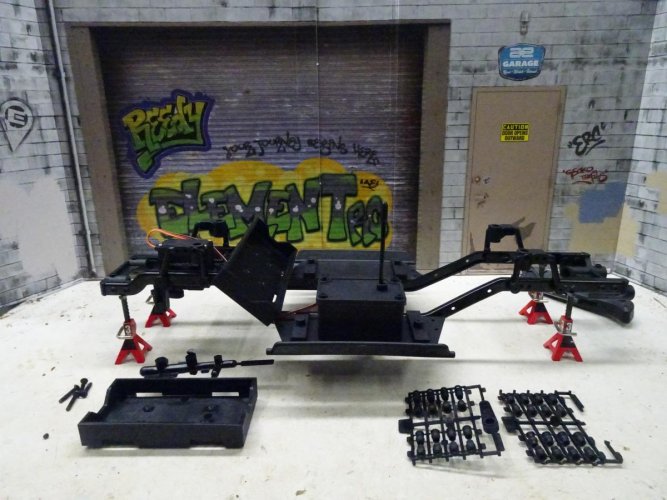
See what I mean about that garage background? It looks killer. If any of my full size vehicles came with a garage, I would have saved myself an awful lot of 1:1 money:
But I digress. Back to the chassis - notice that you get your choice of 2 battery trays. I opted for the wider one so I had the option of using larger packs for longer outings.
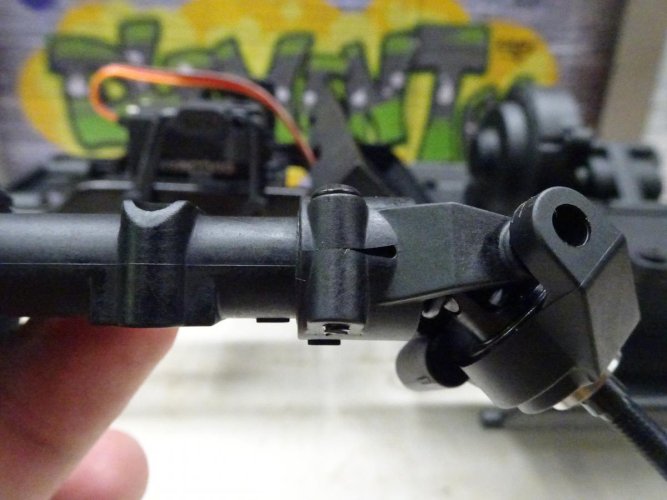
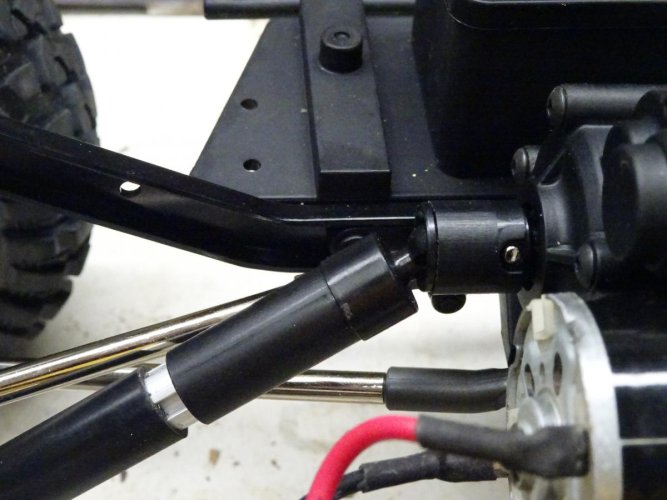
The biggest chassis issue I saw on initial assembly is the panhard mount:
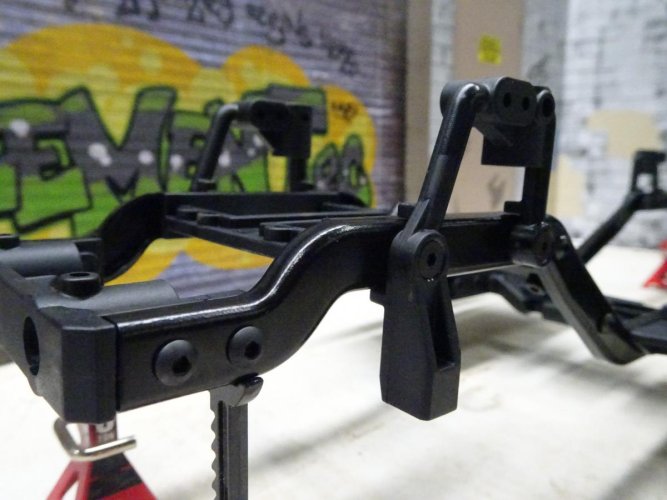
That's an awfully long and flexy piece of plastic for a part that can end up under a fair bit of stress. I'll be looking to swap that out sooner rather than later.
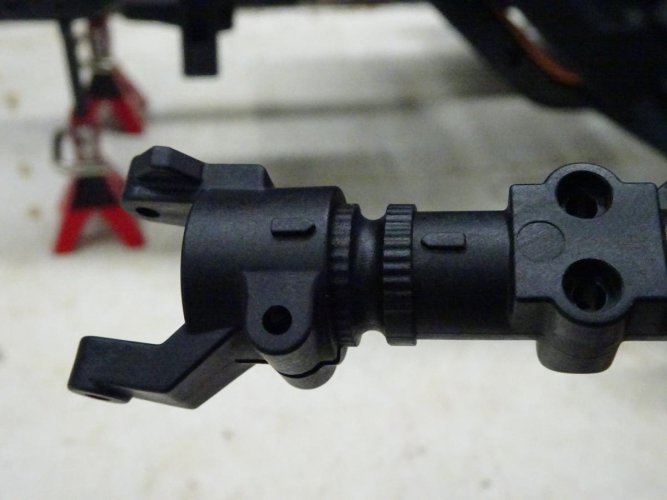
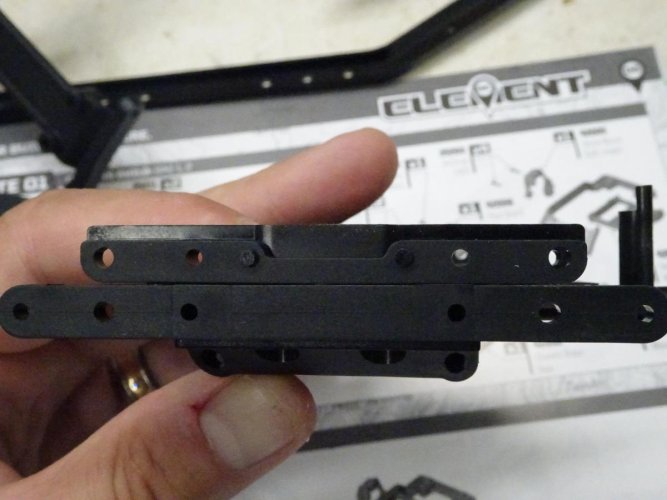
There are also a few nits to pick here. For example the hole spacing on the skid is close to Axial hole spacing, but not close enough to be interchangeable without modification/massaging:
The same is true of the sliders. They use a similar mounting style to Axial's 10.2 sliders:
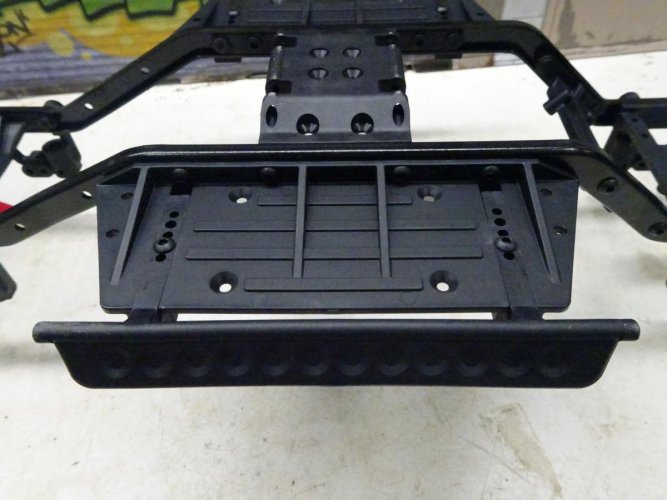
But the spacing of the slots for the sliders is off by over 1 mm vs. Axial's, making parts interchangeability a challenge. Had they simply made the spacing the same as Axial's, that same feature would have been a big plus.
"What one man can invent another can discover."
The biggest headliner in the Enduro platform is the transmission because of the ability to overdrive the front axle from the transmission. Associated/Element isn't the first to think of this (GCM has sold a transmission with 10% OD to the front axle for several years now), but Associated/Element have added the ability to choose one of 2 different OD ratios (5.7%, 11.83%) or no OD at all. It is a very nice feature in a budget-priced truck.
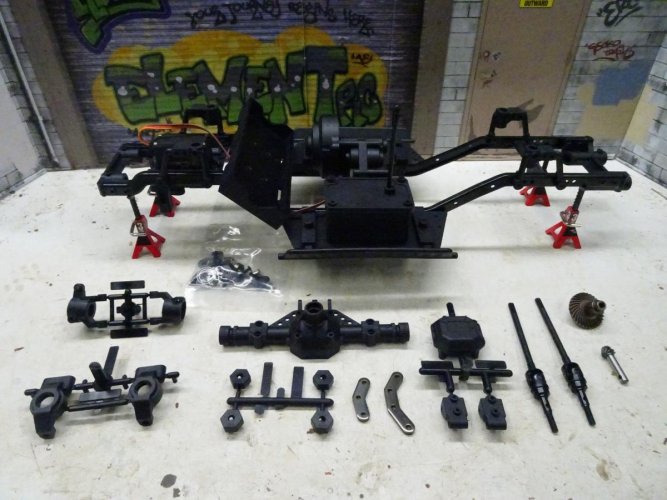
Here are the transmission components laid out:
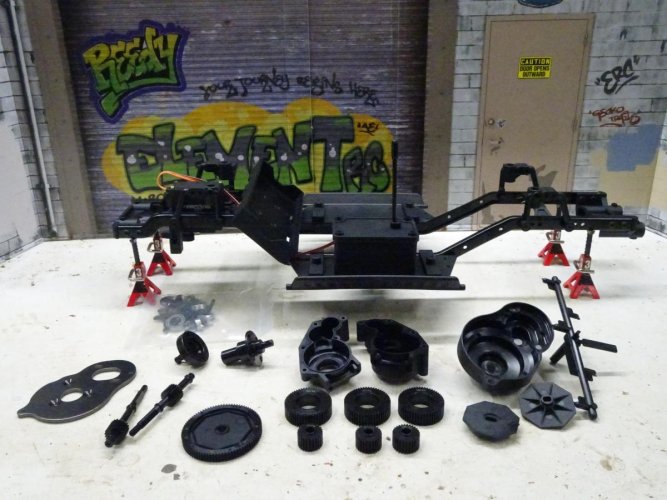
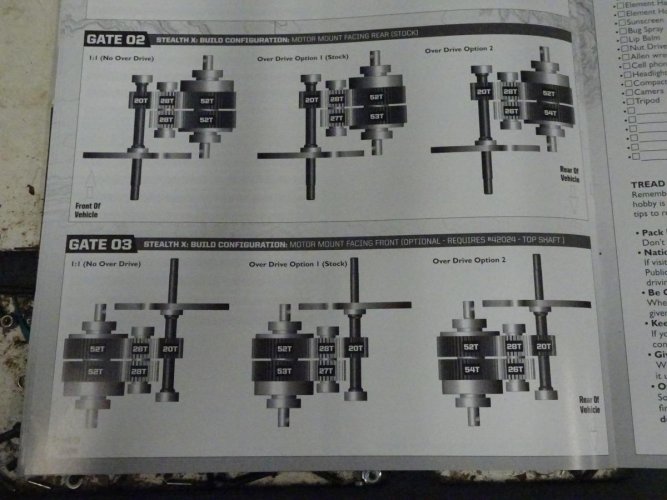
The transmission basically includes a parallel pair of gears (idler and bottom gear) to power the output on each side of the transmission, and the instructions show you which combinations of gears to use depending on your preferred OD ratio and whether you orient the transmission with the spur facing backward or forward:
Here's a look at it partially assembled:
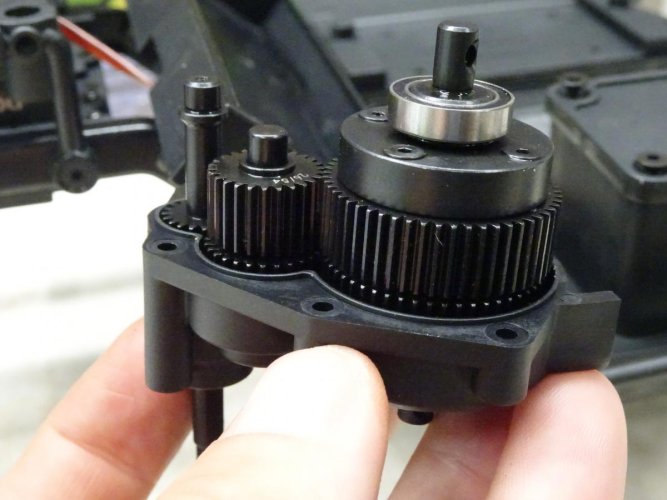
The whole setup is quite clever, and the gears feel like they will last to the end of times. The biggest downside I see is bulk, which I'll address later.
That's it for now. More updates coming...
"Never trust to general impressions, my boy, but concentrate yourself upon details."
I would give you my general impression (interesting truck for the price, some things I like, some things I don't), but you now know not to trust those. I can handle details, though. Let's start with some basics. The Enduro is available in both kit and RTR forms, the former having been released just a few weeks after the latter. I chose the kit version of the Element because, well, kit, and also because it has some upgraded parts. Specifically, the kit version includes machined steel tranny gears (sintered metal in the RTR), all the gears needed to support 2 different OD ratios or no overdrive, rear link options to support 3 different wheelbases (11.8", 12.0" and 12.3"), and an optional top shaft for the transmission that allows you to flip it around so the spur cover faces forward.
"There is nothing new under the sun. It has all been done before.”
The Enduro includes interesting remixes of a few concepts that others have used. Let’s start with the box:

Seems simple enough, right? Not exactly. Because there's a nice little surprise inside:

That's right...the inside of the box is a combination of scale garage scene (at least the outside of one) and scale signs. The RTR box has the inside of the scale garage...maybe I need one of those next. Curmudgeonly Sherlock might say that this is nothing new, seeing as how VanOrd Customs (perhaps others as well) have been selling a scale garage backdrop for some time now. But credit to Associated/Element for being the first to put a scale garage inside the box of a tiny truck. Not only that, it looks pretty awesome, I must say:

"You know my method. It is founded upon the observation of trifles."
Trifle #1: Associated has included a 1:1 layout of all of the different hardware pieces on a fold-out flap inside the front cover of the manual:

At first, I thought this was a great idea. But as I got further into the build, I came to find that flap bulky (it takes up 1/2 again as much space as the manual opened to just 2 pages). I prefer the approach taken by Axial/Traxxas/Vanquish of simply showing 1:1 images of the hardware needed on each page for the steps on that page.
Trifle #2: The technical writing team came up with the clever idea of referring to steps as Gates instead of steps. It's a neat idea, but re-starting the gate numbering with each new component just makes the whole numbering thing kind of confusing:

Suggestion for next time: keep the clever "Gate" terminology but start at 1 and keep going until finished. ;-)
Trifle #3: The part numbers shown in the instructions do not match any numbers found on the parts trees:

That basically means you have to pick parts based on shape/size instead of numbers. It's not a deal-breaker (the only place it got a bit tricky was with shock towers, and those have small letters molded into the inside to indicate F vs R and L vs R). But it also wouldn't have been too difficult to get the numbers to match.
Trifle #4: The first 7 pages of the instructions lack lines and arrows showing where screws are to be inserted. There is at least one place (attaching the skid to the chassis rails) where those would have been helpful:

The screws in that picture should go into the outer 2 of the 3 holes on either end of the skid, leaving the middle 2 holes for the upper link mounts. Fortunately, it's not too hard to figure things out, and the manual drafters remembered to add the lines beginning at page 8.
"It has long been an axiom of mine that the little things are infinitely the most important."
Quibbles with the instructions aside, the chassis goes together quite nicely. Here's a look at the assembled chassis:

See what I mean about that garage background? It looks killer. If any of my full size vehicles came with a garage, I would have saved myself an awful lot of 1:1 money:

But I digress. Back to the chassis - notice that you get your choice of 2 battery trays. I opted for the wider one so I had the option of using larger packs for longer outings.
The biggest chassis issue I saw on initial assembly is the panhard mount:

That's an awfully long and flexy piece of plastic for a part that can end up under a fair bit of stress. I'll be looking to swap that out sooner rather than later.
There are also a few nits to pick here. For example the hole spacing on the skid is close to Axial hole spacing, but not close enough to be interchangeable without modification/massaging:

The same is true of the sliders. They use a similar mounting style to Axial's 10.2 sliders:

But the spacing of the slots for the sliders is off by over 1 mm vs. Axial's, making parts interchangeability a challenge. Had they simply made the spacing the same as Axial's, that same feature would have been a big plus.
"What one man can invent another can discover."
The biggest headliner in the Enduro platform is the transmission because of the ability to overdrive the front axle from the transmission. Associated/Element isn't the first to think of this (GCM has sold a transmission with 10% OD to the front axle for several years now), but Associated/Element have added the ability to choose one of 2 different OD ratios (5.7%, 11.83%) or no OD at all. It is a very nice feature in a budget-priced truck.
Here are the transmission components laid out:

The transmission basically includes a parallel pair of gears (idler and bottom gear) to power the output on each side of the transmission, and the instructions show you which combinations of gears to use depending on your preferred OD ratio and whether you orient the transmission with the spur facing backward or forward:

Here's a look at it partially assembled:

The whole setup is quite clever, and the gears feel like they will last to the end of times. The biggest downside I see is bulk, which I'll address later.
That's it for now. More updates coming...


